Hopefully, by the time you read this, I will be en route to Denver, Colorado, in order to visit some lovely people and bask in the Rocky Mountain air. Hopefully, by the time you read this, I will not be mid-asthma attack, nauseous and angry due to the lack of oxygen in the air and a case altitude sickness. You can always count on me for a healthy dose of optimism cynicism.
Personally, the week was one big bag of failure. I think the ugly cry may have come to visit my abode about seventeen times. I also yelled at exactly five customer service representatives and five customer service supervisors. I seem to be falling apart?
For information on how to help victims of the Boston marathon, please click here!
All of this sadness, all of the chaos can just become too overwhelming. I could go on and on, but this is not my Livejournal,* this is a baking blog.
As you can all see from previous posts, this blog has been a bundle of jiggly lard lately. For this reason, and with the assumption that warm weather will, in fact, eventually debut in NY at some damn point, I have decided to go for a healthier dessert…. aaaand then coat it in butter. Also I chose pears because I had a few that I needed to use before they spoiled and you KNOW I was not able to let them go to waste. Pears cost dollars.
*I never had a Livejournal. I was a Xanga girl. Please do not Google this. I am sparing you, trust.
Sautéed Pears in a Balsamic Reduction With Roasted Pumpkin Seeds (SO FANCY! SO FRESH!)
2 pears of your choice, cored and sliced
2 tablespoons of butter
1 teaspoon of cinnamon
1 teaspoon of brown sugar, more if you like
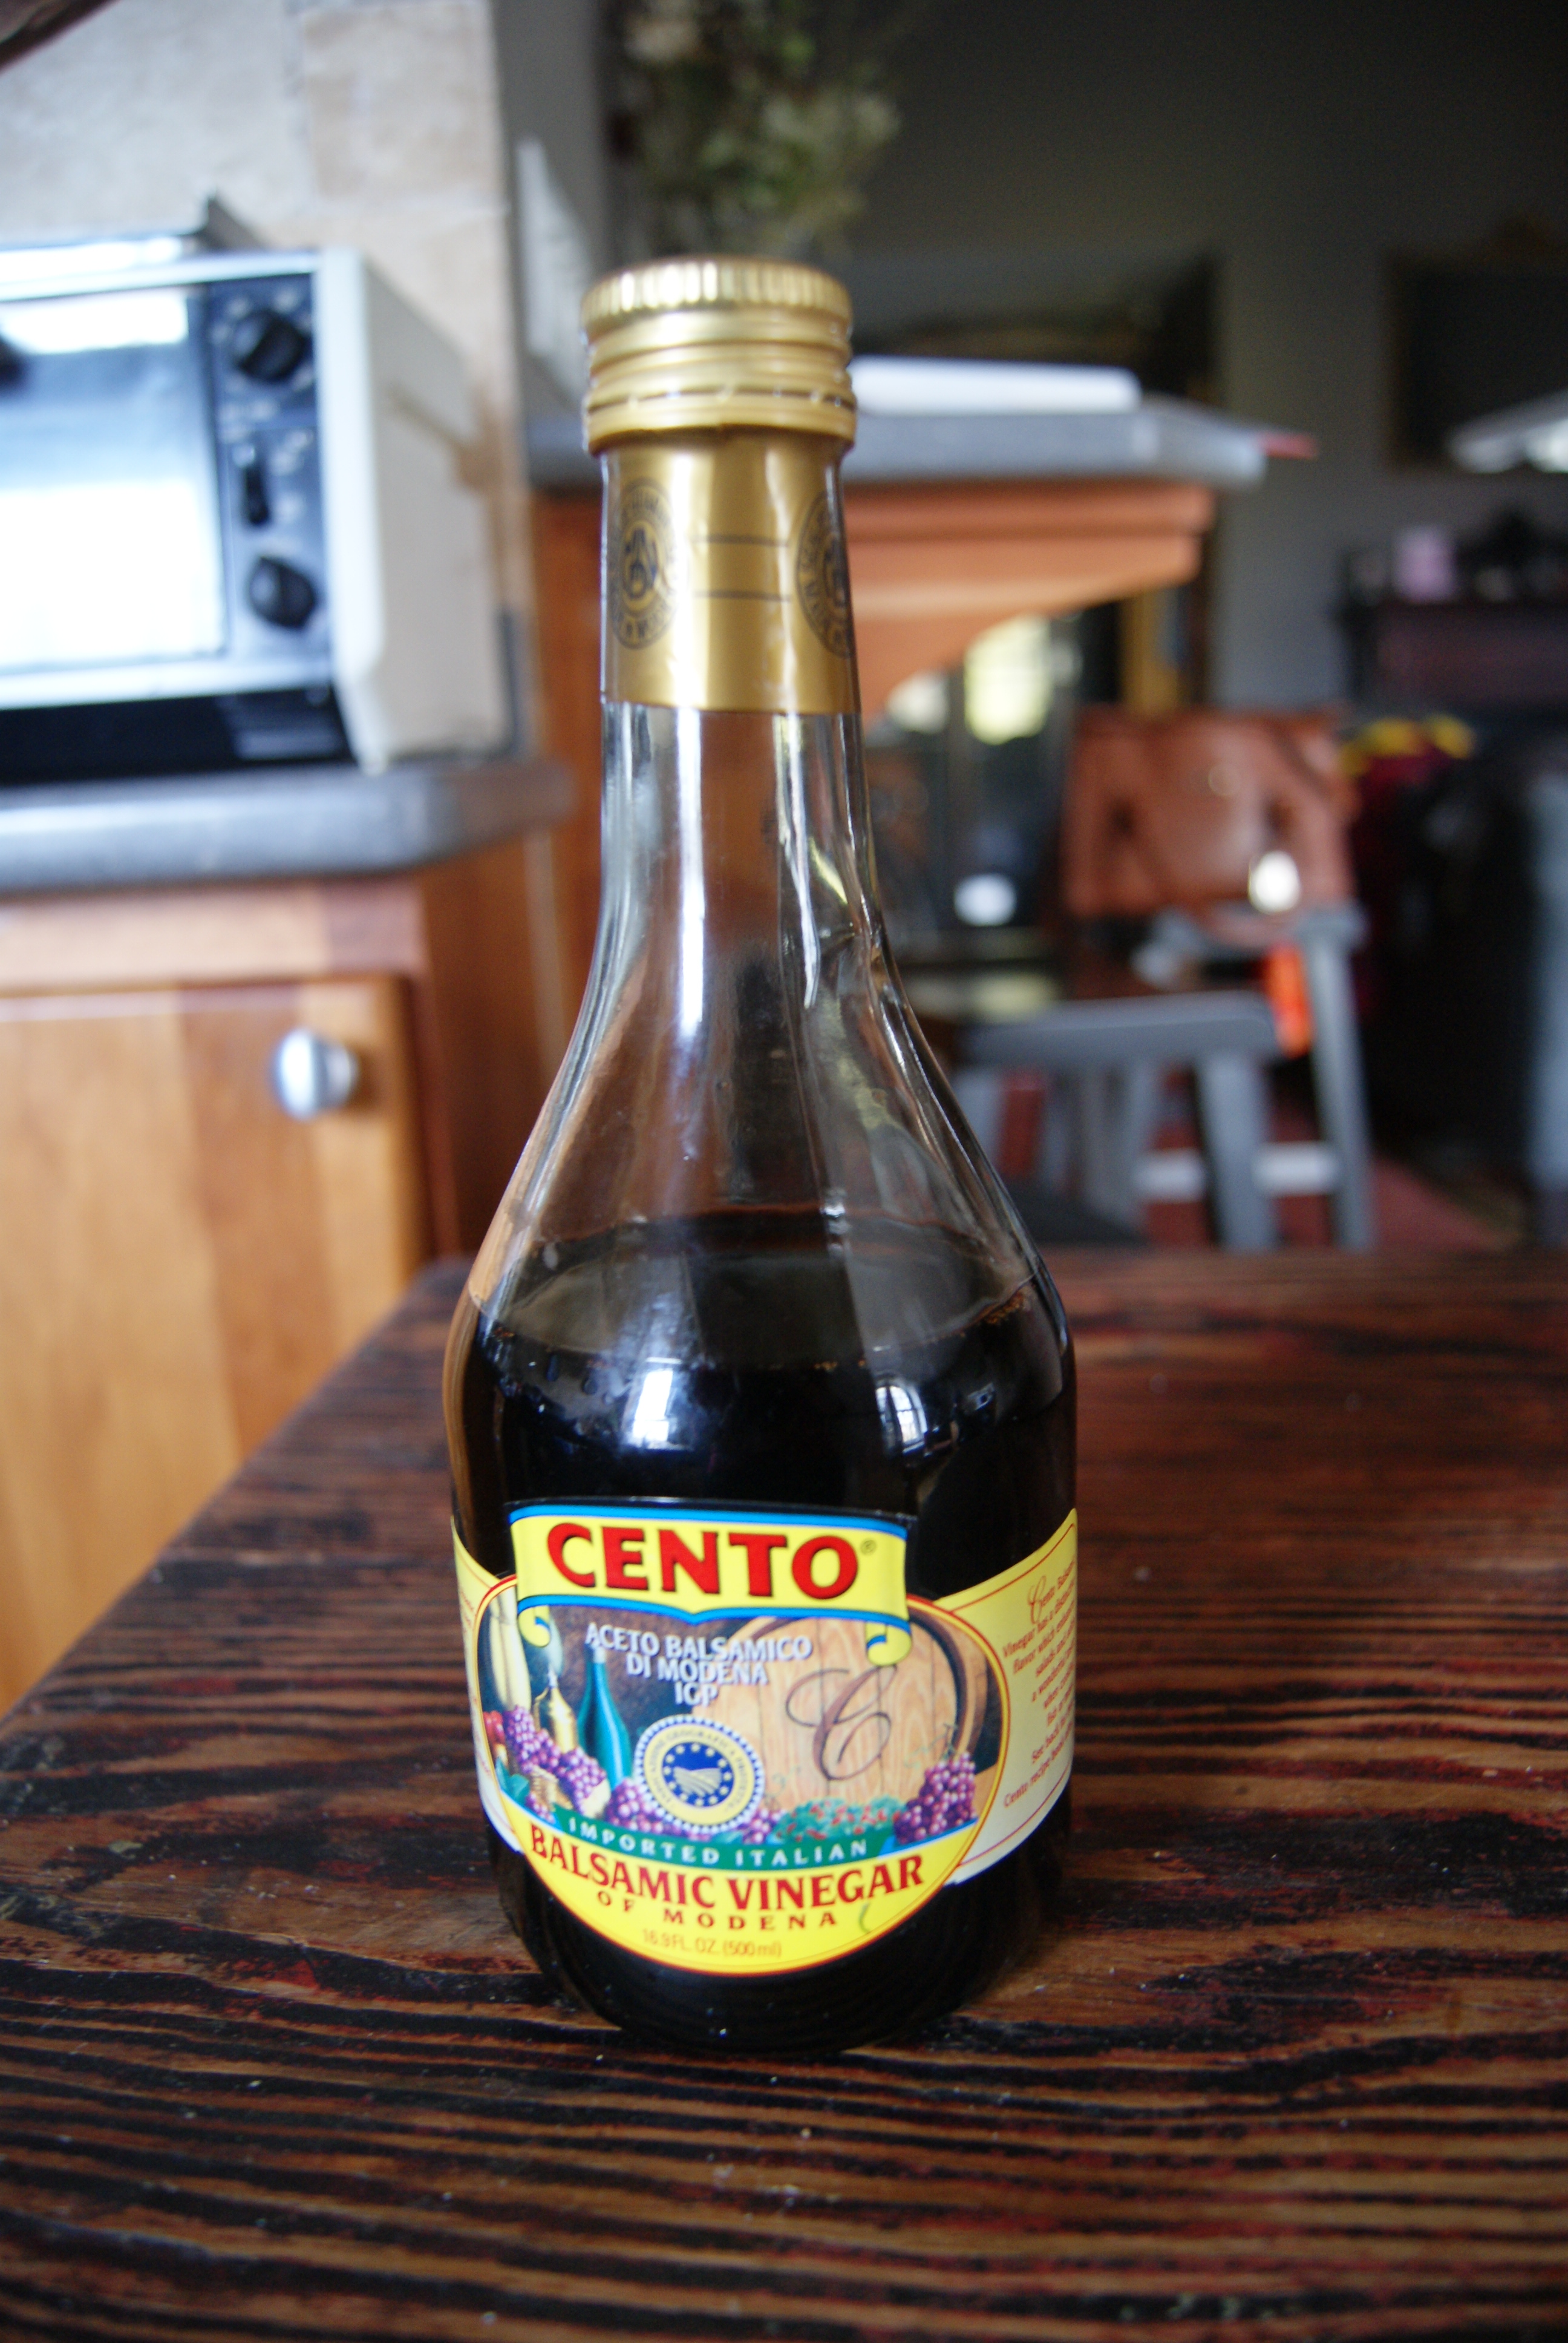
1/4 cup of balsamic vinegar
1 tablespoon of roasted pumpkin seeds, optional
Now, in a large lidded saucepan, melt your butter over medium heat. When fully melted, add pears. Try to lay slices with no overlaps, if possible. When the pear slices begin to heat up, add just enough water to barely cover them, and then cover the pan for five minutes.
Meanwhile, in a small saucepan over medium-low heat, bring balsamic vinegar to a simmer. Swirl the vinegar in the pan for a few minutes, then let it simmer and lightly boil for about ten minutes. Remove from heat when it looks thick and appears to have reduced.
Back to your pears. Using a wooden spoon, carefully flip your slices, which should be lightly browned and softened by now. Sprinkle with cinnamon and brown sugar, then remove from heat, plate, and sprinkle more cinnamon and sugar, if you please (you please, trust me you please). Drizzle with balsamic reduction and add pumpkin seeds.
Now, you would think, or at least I thought, this would be a disaster. I kind of thought the balsamic would take this thing to a place I would never ever want to visit. Instead, it took this thing to a place I’d like to turn into my summer home, if that makes sense.
No joke, as lame as this sounds, I felt super fancy eating this. Also, if I were a person who ever felt remorse over eating dessert– and I am not this person, but if I were– I would certainly not feel guilty over this delicious, light, sweet treat.
Totally joking about the “polite conversation,” which I’m sure some of my nearest and dearest already knew.
I’m younger than two here I think… but I’m as enormous as most two year-olds are, so let’s play pretend.
So guys… I totally missed my two-year blogaversary. I think I was maybe busy weeping over something not at all sad and fretting over something not at all important. Which, you know, is totally normal for me. Anyway, I’m also a little bit shocked that we’ve (and I mean it when I say “we” since this blog would be nothing without the kind words I’ve received from its readers) made it to the two-year mark, and I really can’t thank everyone enough who has read this blog, learned from it, commented on it, asked me about it and even just nodded and politely smiled when I mentioned it. It always warms my heart a little bit when someone mentions that I haven’t posted a new recipe in a while (Hi George! Thanks George!). It also kind of kicks my butt and reminds me to actually get to it.
I’d like to end this section with a little bit of sap, since we all know I’m dangerously and probably unhealthily obsessed with all things sugar. This blog has been with me through some very trying times, and in some way has pulled me through all of them. Originally I started this thinking that only maybe Sylvapotamus and my Dad would read this thing. Of course, I was wrong, in that while Sylvapotamus is a loyal reader, my Dad kind of hates my blog I think. But I’ve also reached other people, people who’ve found this thing all on their own and miraculously enjoyed it. Thank each and every one of you.
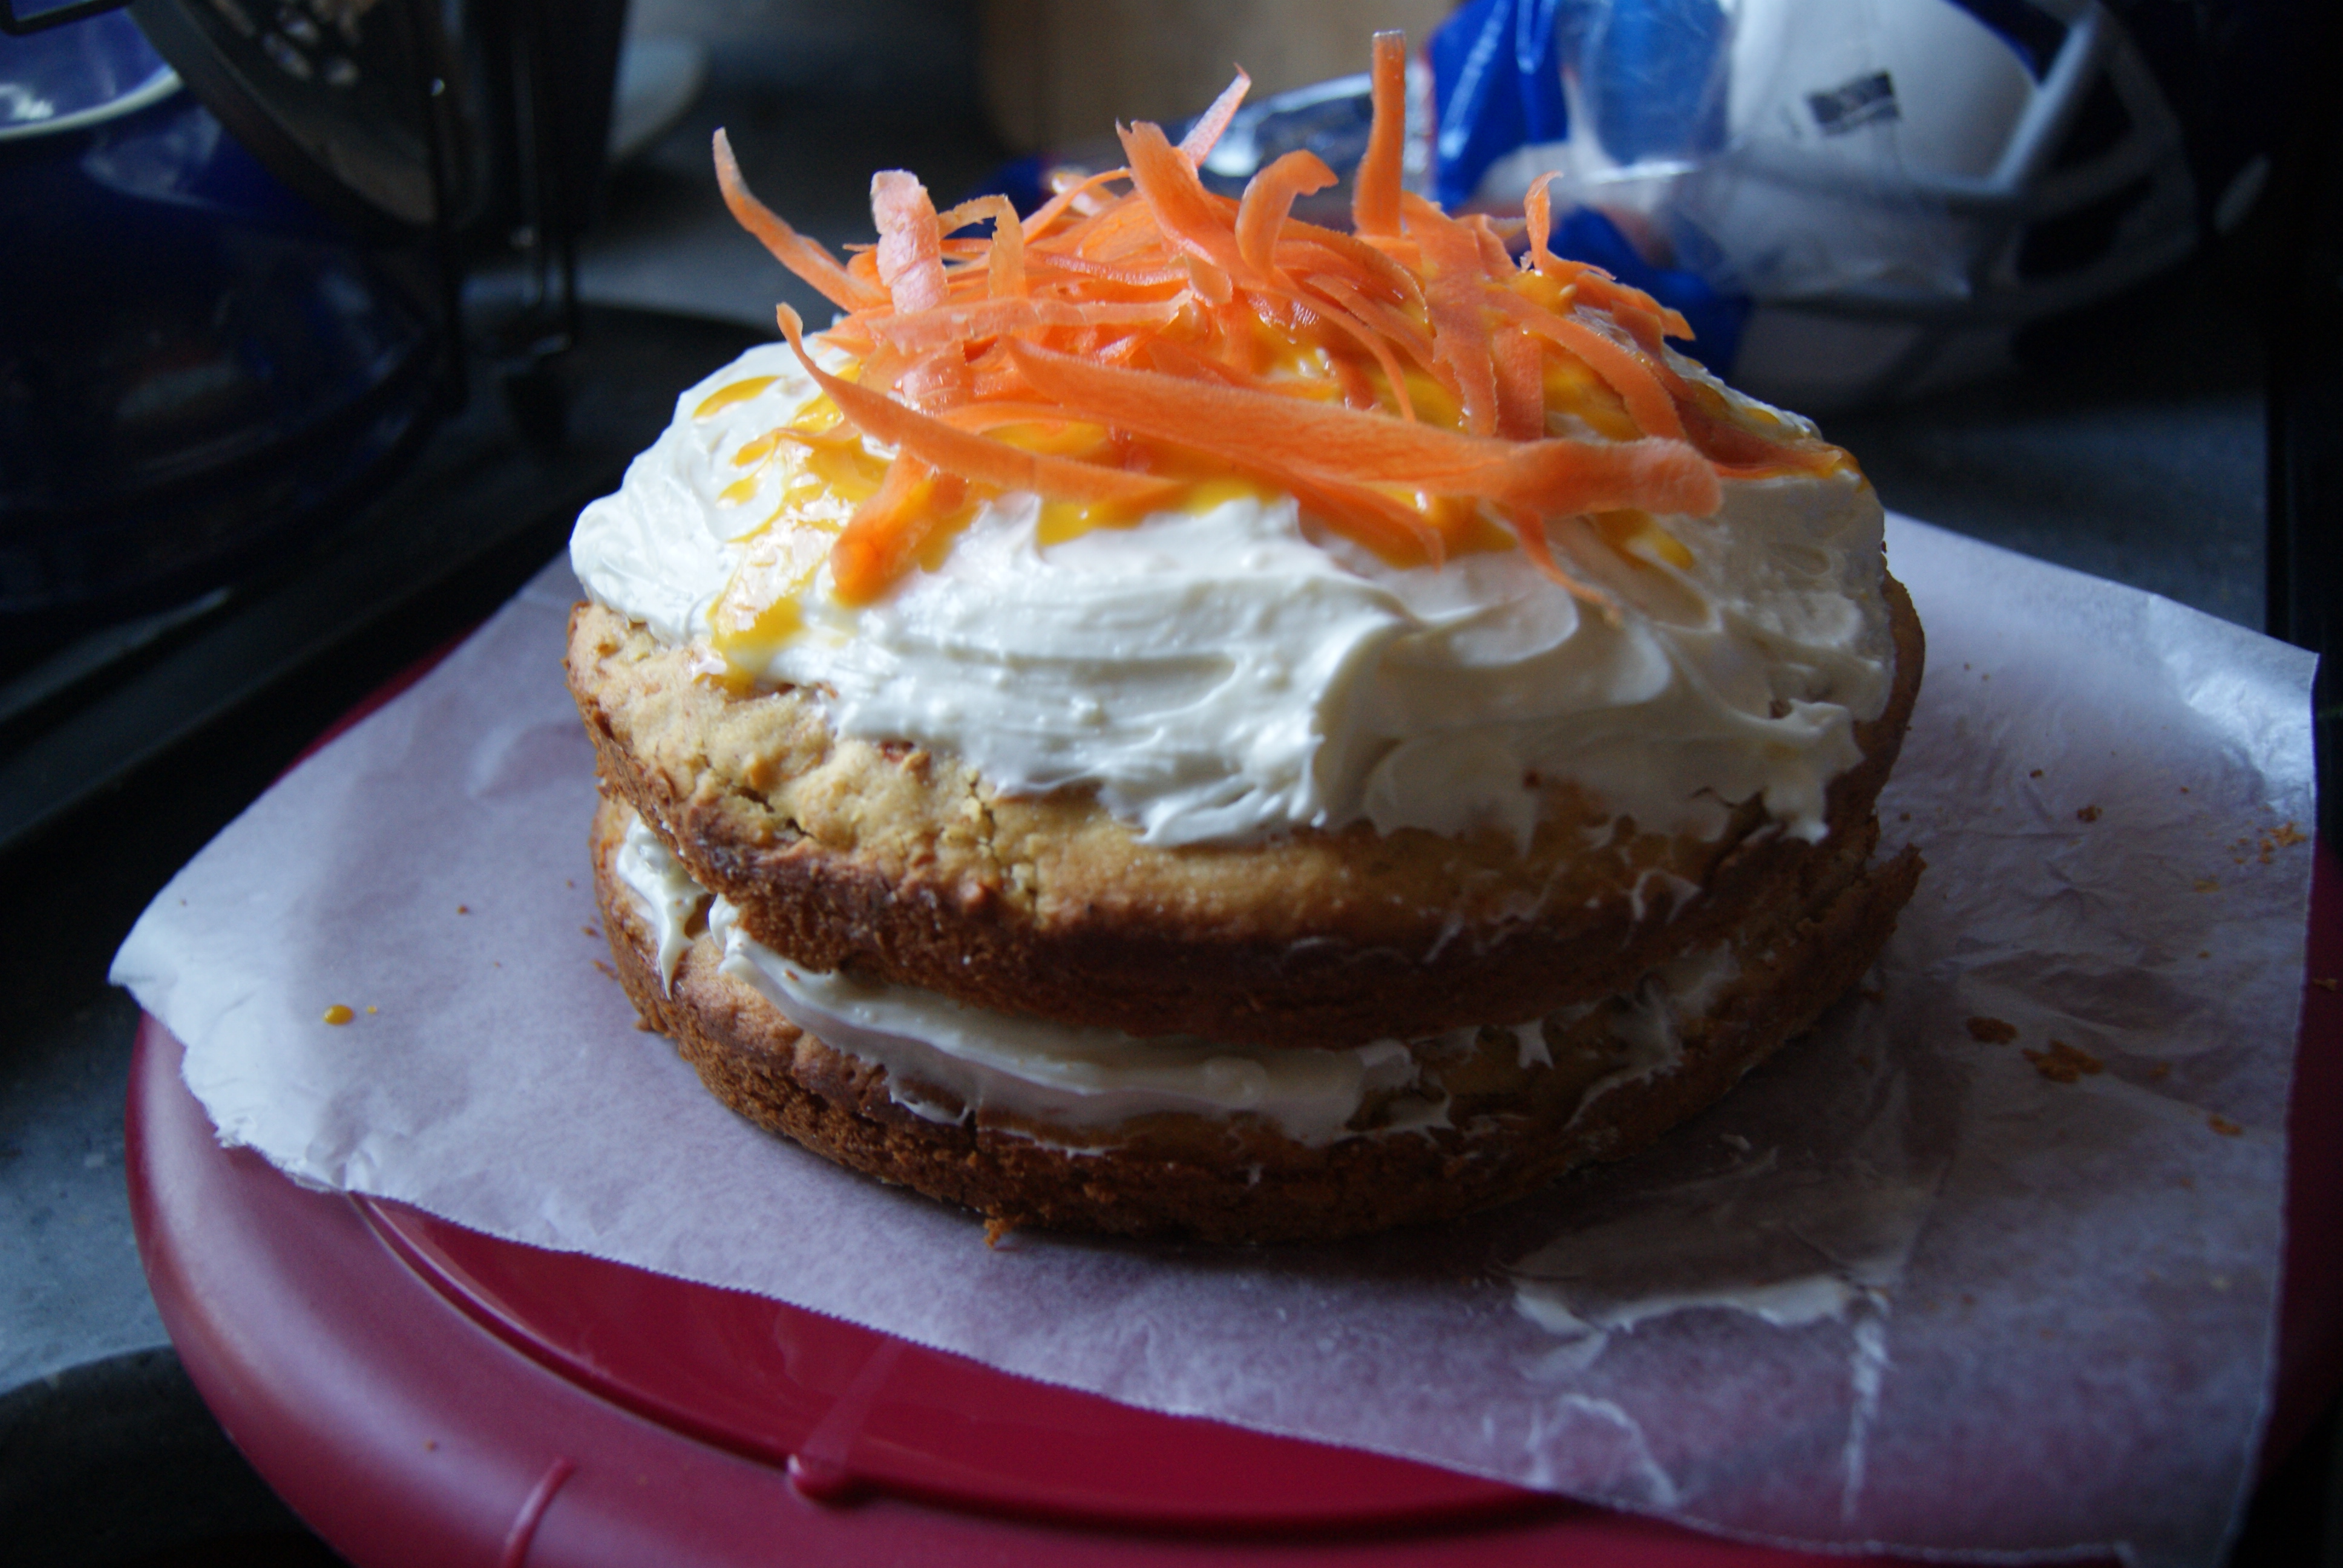
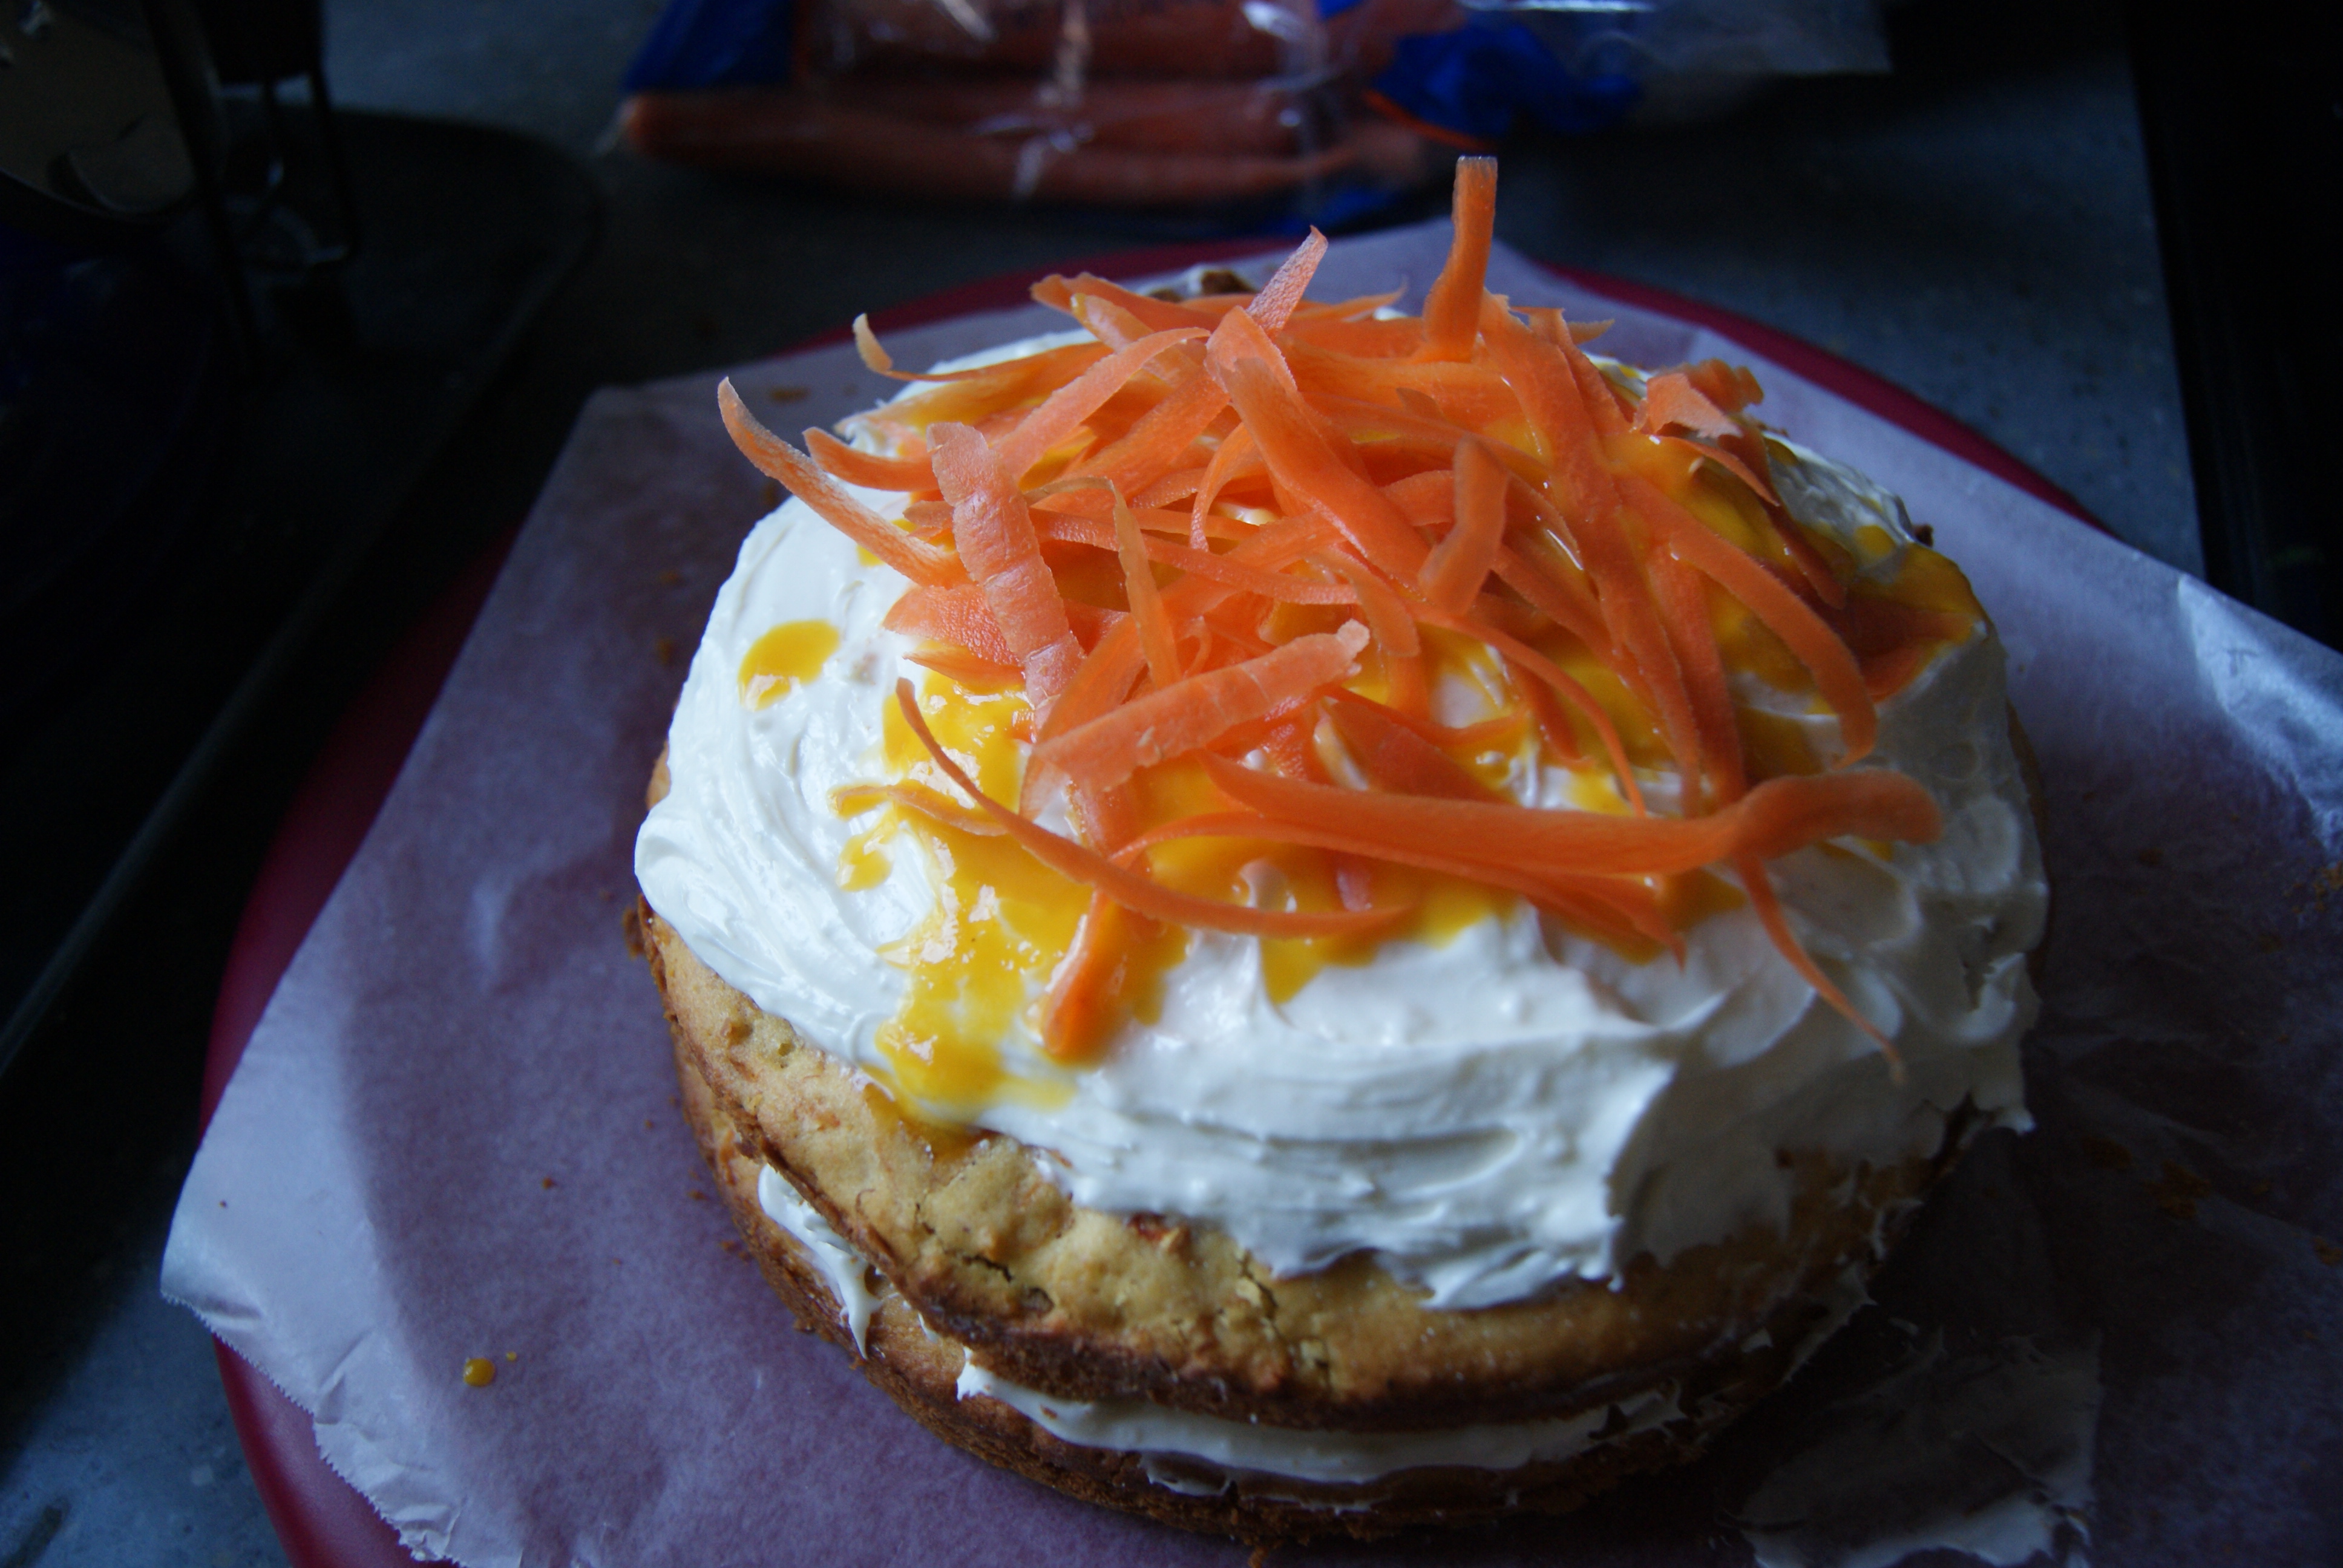
Okay now, let’s all dry our tears, cowboy up and get to it. The following recipe is one adapted from a recent issue of Better Homes and Gardens, which, truthfully, has bettered both my home and my windowsill (this is our garden for now, please don’t judge). Let’s talk about Mango Carrot Cake friends!
Mango Carrot Cake (makes one 2-layer cake)
For the cake
2 cups of all-purpose flour
1 tablespoon of baking powder
1/4 teaspoon of ground nutmeg, optional
1 stick of butter, softened
1 cup of granulated sugar
2 eggs
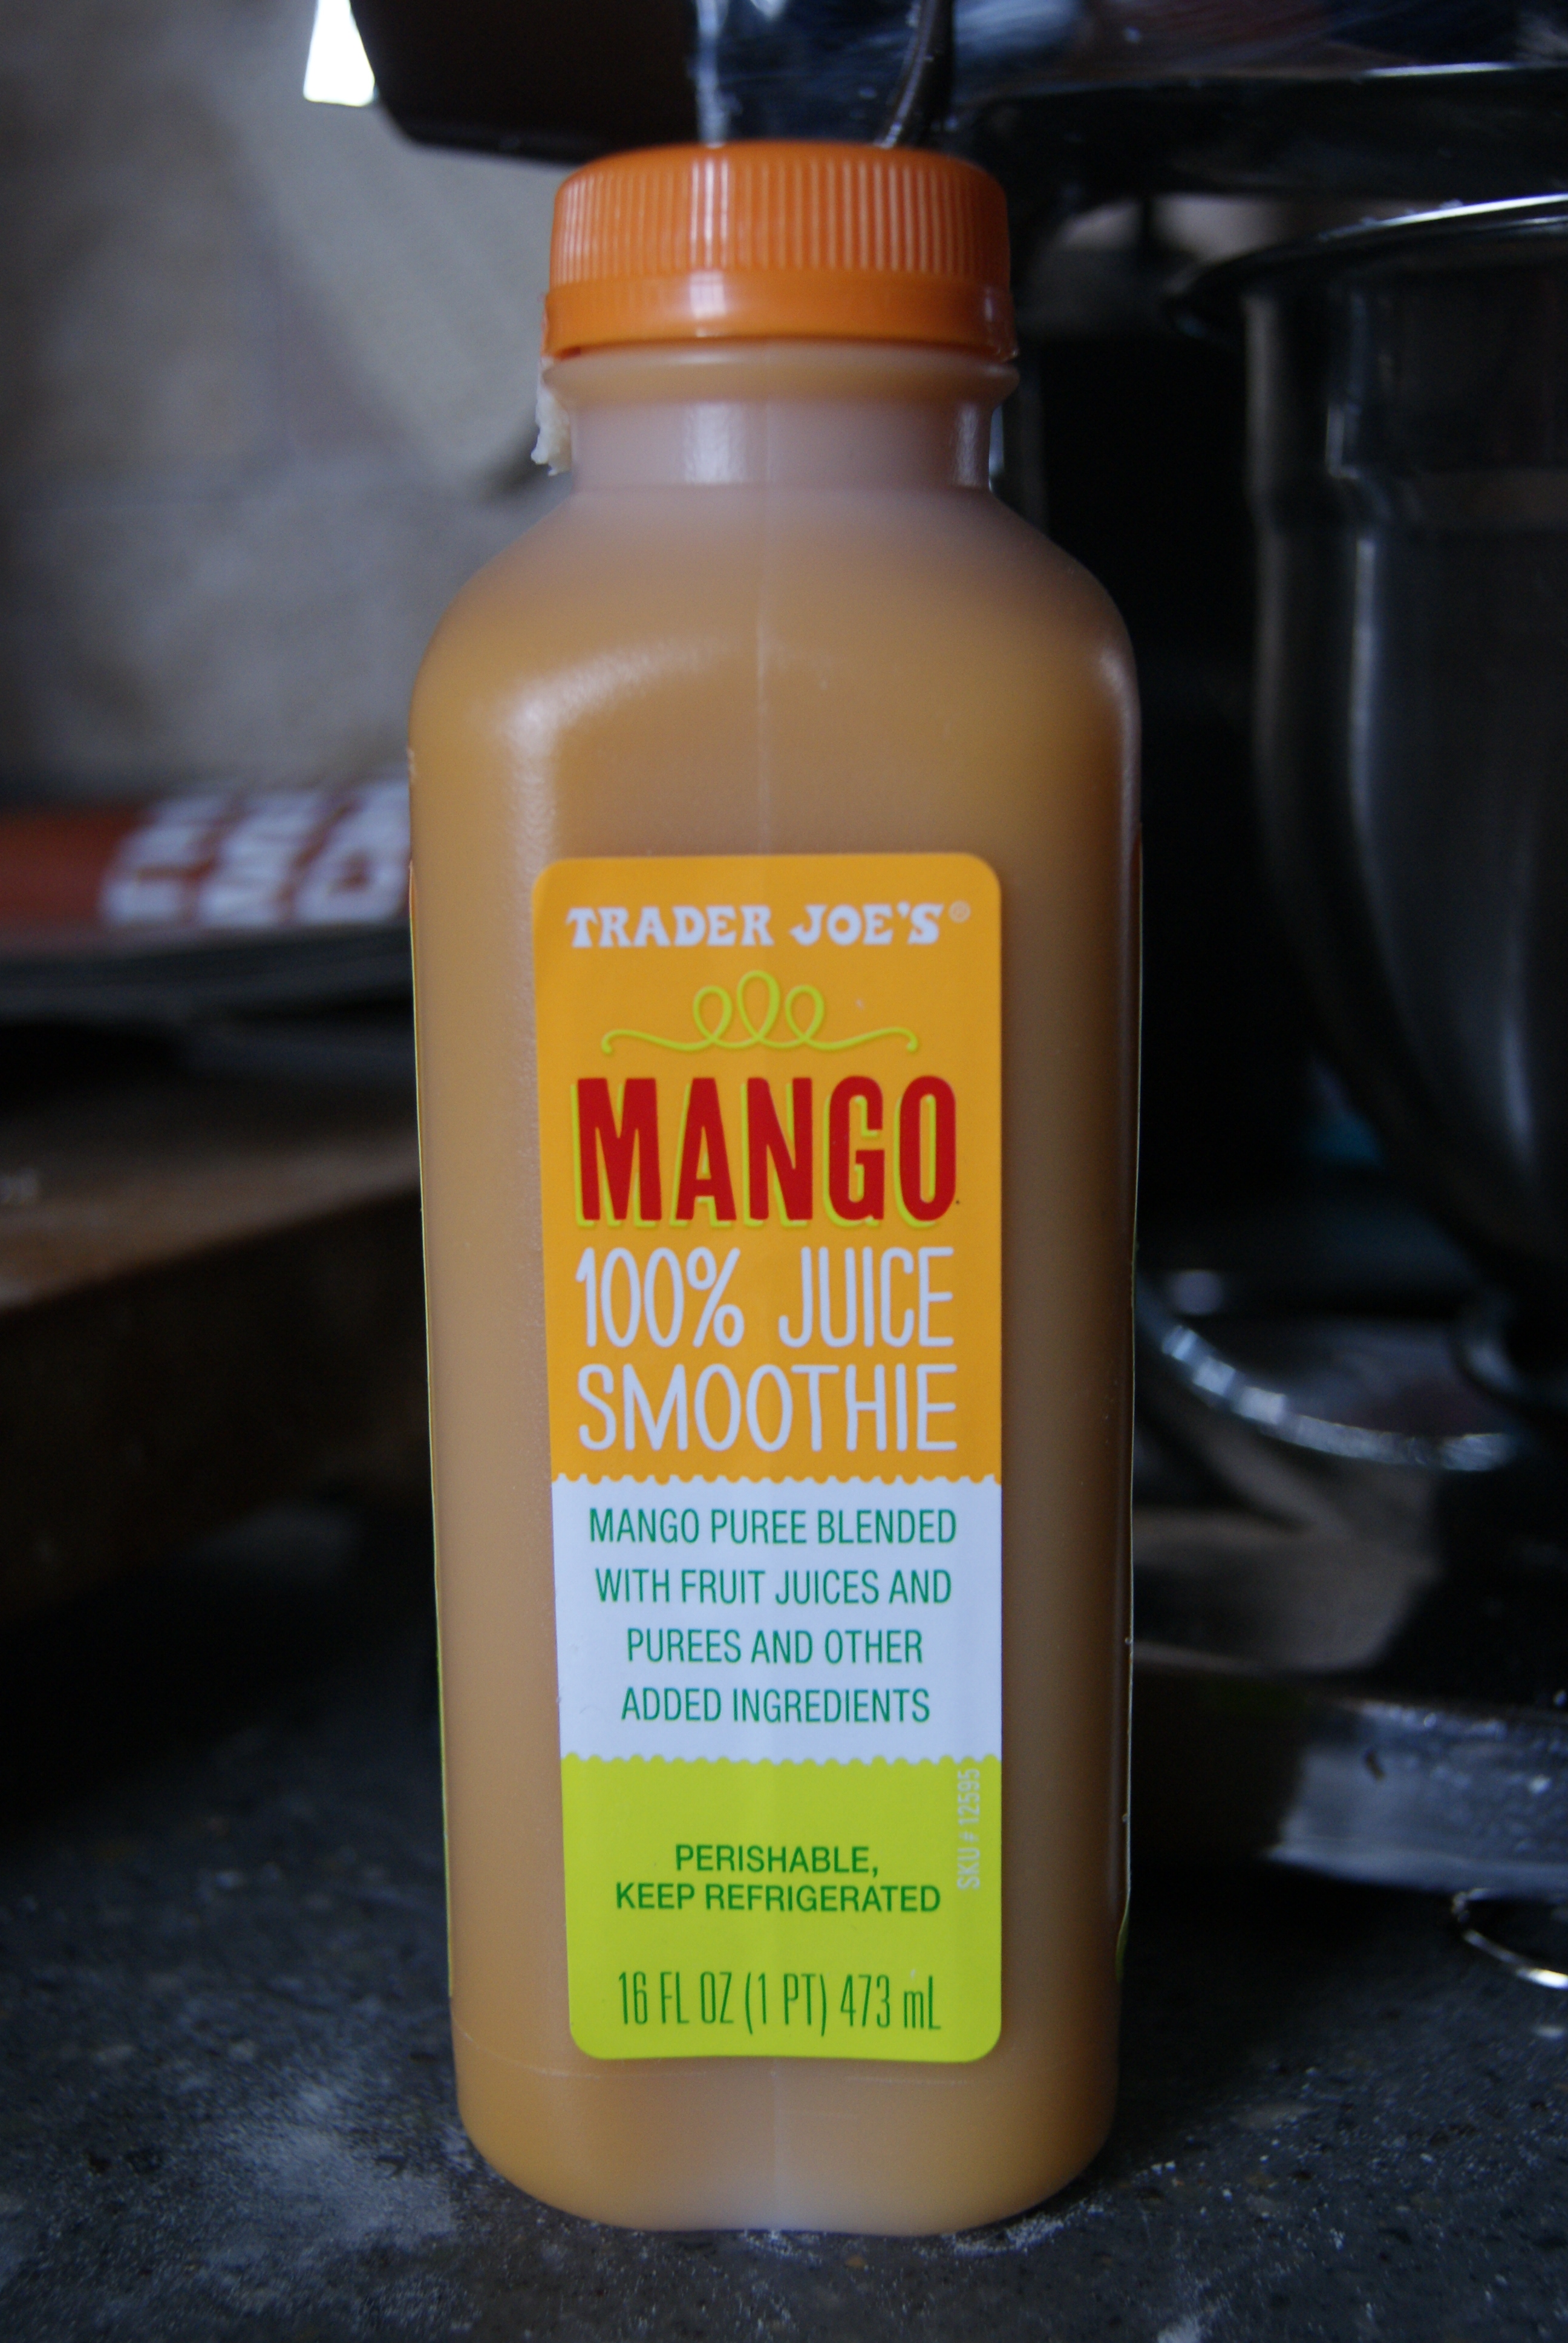
3/4 cup of refrigerated mango juice blend (I used this ridiculously good Trader Joe’s blend, but you can really use any kind you like)
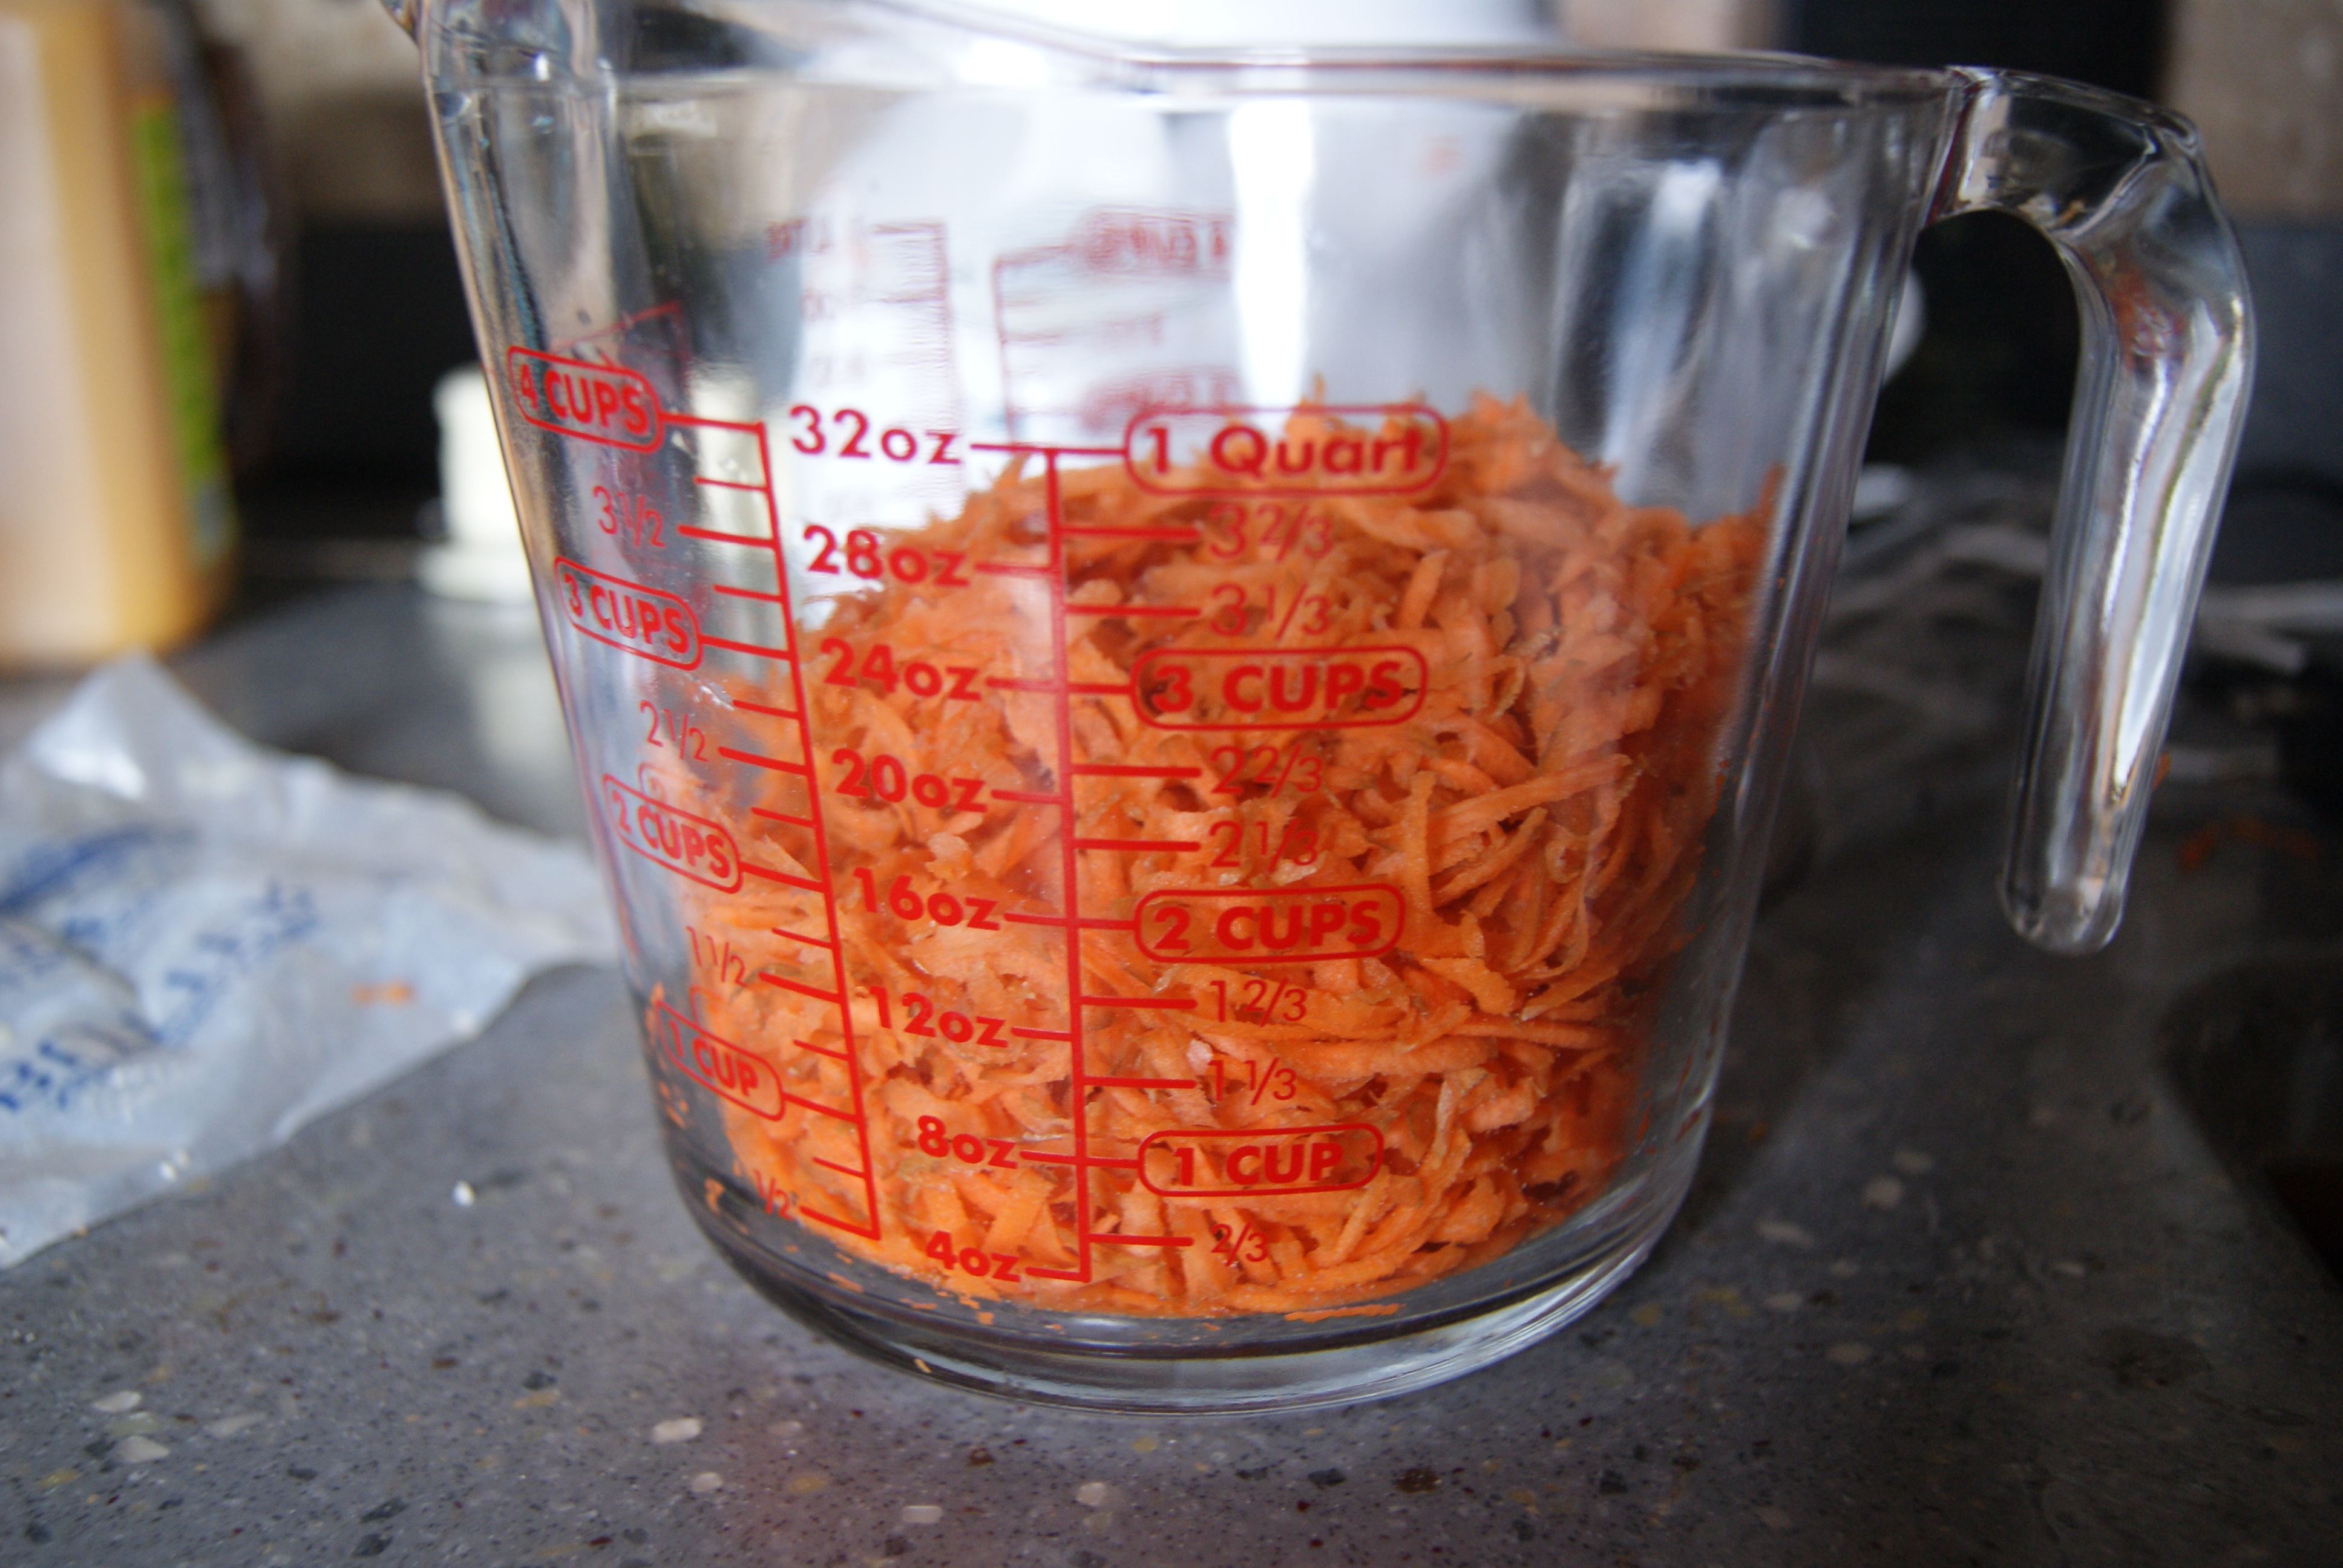
3 cups of shredded carrot (about 3 to 4 large carrots)
For the frosting
1 8-ounce package of cream cheese or Neufchâtel cheese
1/2 stick of butter
2 cups of confectioner’s sugar
For the fancy carrot ribbons
1 large carrot
1 bowl ice water
Preheat your oven to 350°F and butter and flour two 8-inch round cake pans.
In a medium-sized bowl, sift together flour, baking powder and nutmeg (if using), and set aside. In the bowl of a stand mixer, or using a hand mixer, beat butter on high until fluffy, then gradually add in sugar until combined. With the mixer still going, on medium speed, add in eggs one at a time, until fully incorporated.
I must promote this stuff, because it is ridiculous and I’m praying someone sends me some.
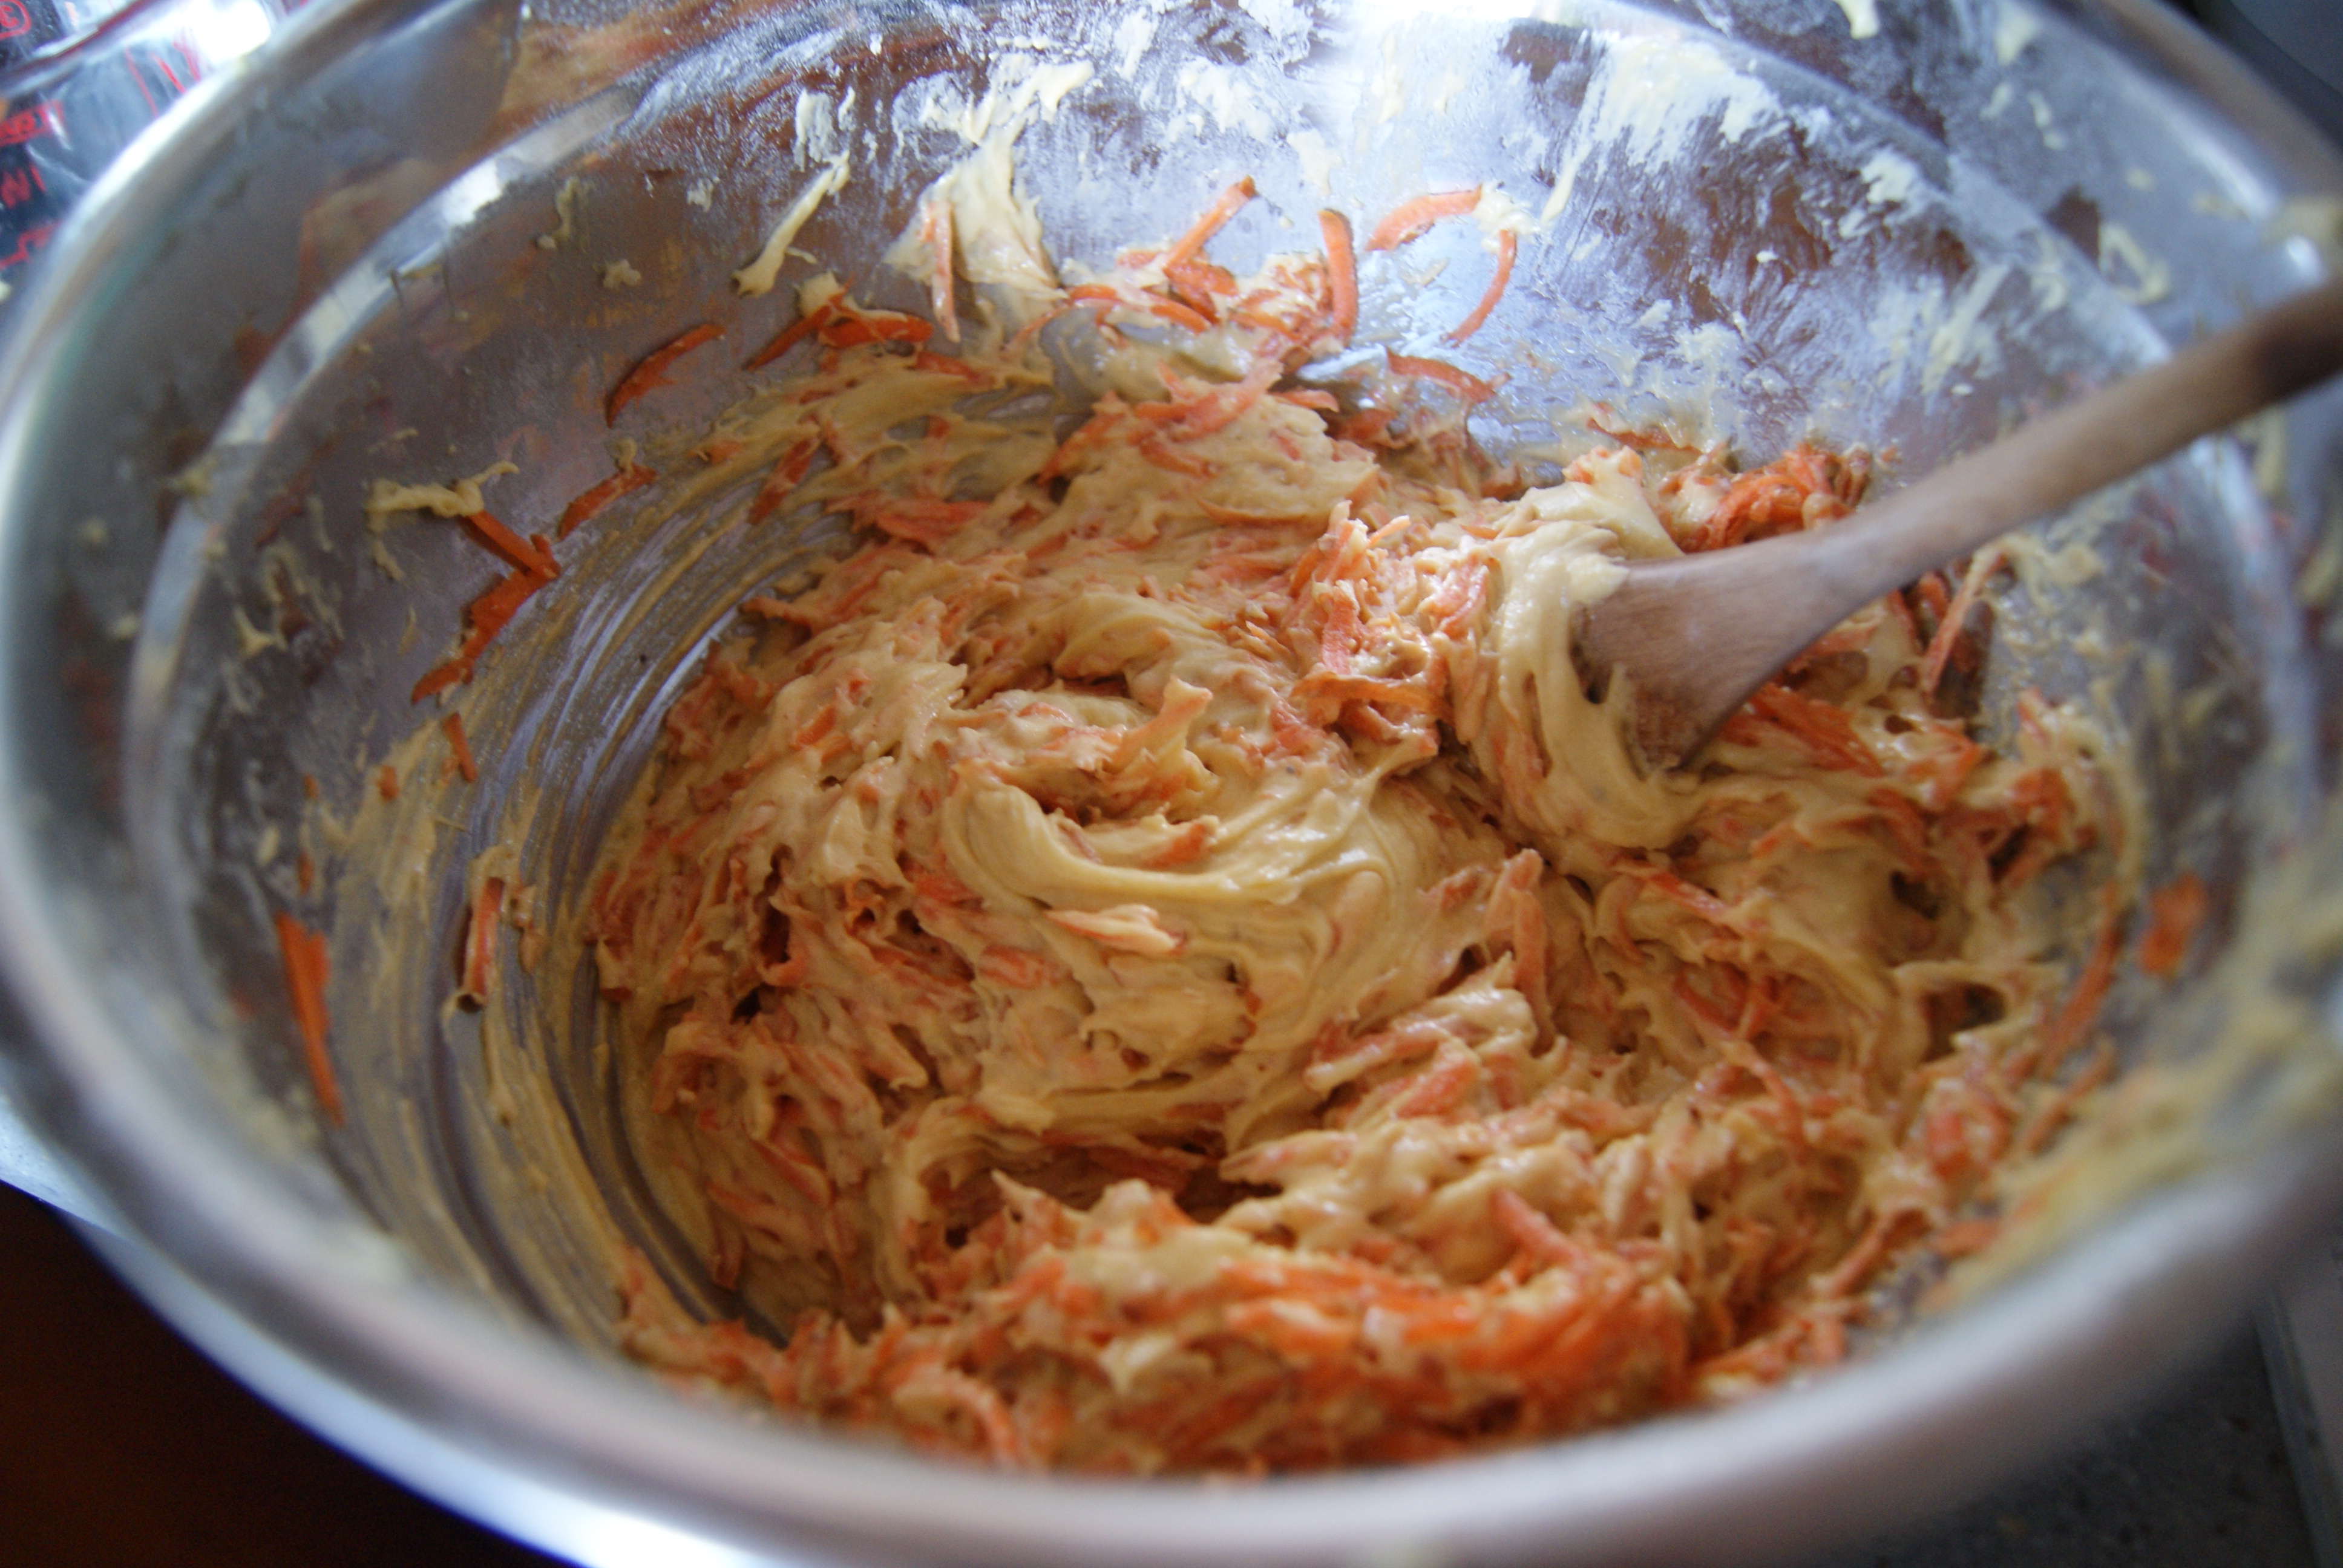
Now, alternate between adding the flour mixture and the mango juice into the butter/egg/sugar mixture, beginning and ending with the flour, just until everything is combined. Take it slow, young Jedis. Do NOT over-mix this batter. Fold in your shredded carrots, and divide this thing between your two cake pans.
Send into the oven for 25 minutes, until the tops are golden and a toothpick inserted into the center of the cake comes out with just a few crumbs sticking to it. Let cool in pans for 10 minutes, then remove from pans and cool completely.
Now, let’s work on that frosting, which is super easy, by the way. In the bowl of your stand mixer, beat cream cheese until fluffy, then mix in butter until combined, then slowly add in confectioner’s sugar until the consistency and taste is exactly how you want it. The end! Wait…not the end… using a rubber spatula, evenly and generously spread over the top of one cake. Then, place other cake on top of this one and enjoy your cake sandwich. No, spread more frosting on top of this cake, and then you can enjoy your cake sandwich.
Now, if you’d like to get super fancy with this thang (and I did since this was an Easter dessert), make some carrot ribbons. Using a vegetable peeler, peel off strands of one carrot, then place in a bowl of ice water for 30 minutes. Drain and dry these completely, then add to the top of your cake and you will have…
YUM-NESS. The mango juice adds just the right amount of sweetness while keeping the cake nice and moist. It’s certainly very, very different from your traditional carrot cake, but a must-do if you’re looking to try something new, fun and fancy. Me likey all these things.
So I’m writing this in kind of a grumpy mood. Selfishly, I’m hoping that writing (which I love) about baking (which I also love) will cure my blues. Sorry, world. Please accept my apologies for the emotion that is about to follow. Also, if any of you deem this to be “too real,” I invite you to please scroll down to the pictures and recipe. Those will kind of rock your world.
Now, as for the rest of you, boy are you brave.
Okay, yes, I have been feeling quite down lately. That most hated tradition I mentioned? That would be my now-apparently-annual trip to the emergency room. I obviously haven’t croaked or anything, so I’m fine in that respect. But, this year’s trip meant crying alone in an unfamiliar place while hooked up to an IV, flying high on morphine and asking everyone around me who this Dr. Unna-sing whose name was emblazoned across my ID bracelet was (I later came to find out it said “Dr. Unassigned” which should give you some indication of how rough an experience that really was for me). Fortunately, a follow-up appointment and minor procedure revealed all to be well. If anything, I think the “minor procedure” may have made my boyfriend’s week, as it produced a few mortifying pictures and videos of me lying on an examination table and muttering like a blithering fool due to the amount of anesthesia I’d been given. Life. Life is…life.
All of this is addition to the incredibly long, tortuously drawn-out existential crisis I’ve been having. Perhaps you can help me with the following:
Can you pay my bills? Can you pay my telephone bills? Can you pay my hospital bills? Can you pay my Con Edison bills? (I did decide to customize the lyrics, yes)
When did my life become Mean Girls? Am I the Tina Fey character or the Lindsay Lohan one? Please say I’m the Tina Fey one? 😦
Stamos, dare I bow down to you now? Will that simple act end all of this tragedy?
This is here to reward you for reading all of that. Thank you. Bless you.
Well, I truly do hope someone swings by to answer at least one of the above questions, because I have a case of the sads, and the only cure is answers. Oh…wait…answers…and cake. Chocolate Mousse Crepe Cake, to be very specific. Set aside a few hours and wear the ugliest smock you own for this thing. It will all be worth the mess (Note: this is the same thing I tell my soul).
Oh, I played around with this recipe a lot, and adapted from here, here and here. Mostly. Kind of. You want to just do this thing?
(Also, a slight warning: the mousse in this cake contains raw egg. The yolk, as you’ll see, does become heated during the cooking process, but the whites do not, which means there is a very slight salmonella risk. Since I am apparently attracted to hospitals these days, I was willing to take the risk.)
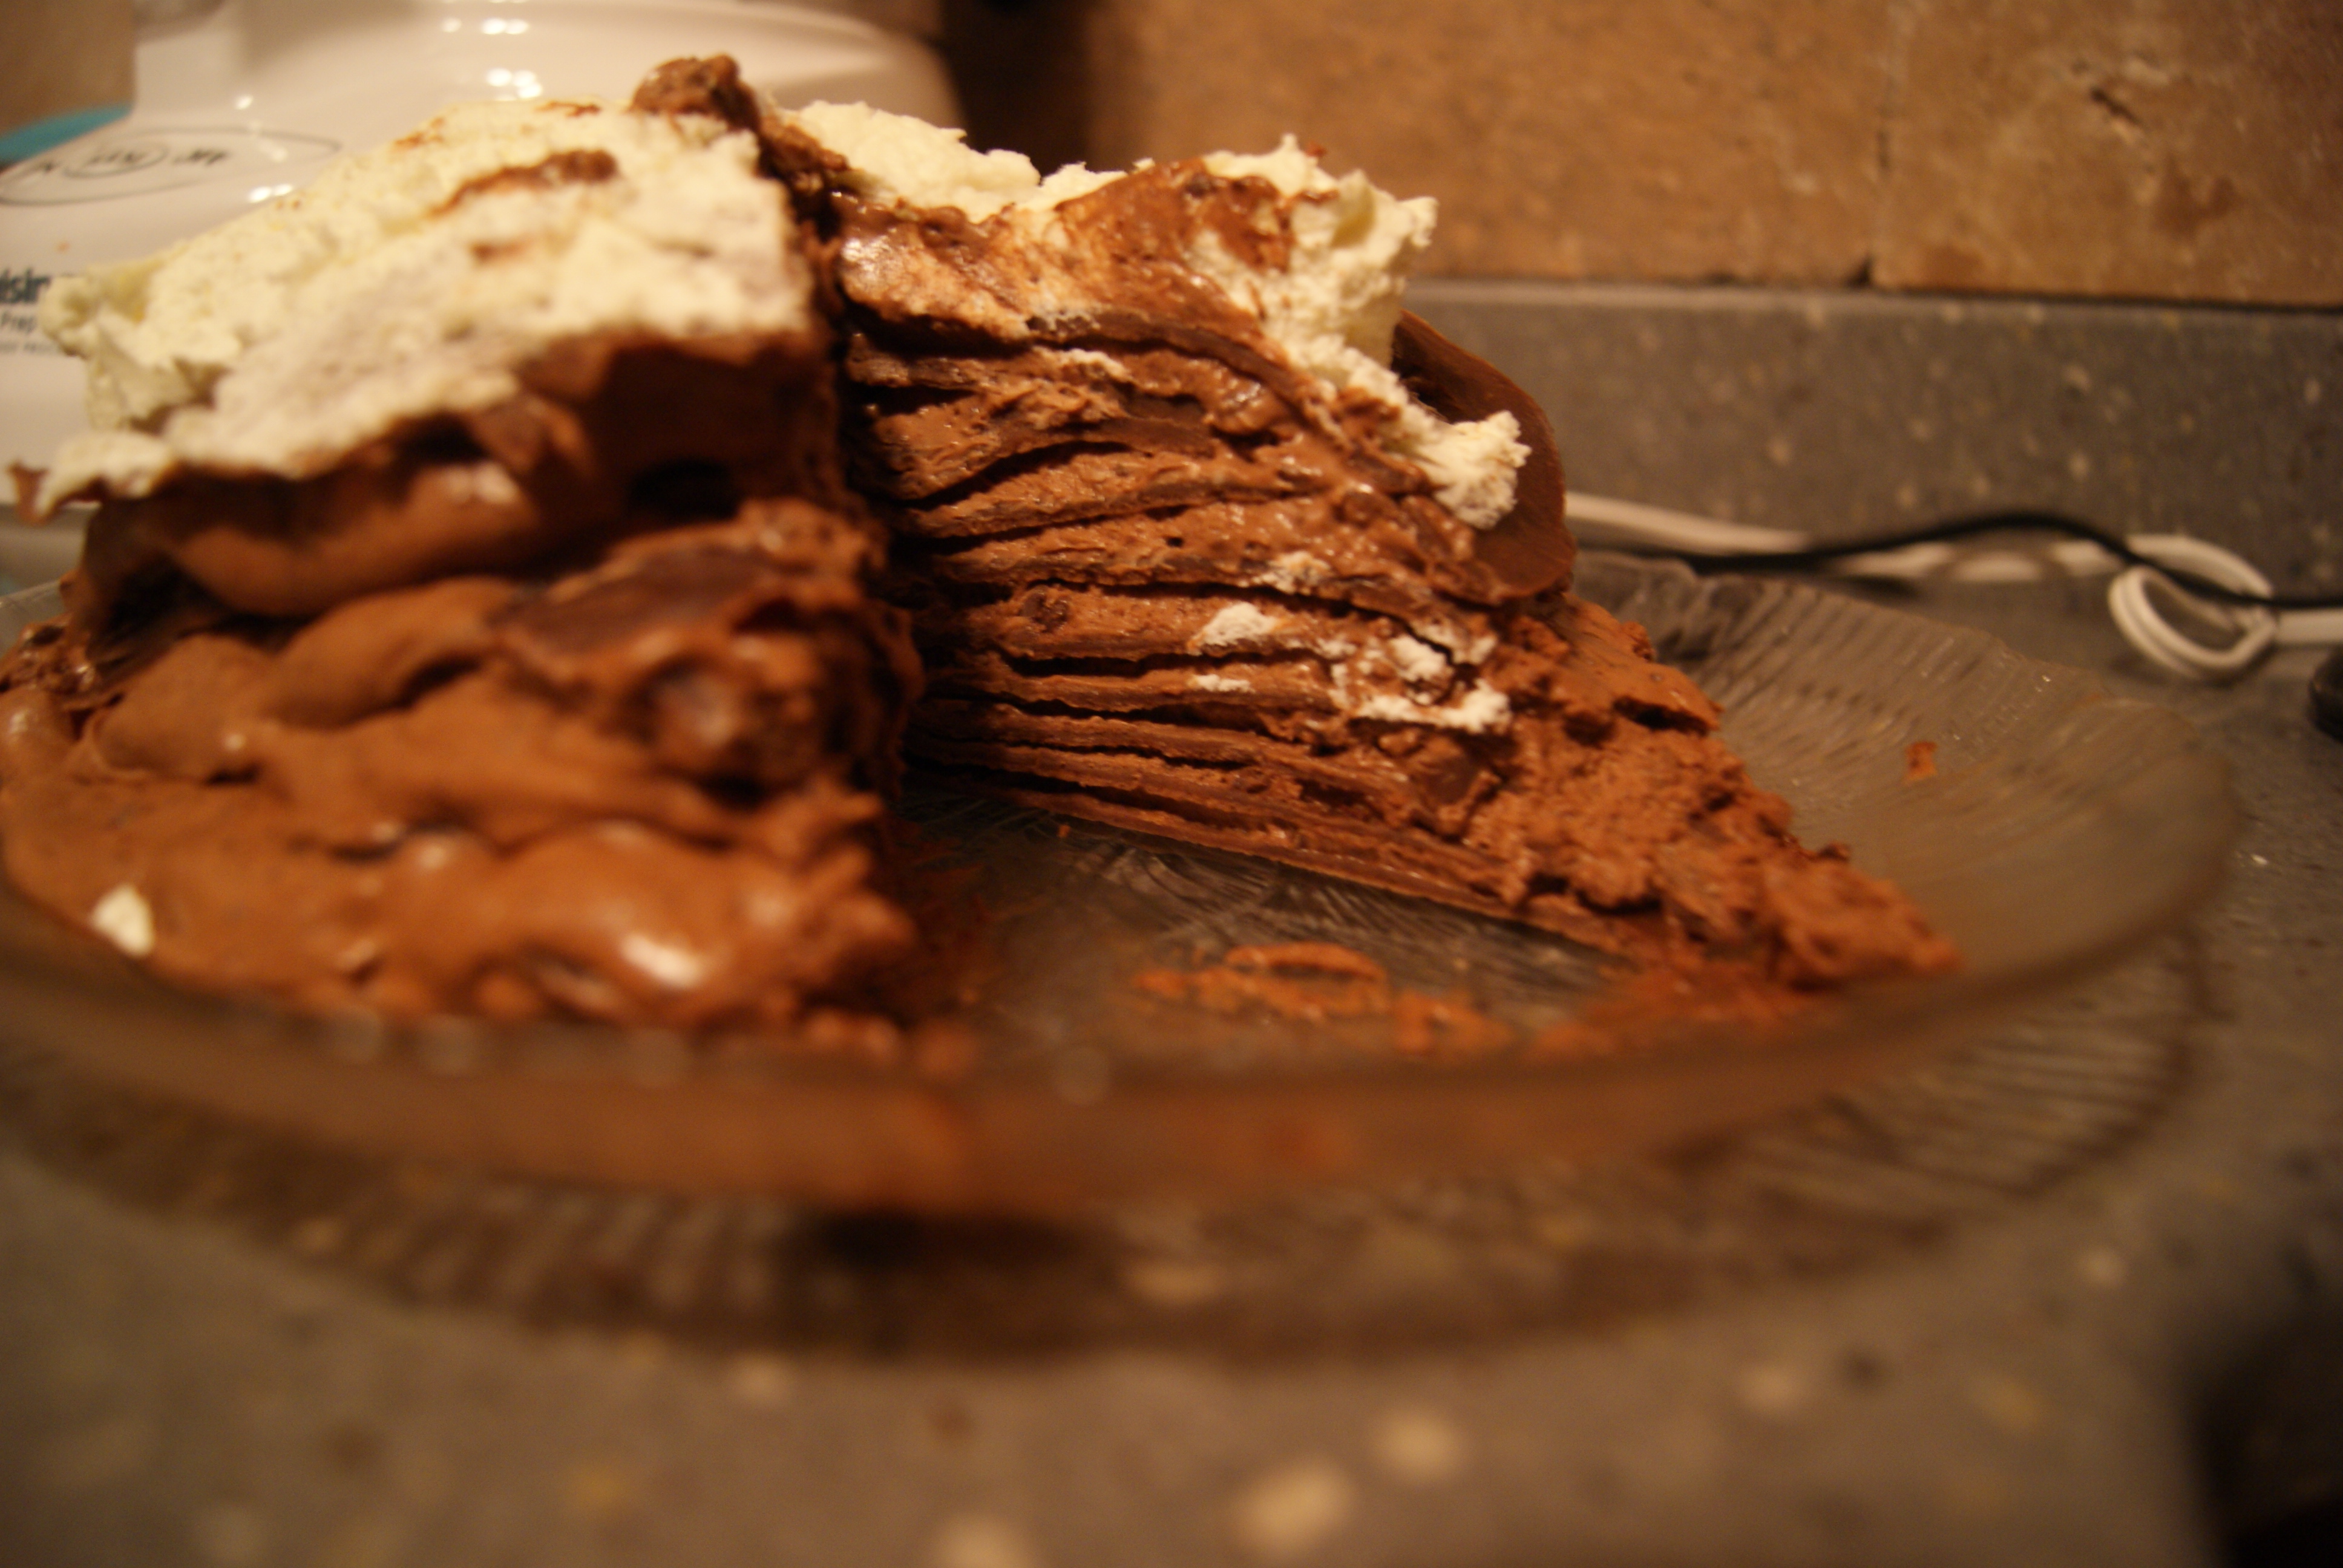
Chocolate Mousse Crepe Cake (makes one crazy-looking, 10-layer monstrosity)
For the crepes (makes 10)
1 1/2 cups of milk (I used skim)
3 large eggs
3 tablespoons of water, room temperature
2 tablespoons of canola oil
1 1/2 teaspoons of vanilla extract
1 1/2 cups of flour
1/4 cup of granulated sugar
1/4 cup of cocoa powder
1/8 teaspoon of salt
For the chocolate mousse (makes 4 heaping servings or more than enough to fill this monstrosity)
6 ounces of semisweet chocolate, chopped (I used chocolate chips)
3 tablespoons of butter
3 eggs, separated
1/4 cup plus two tablespoons of granulated sugar
1/2 cup of cold heavy cream
1/2 teaspoon of vanilla extract
Let’s roll, friends.
To begin, place all of the ingredients for your crepe batter into a blender and process until completely smooth. Refrigerate batter for at least an hour, and no more than three hours.
While the batter cools and firms up, we can work on our chocolate mousse. For the mousse, place the chopped chocolate and butter in a glass bowl and set it over a pot of simmering water. Stir with a wooden spoon until melted and smooth. Remove the mixture from heat and allow to cool slightly, then stir in egg yolks, one at a time, until fully incorporated, and set aside.
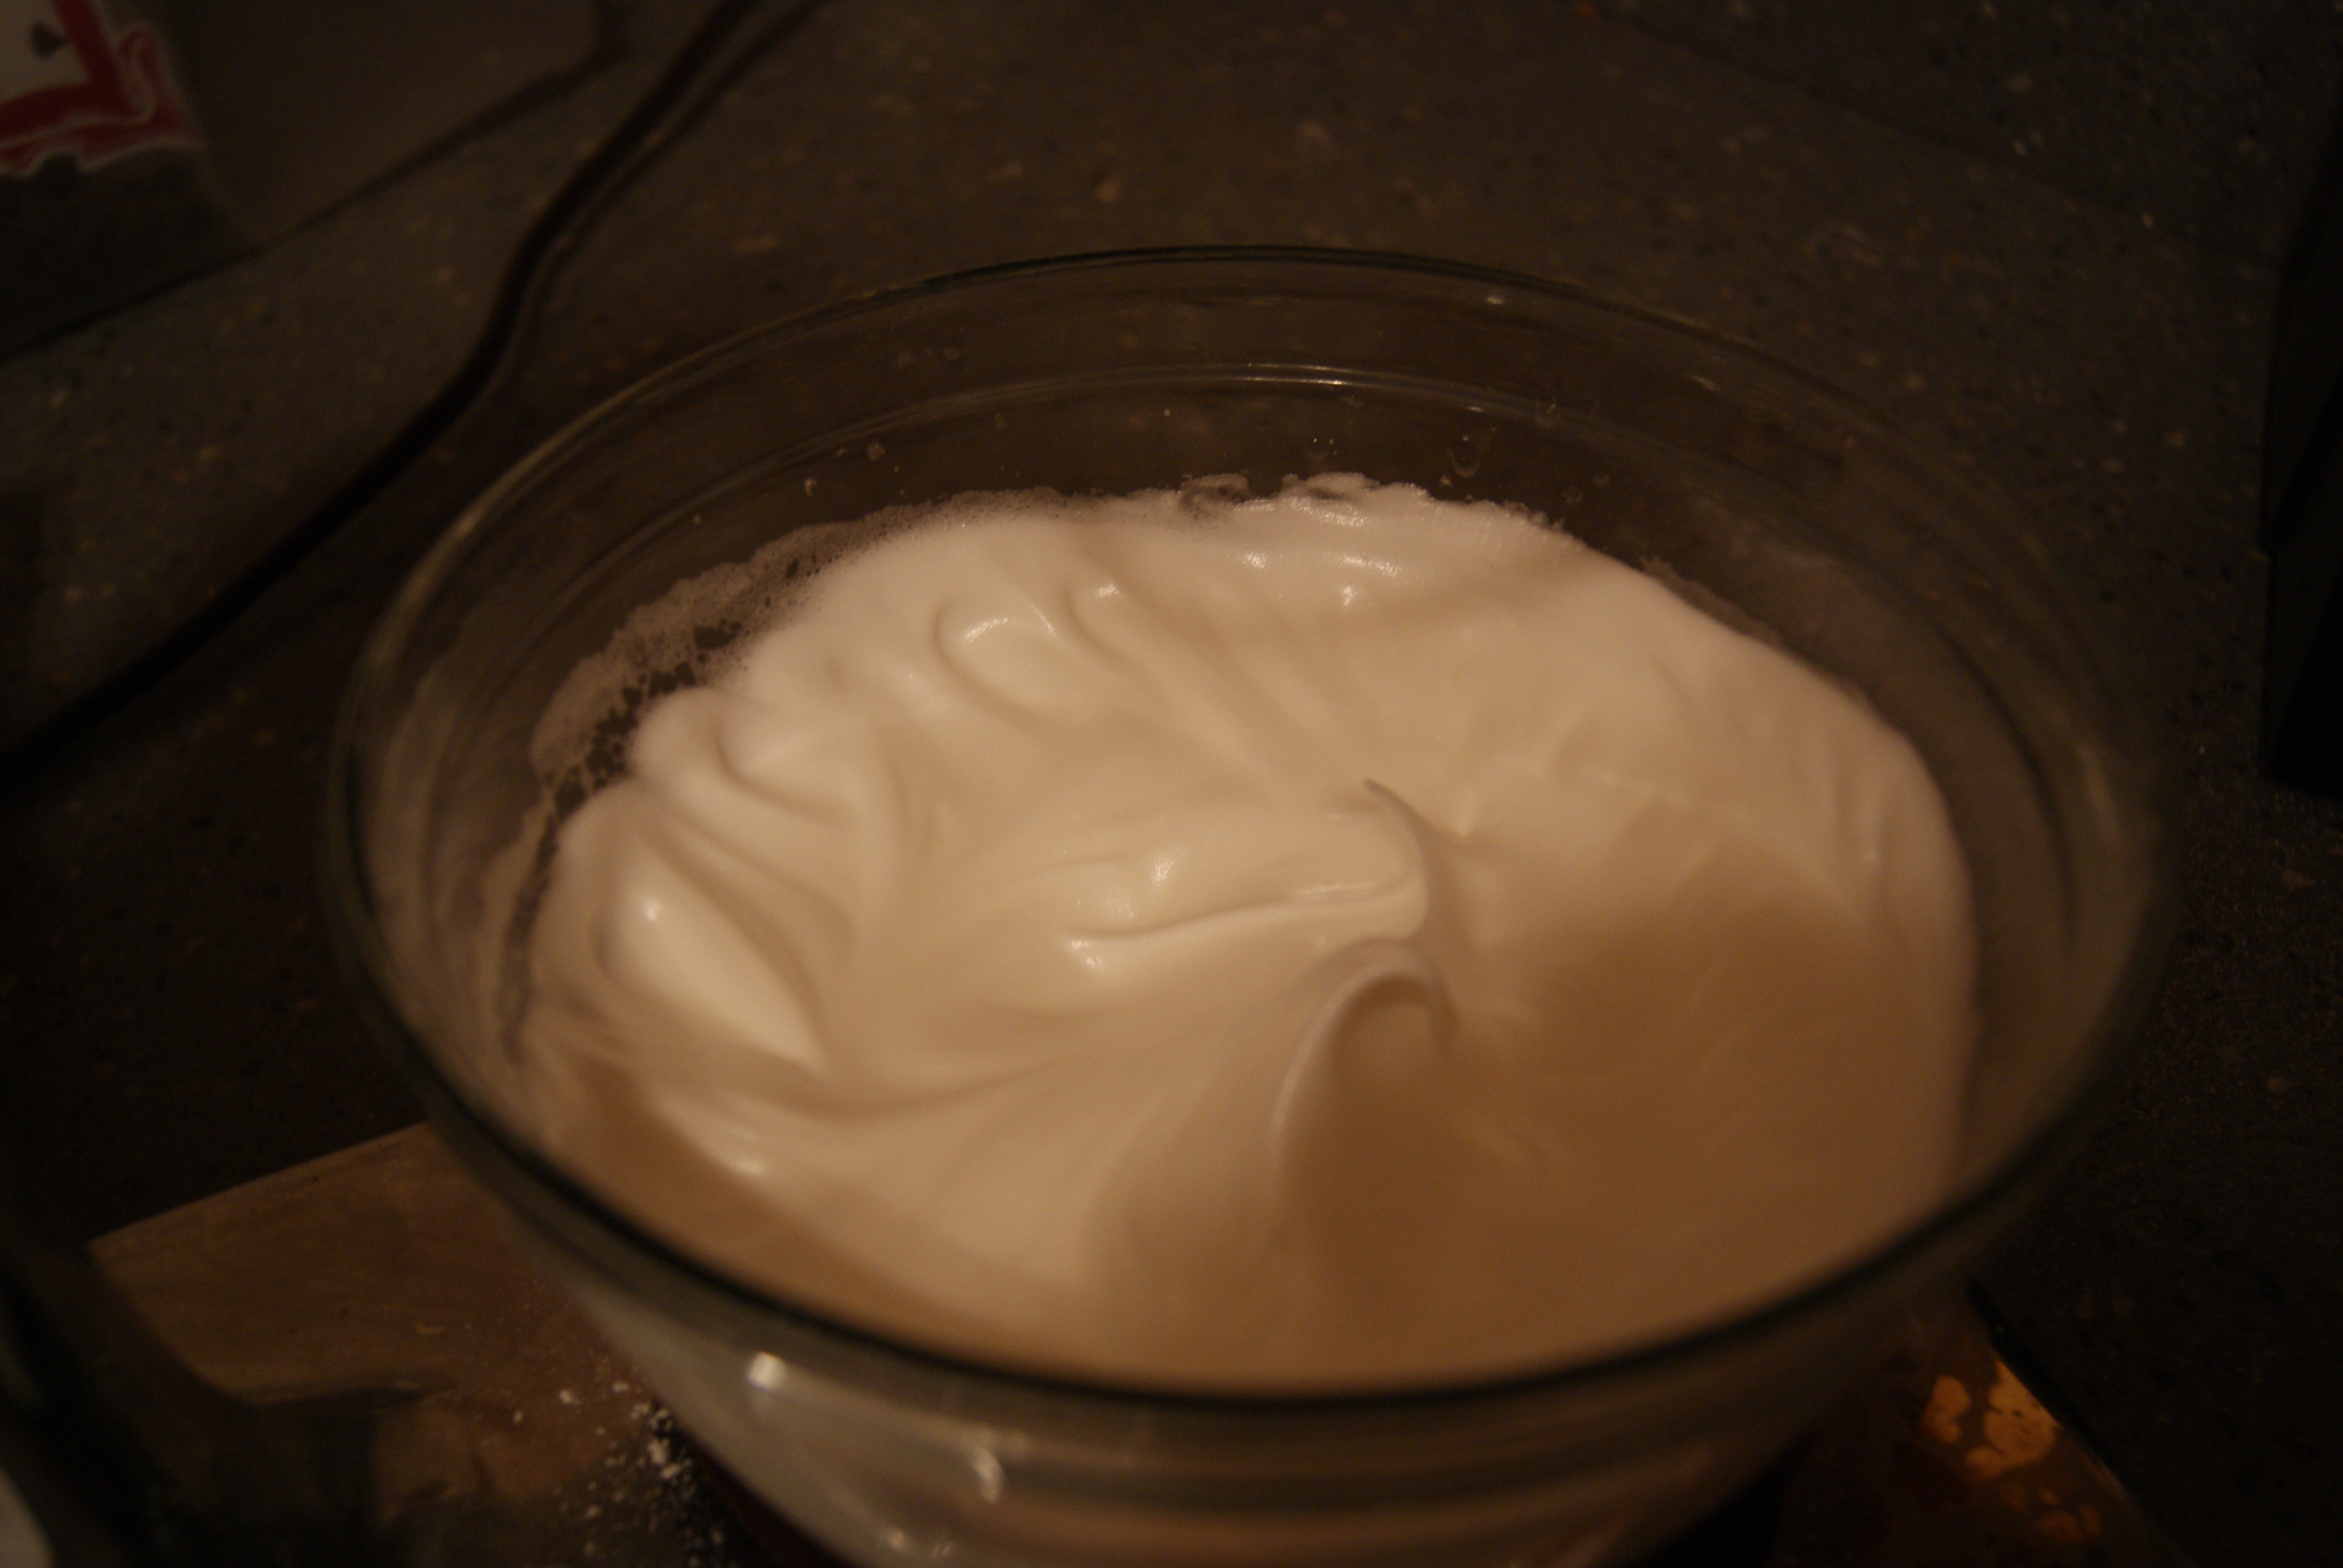
In a separate bowl, beat egg whites using a hand or stand mixer until foamy. Gradually add in 1/4 cup of the sugar and keep beating until stiff peaks form. The peaks should basically be so stiff that you can turn the bowl upside down without worrying about any of the whites spilling out. This takes time. Please don’t do what did and try to show off by flipping the bowl over too soon. Confidence is always key, over-confidence is foolish and humiliating.
And now (yep, lotsa bowls, hope you have a dishwasher or love the smell of Dawn dish soap on your dainty hands) in a chilled bowl, whip the heavy cream until it begins to thicken. Add in the remaining 2 tablespoons of sugar and vanilla, and beat until the cream forms soft peaks.
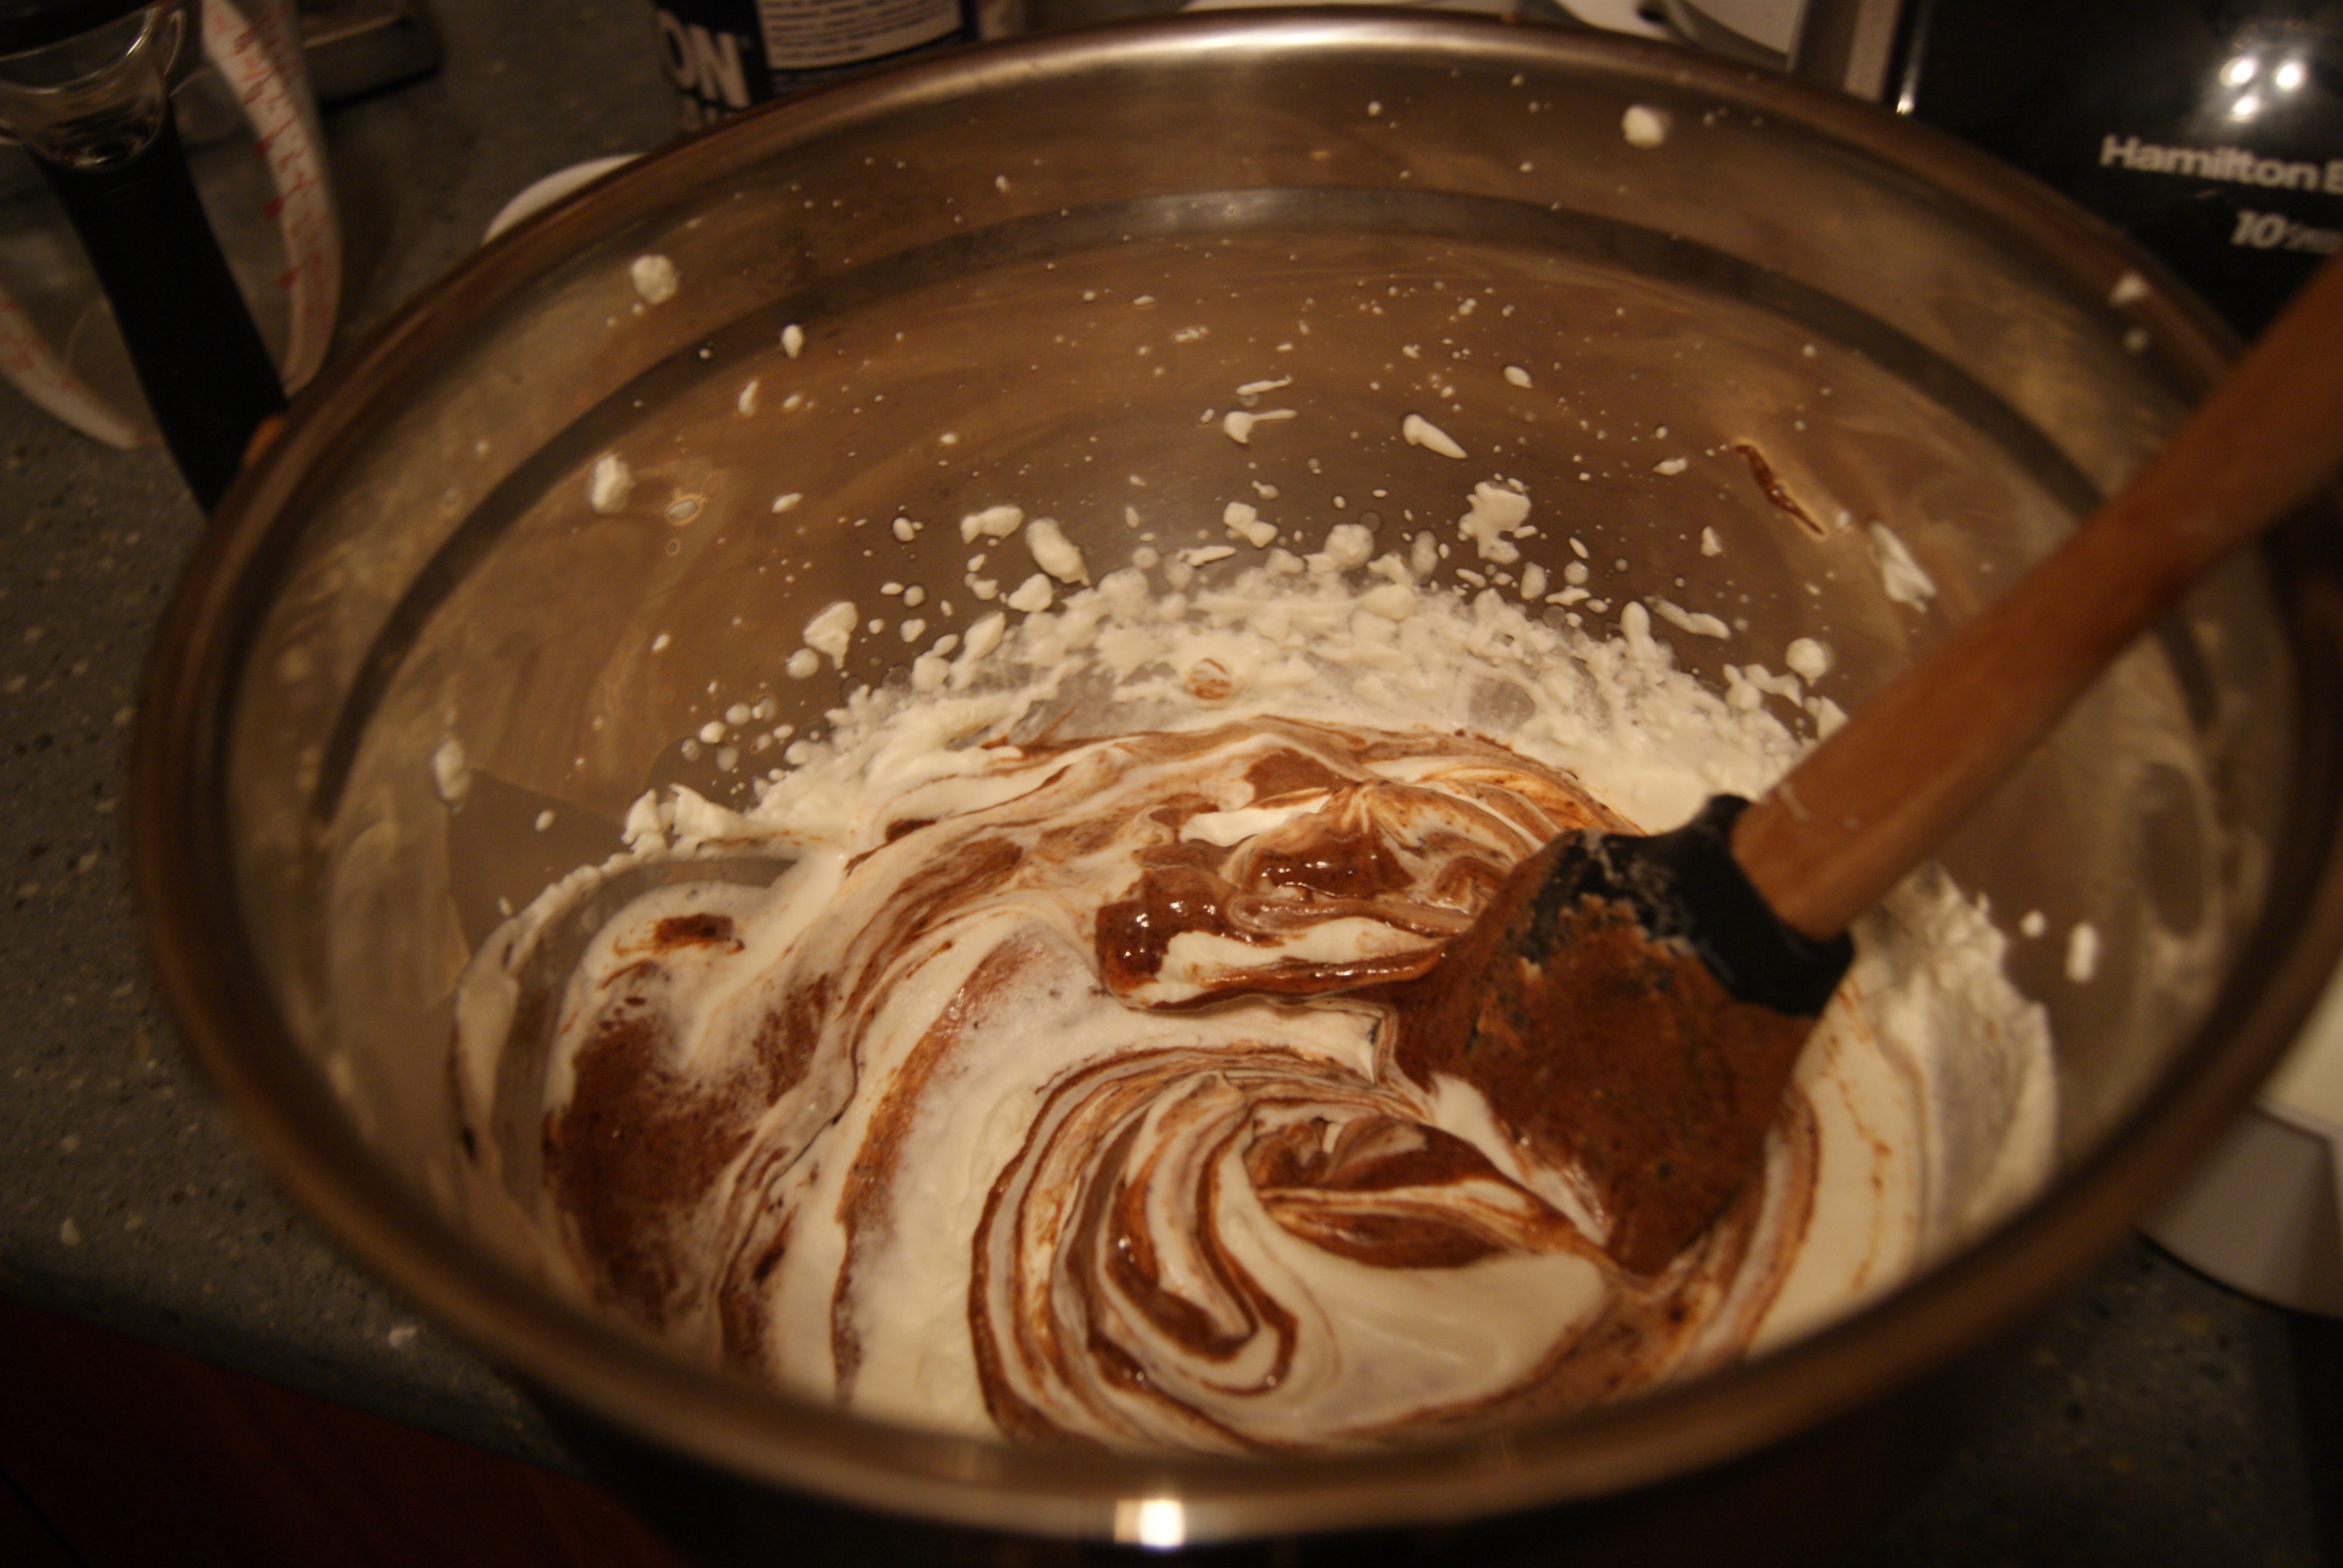
Gently fold the egg white mixture into the chocolate mixture, then carefully fold this into the whipped cream. Don’t overwork the mixture, as it will start to become heavy and soupy.
Cover your perfect, light mousse and refrigerate until ready to use.
Let’s now move back to the crepes. I should tell you all that I’ve made regular crepes for breakfast on several Saturday mornings, and have, without fail, screwed up at least the very first couple of crepes. I believe my issue is extreme impatience. I never wait for the pan to get hot enough before pouring the batter in. So, you know, not being me is key.
Now, heat a lightly-greased 8-inch crepe skillet/regular skillet. Then pour two tablespoons of crepe batter into the pan and swirl around until the batter looks paper-thin. When the top looks dry, flip and cook for another 20-30 seconds. Repeat these steps with the remaining batter (greasing the pan again if necessary). Allow to cool completely.
YUM.
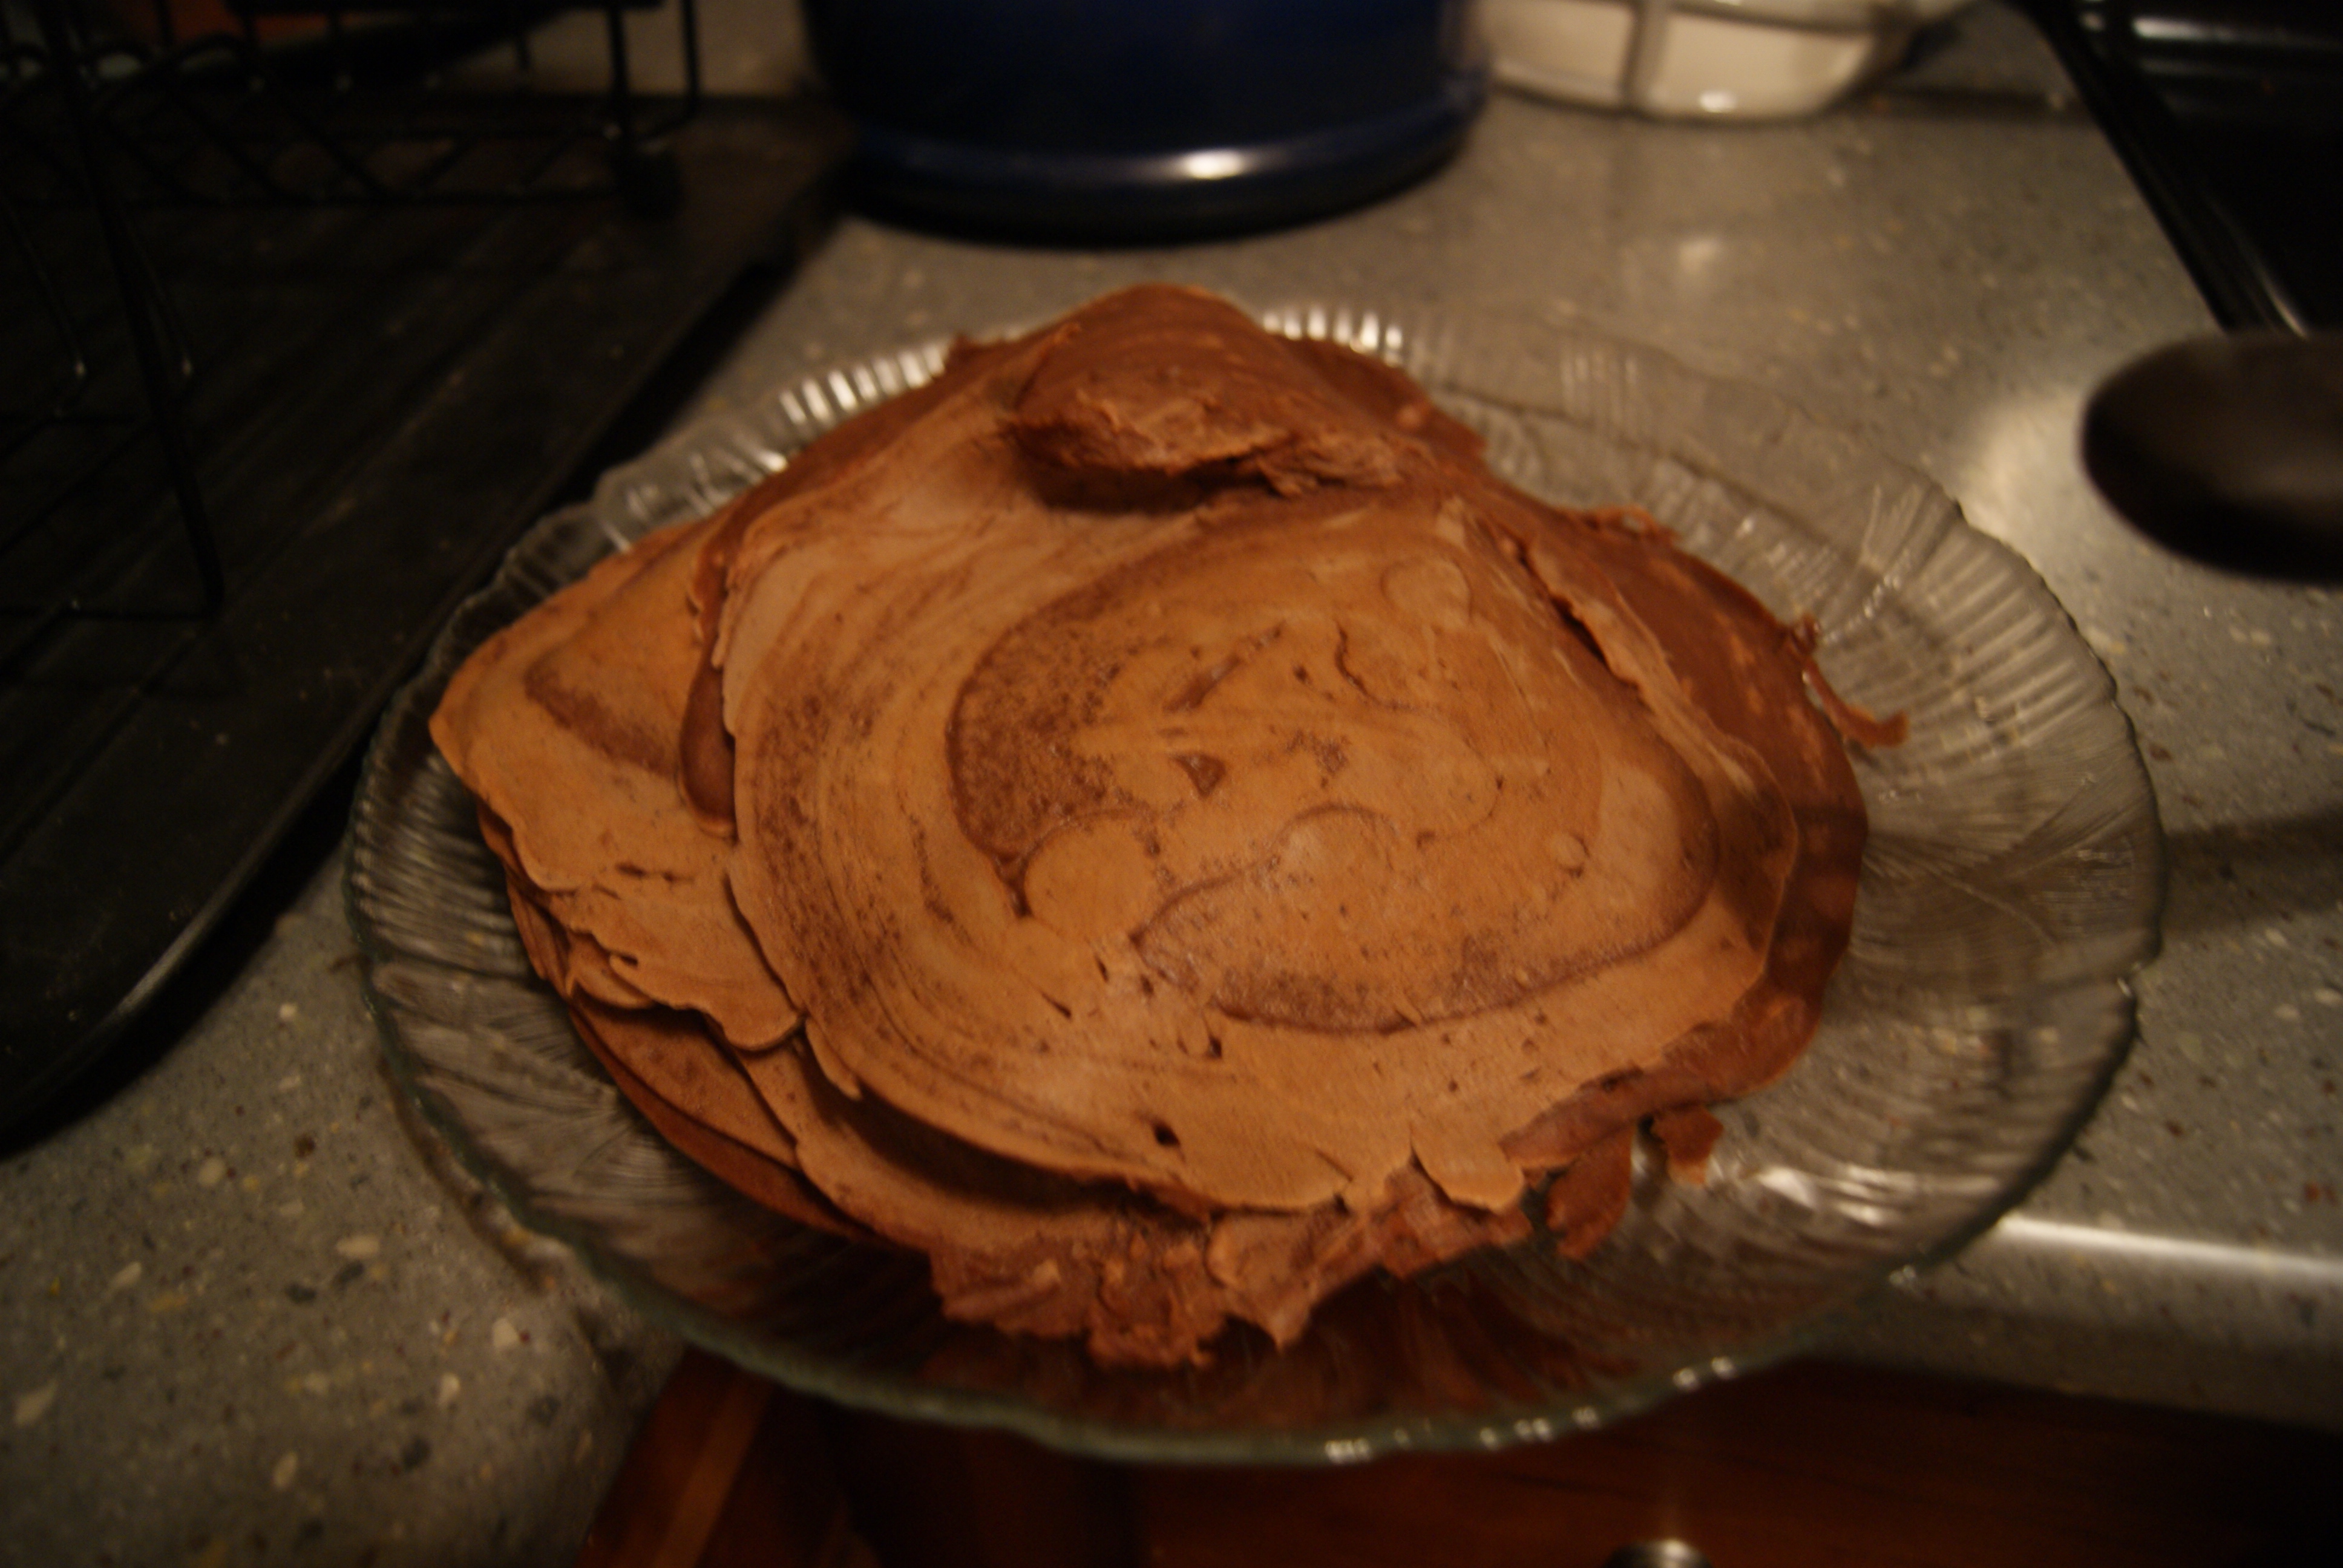
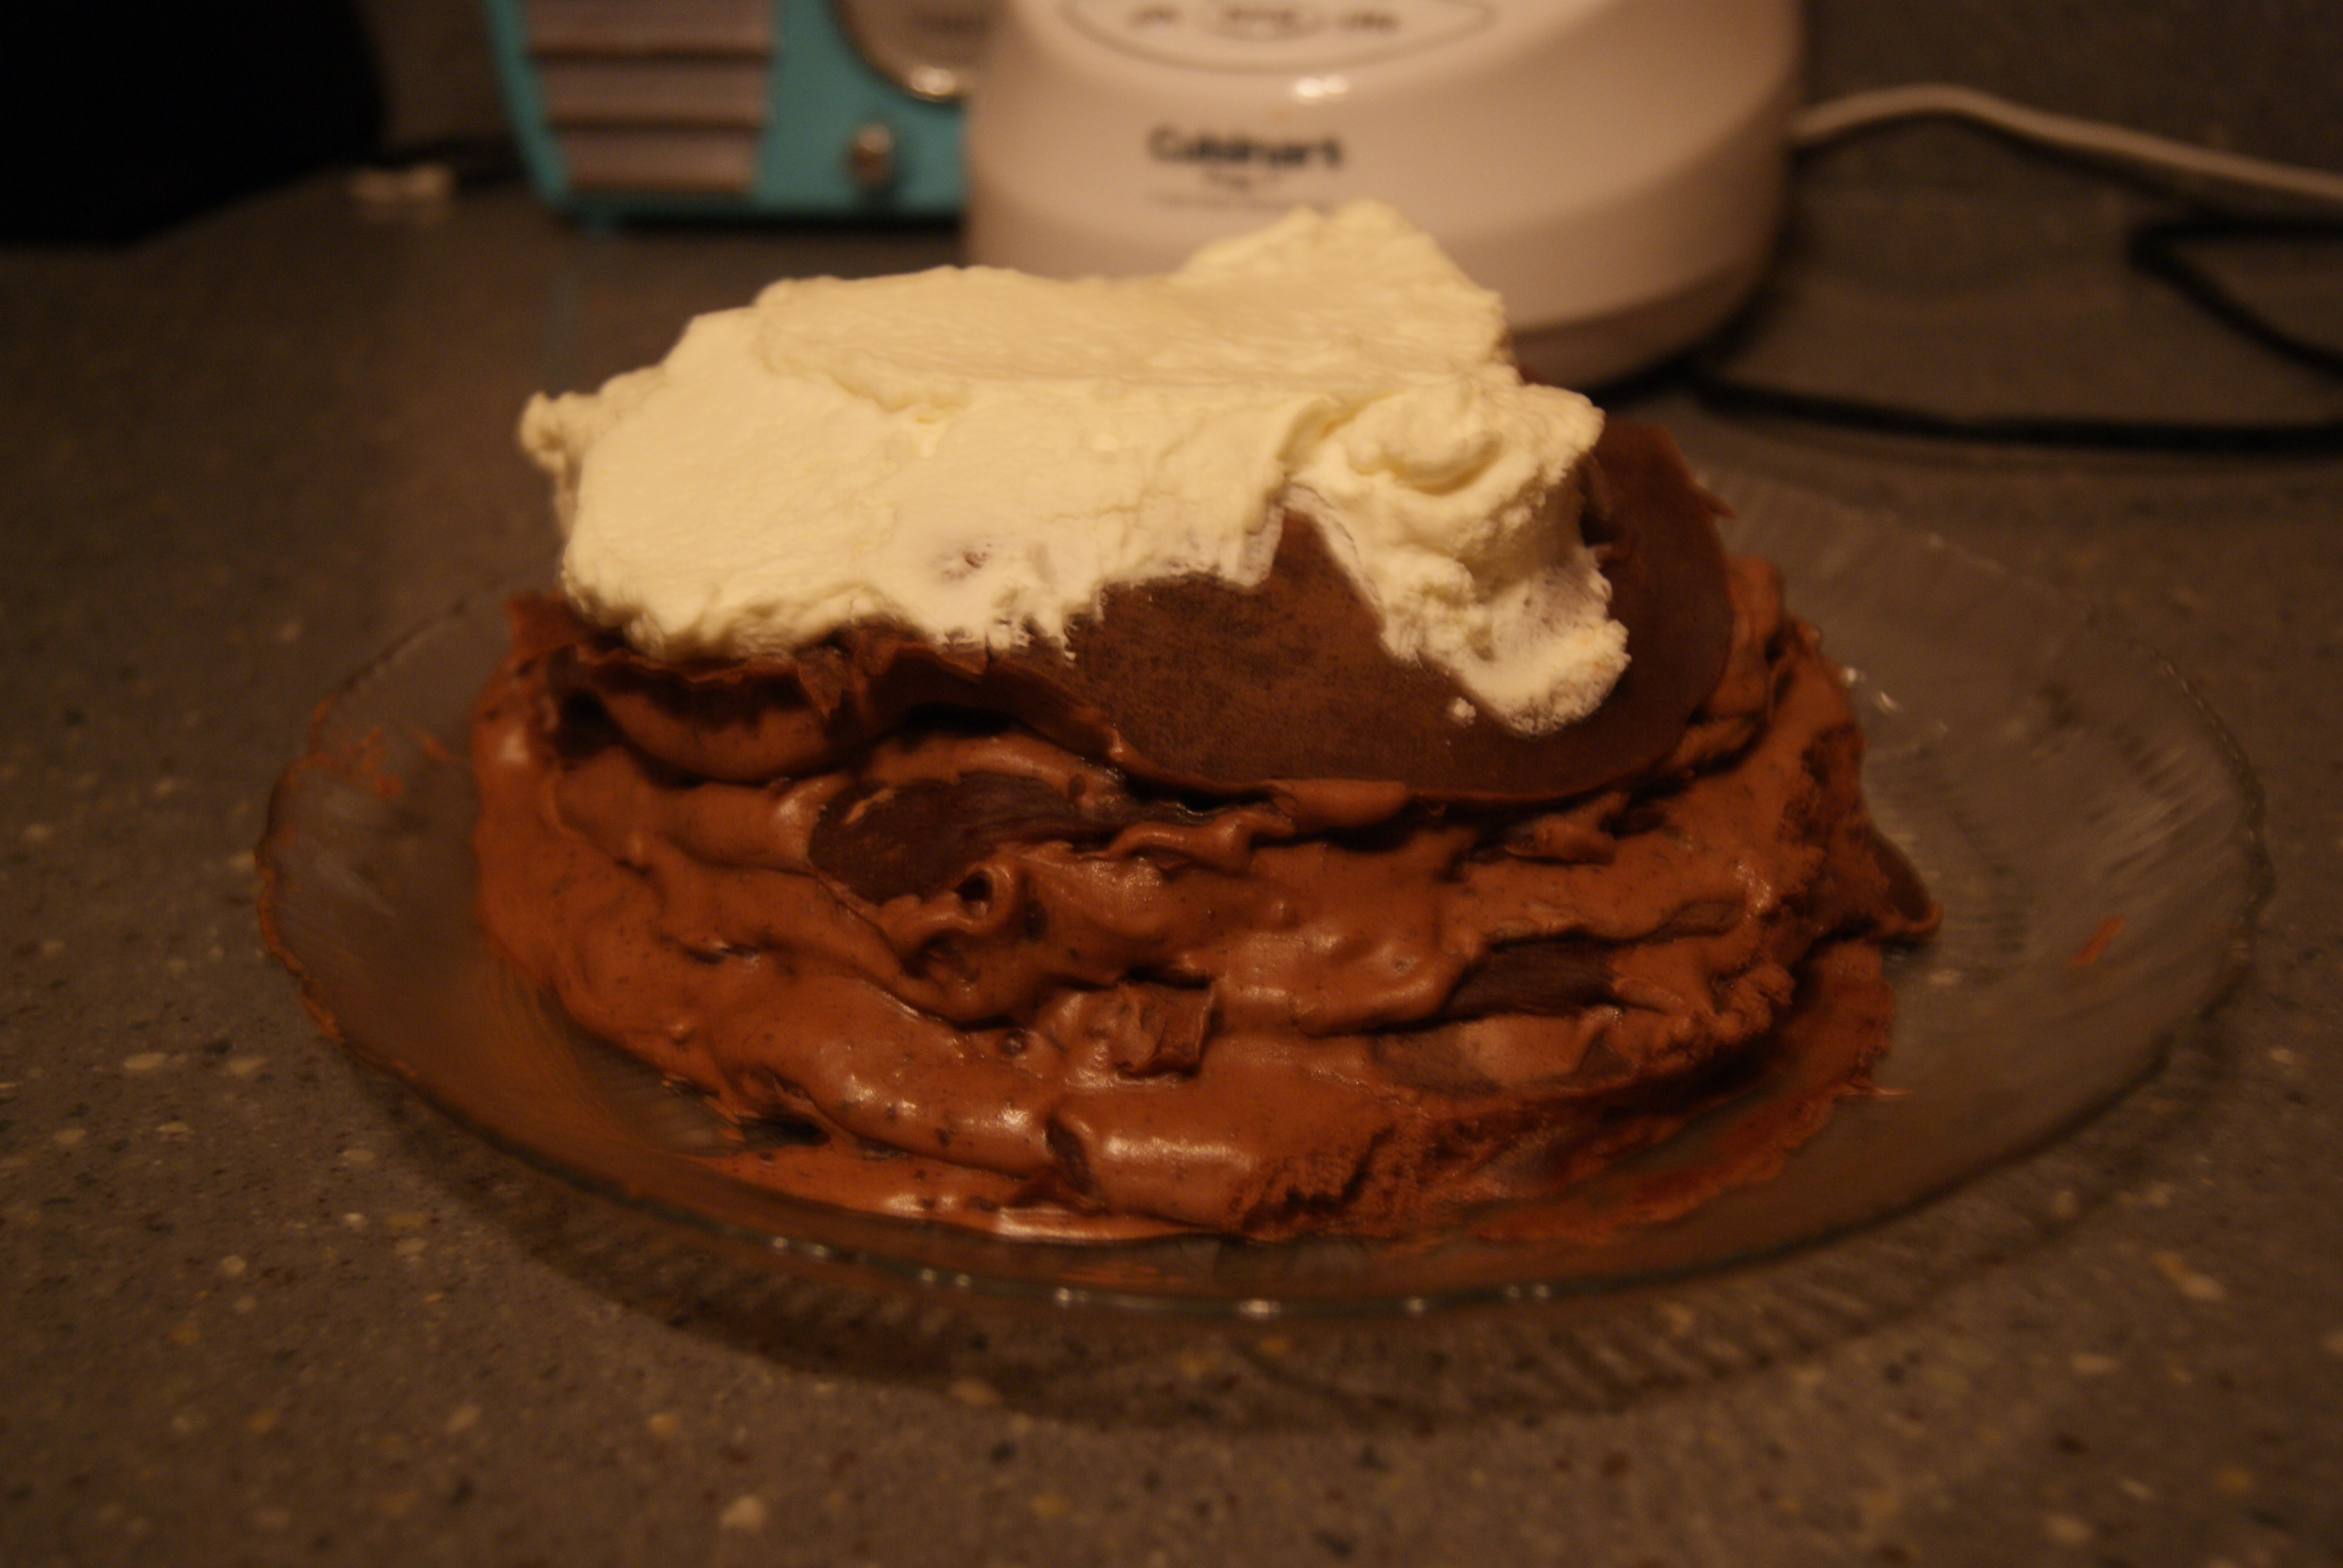
We’re pretty much almost done here, I swear. Once your crepes have cooled, it’s time to assemble this cake. Lay a crepe down on a cake plate, then spread a healthy amount of mousse over it. Top with another crepe, then top this crepe with more mousse, etc., until you reach the top of the holy mountain of good-God-nessness. You can top this with homemade whipped cream (which I highly recommend) if desired.
Refrigerate until completely cooled, at least four hours, and preferably overnight.
I know, I know, it’s kind of really ugly-looking right? Well, as you all hopefully know by now, I’m no artist. But let’s talk about what really matters here…how’d it taste.
Sweet mother. It was a day in heaven with a clean bill of health, a thousand happy elephants prancing around on a sandy beach and everything else that you could ever imagine as being part of your best day ever. This thing was worth every minute of every hour I spent working on it.
Believe me, if you are looking to impress, look no further than this cake.
Readers! The following is a post I am ridiculously excited to share. I think I’ve mentioned many times that my boyfriend James is kind of a genius when it comes to kitchen stuffs. As you’ll all see for yourselves, mama wasn’t lying. Enjoy, and I’ll see you all back here soon! xo – Sad Shibow
Hi people from over the computer,
Have you ever made Jell-o? Easy, right? Making Jelly is kinda like making Jell-o. You only need a handful of things, really: sugar, pectin, something you want to turn into a jelly, and one or two chromosomes that wear plaid shirts. Since we have all those things, and Sad Shibow let me near the stove Tuesday, we made some jelly from black tea. It was tasty! No kidding. We didn’t have any on hand, but I pictured its sweet jiggle on a Carr’s wheat cracker with some brie. Try it. I don’t think you’ll be disappointed at all. Now, before anyone gets nervous about the doyenne’s absence, know this: Sad Shibow will be watching over you as she was watching over me as I made this. You’ve all seen Star Wars. She’ll be like Obi-Wan Kenobi when he was translucent and blue-ish. But Sad Shibow will be translucent orange-ish and riding on a mid-sized Indian elephant with long eyelashes (Ed. note: All of these things are true. None of these things are untrue). Are you getting all this down? So, don’t quake. This recipe is for everybody. If you can make a cup of tea, you can make this.
Enough foreplay. Together let’s march … jellyward!
Stuff you need:
3/4 cup of sugar
2 tbsp powdered pectin
2 small saucepans
wooden spoon
cardamom seeds
1 lemon
3 bags of your favorite black tea
4 cups of water
glass jar with a lid
Strainer
Other stuff you “need” (for the countrified effect)
A screen, somewhere in your house, that needs mending and is letting in junebugs that are so big that your cat has to chew them for a full thirty seconds before she swallows.
A Straw hat
hyphenated first name (Sybil-May, James-James)
Becoming, at one time or another, a specific shade of green when coveting your neighbor’s new tractor (John Deere Green)
Very firm ideas as to how pie thieves should be punished
Directions:
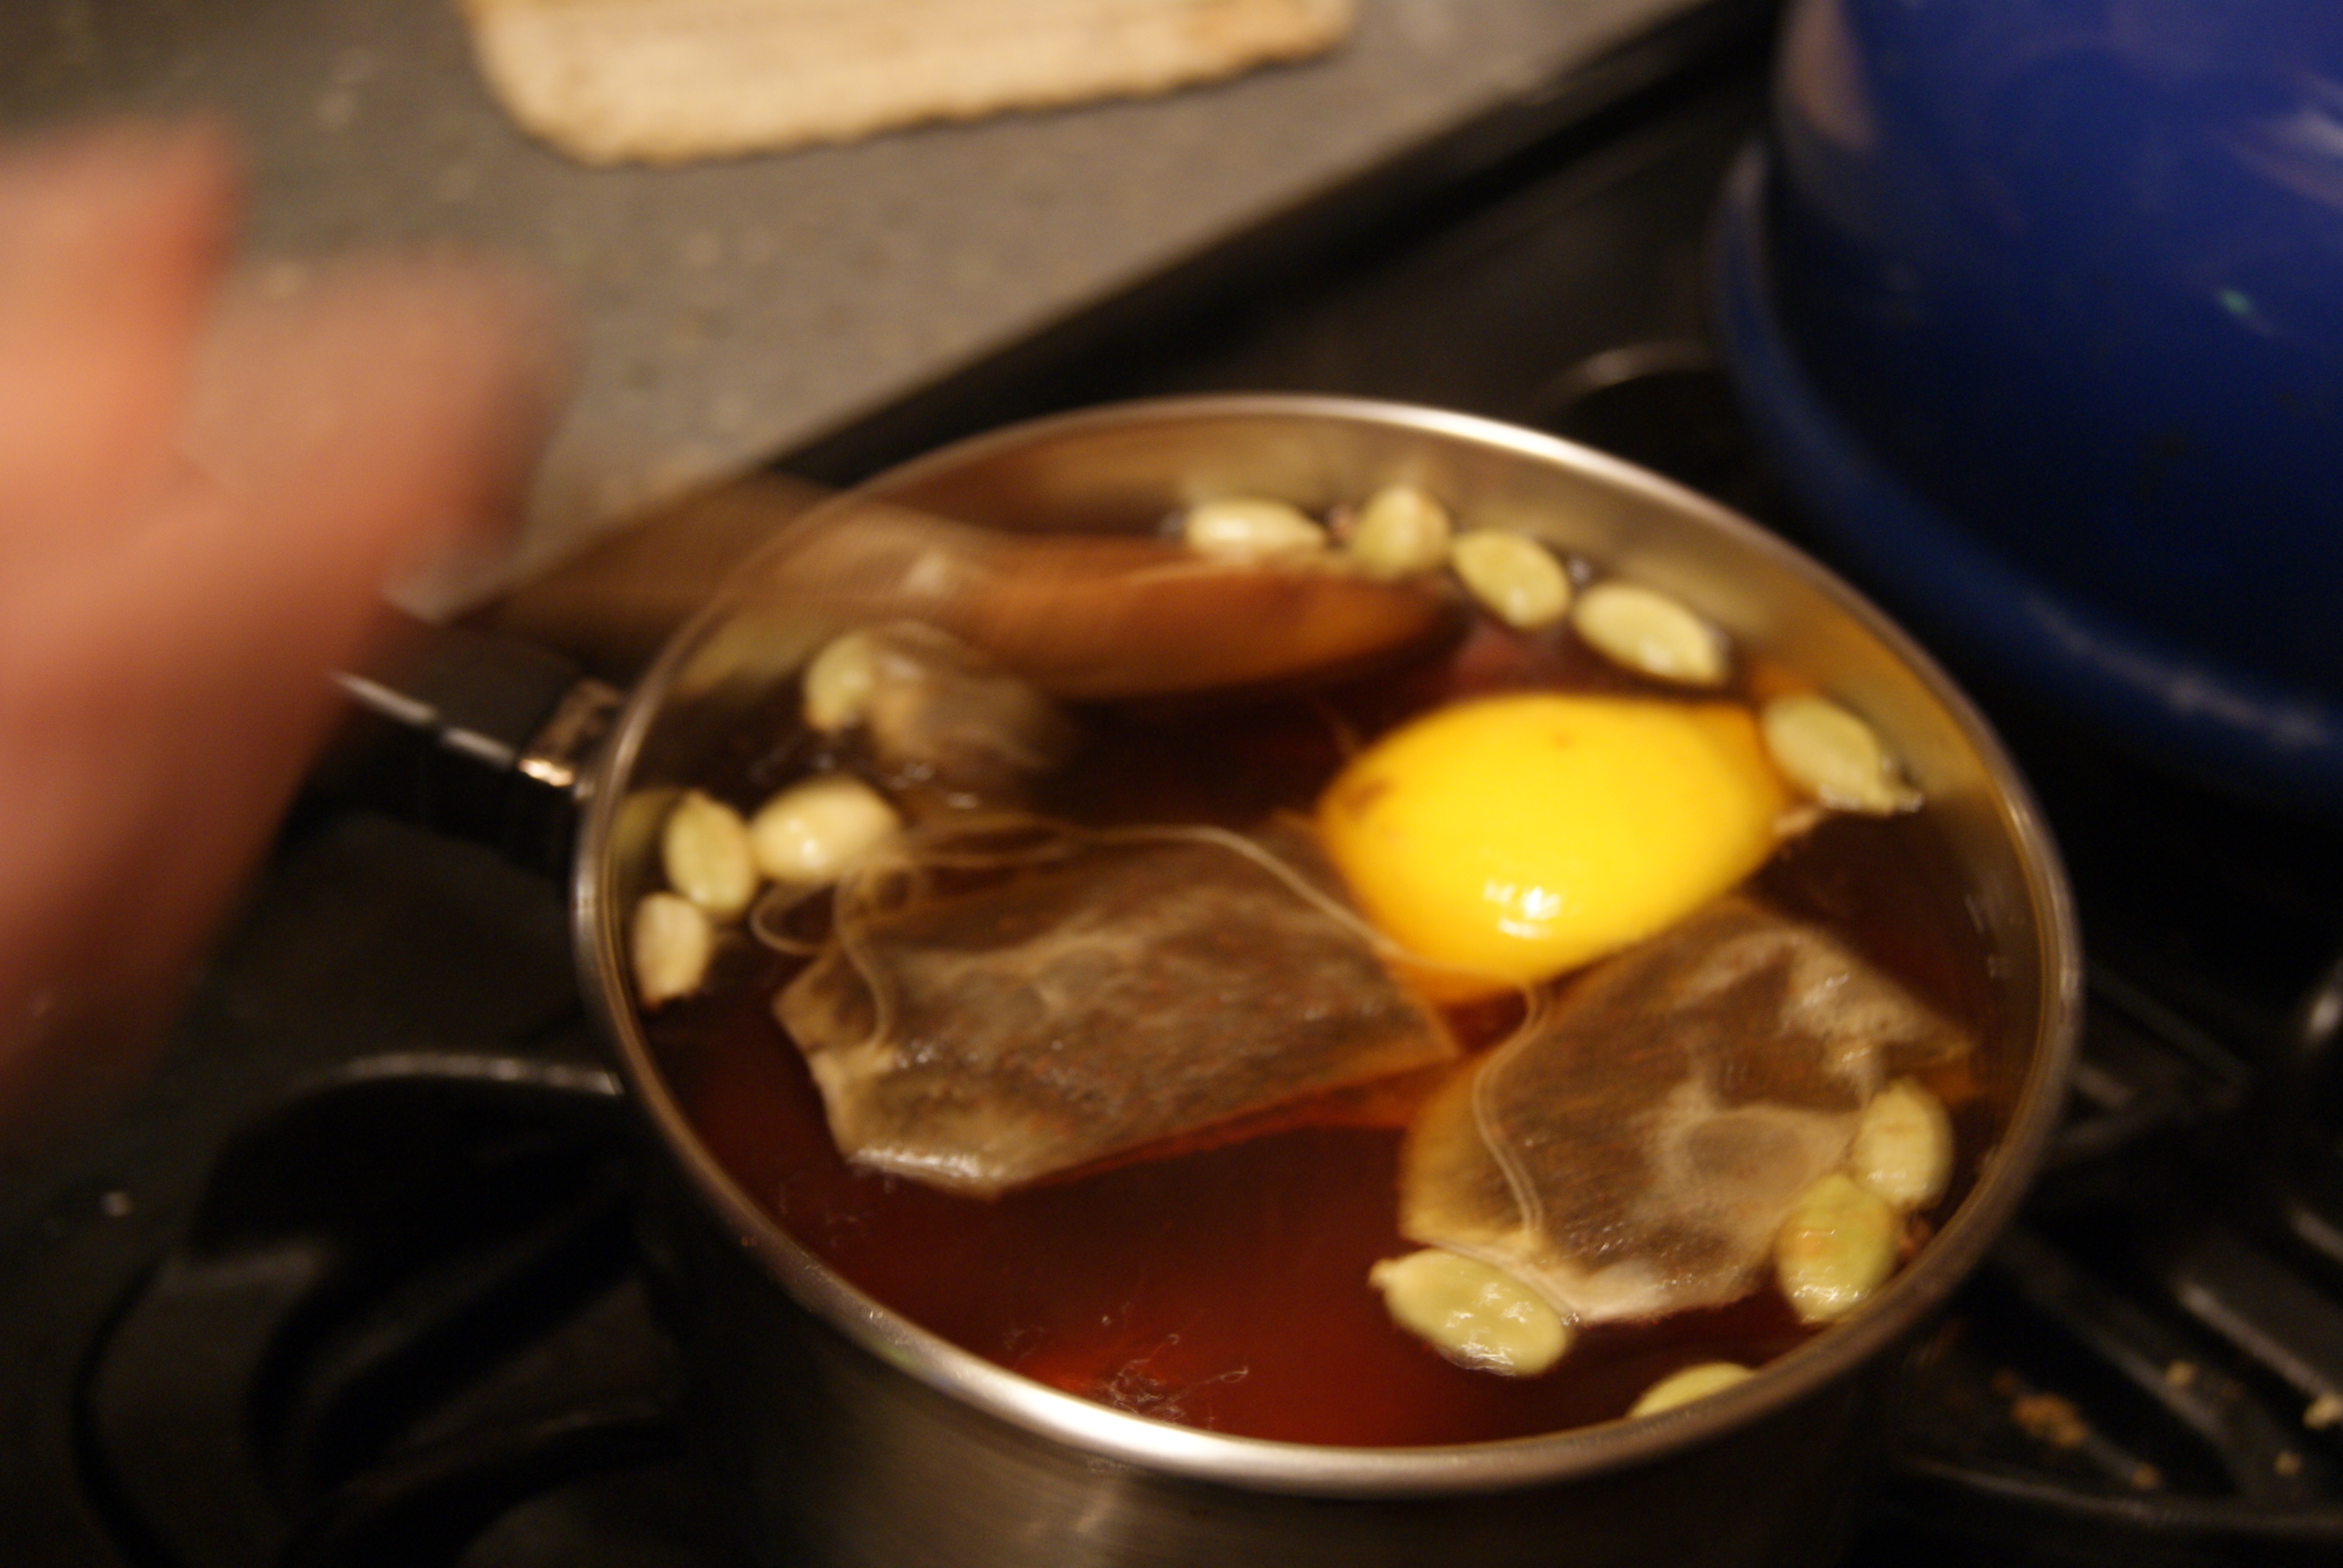
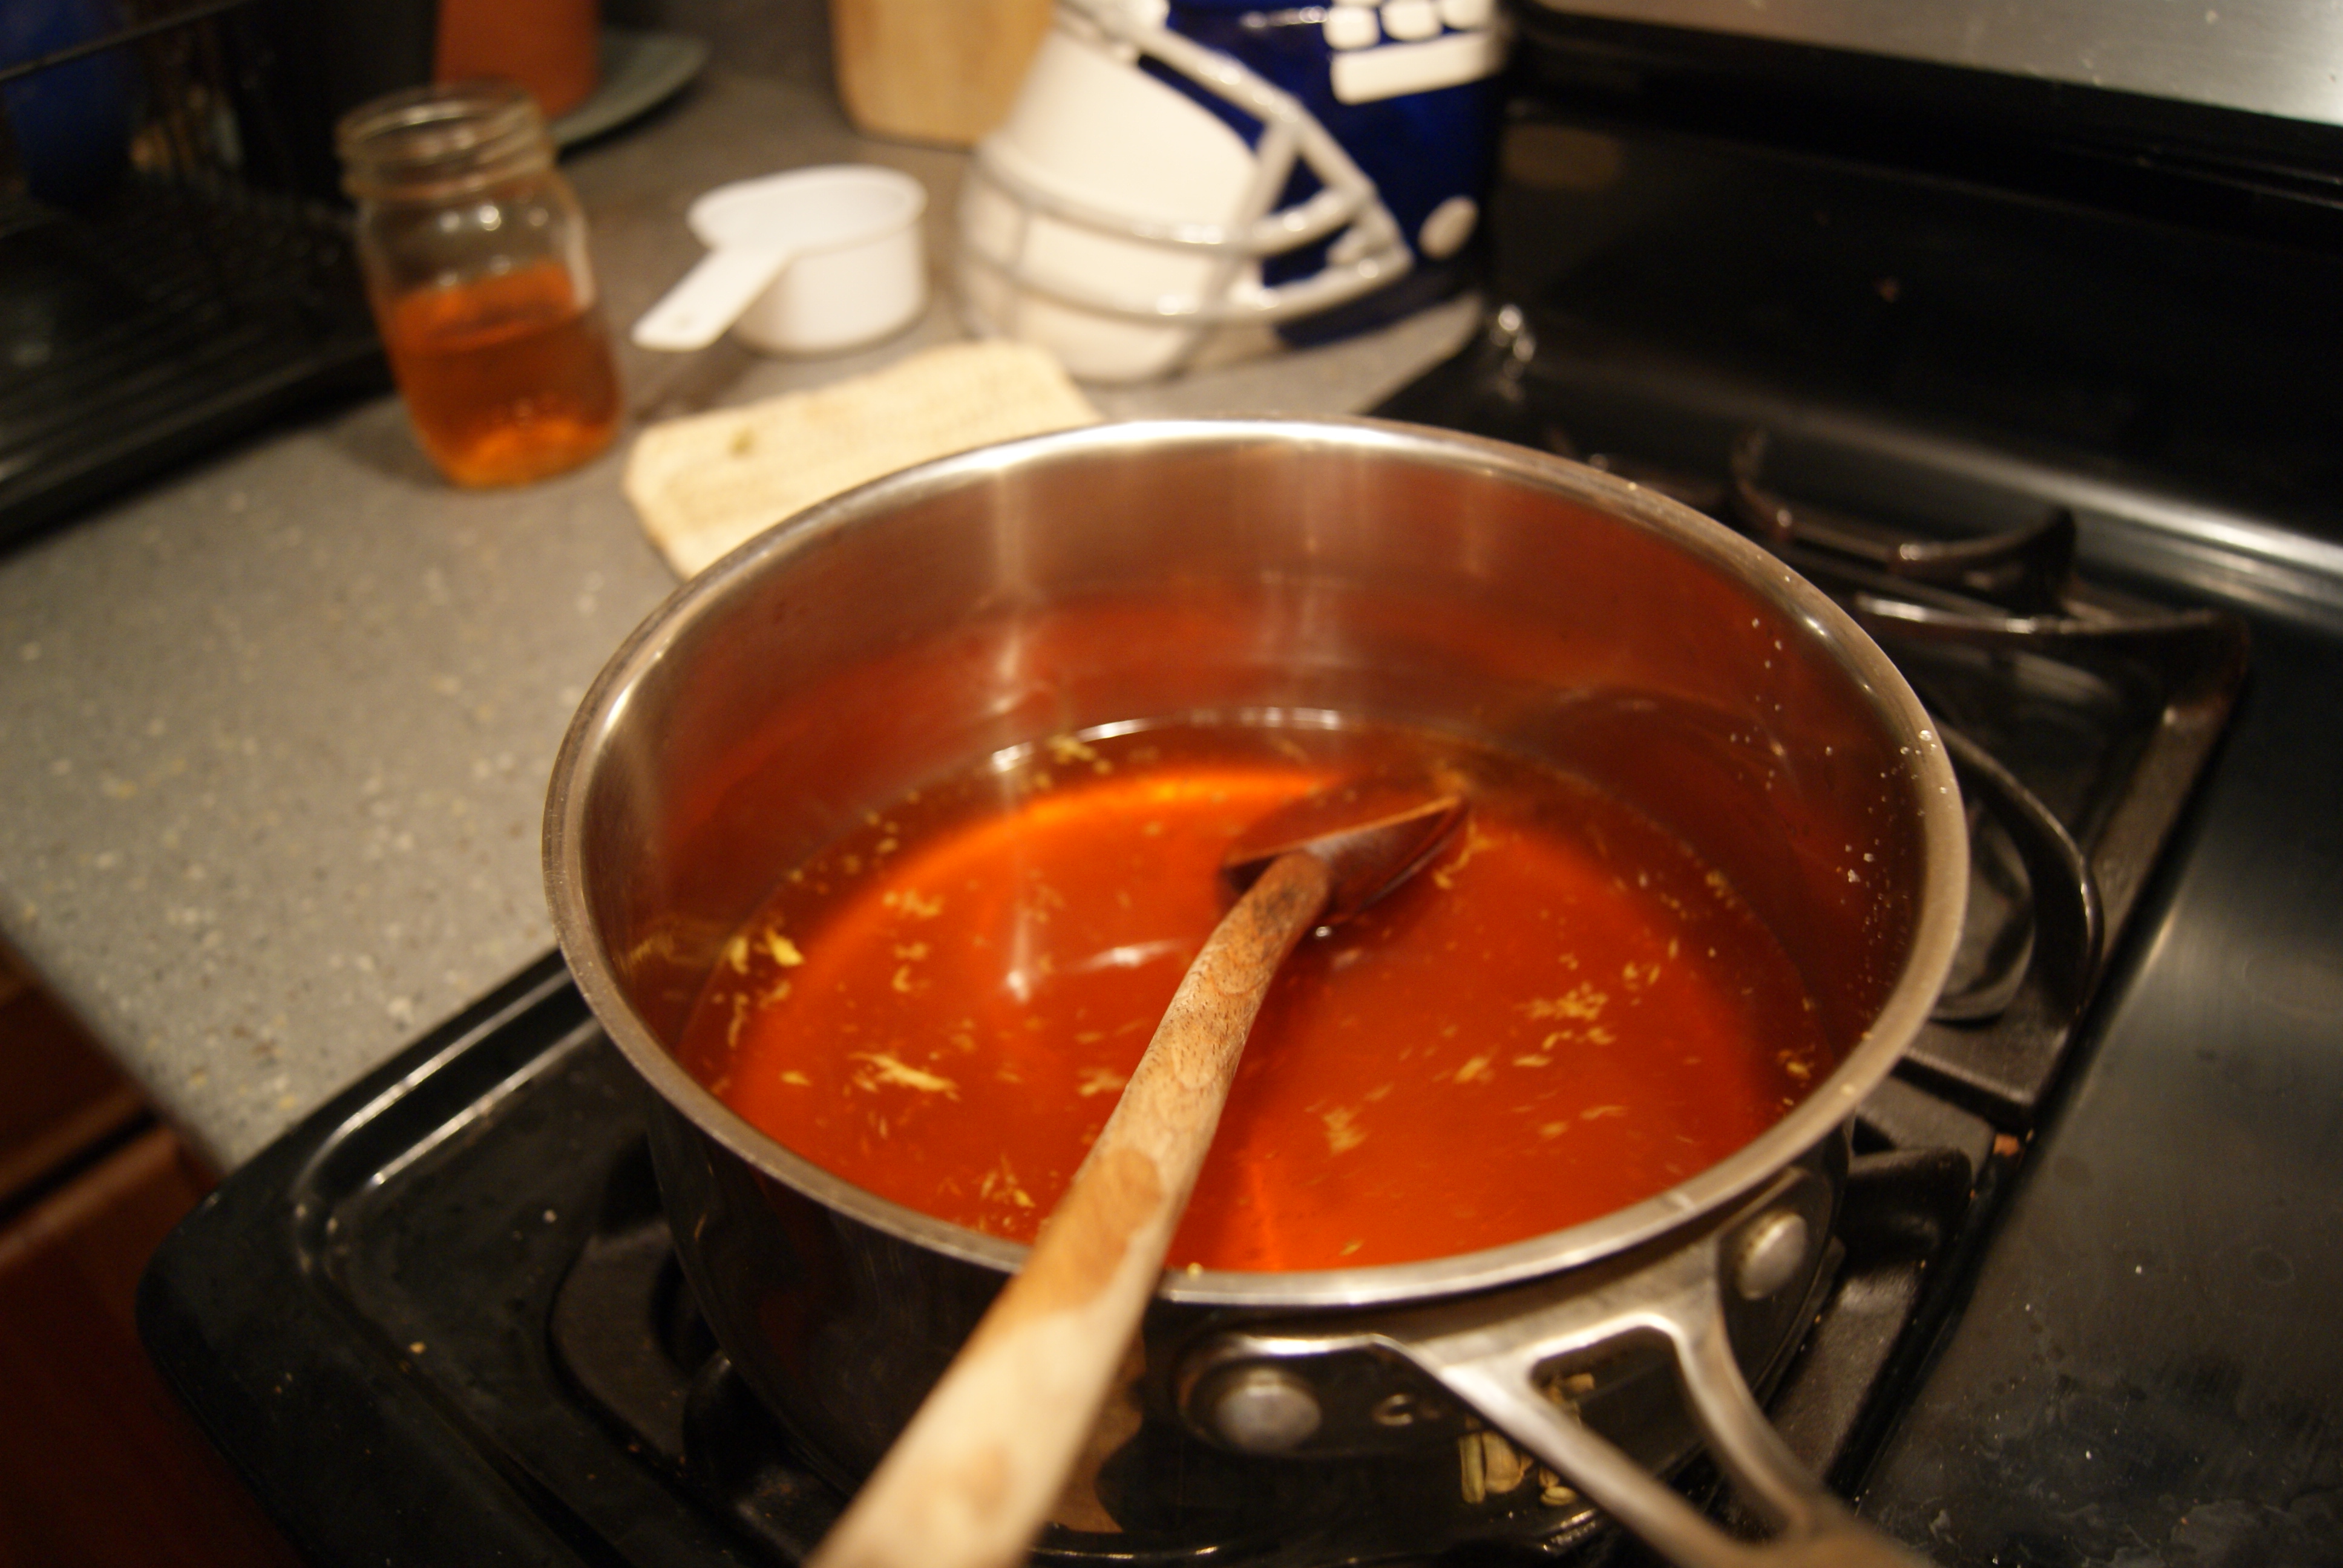
Fill your small saucepan up with your four cups of water. Set it on the stove, boil it. Turn the flame down lower and put your three teabags in, taking care to strip them of their paper anchors. Cut a lemon wedge and squeeze a little of its juice in. Hull six or seven of the cardamom seeds and put them in there too. Let it all simmer for about ten minutes.
After the bell rings for the next round, come out swinging, then strain the contents of the saucepan into your other saucepan. Take your lemon. Grind some zest from it into the pan. Turn the heat up again. Get a good boil going then slowly stir in the sugar. Mix it until the sugar disappears into the tea. Next, add the pectin. Stir that in until it disappears.
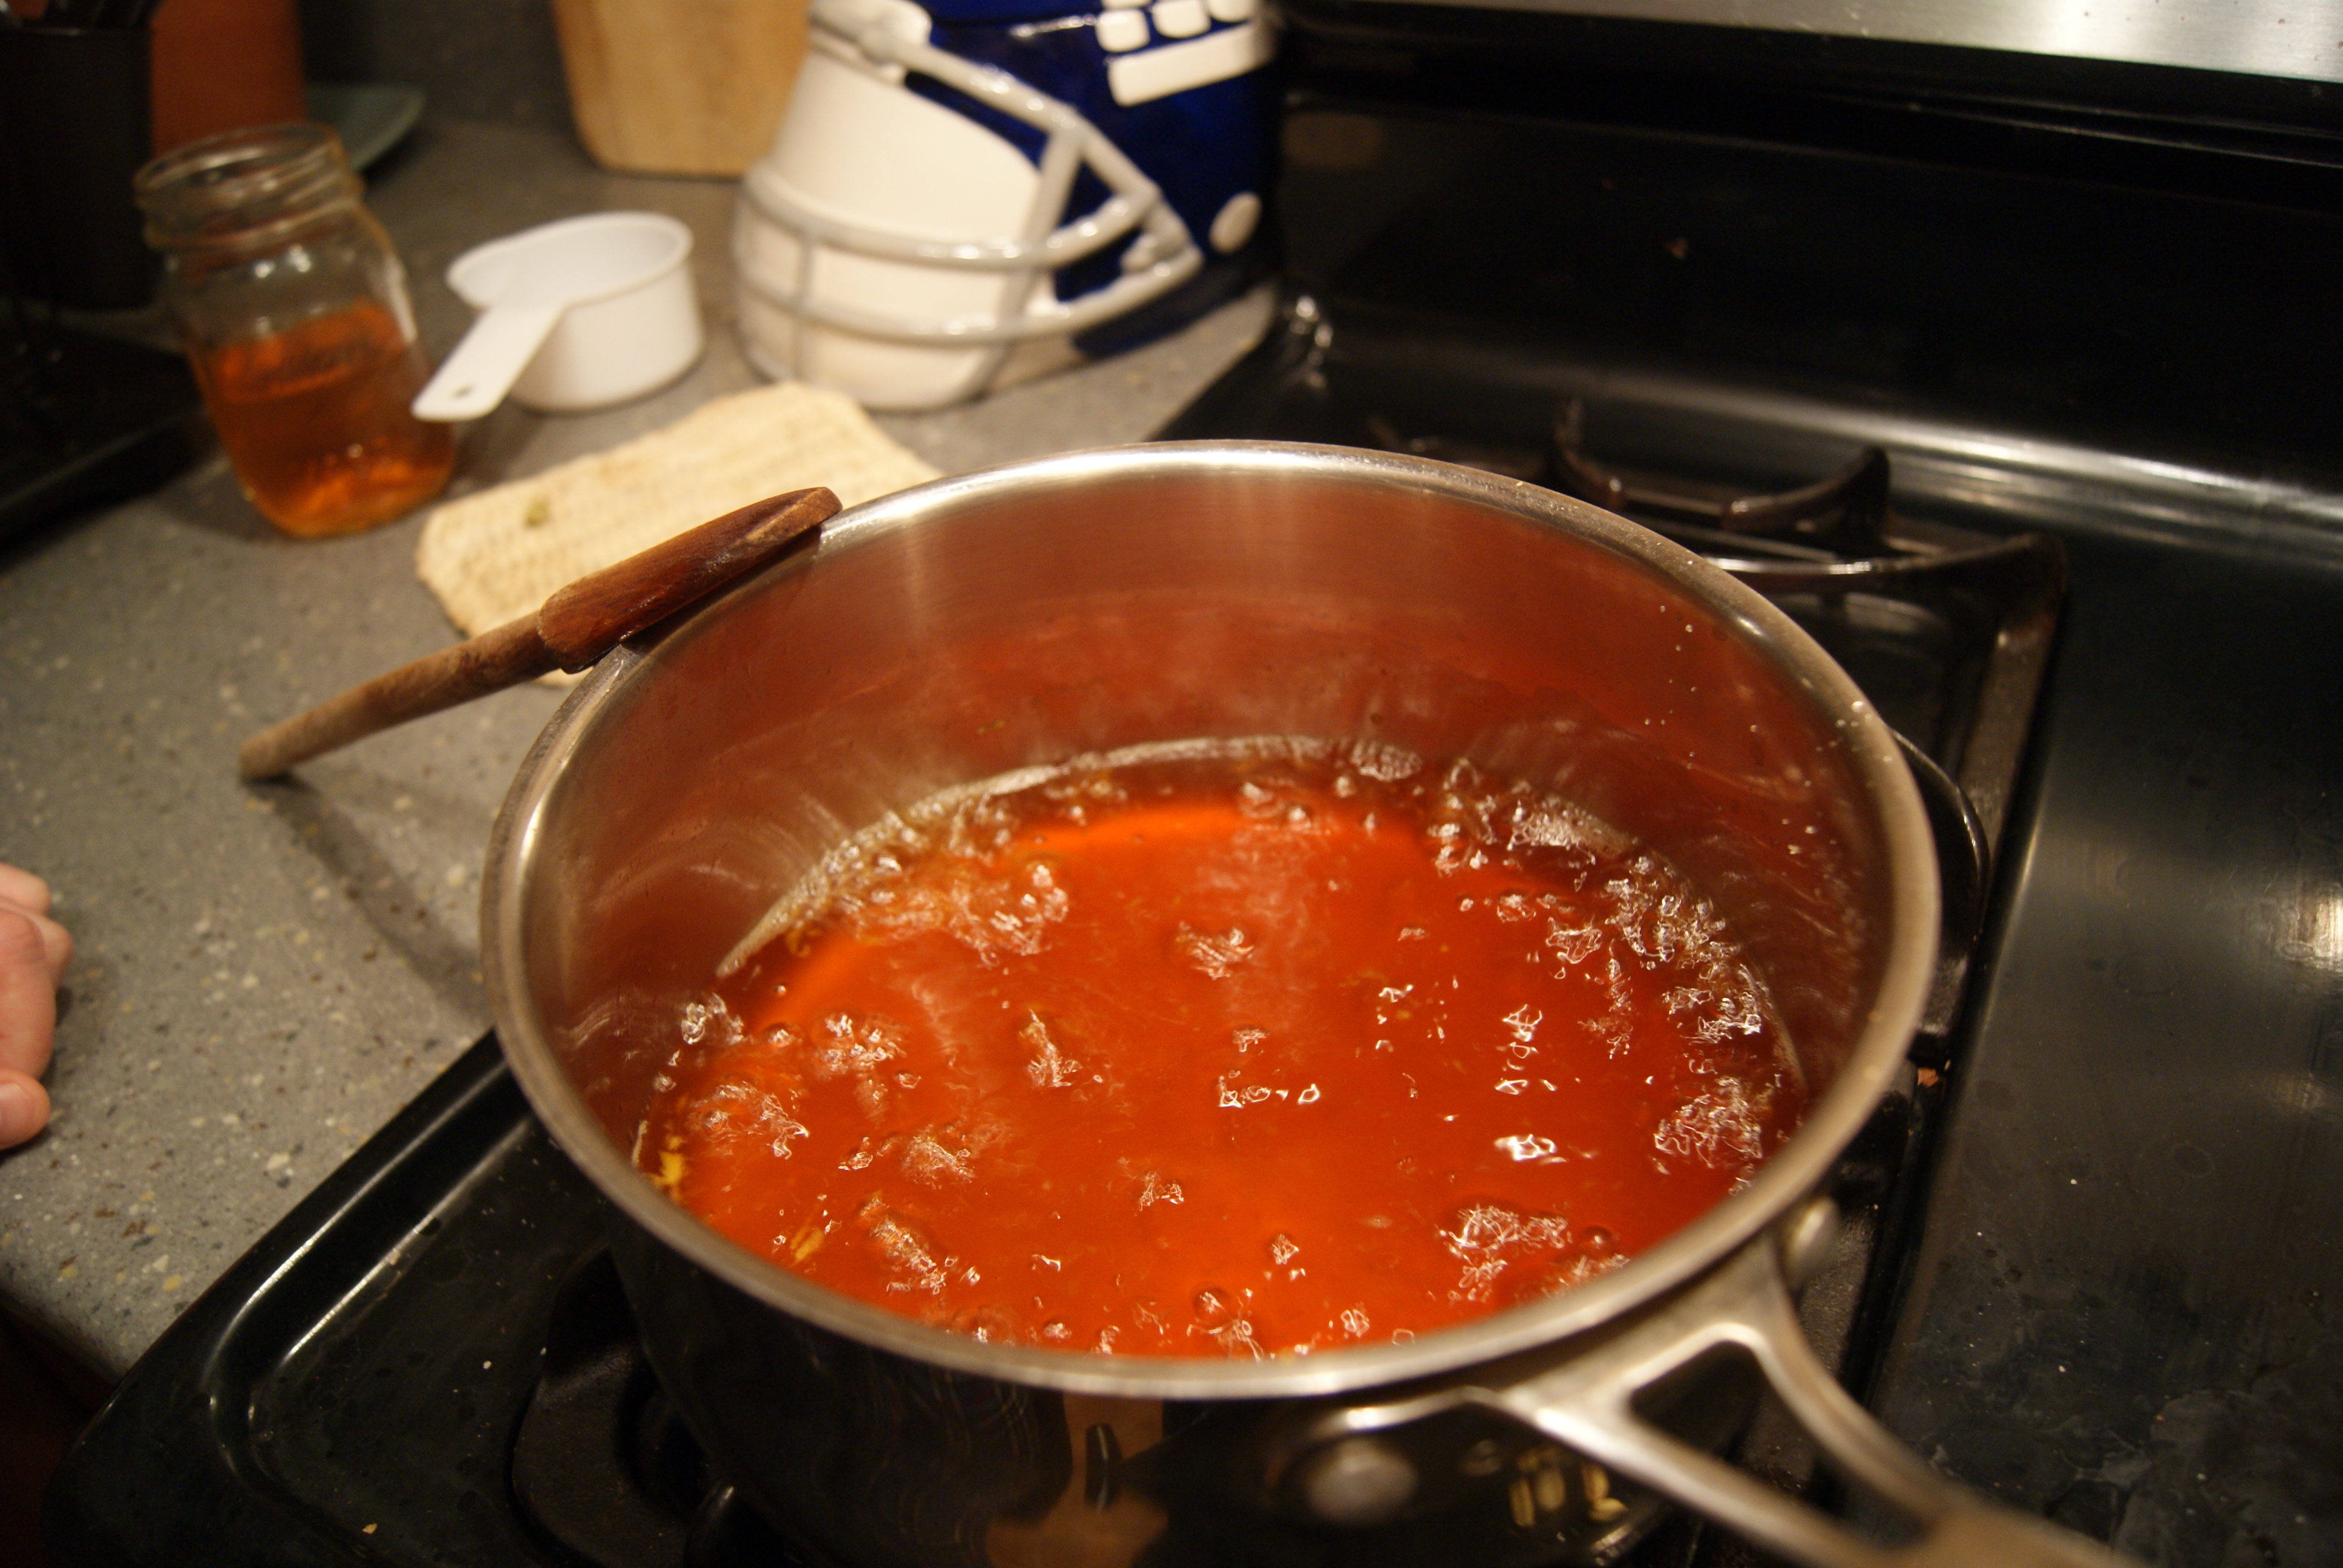
At this point you should feel like a magician. Picture yourself in a top hat as you stir the rolling boil for a few minutes. This will cook it down some. Turn off the flame. If you have a funnel, set it over the mouth of your jar and pour the contents in. Fill the first jar up about 3/4s of the way, then put the rest in the other jar.
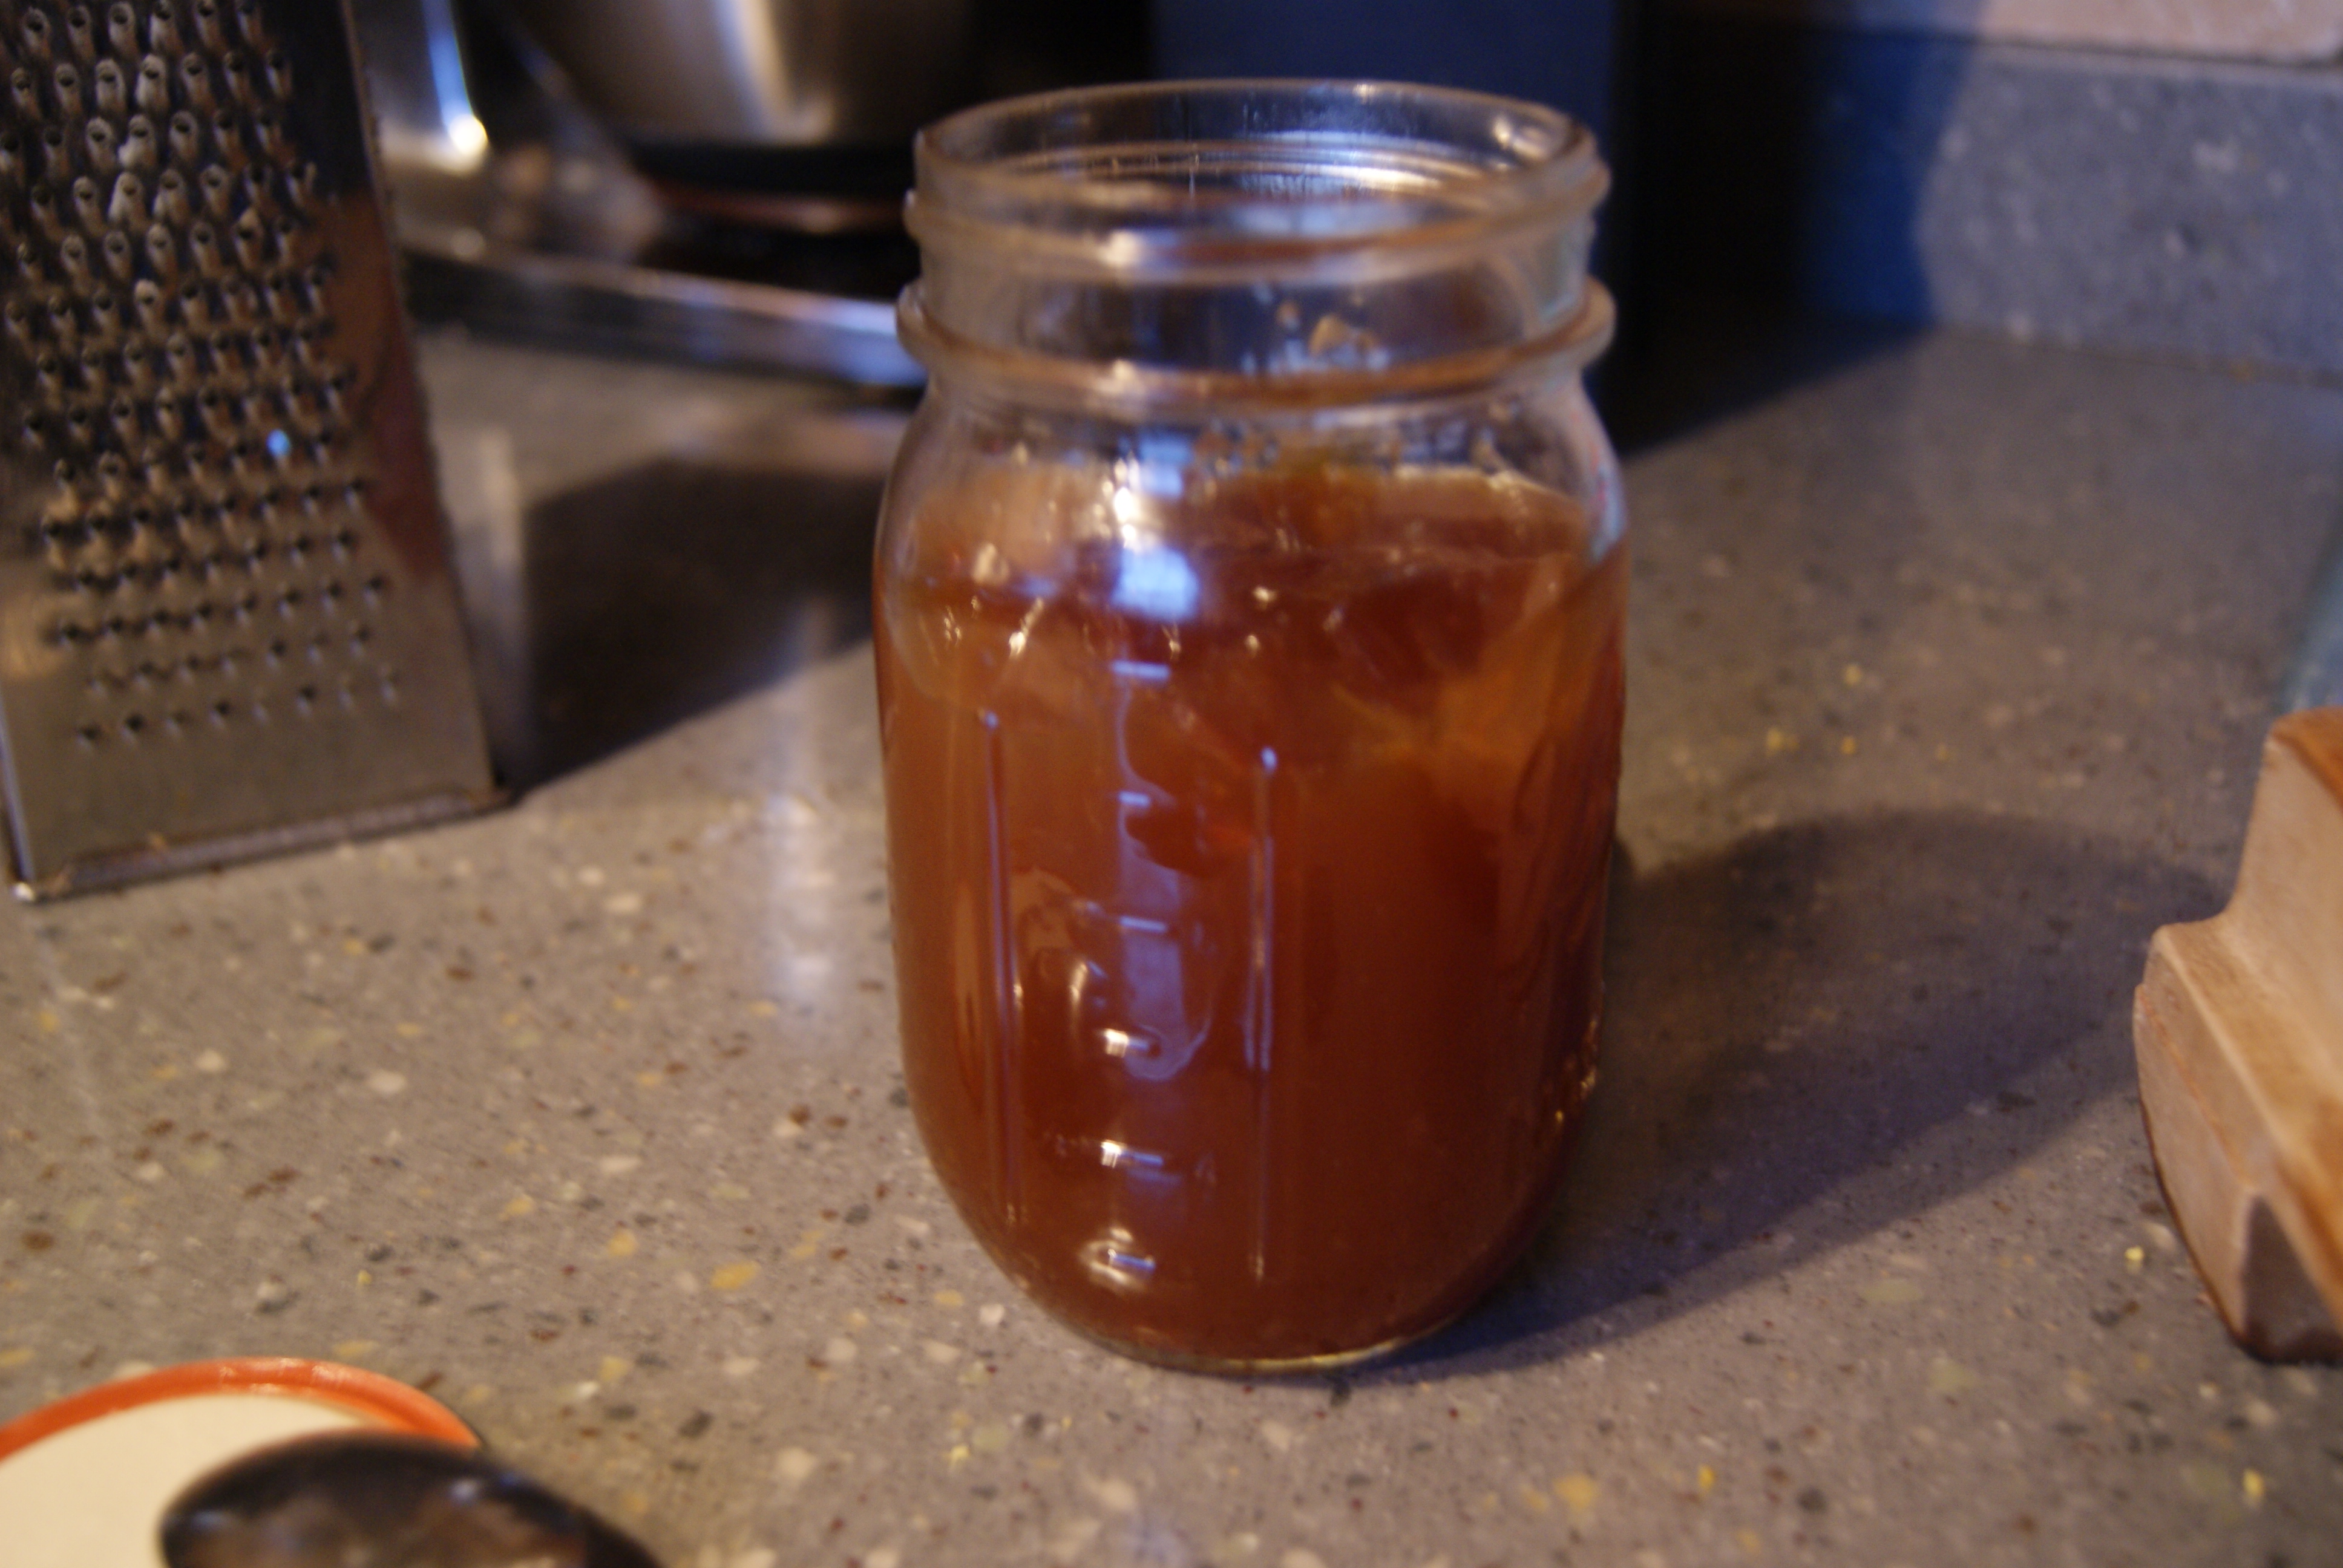
Let them sit there and steam for a few minutes. When they stop steaming, put the lids on and put them in the fridge. When they finally cool down, they will turn into… part of breakfast.
Jelly on brie. Highly, highly recommended.
BLACK TEA CARDAMOM JELLY.
Forgive me, being here next to this warm oven with this group of even warmer people has made me a little emotional.
Blotting my eyes with the corner of a buttery napkin,
James
Readers, you loved him, didn’t you? I knew you would. This fella is also an extremely talented author of fiction. Please check out his work here: http://jamesvhilger.blogspot.com/.
Please do not let me be the only nerd who finds this hilarious.
Yeah, well you all know how I feel about Valentine’s Day. I basically wait patiently for February 15th and then spend the next week and a half hoarding deeply-discounted heart-shaped chocolates and laughing at all of the suckers who paid full price. I’m Sad Shibow, and I’m cheap and wild. Hear me roar [about this nothing “holiday”].
Yes, yes, I am happily taken now, and indeed we did have a mini-celebration last year. Honestly, though, we do random mini-celebrations all the time, and that particular day just gave us an excuse to eat extremely unhealthy treats for breakfast, lunch, dinner, and all of the hours in between these meals, since we were doing it all “out of luhrveeee.” But even when I was single I basically just ignored the whole day. Not in a “I’m a bitter old fool and you and your betrothed can go suck an unripe blood orange” kind of way, though. One year, it was more of a “I have the flu and very much feel like I am going to expire at any moment, and this feels like both the longest day and shortest year of my life, and also I currently have no concept of time.” That’s really the only V-Day I remember, and I can really only recall that one because my Dad had bought me a plush polar bear carrying a heart, which momentarily had me wondering if I was, in fact, about to croak. So, you know, it’s just a day.
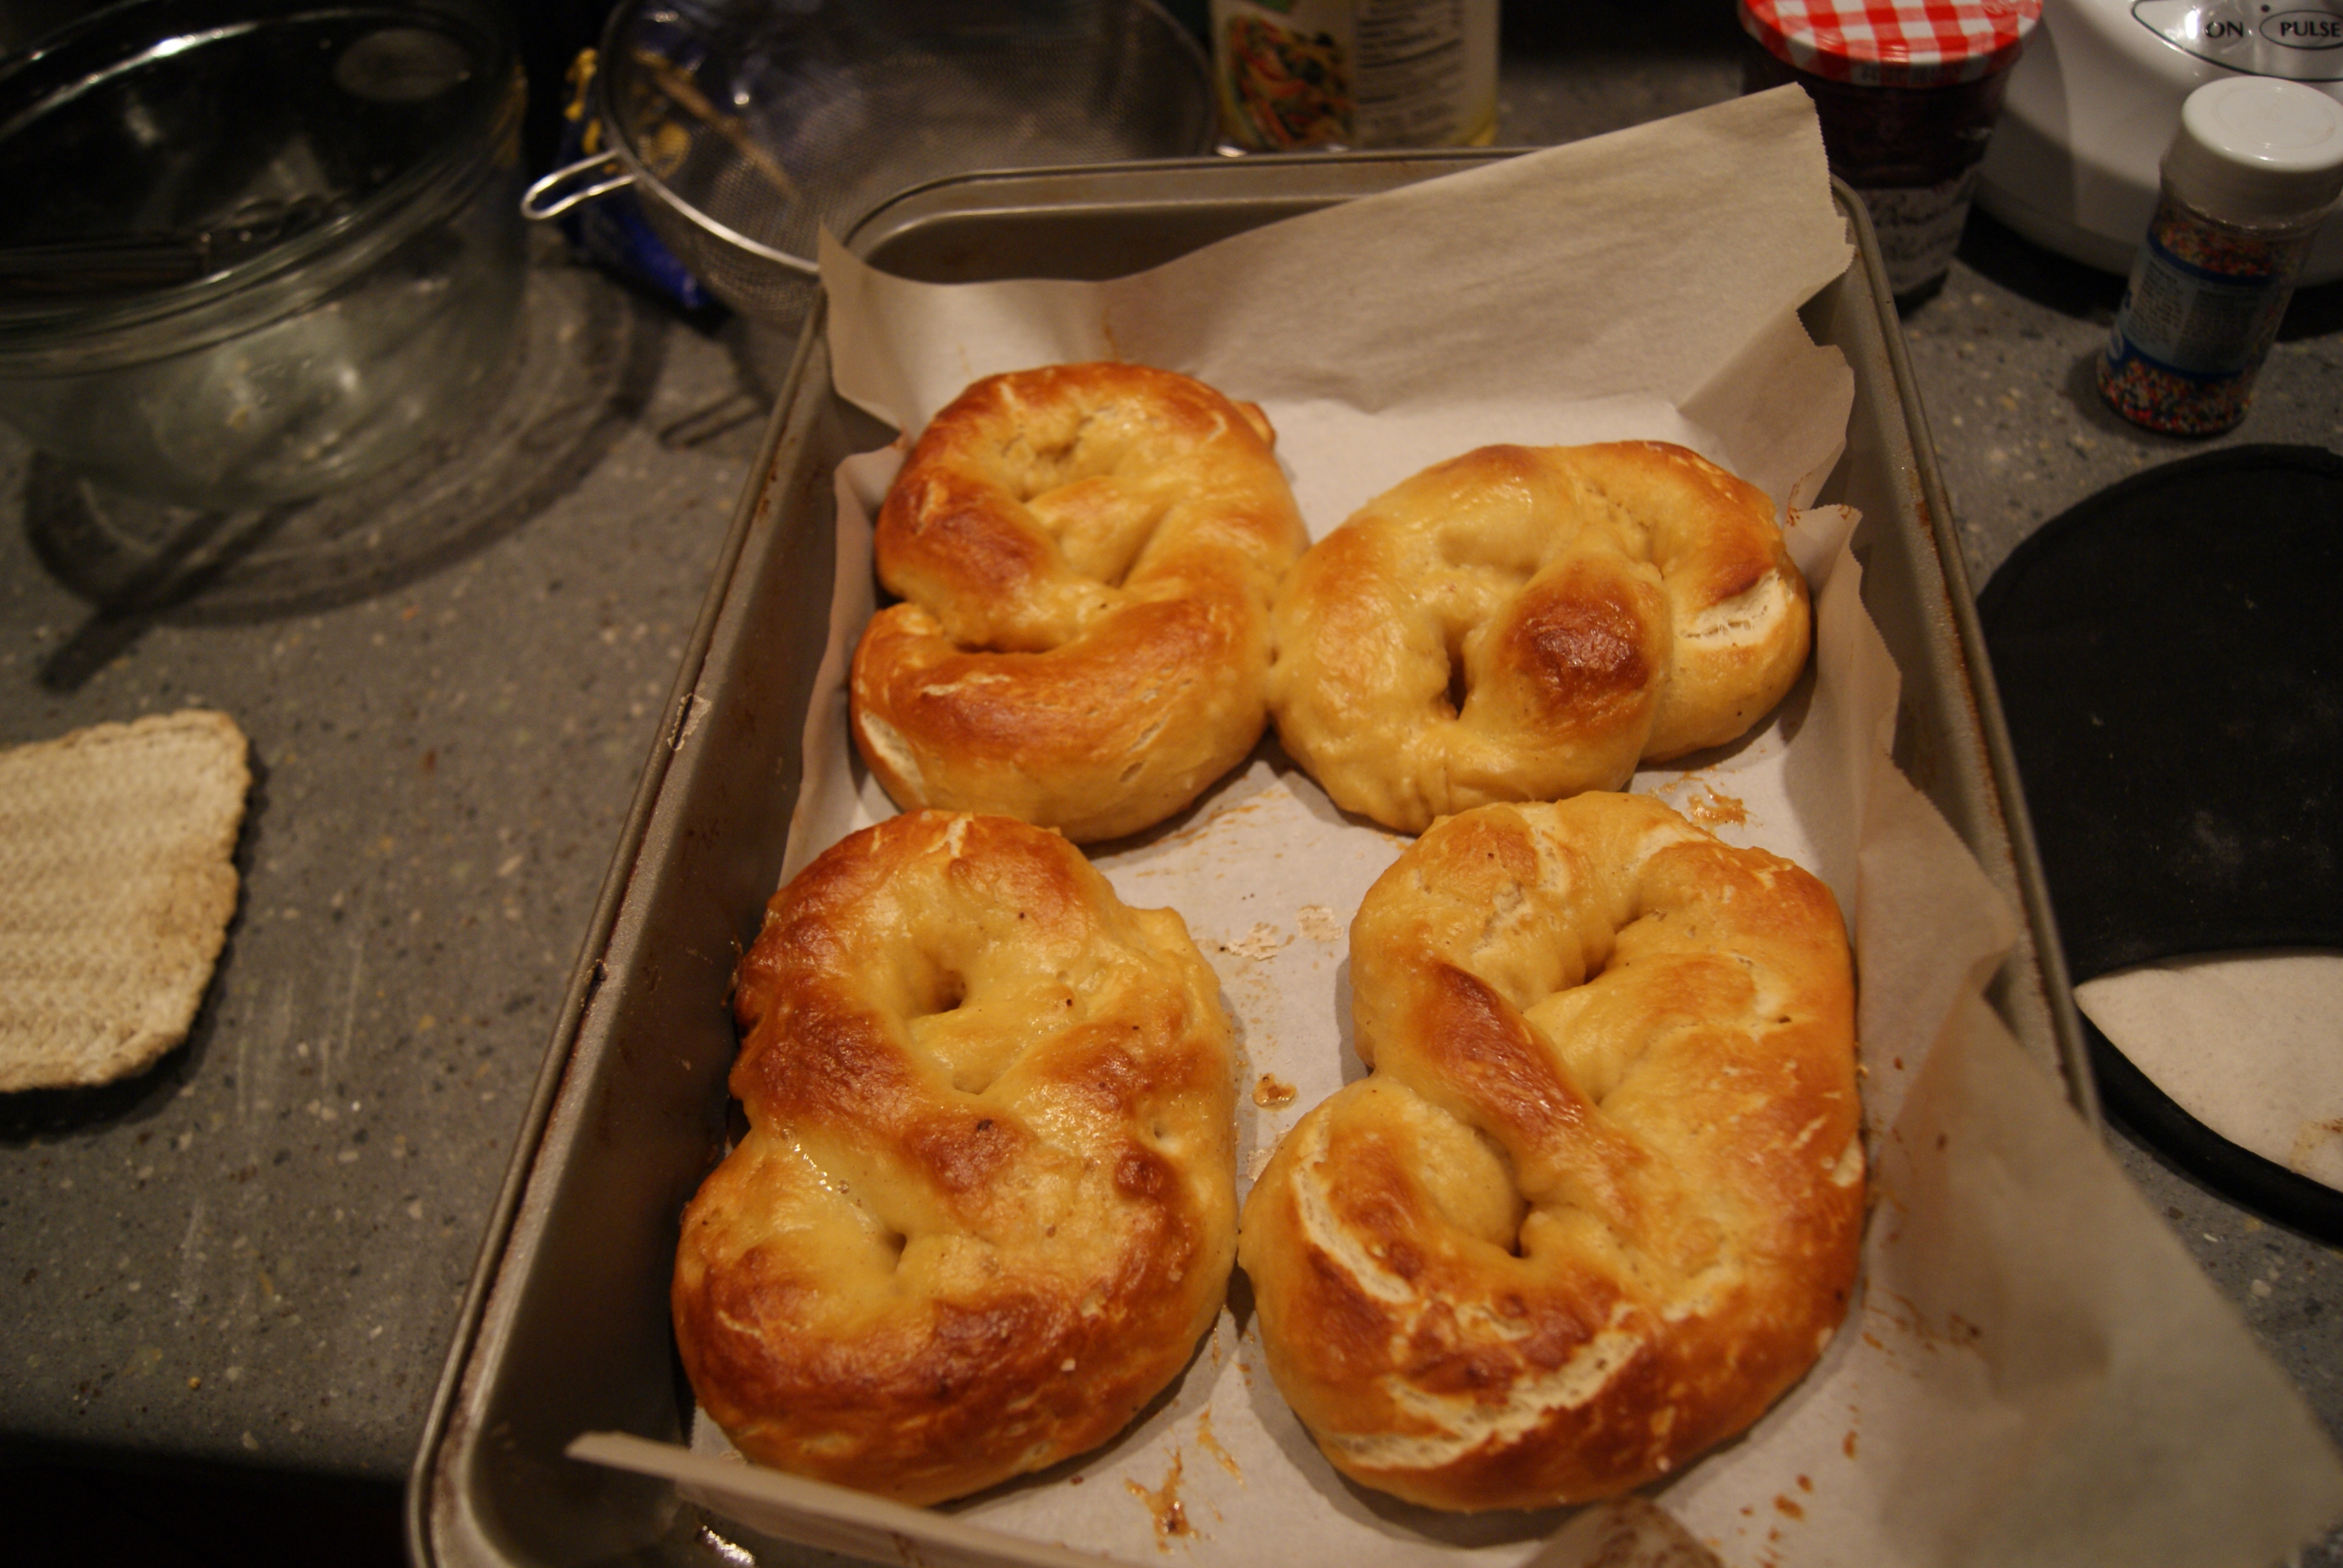
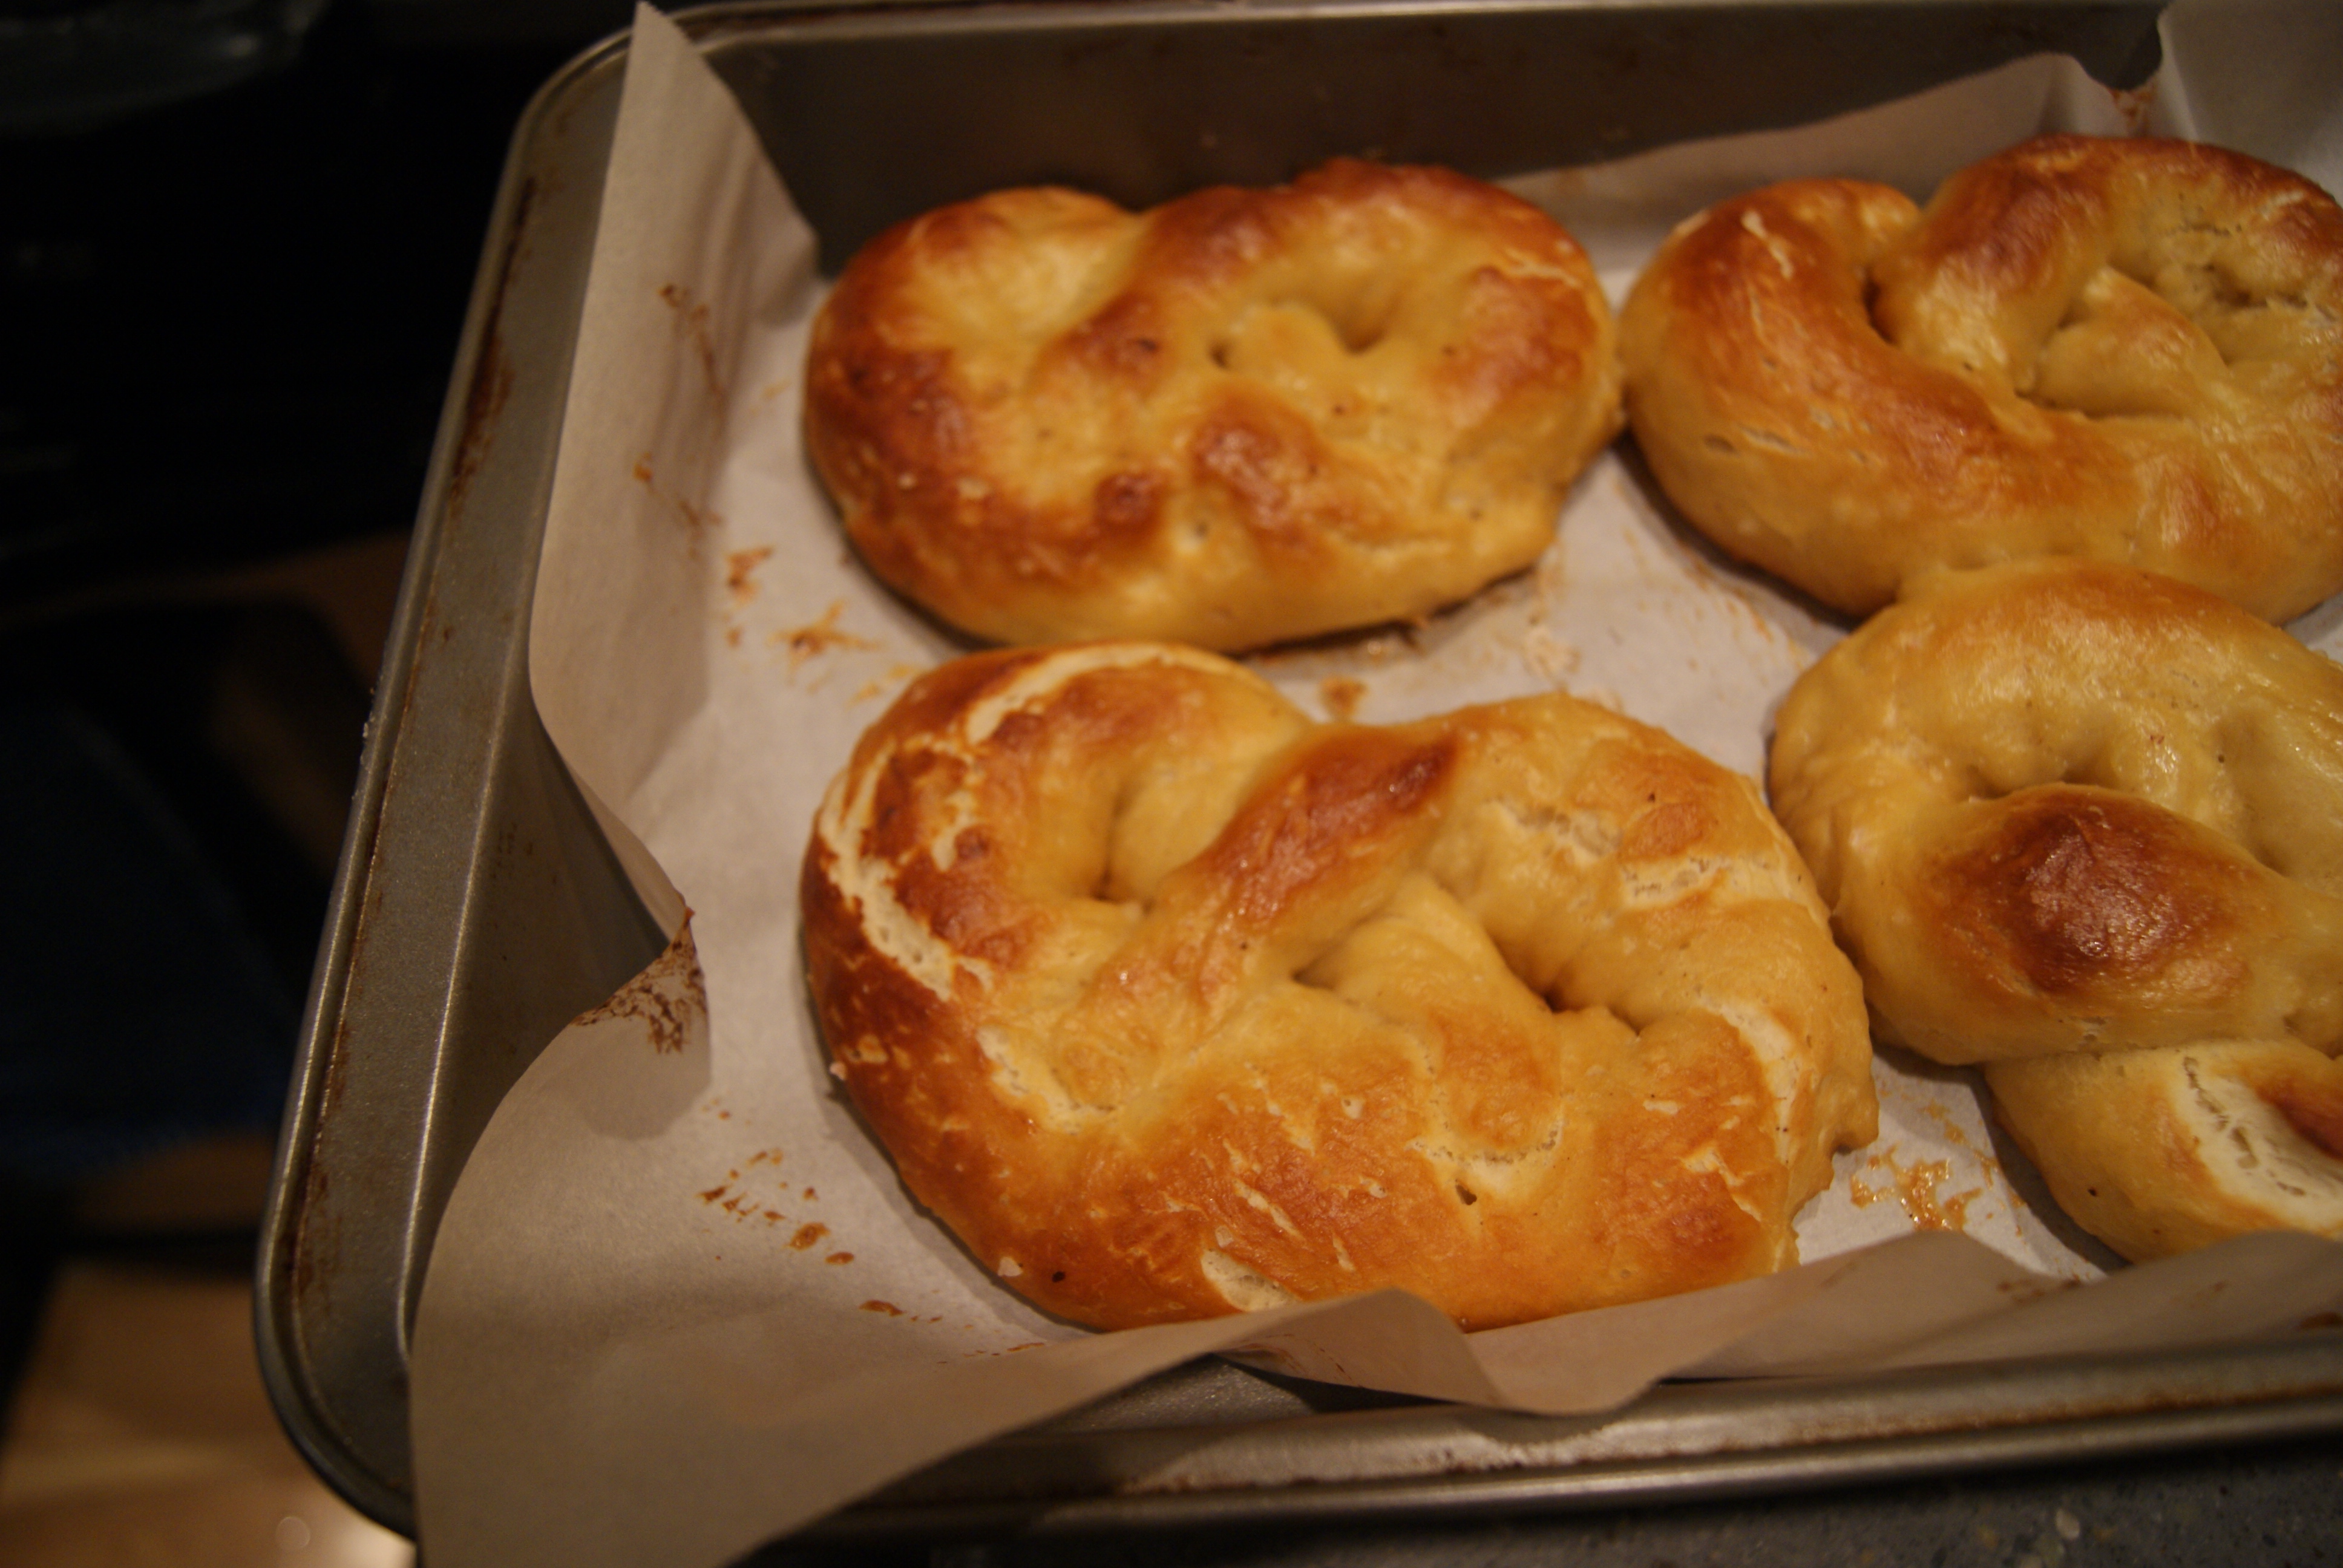
That said, if you have people that you want to make lovey-dovey edible items for on this day, please do so. To be honest, I like the idea of these soft pretzels as an “I love you” treat because they’re subtly heart-shaped, if they’re shaped correctly. If you know me, you know that’s always a mission for me. Truly, there isn’t a stencil, cookie cutter, or one-on-one tutorial that could help me.
Oh, also, set aside a few hours for this. These babies take some real time to perfect.
Soft Pretzels (makes 8)
1 1/2 cups of warm water
2 tablespoons of brown sugar
2 1/4 teaspoons of active dry yeast
1 stick of butter, melted
1 1/2 teaspoons of salt
4 1/2 to 5 cups of all-purpose flour
Canola oil, to grease bowl
3 quarts of water
2/3 cup of baking soda
1 egg, beaten
Coarse sea salt
Cinnamon sugar, optional
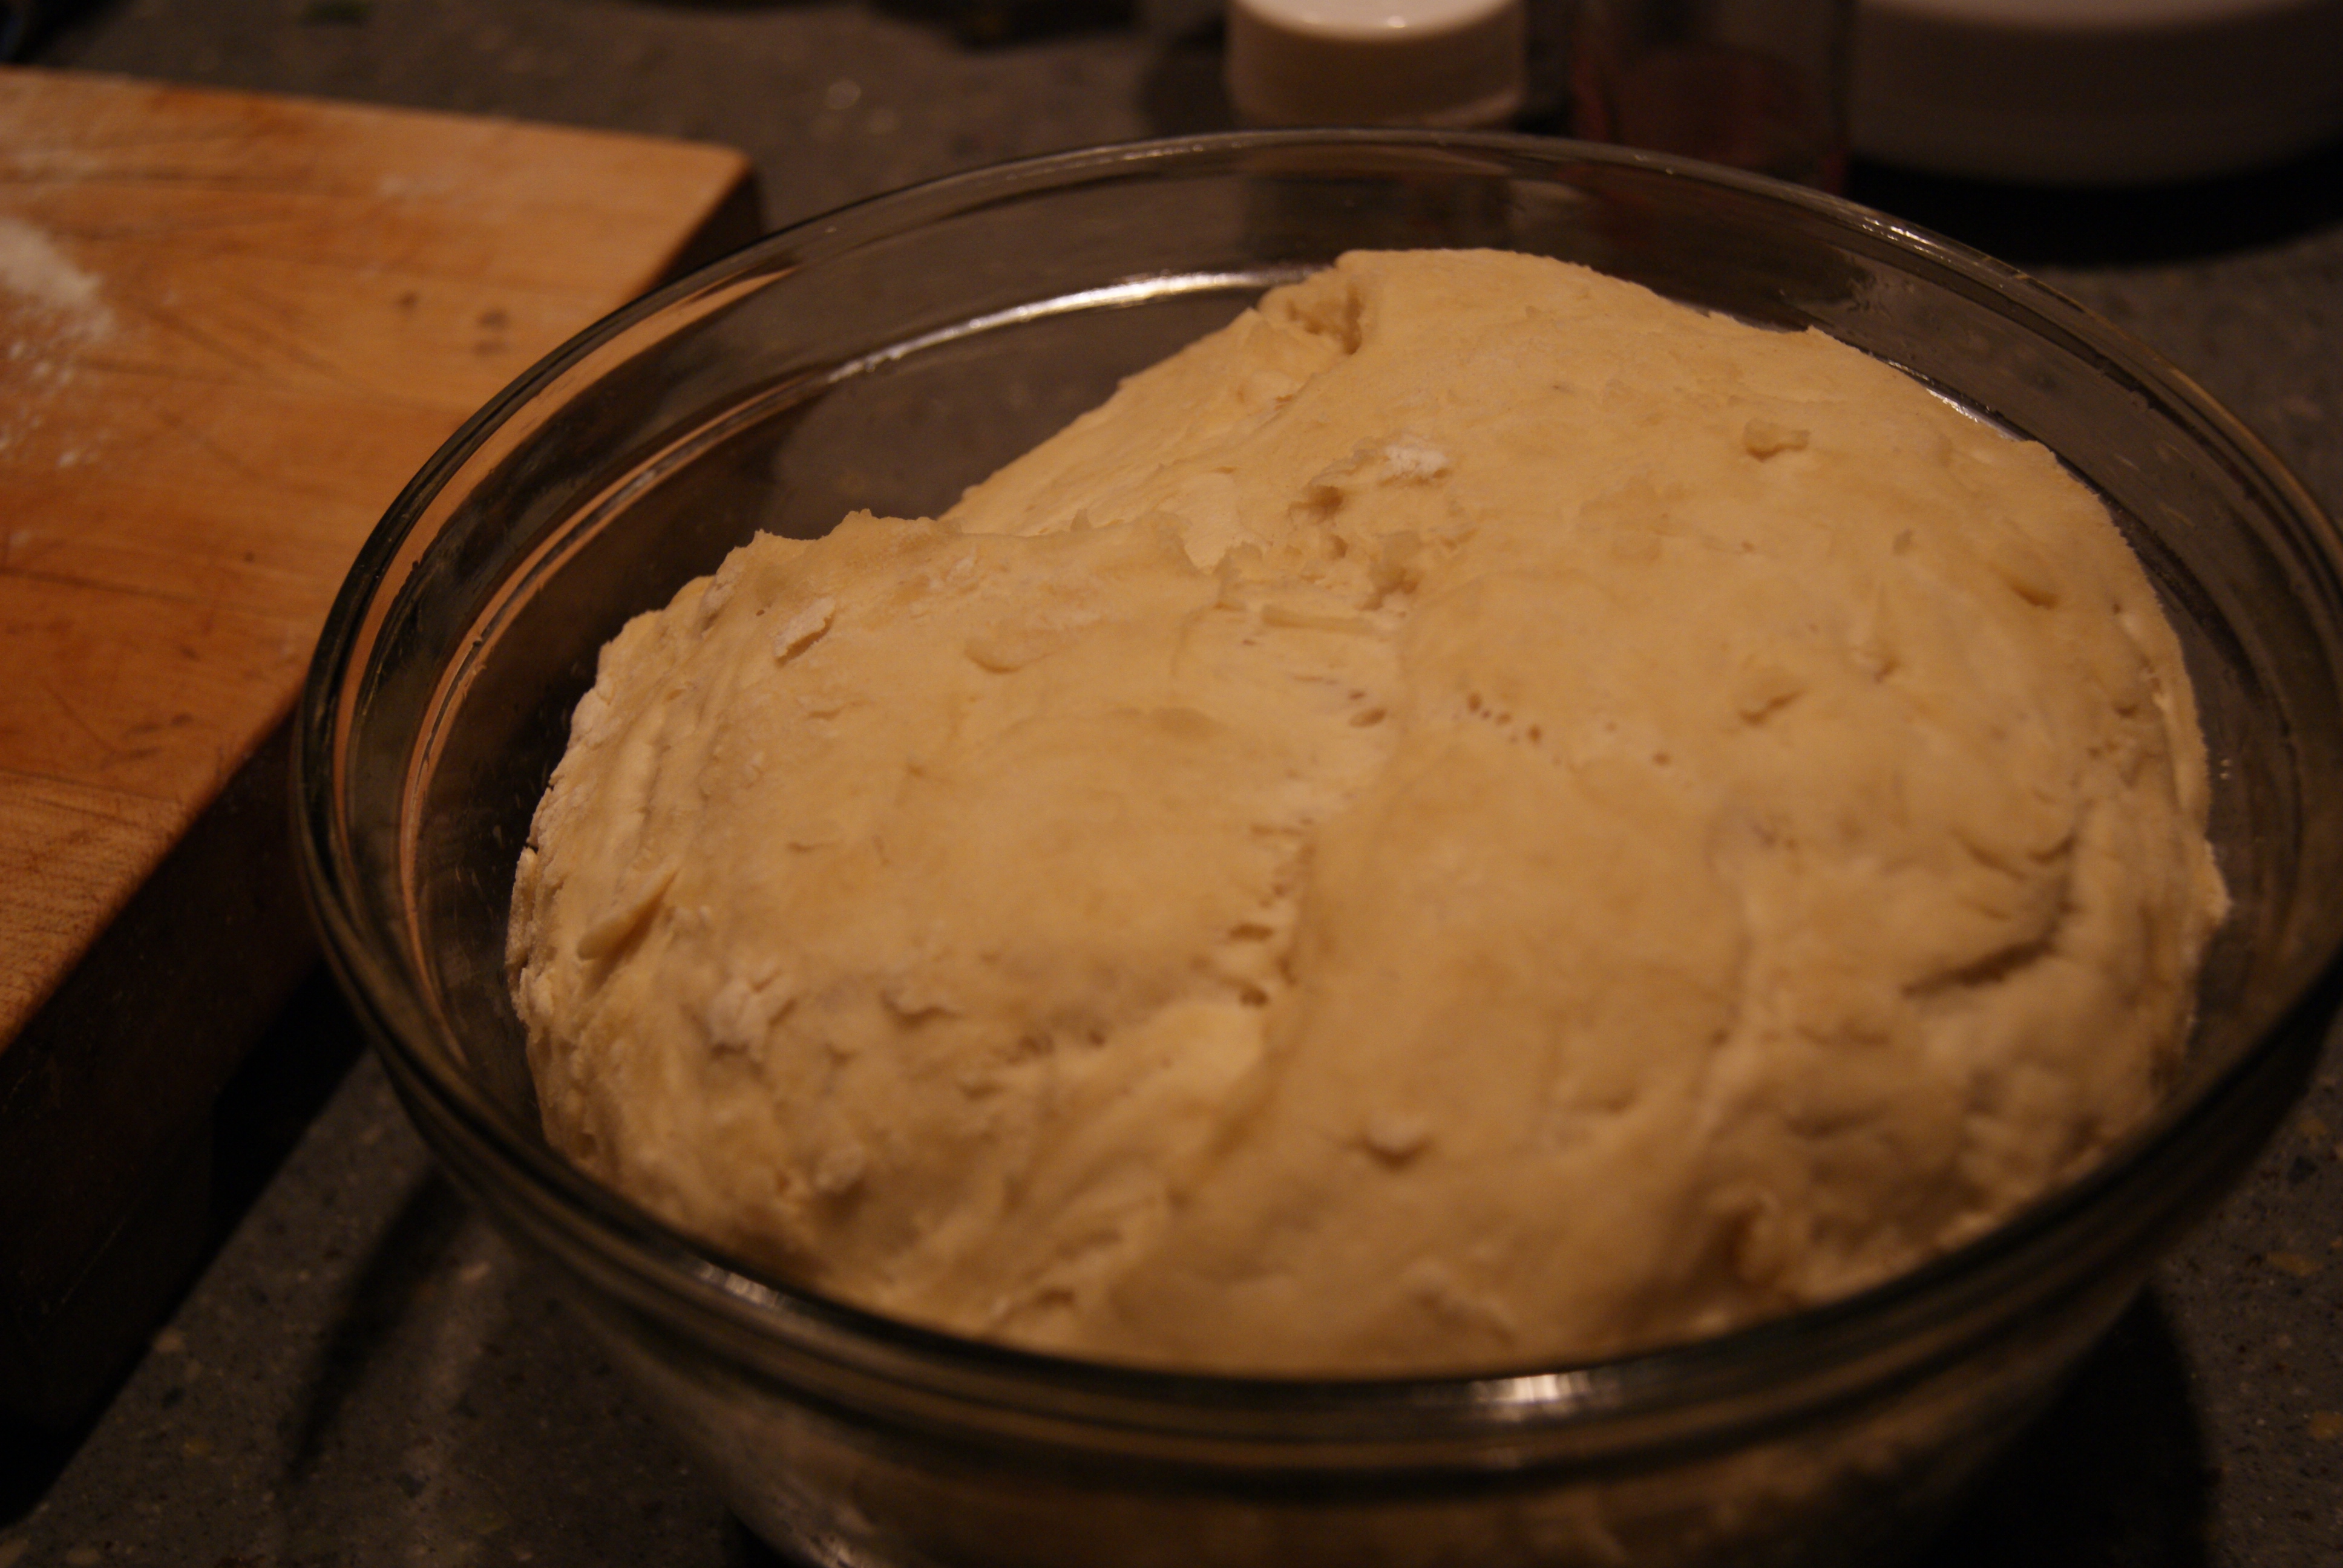
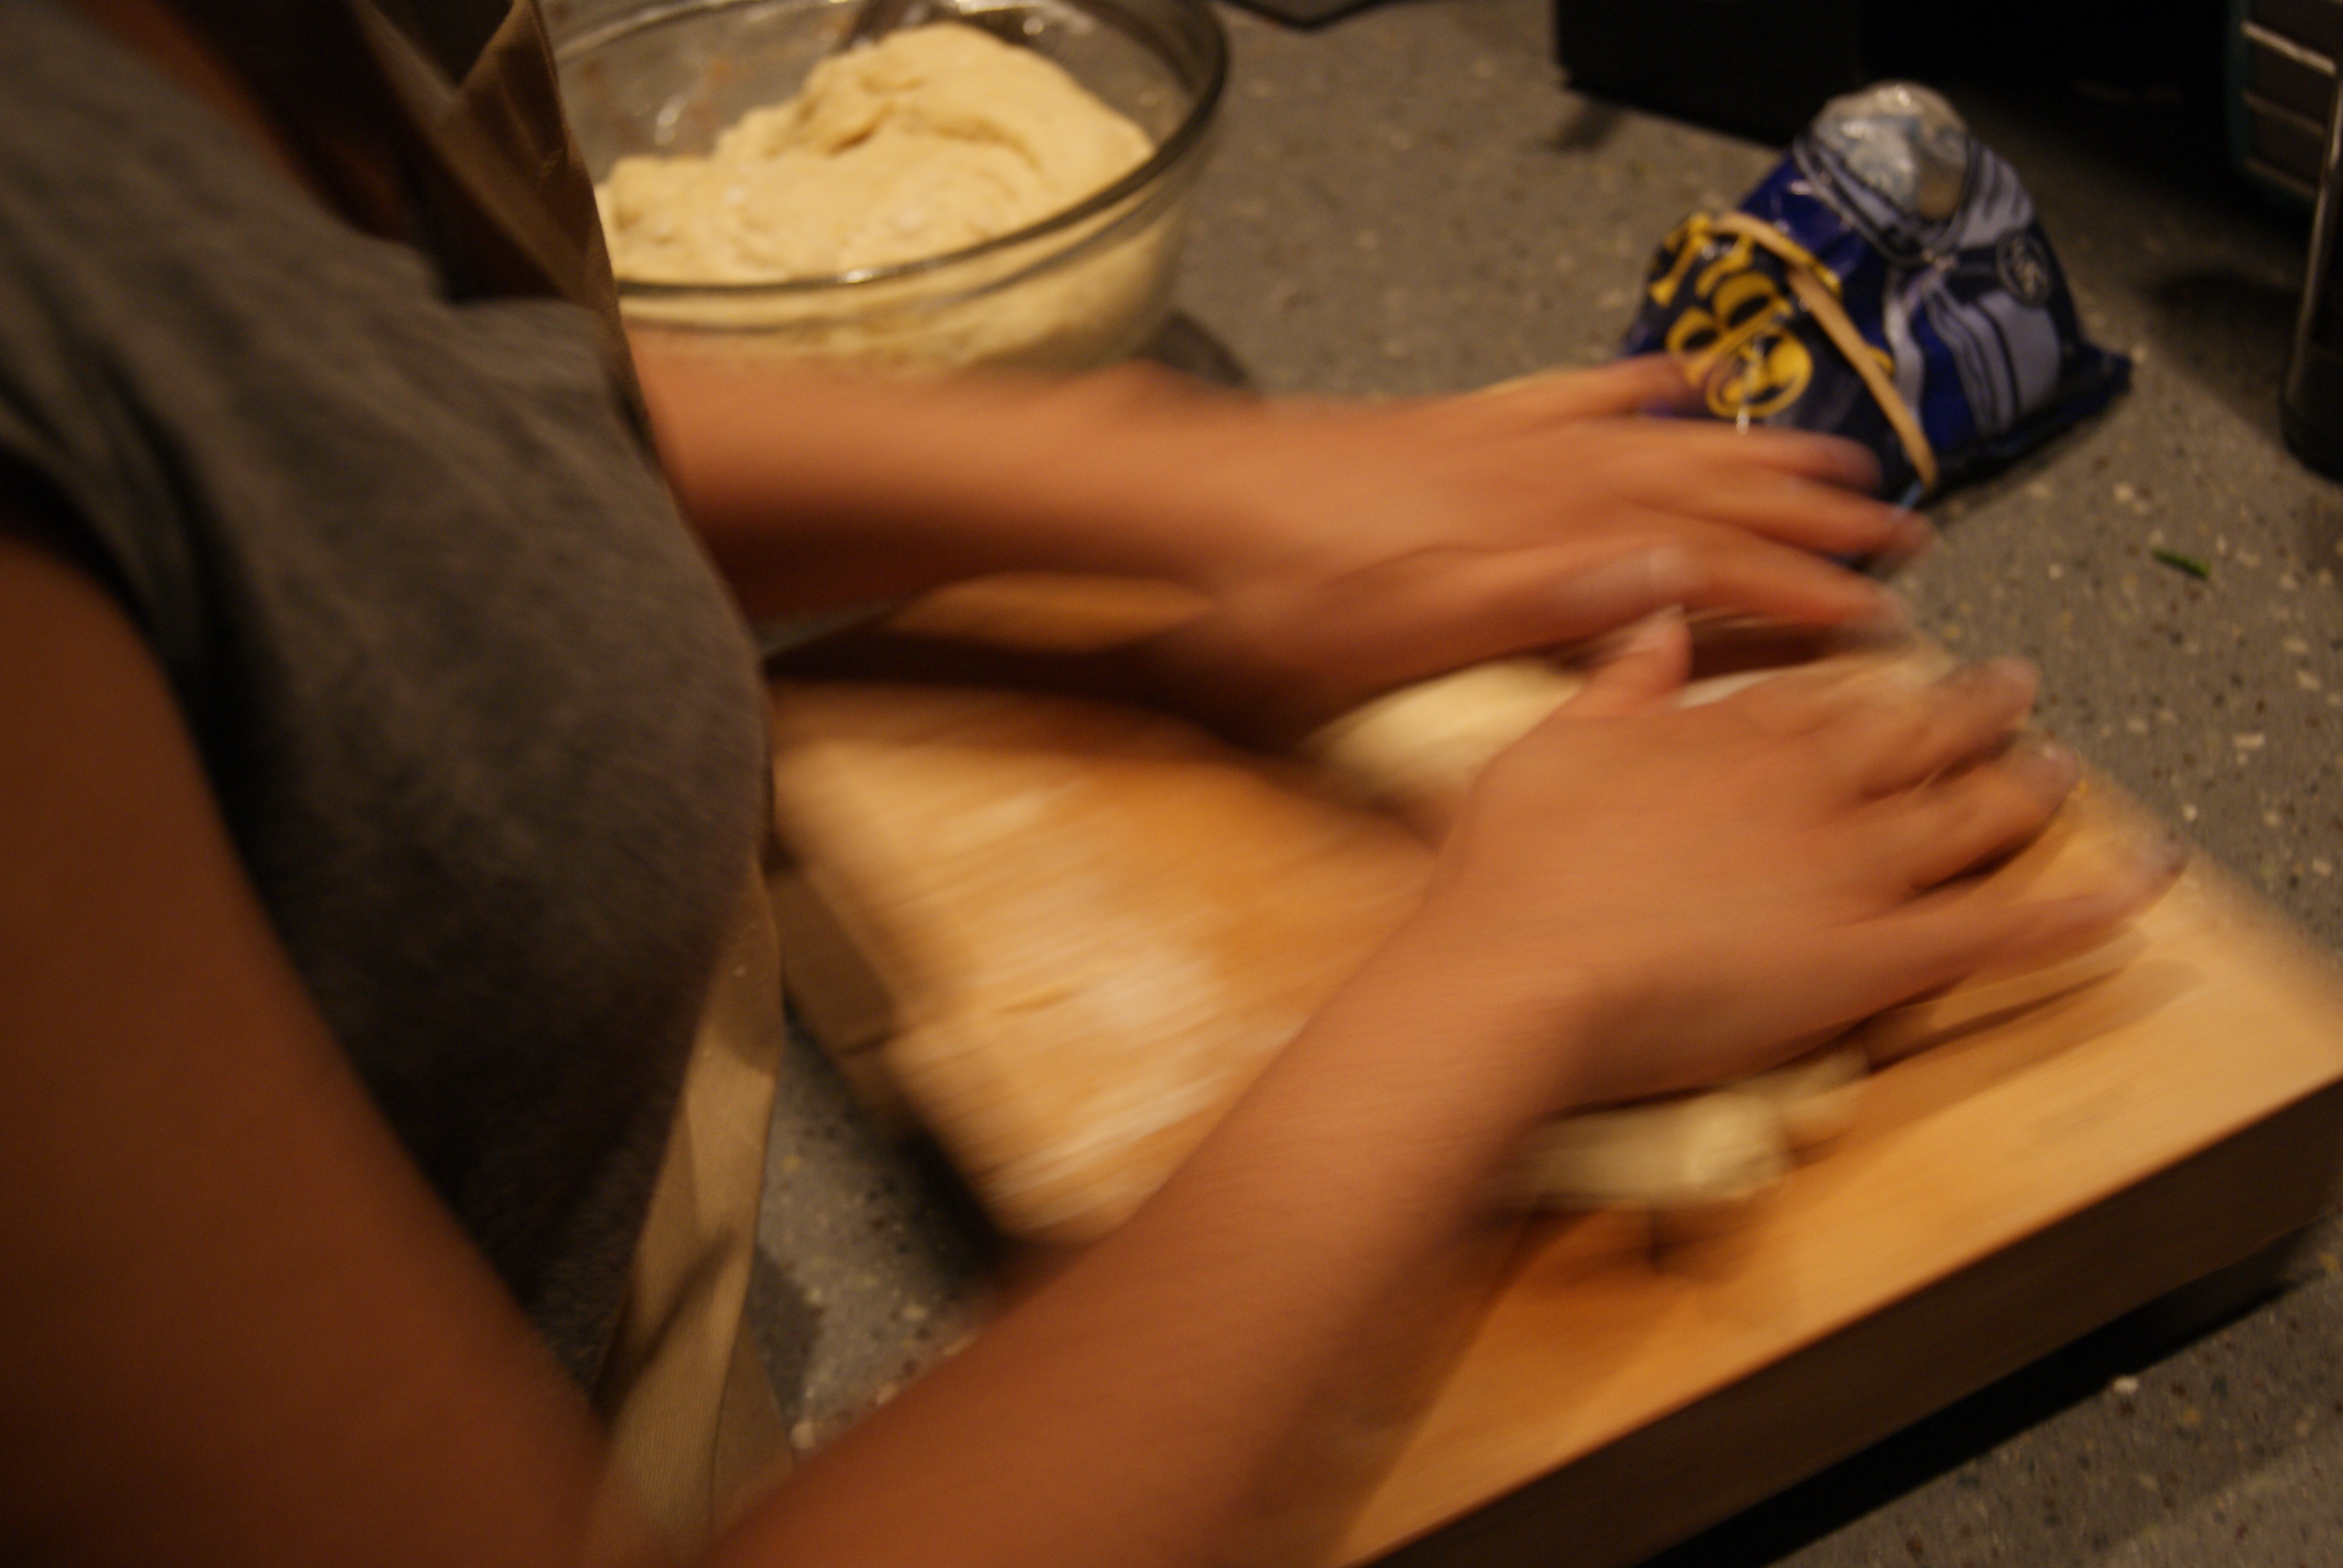
In the bowl of a stand mixer, combine water, sugar, yeast and melted butter. Let sit for 5 minutes, then add the salt and 4 1/2 cups of the flour. You can use a dough hook for this if you’re stand mixer has an attachment, but I was able to just get down n’ dirty with clean hands and knead this into a dough. However you do it, make sure to knead until the dough is smooth. If the dough appears too wet, add in a little more flour until you have what you need. Knead into a ball, and place into a large bowl that has been generously coated with canola oil. Cover bowl with a clean towel until the dough doubles in side, about 1 hour.
Bring your 3 quarts of water to a boil, and preheat your oven to 425ºF. Remove your now-ginormous dough from the bowl and separate into 8 equal pieces. Roll each piece into a long rope, then take one end and attach to the middle of the rope.
Do the same with the other end, and you should get a pretzel-y shape.
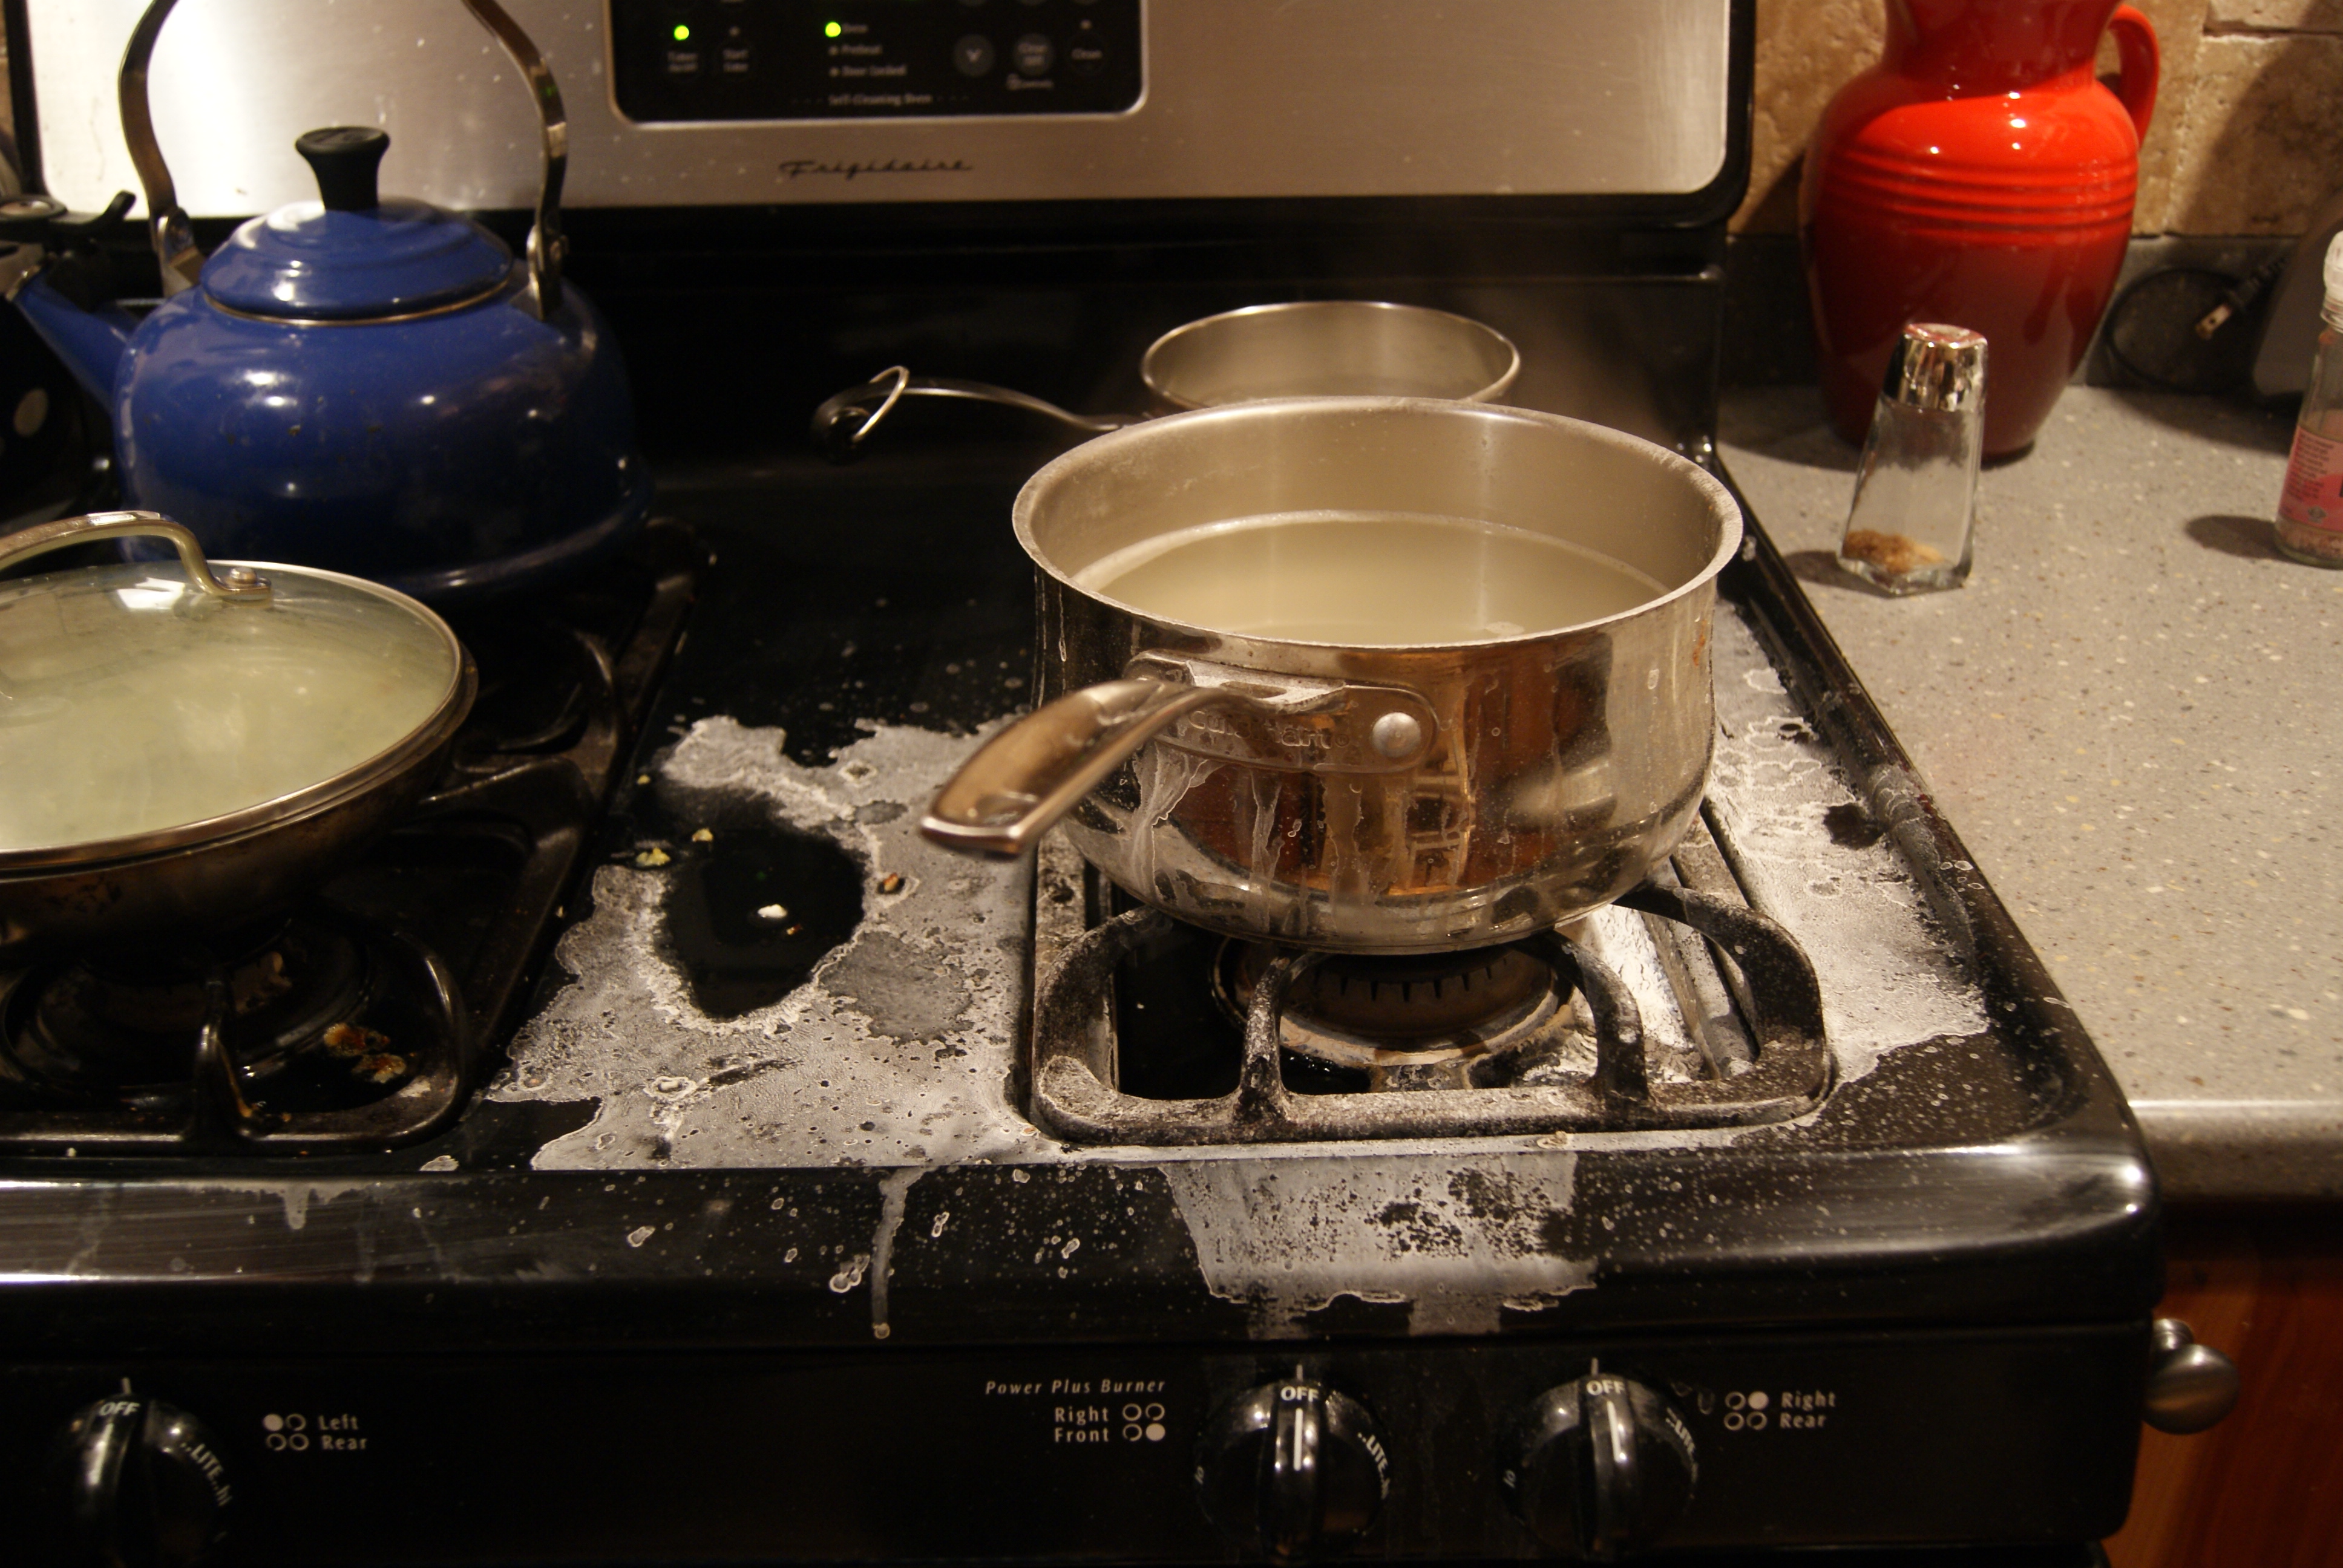
Now, slowly add baking soda to your water. Be very careful with this, as when added too quickly, the baking soda will foam, bubble over, and uglify your stovetop.
Um… yeah. Ugly.
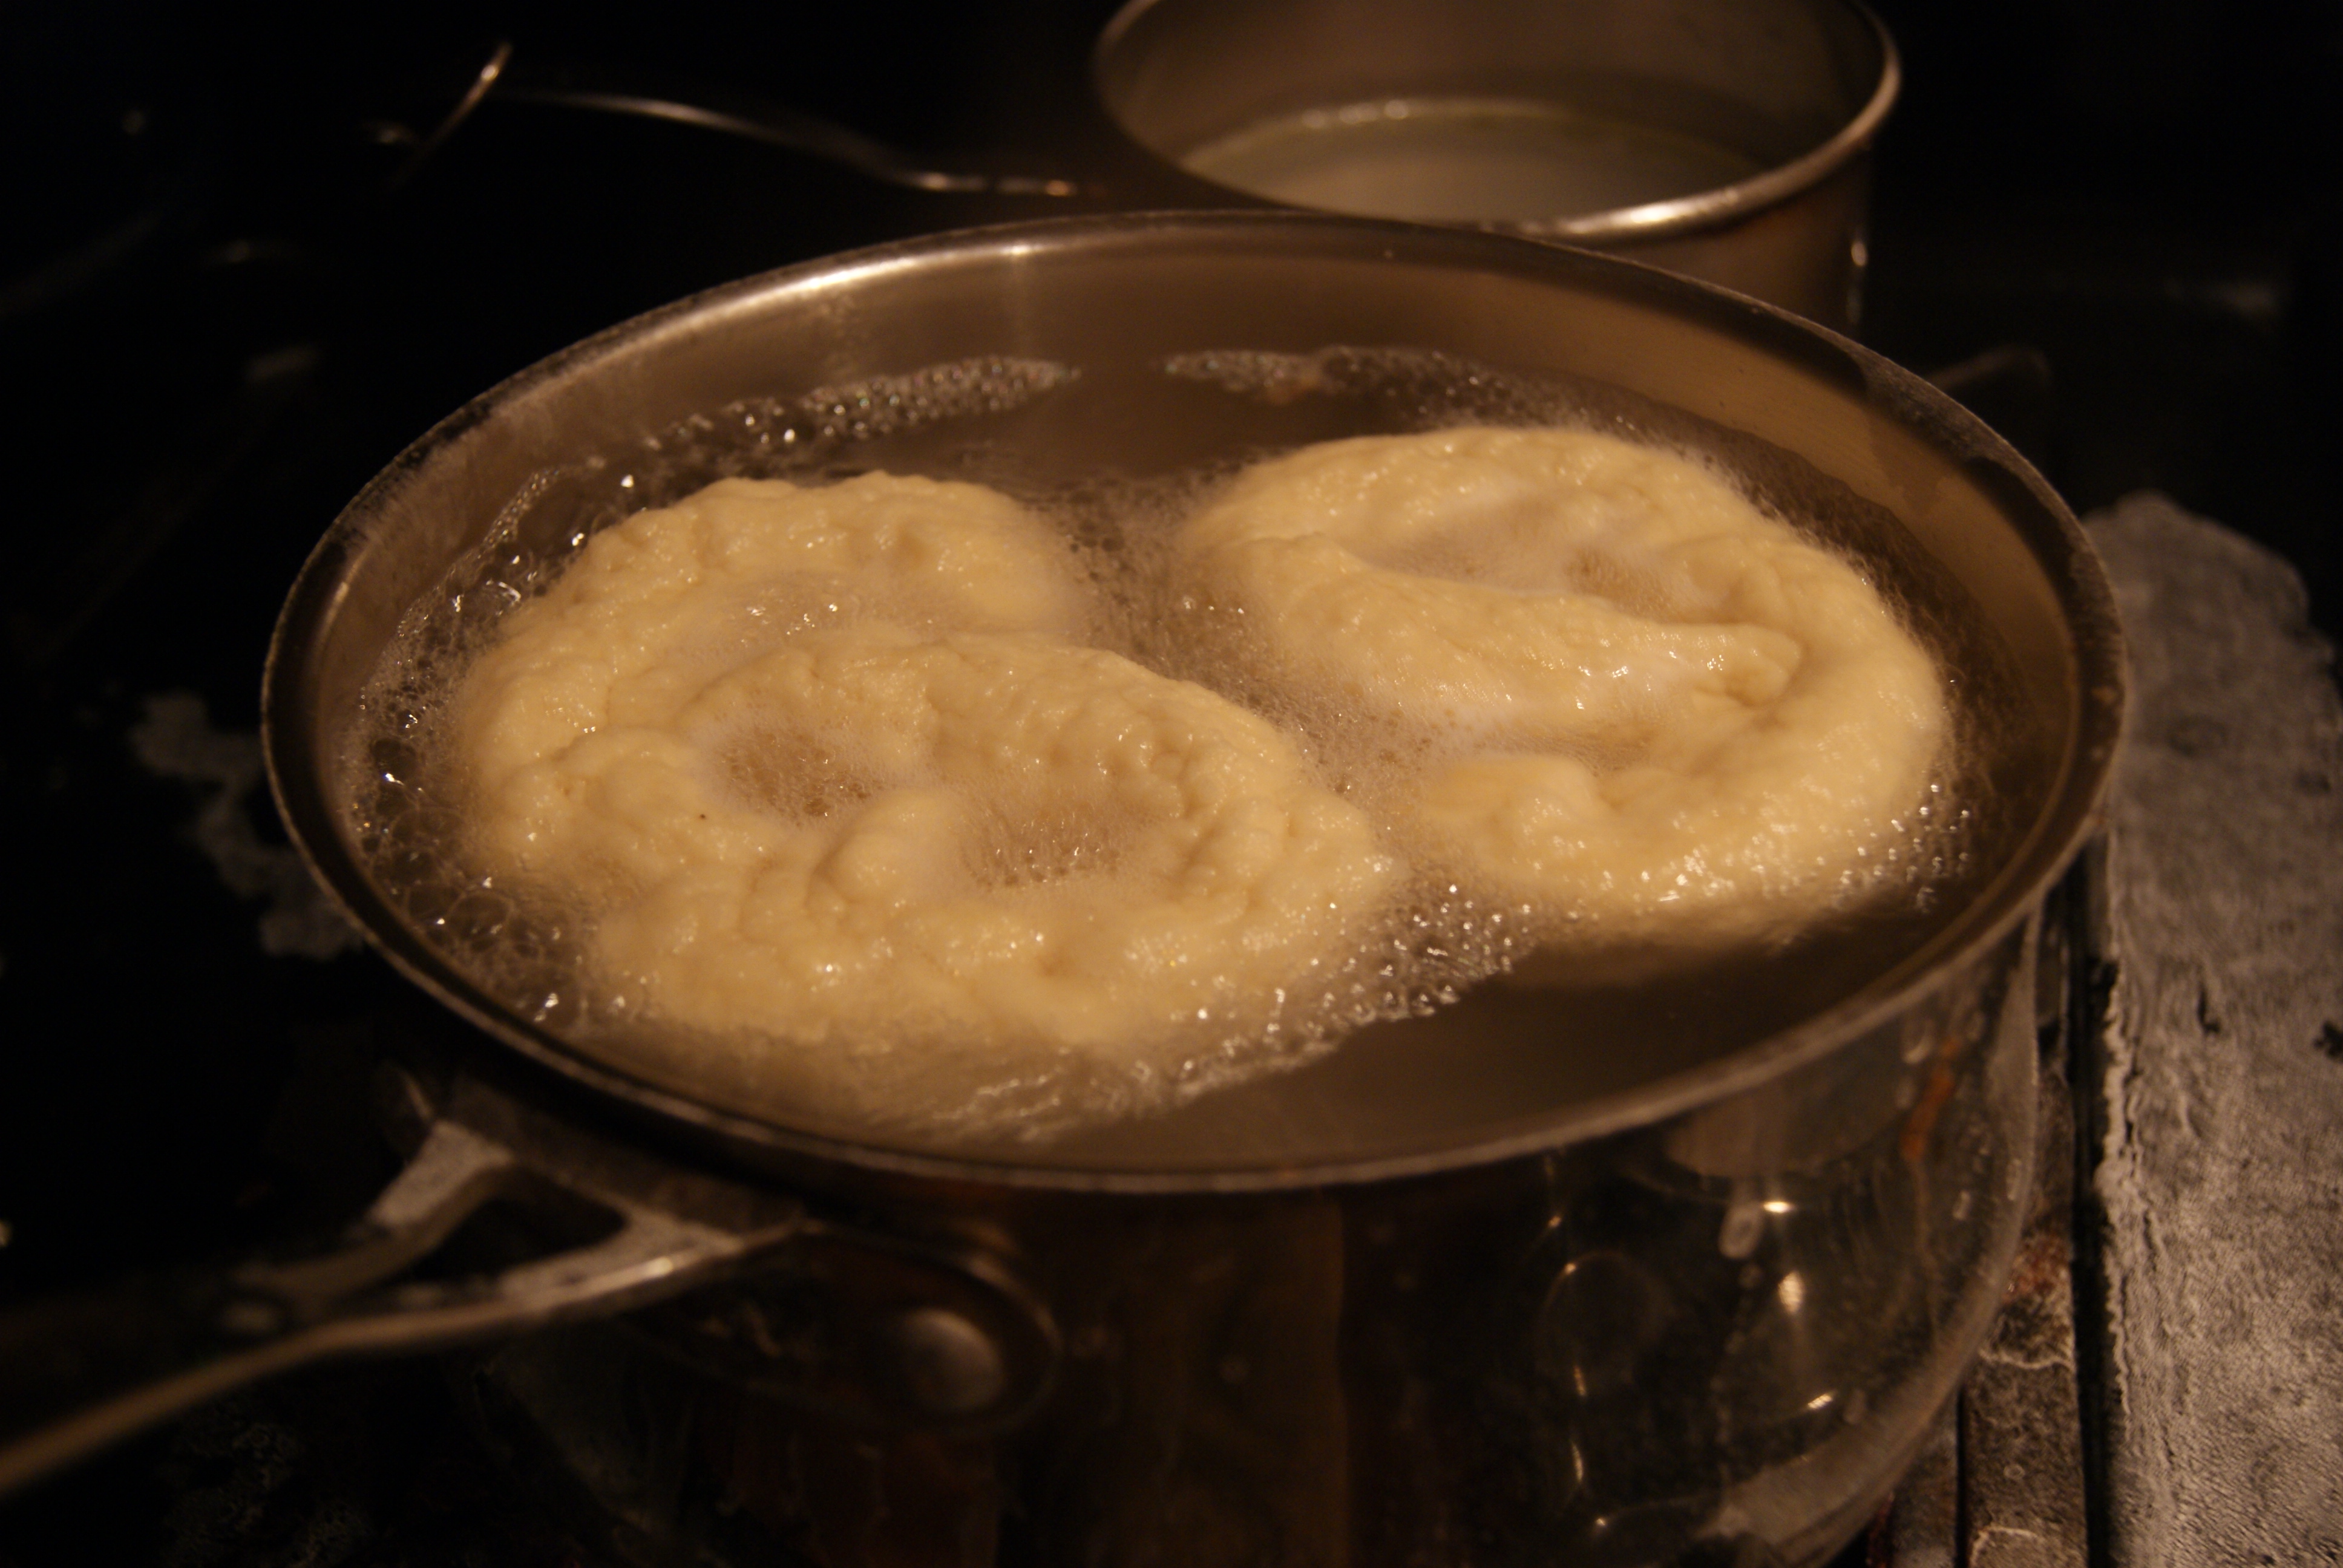
Oh, you could also burn yourself. So, again, cuidado. Slowly drop pretzels, two at a time, into the baking soda solution, for 30 seconds. Remove using a slotted spatula. Place 4 pretzels on each baking sheet.
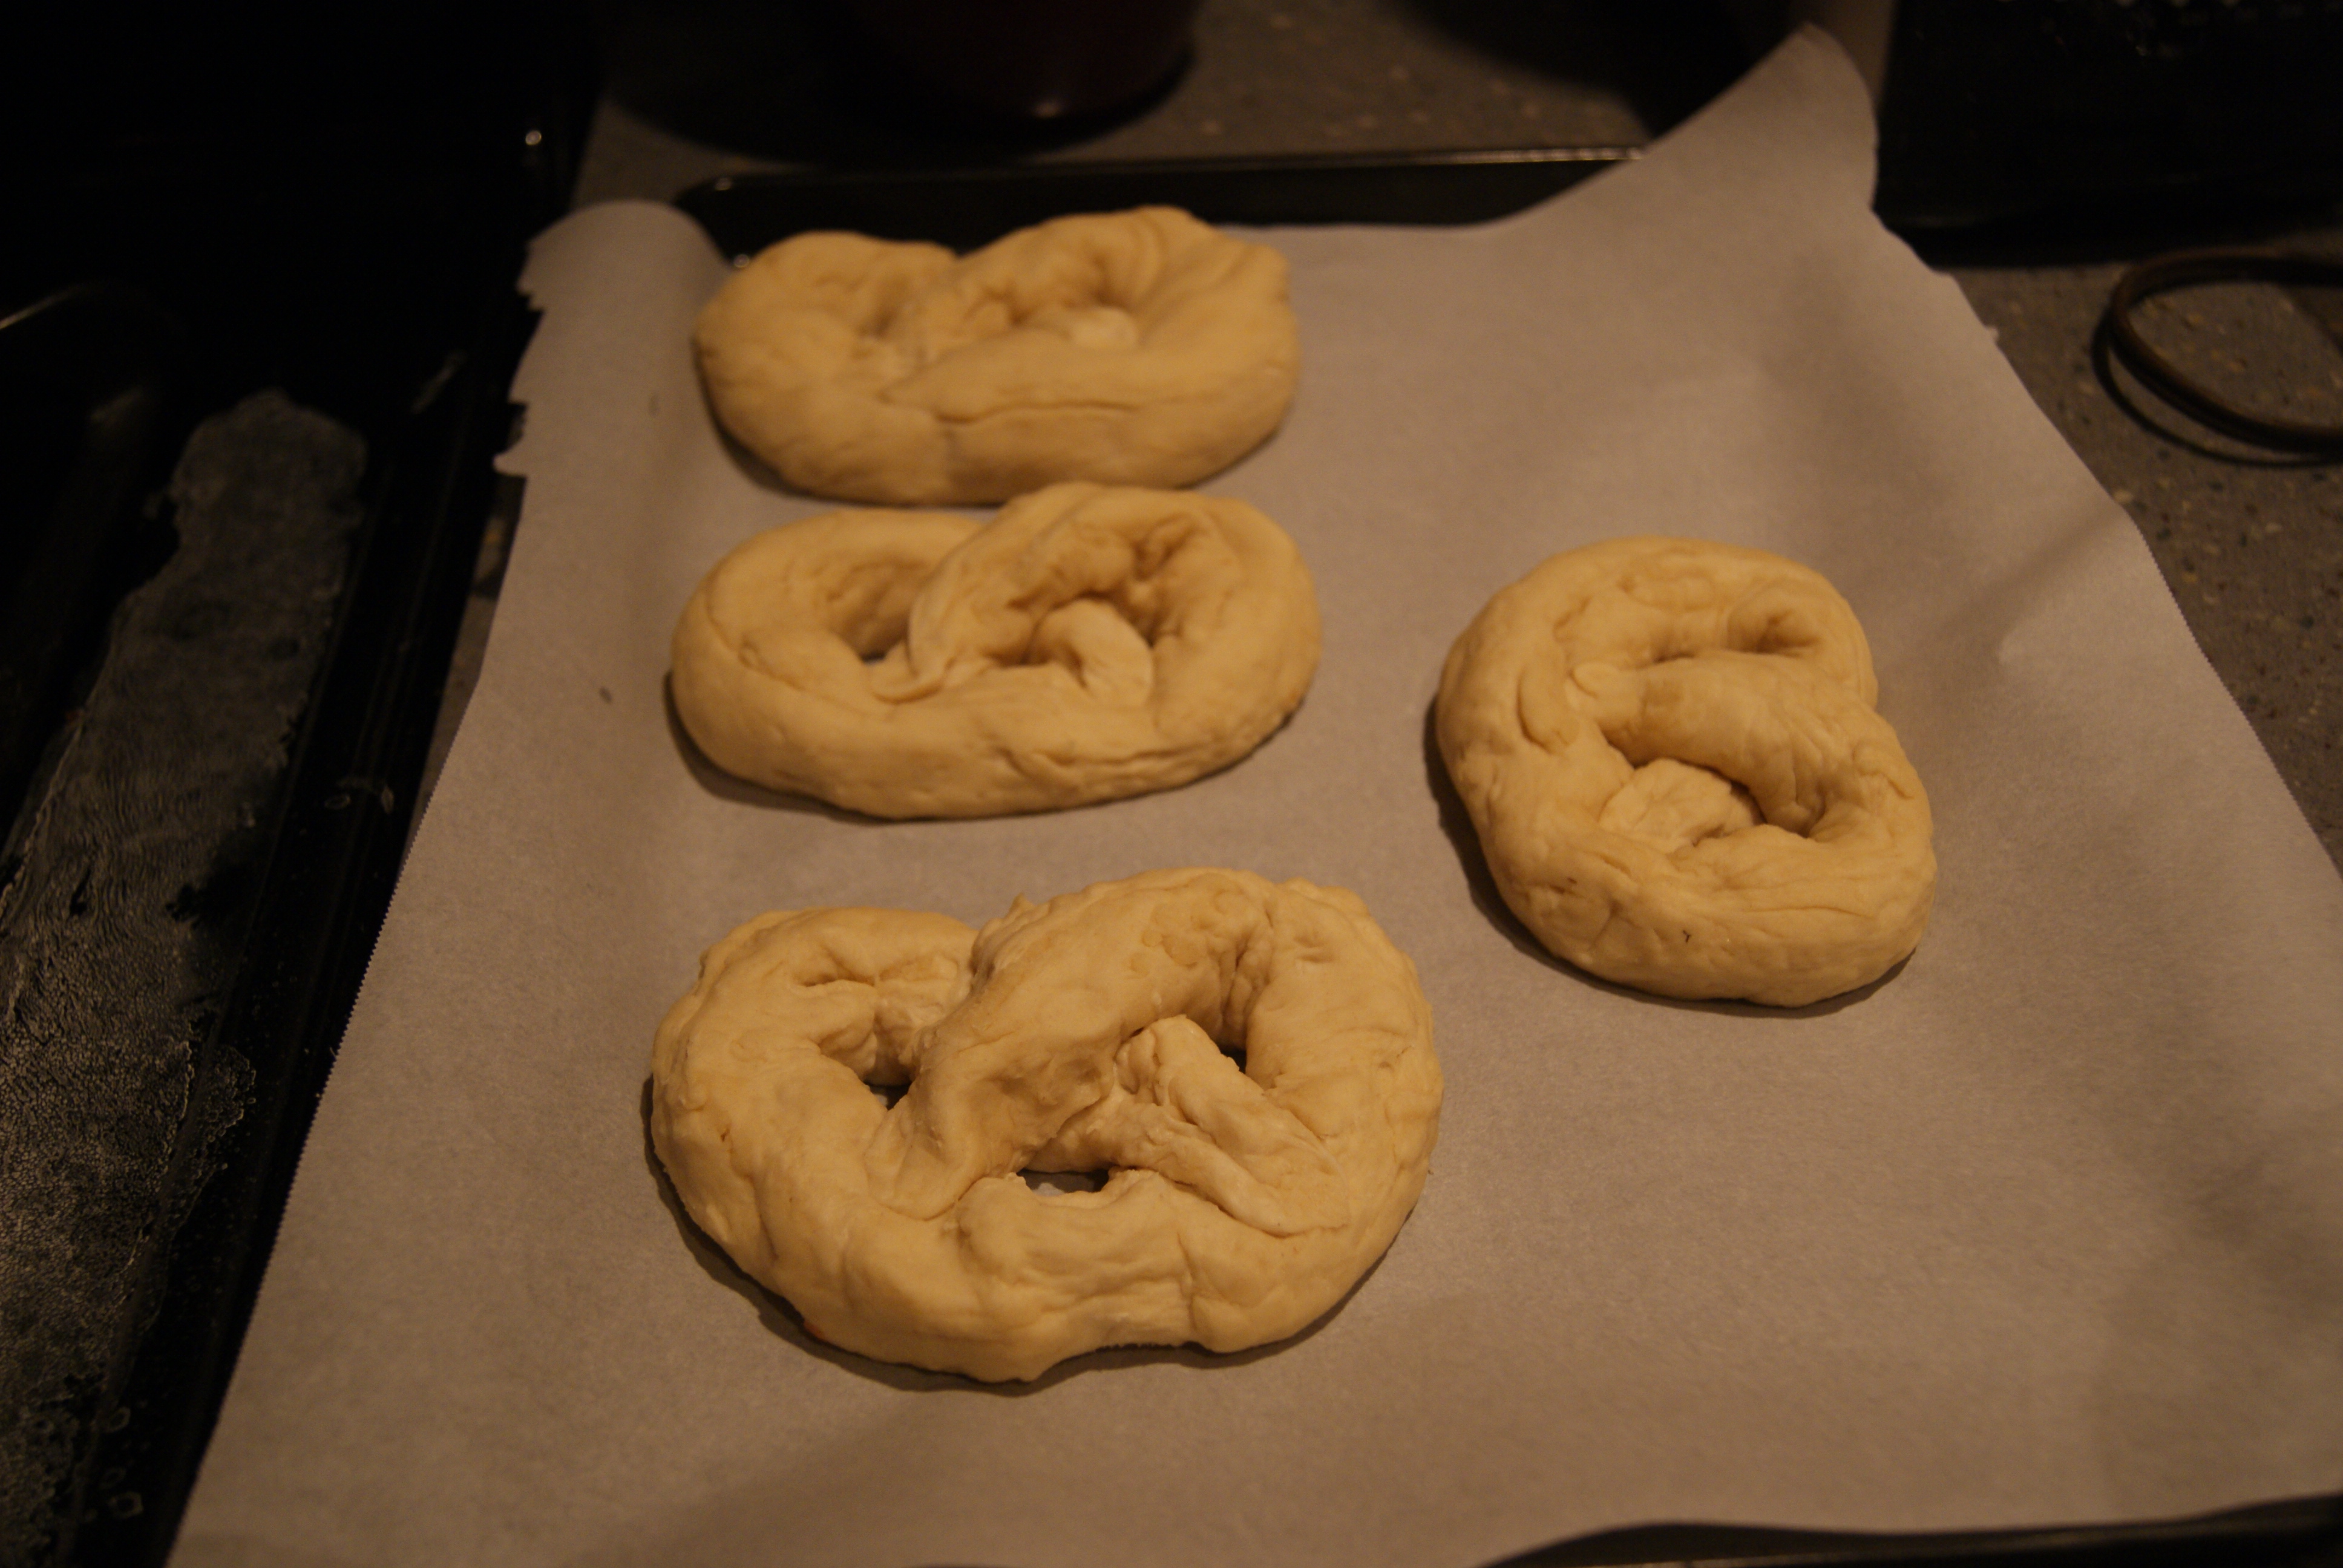
Brush the tops of each pretzel with beaten egg, and sprinkle generously with coarse sea salt. (You can also add any other powder-y toppings you’d like, such as powdered sugar or cinnamon sugar.) Bake for 15 to 18 minutes, or until the tops of the pretzels are golden brown. Let cool on wire rack for at least 10 minutes.
Ok, before these were done I was. Meaning, the whole baking soda boil-over kind of really pissed me off, and I took it out on the pretzels by neglecting them for a few minutes after they cooled. Isn’t that sad? I took my anger out on an inanimate object that I had just spent hours making. I really only came around when I saw my boyfriend picking at one and making strange noises. Since I’d kept things simple and stuck with salt as the only topping, we decided to sit down with a couple, pile on the mustard, and make strange noises together. Wait. No. Wait. We just really liked them. Even I was impressed at how well and professional-tasting these ended up being. Yum.
My only real suggestion is to make these when you’re expecting guests. Specifically, exactly 8 guests. One is very filling, and these start to go stale after a couple of days, so it’s wise to either give a few away or find a friend with a bottomless pit for a stomach. Or, you know, just gorge yourself on these with the person you most like to make strange noises with.