Categories
Cakes Strange and Yummy

Sad Shibow And The Controversial Confection (I Guess?). Also, we’re A HUNDRED!

Maybe it’s only controversial if you’re my mom, who’s like, wayyyy Catholic and isn’t totally sold yet on my “Go Jesus! It’s Your Birthday!” Christmas t-shirt. Otherwise, this is probably just Sunday for a lot of you, but Sunday with oddly colorful hard-boiled eggs and a disgusting amount of rabbit-shaped chocolate… and maybe a Mass or two (or what feels like three) thrown in there, if you’re into it. Who did Lent this year? Which one of you champs gave up meat? So how much bacon are you sucking on as you read this right now, you dirty being, you? Don’t fret, I don’t blame you. I gave up zero things and I am still currently happily munching away on a “special occasion” (read: uh… Sunday) homemade bacon-and-cheddar waffle taco. No shame = that game.

So yeah, for those of us who celebrate: Happy Easter! And Happy Passover to those who celebrate it. And Happy Record Store Day, which was yesterday, for those of us who make a special point to celebrate that (this year I scored a Nas album!).

lent-sin-party-celebrate-easter-ecards-someecards

Ok, so I know I said I’d be posting once a week, and I actually thought I’d be getting away with straight up just ignoring my own challenge, until a friend of mine scolded me for not following through. Thanks, you, for noticing. I swear it was not a cry for attention. I basically either got really super sick or really super hit with allergies, and I didn’t really want to be making cough sandwiches for the blog, feel me? I’m still a little under the weather, but I could wait no more, because:

1. THIS IS SAD SHIBOW’S 100TH POST!!!!!!!! WHAAAAAAAT?! How the hell did that even happen? I cannot believe my electricity bill isn’t higher, given how much I have abused my oven in the name of this blog. Cheers to us, guys!

2. It’s Easter, which is a pretty decent dessert holiday around these parts. Given that this is a special post, though, (did I mention that I’ve written here A HUNDRED TIMES?) I thought I’d do something pretty wacky this time around.

3. I’m a little pissy. I feel like some people tend to use special occasions to just be total, hypocritical rats. Like, oh, let’s celebrate (choose any one here) the: birth of Jesus/fight of our forefathers/death and then rise from the dead and then rise into the sky of Jesus/Record Store Day by just being total losers. Let’s hurt people! Punish them for nonsense reasons! Let’s just be everything that’s the total opposite of good, and let’s use our belief systems to justify being that way!

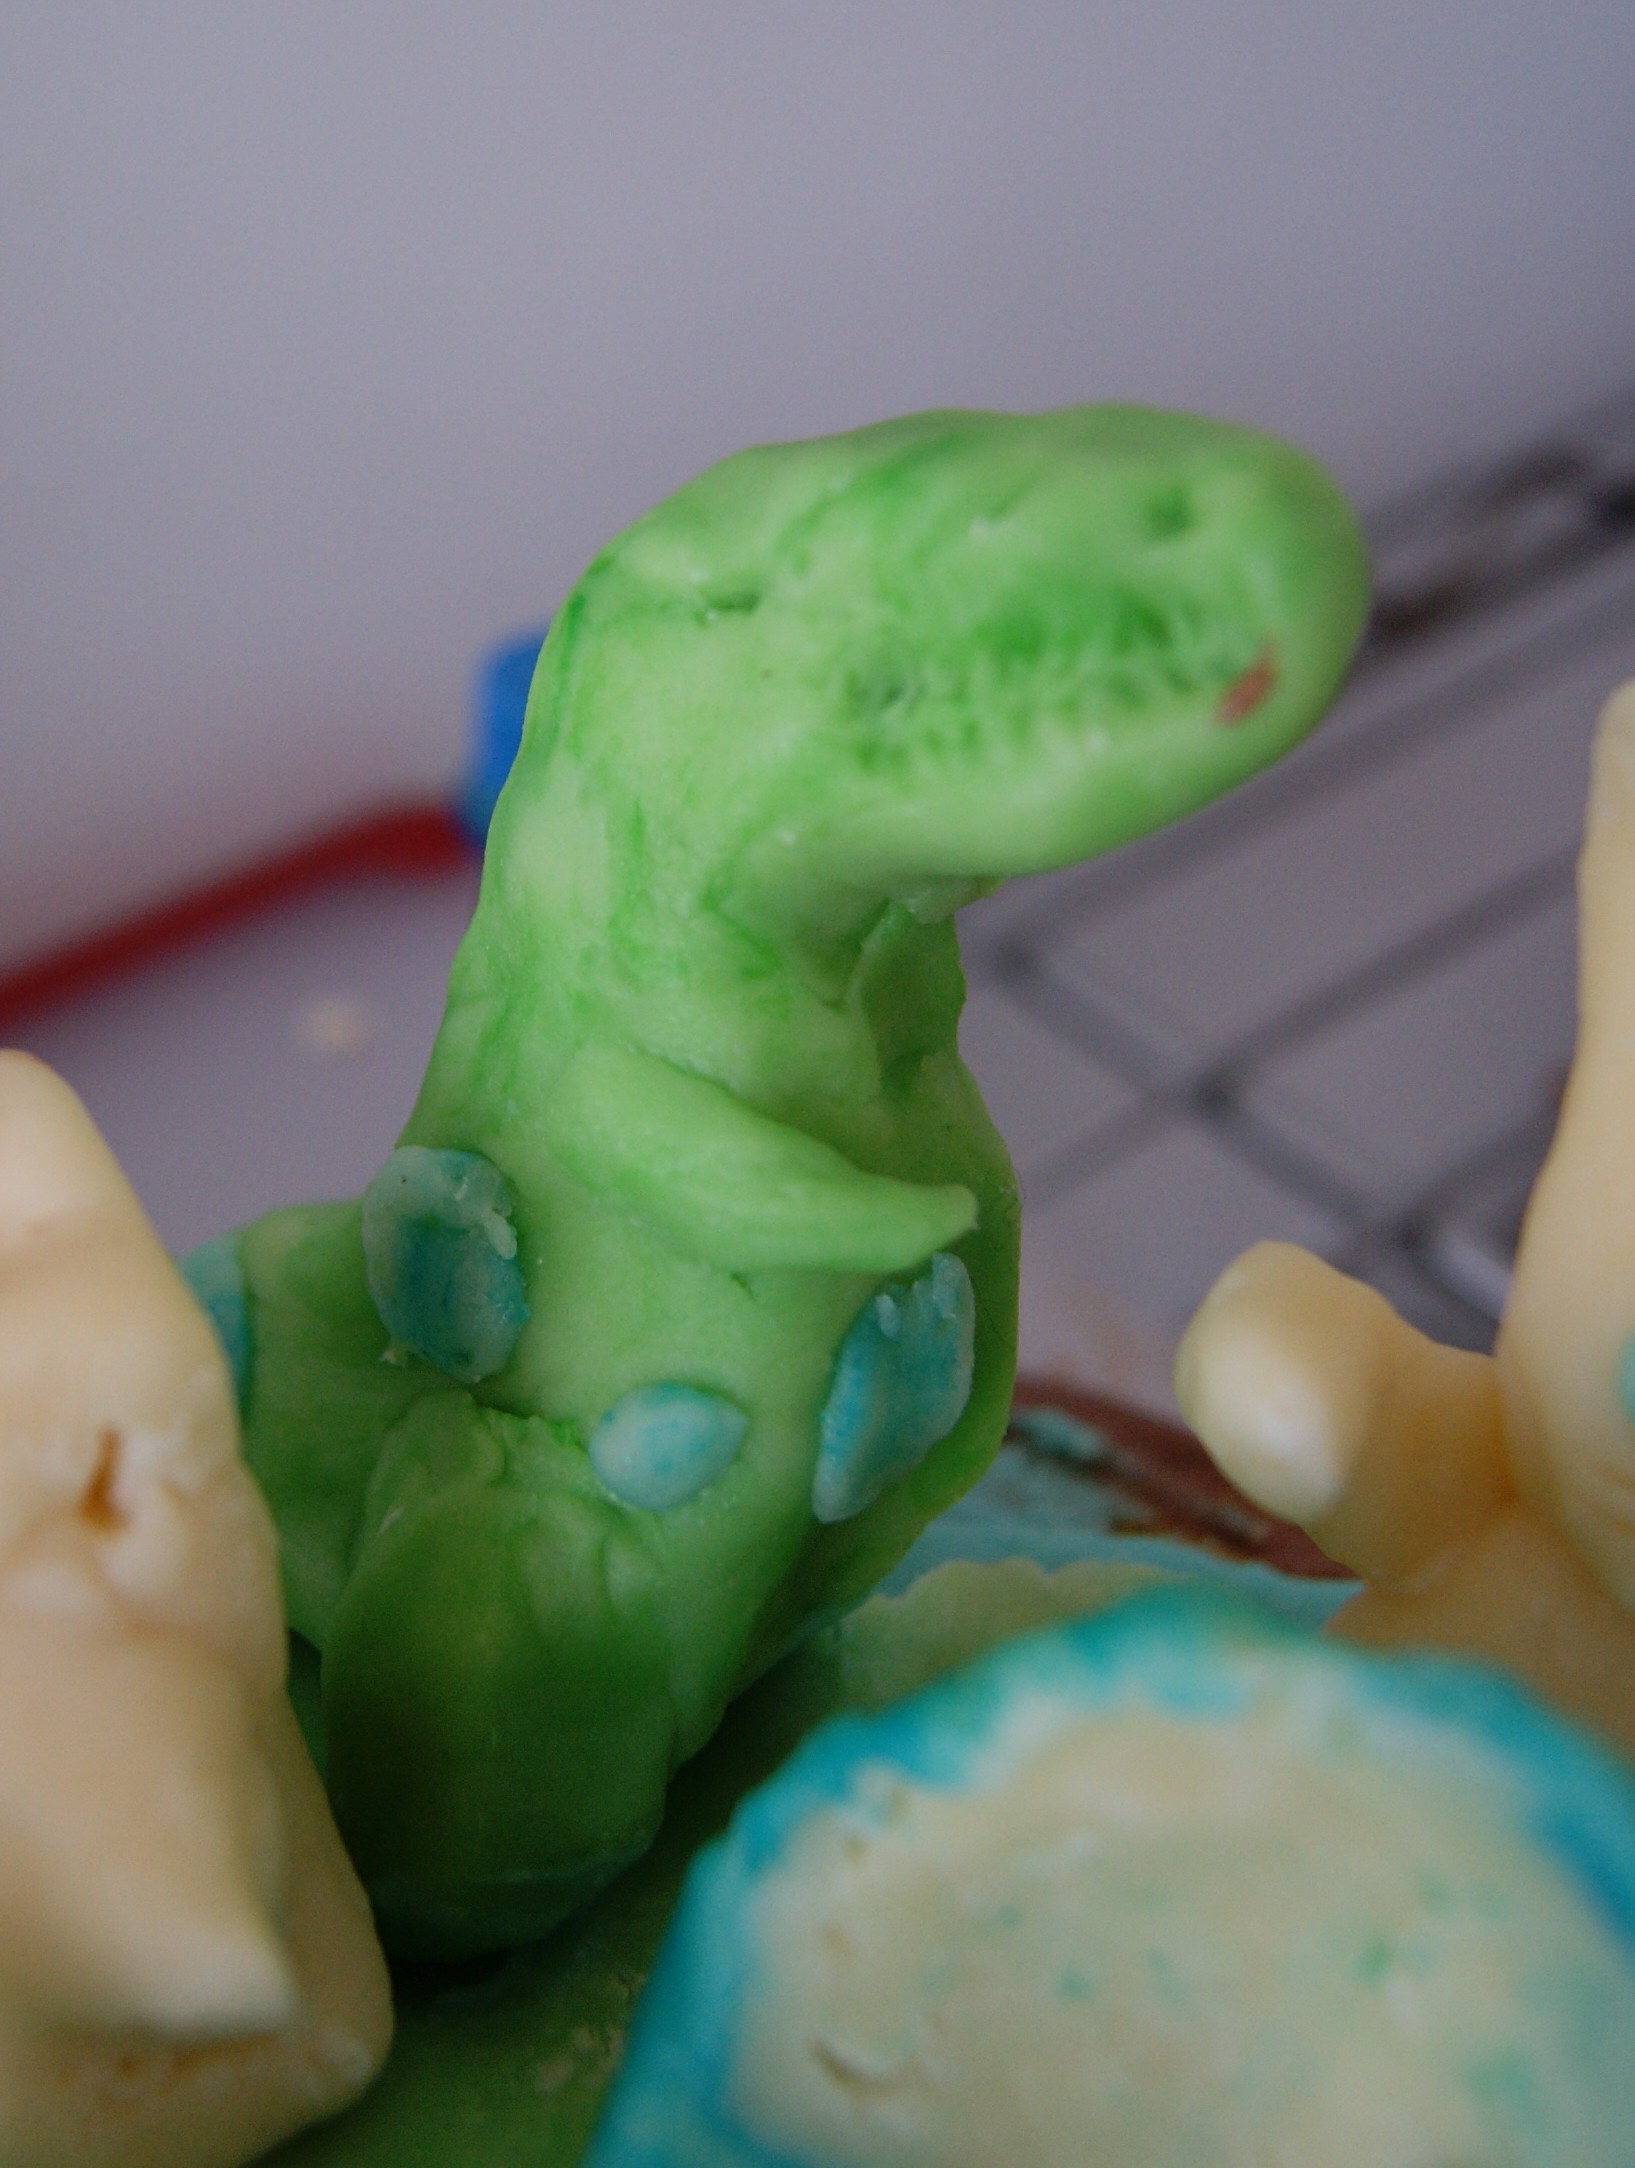
I couldn’t hold any of that in any longer. Whew. Ho-kay. So, I’ve been trying to experiment more outside of my baking comfort zone, and finally came around to the idea of using modeling chocolate in my desserts. Most of the reason I’d never wanted to use it before is I am a HORRIFIC artist, which you’ll see below in pictures. My Play-Doh projects basically all looked like variations on the same amoeba. I never truly developed as an artist, and I’ve accepted that I probably never truly will. Still, I thought it would be fun to try, especially given how easy modeling chocolate is to make. Also, unlike fondant, which is very delicate and difficult to manipulate, modeling chocolate is incredibly flexible and easy to work with, as it doesn’t dry out and can be worked and reworked to your heart’s desire. It also tastes like chocolate, because it is chocolate! Huzzah! Lastly, I decided to use a butter cake because originally I was planning to shape this cake into something that resembled something vaguely holiday-related, and butter cake is one of the sturdier types of cake there is. Once I was done with the modeling chocolate portion, though, I decided to just sort of cut my losses and move on to bigger and better things in life. Let’s just get to work on this thing.

Jesus Hatched From a T-Rex Egg That The Easter Bunny Delivered To Easter Island Butter Cake (makes one 8-inch round WTF SHIBOW layer cake)

For the modeling chocolate

Note: this is the most helpful video you will find on the subject. 

1 pound of white chocolate chips, melted and cooled slightly

1/2 cup of light corn syrup

Various food colorings, if you desire

For the butter cake

Adapted from Betty Crocker Cookbook

2 1/4 cups of all-purpose flour

1 1/2 cups granulated sugar

3 1/2 teaspoons of baking powder

1 teaspoon of salt

1/2 cup of butter, softened

1 1/4 cups of milk

1 teaspoon of vanilla

3 eggs, beaten

For the Vanilla Frosting

3 cups of powdered sugar

1/3 cup of butter, softened

1 1/2 teaspoons of vanilla

2 to 3 tablespoons of milk

(If you’d like to make this cocoa frosting, add in 3 tablespoons of cocoa powder)

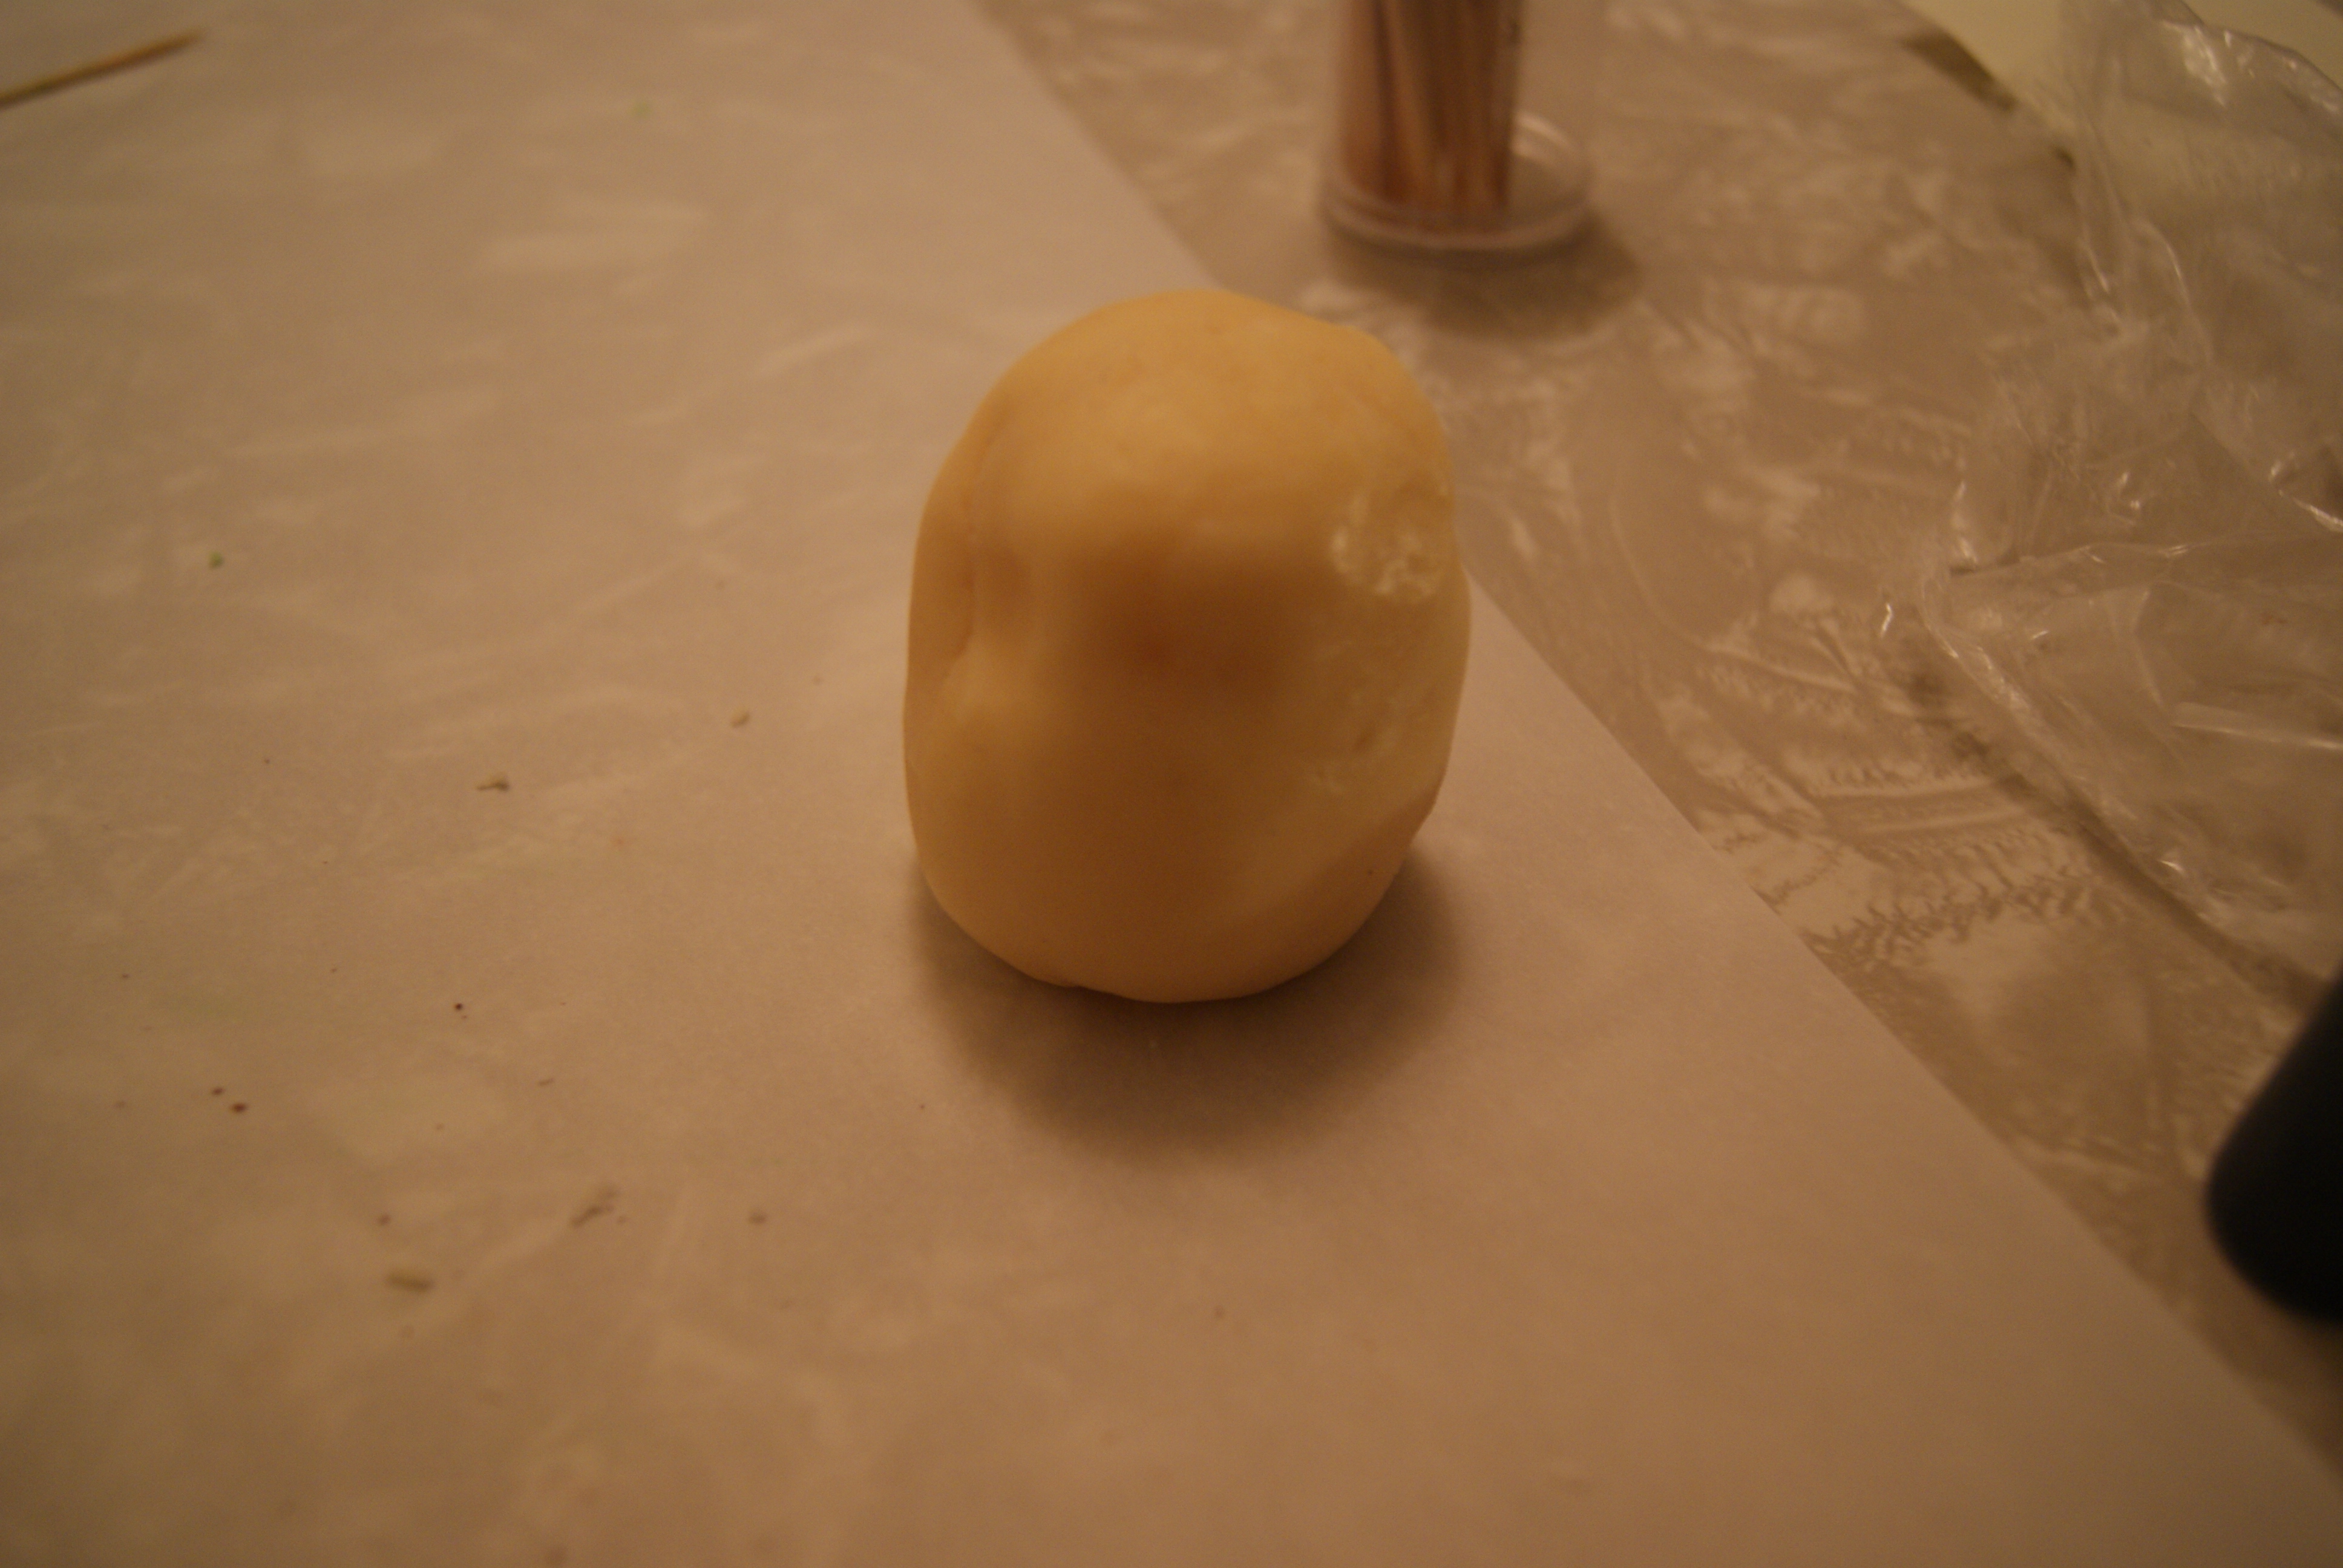
Let’s start with our modeling chocolate.

SONY DSC

Basically, pour the corn syrup into your bowl of melted white chocolate, then fold the syrup into the chocolate with a rubber spatula, mixing it fully. You’ll want every bit of chocolate to have been touched by the syrup. Keep folding until the mixture forms a ball and pulls away from the bowl– it should be really tough to mix at this point.

Immediately wrap modeling chocolate tightly in saran wrap, then let sit overnight at room temperature. When ready to use, unwrap the chocolate, pull apart pieces, and then knead to workable consistency.

This is a face. It will eventually become the face of Jesus. I'm just trying to show you what "workable consistency" means. Sorry for creeping you out.
This is a face. It will eventually become the face of Jesus. I’m just trying to show you what “workable consistency” means. Sorry for creeping you out.

To dye your modeling chocolate, make sure to use gel food coloring. Squeeze a couple of droplets onto your desired piece, then knead the chocolate to spread the color around. I’ve also found that rolling the chocolate in cocoa powder works very well to turn it brown, in case you happen to be making a brown-haired religious icon for your dessert, too. If you’re worried about the mixture becoming too slick and sticky in your hands, set it down for a few minutes to return it to room temperature.

I know what you're going to say: Shibow, you're being modest. You're an amazing artist. Well, my boyfriend made this one. So now you know why I took so few pictures of this process.
I know what you’re going to say: Shibow, you’re being modest. You’re an amazing artist. Well, my boyfriend made this guy. So now you know why I took so few pictures of this process.

If you’d like, you can create your various shapes, then place them on a plate and refrigerate to harden while you work on your cake. The cake’s actually pretty easy– just dump all of the ingredients in a large bowl and beat together with an electric mixer on high, stopping often to scrape the bowl with a spatula. Preheat your oven to 350ºF, and spread the batter between two 9-inch pans or three 8-inch pans that have been buttered and lightly floured.

If using 9-inch pans, bake the cakes or 25 to 30 minutes. If using 8-inch pans, bake for 30 to 35 minutes. I’m a dingaling, so I baked this in a springform pan and had to bake it for WAY longer. Don’t be me. Cool the rounds for 10 minutes in the pan, then remove and cool on racks completely for an hour.

While the cakes cool, work on your frosting. Beat the butter and sugar together on low speed until blended. Slowly add in milk, one tablespoon at a time, until frosting reaches desired consistency. Refrigerate until ready to use.

Note: If you plan on cutting these cakes into crazy shapes, wrap them tightly and completely in plastic wrap and freeze them. This will make it easier to eventually cut into them without worrying about them crumbling before your eyes. As I mentioned, my dingaling-ness prevented me from being that bold. I kept my cake as round as I could. Maybe next time, kids.

Ok, so, I guess the best way to explain this cake is by showing it to you, and then breaking down the various components. Don’t laugh. I never claimed to be a master baker (damn it! I said DON’T LAUGH! Ok, I guess I walked into that one), so this is going to seem pretty ridiculously bad to a lot of you.

SONY DSC

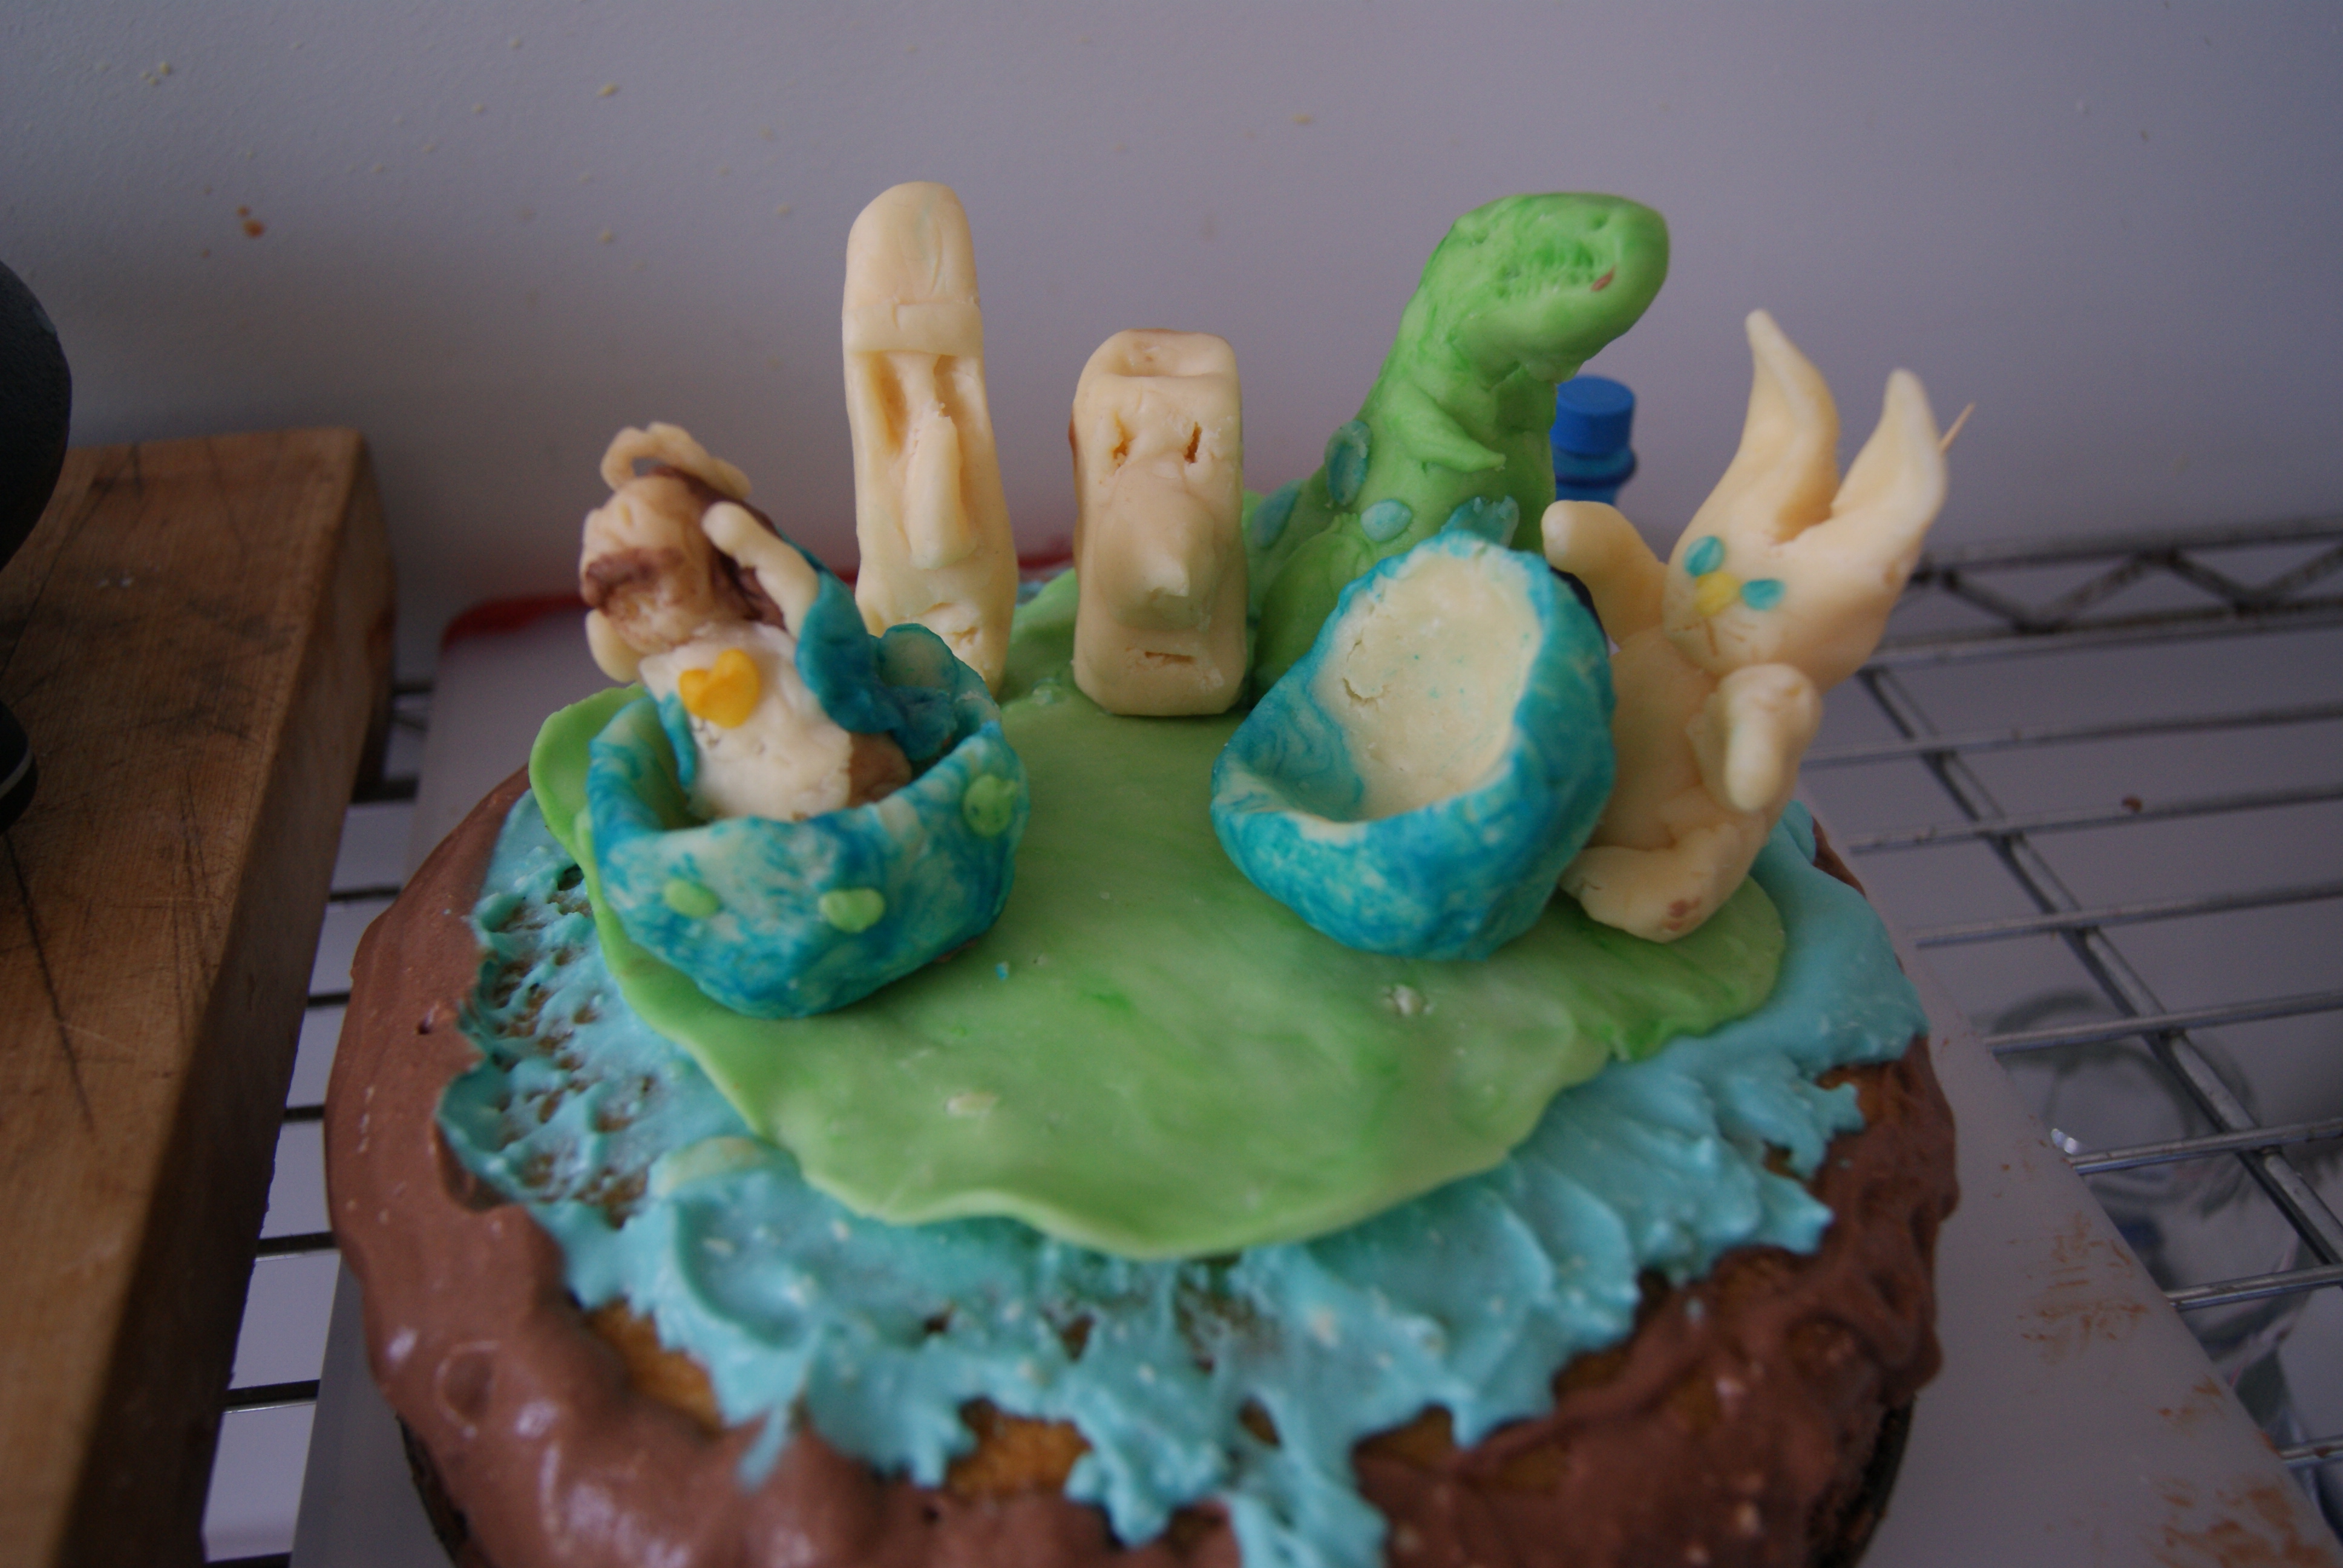
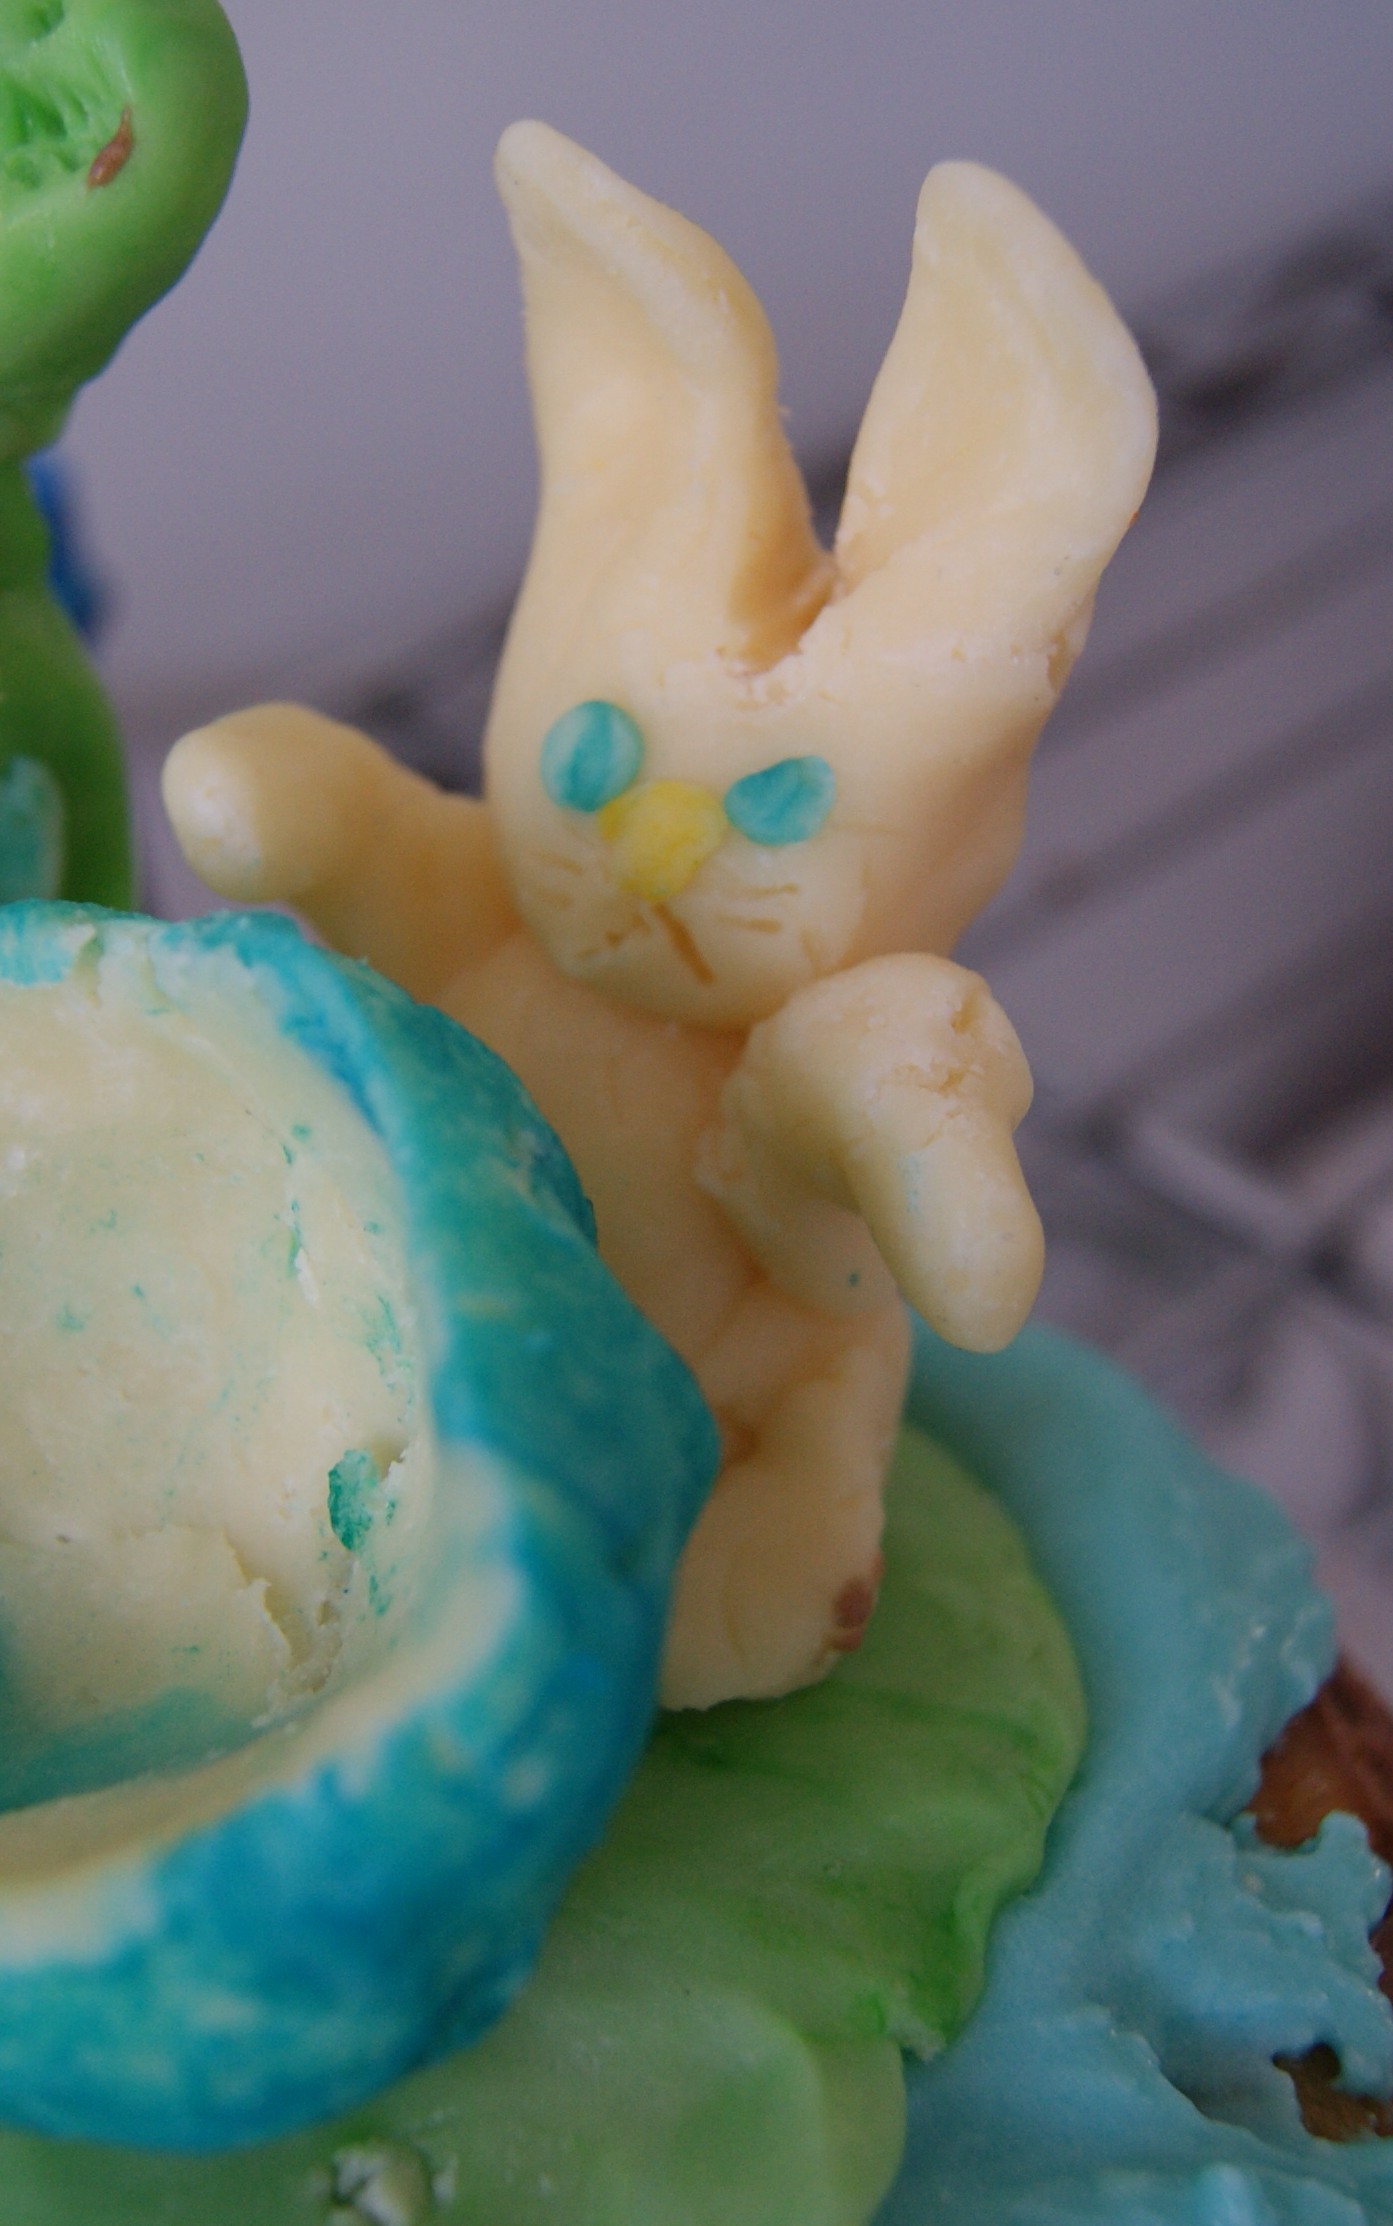
Um… yeah. So… here it is. We dyed parts of Jesus, the egg he…uh…hatched from, the bunny’s eyes and nose, and the whole damn T-Rex. Oh, also, everyone who’s about to compliment me on the awesome T-Rex: boyfriend made that one too. One of us studied at the School of Visual Arts, and the other of us is me.

Maybe it’s better to see these in close-up. Whew. Here goes.

This is Jesus. Someone mistook him for "Holy Super Mario," which I'll accept.
This is Jesus. Someone mistook him for “Holy Super Mario,” which I’ll accept.
Easter Island Dudes. One is legit, the other is a poser.
This is the T-Rex. He is my absolute favorite.
This is the Easter Bunny. I wanted him to look joyful. I can see that he looks more like "My presence is present enough, kiss my cottontail."
This is the Easter Bunny. I wanted him to look joyful. I can see that he looks more like “My presence is present enough, kiss my cottontail.”


So yeah. That’s pretty much the whole shebang right there. I can tell you, though, that while this cake may LOOK like a hot mess, it TASTES like a hell yes. I get that that’s weird to say about a Jesus cake, but the butter cake is what’s up. Seriously, this cake tastes so good that it might prevent my mom from seeing what’s on top of it. Maybe? Who knows. If not, it’s been a good run kids. Thanks for sticking with me for a century of posts! Wait…


Categories
Classic Favorites Cookies Strange and Yummy Stuff Your Parents Would Like

Mango Mac[aroons]’ll Make Ya Jump Jump

This video brought to you by Sad Shibow, who is not in tune enough with her audience to know whether or not it will get the reference in the title of this post. Also… guys, it’s an excellent song.

This week has been a little bleh so far. The most exciting thing that’s happened is that someone made fun of my hair today and I cried over it. So basically the most exciting thing that’s happened all week is that I’ve regressed emotionally into early, early, childhood. Let me just totally not bother you with that and skip right to the dessert chat, yeah?

So a bunch of people asked me if I’d be making soda bread for this week’s post. No, because a. already owned that shiz, b. all of the drunken revelers at this year’s parade– held annually on the avenue directly in front of my place of employment– killed my vibe and c. THAT’S TOO OBVIOUS, HOMIES!

Also, d. I was making this dessert for my mom, for whom I stereotypically decided to make a mango dessert because she is Indian, and also because she genuinely loves mangoes. Anyway, I hadn’t seen her in far too long to be considered acceptable, and thought that a sweet treat was just the right form of bribery  channel through which to express my my-bad’s. Enter Mango Coconut Macaroons, an easy, delish, fancy looking (and fancy tasting) treat.

Mango Coconut Macaroons

adapted from David Lebovitz’s recipe

1 ripe mango, peeled and cut into small chunks

2 tablespoons of sugar, if desired, and if you feel like your fruit isn’t sweet enough on its own

2 cups of shredded coconut

3 egg whites

1 teaspoon of vanilla extract

Cook mango chunks (sprinkled with sugar, if you desire) in a small saucepan over medium heat, stirring until frequently, until the mixture has cooked down into soft clumps. Set aside to cool.

SONY DSC

In a large bowl, combine coconut and egg whites, then stir in mango chunks until batter forms. The mixture will be sticky and probably a little annoying to deal with, so it’s a good idea to use an electric mixer in this case.

SONY DSC

Preheat oven to 350ºF and line a large cookie sheet with parchment paper. With buttered hands, gather tablespoon-sized mounds of the batter and form into balls or pyramids. I tried to go for something more abstract, because I just could not get either of those other damn shapes down for the life of me.

SONY DSC

Bake for 30 minutes, rotating the pan halfway through, until the tops of the cookies are browned. Let cool for at least ten minutes, then enjoy.

SONY DSC

So, what’s the verdict on these? Given that I, like my mother, am Indian and have no interest in subverting the stereotypes of my culture, I freaking loved them. They’re MANGO COCONUT macaroons. More importantly though, my mom was enamored with them. Even my dad ate two of them. Two! I mean, one I can understand, as he’ll do anything to make my mom happy. But two? He likes ’em! He really likes ’em!

Categories
Pies Strange and Yummy

Honey I Shrunk The Pie. Also, Honey I’m Totes Going Off The Grid For A While.

Whoa. It’s been so long since my last post that I had to go back and remind myself about what my life was like the last time I wrote in this thing. After some careful, intense reading light, lazy skimming, I recalled that I was talking about how I hoped for a much calmer, quiet year. WELP,  as my old friend Jesus Christ liked to say: LOL! Wait…

Anyway, yeah, I have been hiding out big time. It’s weird. I guess the older you get, the more your relationships to people, places, (animal, vegetable, mineral…) and just yourself change. Or maybe that’s just me and I shouldn’t be weirdly speaking in the second person? I don’t know. As much as I love this blog, and as much as I love all things social media– my boyfriend would tell you it’s an annoyingly unhealthy amount– it makes me sad that it’s all taken the place of hours-long phone conversations, face-to-face meetings and just social interaction in general. It’s easier to find out if someone has a cold through Twitter than it is to find out through a phone chat, because PHONE CHATS? ARE YOU MY MOTHER? And in this weird, counter-intuitive way, it’s all made me super anti-social. Like, I’d-rather-be-knitting-awesome-headbands-and-just-watching-the-paint-in-my-bathroom-dry-than-oversharing anti-social. By the way, I am SO going to Pinterest the ridiculously awesome paint job my boyfriend did in our bathroom. Sh*t. I’ll just never learn, will I?

Tempting, right?
Tempting, right?

I definitely didn’t explain that well. I think the short version is that I’m a very private person who cherishes my relationships with people and is scared to see those relationships disappear or change. I guess that’s the abridged version. You can skip all of the crap above this if you want. Or just skip straight to the mini pies below.

*RECORD SCRATCH*

Mini pies?! Dude… why didn’t I just LEAD with that, right? I know, unbelievable. Let’s just…get on with it then.

So, these are basically something I just came up with after I realized I had a lot of leftover dough from a failed coconut pie attempt. I plastic-wrapped the remaining dough up, froze it, and finally thawed it out when I was feeling just sad enough for a taste of pie but not sad enough to make regular-sized pie. Feel me?

Mini Pies (how many this makes depends on how much dough you have)

For the crust (note: this will make enough for a single-crust 9-inch pie. You can totally use this for a regular pie and then take the scraps and use the heck out of them for mini pies. Or just make a bunch of minis. Do you.)

1 1/4 cups of all-purpose flour

2 teaspoons of sugar

1/2 teaspoon of sea salt

1 stick of very cold, unsalted butter, cut into 1/2 inch cubes

A bowl of ice water

Melted butter

Cinnamon sugar (1 teaspoon of cinnamon + 1/4 cup of sugar)

For the filling (note: you can kind of go crazy here as long as you’re not trying to make fruit pies, since those will cook differently)

Chocolate Chips

Peanut butter

Jelly

Shredded Coconut

…You get the idea. It’s an EXPERIMENT!

So, I just sort of winged this. Wang it? Mmm…no. I improvised. I preheated the oven to 375ºF. I busted out a mini-muffin pan and brushed the cups with butter. Then, I stamped out little pieces of dough just big enough to fit into the bottom and sides of each cup. I rolled each dough piece in cinnamon sugar (never said these were healthy, homies) and then pressed them into cups.

Then, I basically went a little bit crazy. I dropped a couple of chocolate chips here, a dollop of peanut butter there, a little jelly, a few more chocolate chips, a little malted milk powder because I’m wild. You get the idea. Here’s a visual if you’re terrified of the process:

SONY DSC

Then, I covered the tops of most of them (ran out of dough, sadly) with more dough, and cut tiny slits in each so I wouldn’t be dealing with baby pie explosions for days afterward. Then, I sent these into the oven for 12 minutes, rotating the pan halfway through.

I knew they were ready when the tops were golden brown and the filling was bubbling out a little bit. (Btw, sorry for the conversational tone instead of the instructional one guys. I haven’t fully taken ownership of this post yet, which I know is unhealthy, but I’ll totally work on all of that later, promise.) After about ten minutes of cooling in the pan, I popped the pies out and let them cool completely on a cutting board.

Guys HOW CUTE right?

Some of you might remember that I made a mini-s’mores pie with leftover pie dough last summer. That one served as the inspiration for these minis, which, um, RULED. I want to say my favorite was the PB&J one I made, but I can’t. They were all so good. It seems almost impossible to go wrong when your base is a buttery, flaky, sugary crust.

SONY DSC

I think I almost like these more than normal-sized pie because they made me feel like I had my very own pies that were just for me and no one else, (ok, fine, and my boyfriend who ate a bunch of them too) and sometimes it feels good to be selfish. Though these do seem like the exact sort of thing I should be making for dinner party guests, whenever I decide to rejoin the land of the living, breathing humans. I’ll get on that. Eventually. (Most likely)

Categories
Desserts with Fruit Easy Baking Fancy Pantsy Grown Up People Desserts No-Bake Recipes Sort of Healthy Strange and Yummy Stuff Your Parents Would Like

Bad Things Happen In Threes. Lemonade Jellies Happen In Ramekins. I Happen…To Be Freaking Out.

Last weekend I was strolling along the Hudson River with my boyfriend when the skies opened up and dumped a monsoon on us. Fortunately, there was a random tent nearby that we and a bunch of other drenched pedestrians discovered at precisely the right moment. The rain lasted about ten minutes, and then this happened.

rainbow

That, I thought, was a signal that all would be fine.

Instead, it ended up being a semicircular, multicolored middle finger directed squarely at me.

I’m not sure how comfortable I am talking about the exact three bad things that have happened. There may be even more than three, but typing them all out might result in me freaking out even more than I already have in the past, oh, six weeks or so. Yep. Six weeks of on-and-off nonsense.

This past week has been one of the most trying I’ve experienced in about seven years. I’ve had to deal with disturbed individuals whom I’ve never met contacting me through this blog, using something that’s very dear to me to basically, well, harass. You all know how well I deal with scary fools coming after me. It’s not cool. Plus, I am a boring person. Trust. I am also sort of broke, really quiet and pretty reserved until I am hungry or SUUUUPER pissed off. There is really nothing to be gained from randomly lobbing the crazy this way. So, if you’re reading this with the sole purpose of, I don’t know, being mean or causing trouble, this way to the egress.

Sylvapotamus has left the country for the week, leaving me stranded and lost and even sadder than I would be had she not left. Somebody help! Tell me a joke. A good one. Or a bad one, I don’t care. Just give me something to work with, people! I’ll give you a delicious, healthy, addictive dessert in return!

Basil Lemonade Jellies (makes six 1/2 cup servings)

adapted from Serious Eats

3/4 cup of freshly-squeezed lemon juice (about 4 to 5 large lemons)

1/2 cup of sugar

1 1/2 cups of basil leaves, loosely packed

1/2 cup of no-pulp orange juice

3 teaspoons of powdered gelatin

Fresh whipped cream or ice cream to serve, optional

6 small basil leaves for garnish, optional

SONY DSC

In a medium-sized saucepan, stir together lemon juice, 1 1/2 cups of water, and sugar over medium heat until the mixture reaches a boil. Stir until the sugar completely dissolves.

Tear basil leaves roughly and place in a small glass or metal bowl. Pour lemon juice mixture over basil leaves and let steep for at least 15 minutes.

Pour orange juice in a small saucepan and sprinkle gelatin over the top. Let sit for five minutes, then place pan over medium heat, stirring until gelatin is dissolved. Remove from heat.

Strain the basil out of the lemon juice mixture and stir juice into the gelatin-OJ mixture. Pour into six small ramekins or a 1-quart dish. Refrigerate until softly set, at least two hours, then serve, either with ice cream or whipped cream. I recommend ice cream. Or nothing. Or just not even thinking about it and going to town on these.

SONY DSC

So I cut the sugar down from what the original recipe called for, and I am so glad I did. The basil flavor came through very nicely, giving the jellies a very complex flavor. The tartness of the jellies combined with the sweet, cold creaminess of the vanilla ice cream I used made for a perfect, perfect summer dessert. I cannot wait to make these again.

SONY DSC

Note: The below was just brought to my attention, explaining almost all of the heartache I’ve been experiencing lately.

Oh f*ck you, Stamos.

Categories
Cakes Classic Favorites Fancy Pantsy Holiday desserts Strange and Yummy

Let’s Celebrate The Terrible Twos With Some Carrot Cake And Polite Conversation

Totally joking about the “polite conversation,” which I’m sure some of my nearest and dearest already knew.

I'm younger than two here I think... but I'm as enormous as most two year-olds are, so let's play pretend.
I’m younger than two here I think… but I’m as enormous as most two year-olds are, so let’s play pretend.

So guys… I totally missed my two-year blogaversary. I think I was maybe busy weeping over something not at all sad and fretting over something not at all important. Which, you know, is totally normal for me. Anyway, I’m also a little bit shocked that we’ve (and I mean it when I say “we” since this blog would be nothing without the kind words I’ve received from its readers) made it to the two-year mark, and I really can’t thank everyone enough who has read this blog, learned from it, commented on it, asked me about it and even just nodded and politely smiled when I mentioned it. It always warms my heart  a little bit when someone mentions that I haven’t posted a new recipe in a while (Hi George! Thanks George!). It also kind of kicks my butt and reminds me to actually get to it.

I’d like to end this section with a little bit of sap, since we all know I’m dangerously and probably unhealthily obsessed with all things sugar. This blog has been with me through some very trying times, and in some way has pulled me through all of them. Originally I started this thinking that only maybe Sylvapotamus and my Dad would read this thing. Of course, I was wrong, in that while  Sylvapotamus is a loyal reader, my Dad kind of hates my blog I think. But I’ve also reached other people, people who’ve found this thing all on their own and miraculously enjoyed it. Thank each and every one of you.

Okay now, let’s all dry our tears, cowboy up and get to it. The following recipe is one adapted from a recent issue of Better Homes and Gardens, which, truthfully, has bettered both my home and my windowsill (this is our garden for now, please don’t judge). Let’s talk about Mango Carrot Cake friends!

SONY DSC

Mango Carrot Cake (makes one 2-layer cake)

For the cake

2 cups of all-purpose flour

1 tablespoon of baking powder

1/4 teaspoon of ground nutmeg, optional

1 stick of butter, softened

1 cup of granulated sugar

2 eggs

3/4 cup of refrigerated mango juice blend (I used this ridiculously good Trader Joe’s blend, but you can really use any kind you like)

3 cups of shredded carrot (about 3 to 4 large carrots)

For the frosting

1 8-ounce package of cream cheese or Neufchâtel cheese

1/2 stick of butter

2 cups of confectioner’s sugar

For the fancy carrot ribbons

1 large carrot

1 bowl ice water

Preheat your oven to 350°F and butter and flour two 8-inch round cake pans.

In a medium-sized bowl, sift together flour, baking powder and nutmeg (if using), and set aside. In the bowl of a stand mixer, or using a hand mixer, beat butter on high until fluffy, then gradually add in sugar until combined. With the mixer still going, on medium speed, add in eggs one at a time, until fully incorporated.

I must promote this stuff, because it is ridiculous and I'm praying someone sends me some.
I must promote this stuff, because it is ridiculous and I’m praying someone sends me some.

Now, alternate between adding the flour mixture and the mango juice into the butter/egg/sugar mixture, beginning and ending with the flour, just until everything is combined. Take it slow, young Jedis. Do NOT over-mix this batter. Fold in your shredded carrots, and divide this thing between your two cake pans.

SONY DSC

Send into the oven for 25 minutes, until the tops are golden and a toothpick inserted into the center of the cake comes out with just a few crumbs sticking to it. Let cool in pans for 10 minutes, then remove from pans and cool completely.

Now, let’s work on that frosting, which is super easy, by the way. In the bowl of your stand mixer, beat cream cheese until fluffy,  then mix in butter until combined, then slowly add in confectioner’s sugar until the consistency and taste is exactly how you want it. The end! Wait…not the end… using a rubber spatula, evenly and generously spread over the top of one cake. Then, place other cake on top of this one and enjoy your cake sandwich. No, spread more frosting on top of this cake, and then you can enjoy your cake sandwich.

Now, if you’d like to get super fancy with this thang (and I did since this was an Easter dessert), make some carrot ribbons. Using a vegetable peeler, peel off strands of one carrot, then place in a bowl of ice water for 30 minutes. Drain and dry these completely, then add to the top of your cake and you will have…

SONY DSC

YUM-NESS. The mango juice adds just the right amount of sweetness while keeping the cake nice and moist. It’s certainly very, very different from your traditional carrot cake, but a must-do if you’re looking to try something new, fun and fancy. Me likey all these things.

An aerial shot, just to torture you. <3
An aerial shot, just to torture you. ❤