This is going to be kind of a short post because I’m trying to err on the side of caution when it comes to whining too much. Someone who shall not be named but who most likely has a point mentioned that I should stop being so sad on this blog all the time, since it might drive readers away from me and toward something awful like a life of crime or a marathon viewing of a Stamos montage on Youtube. *Shudder.*
The same person also mentioned that I should think about taking this blog away from the baking route for a while and maybe focus on something else, like restaurant reviews. As much as I love and care about and respect this person, that’s a wack proposal son. Take it down to Yelp, and leave me to my messy kitchen. ONWARD!
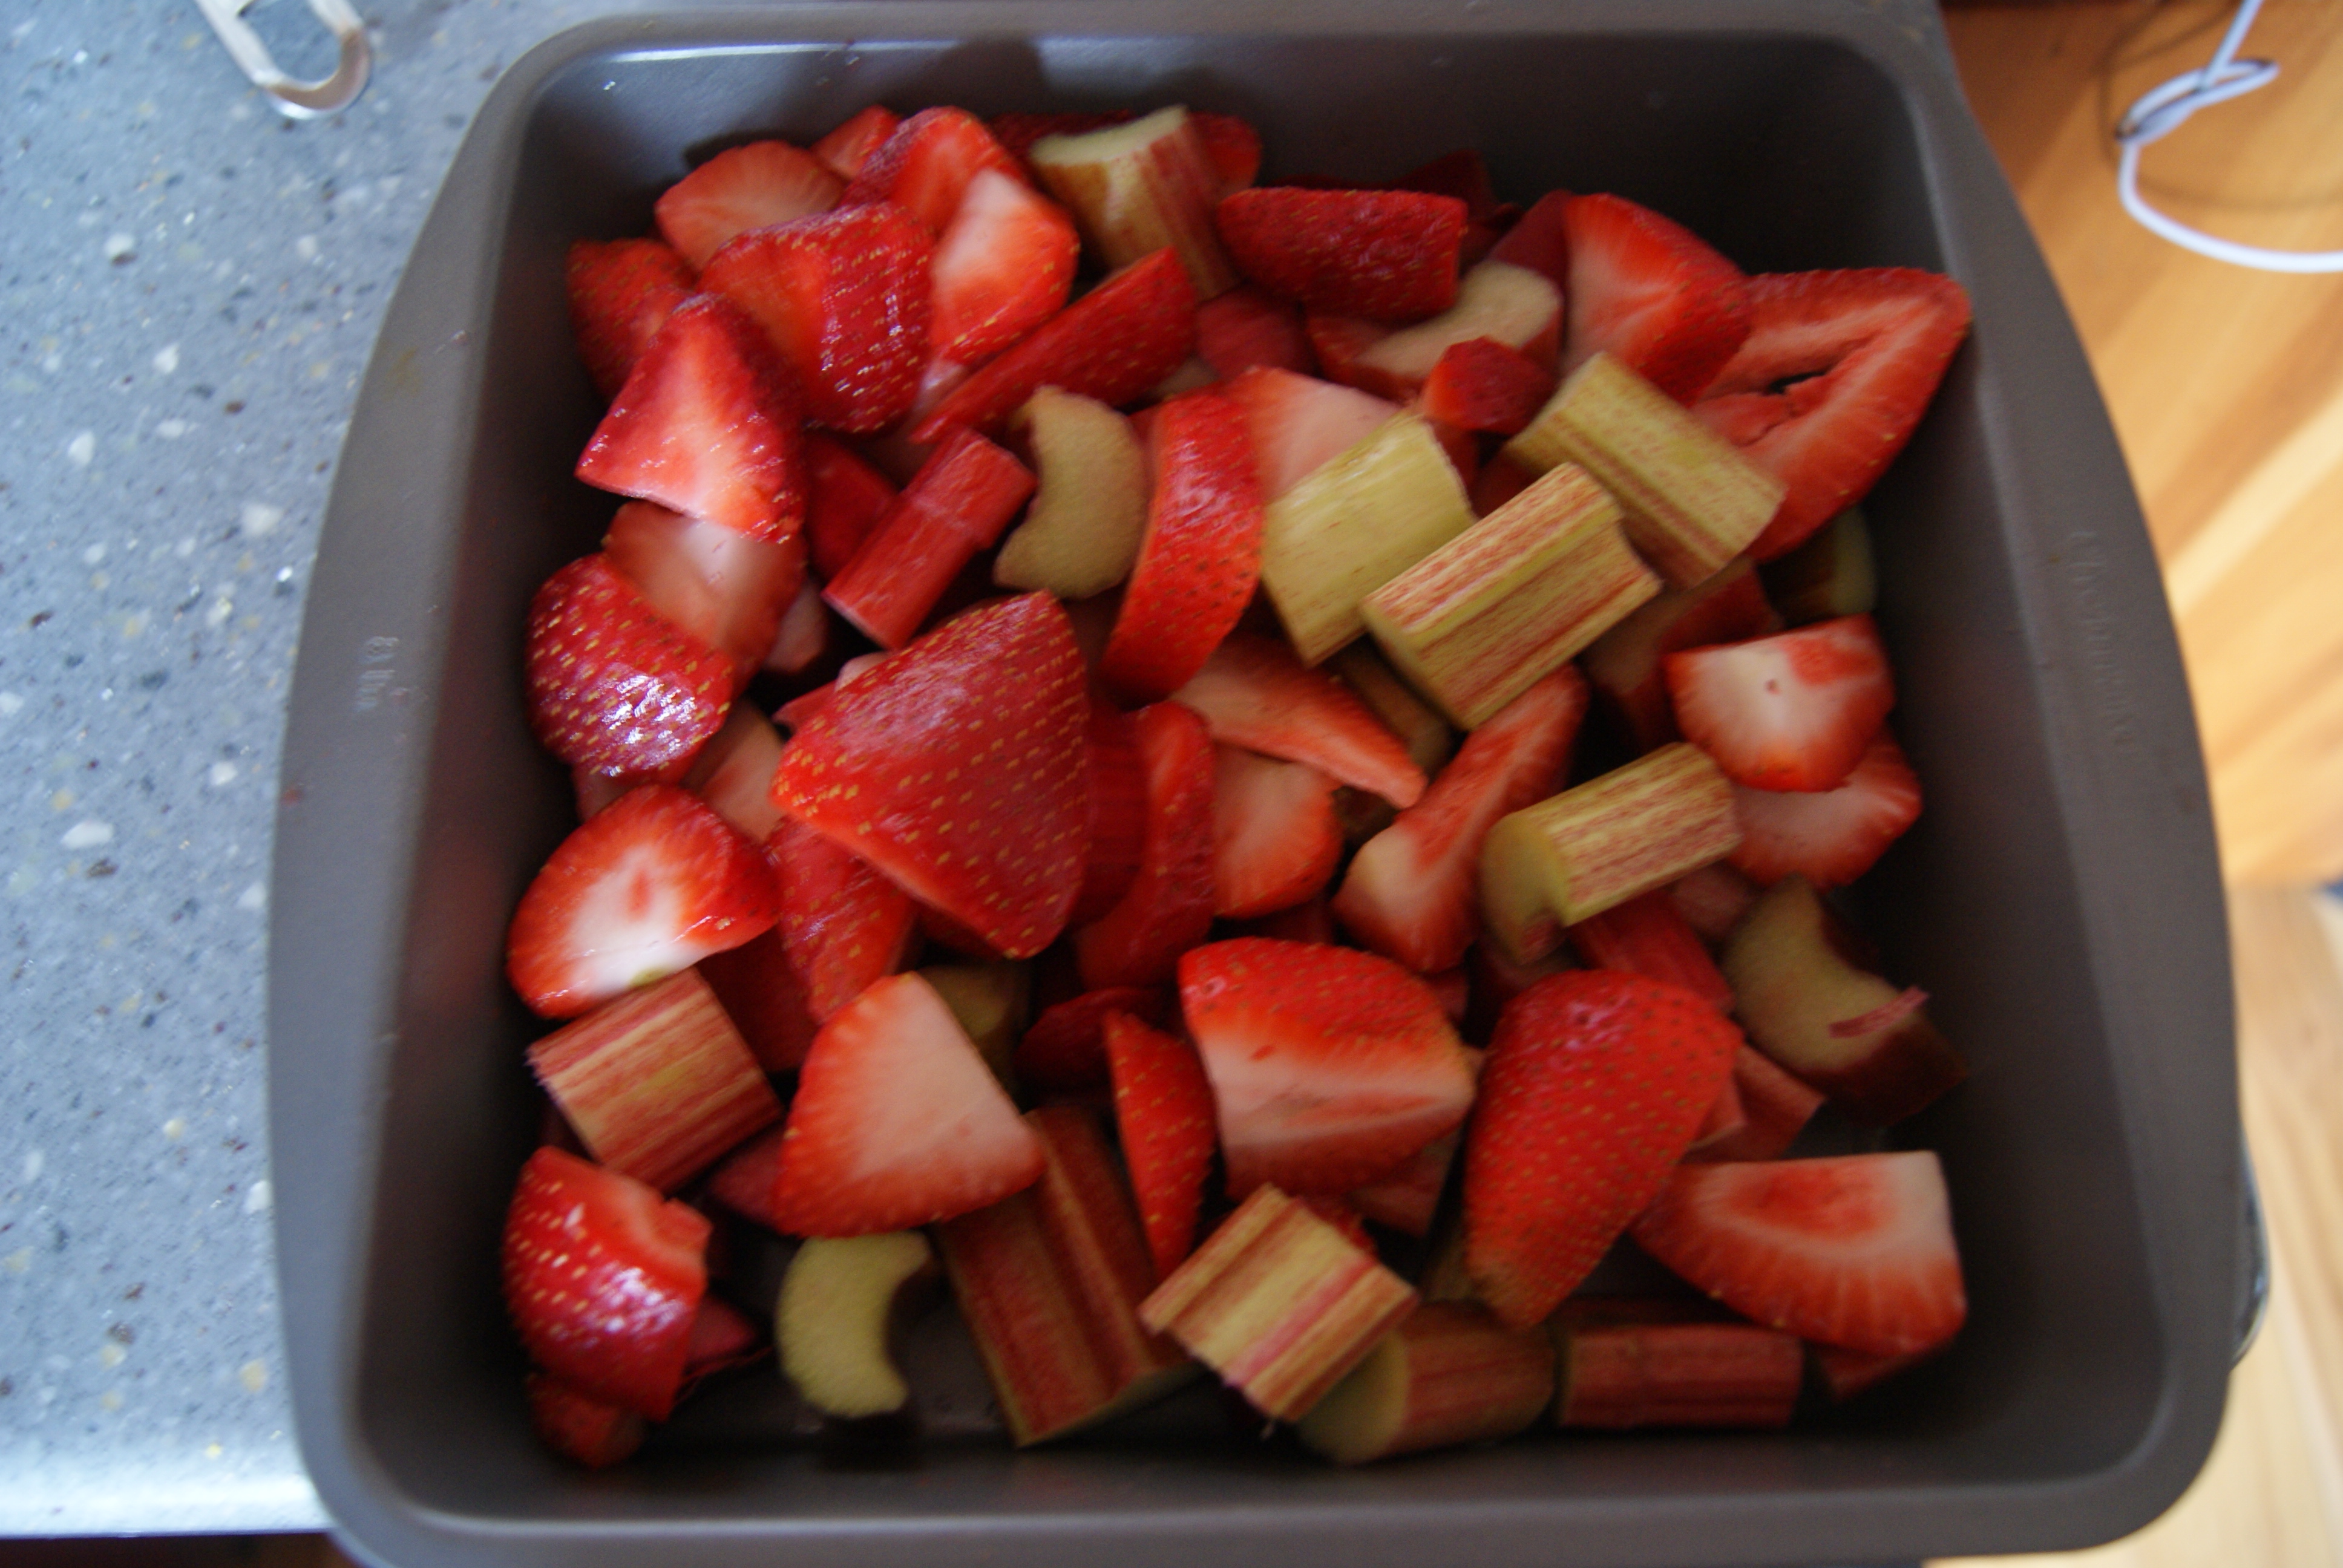
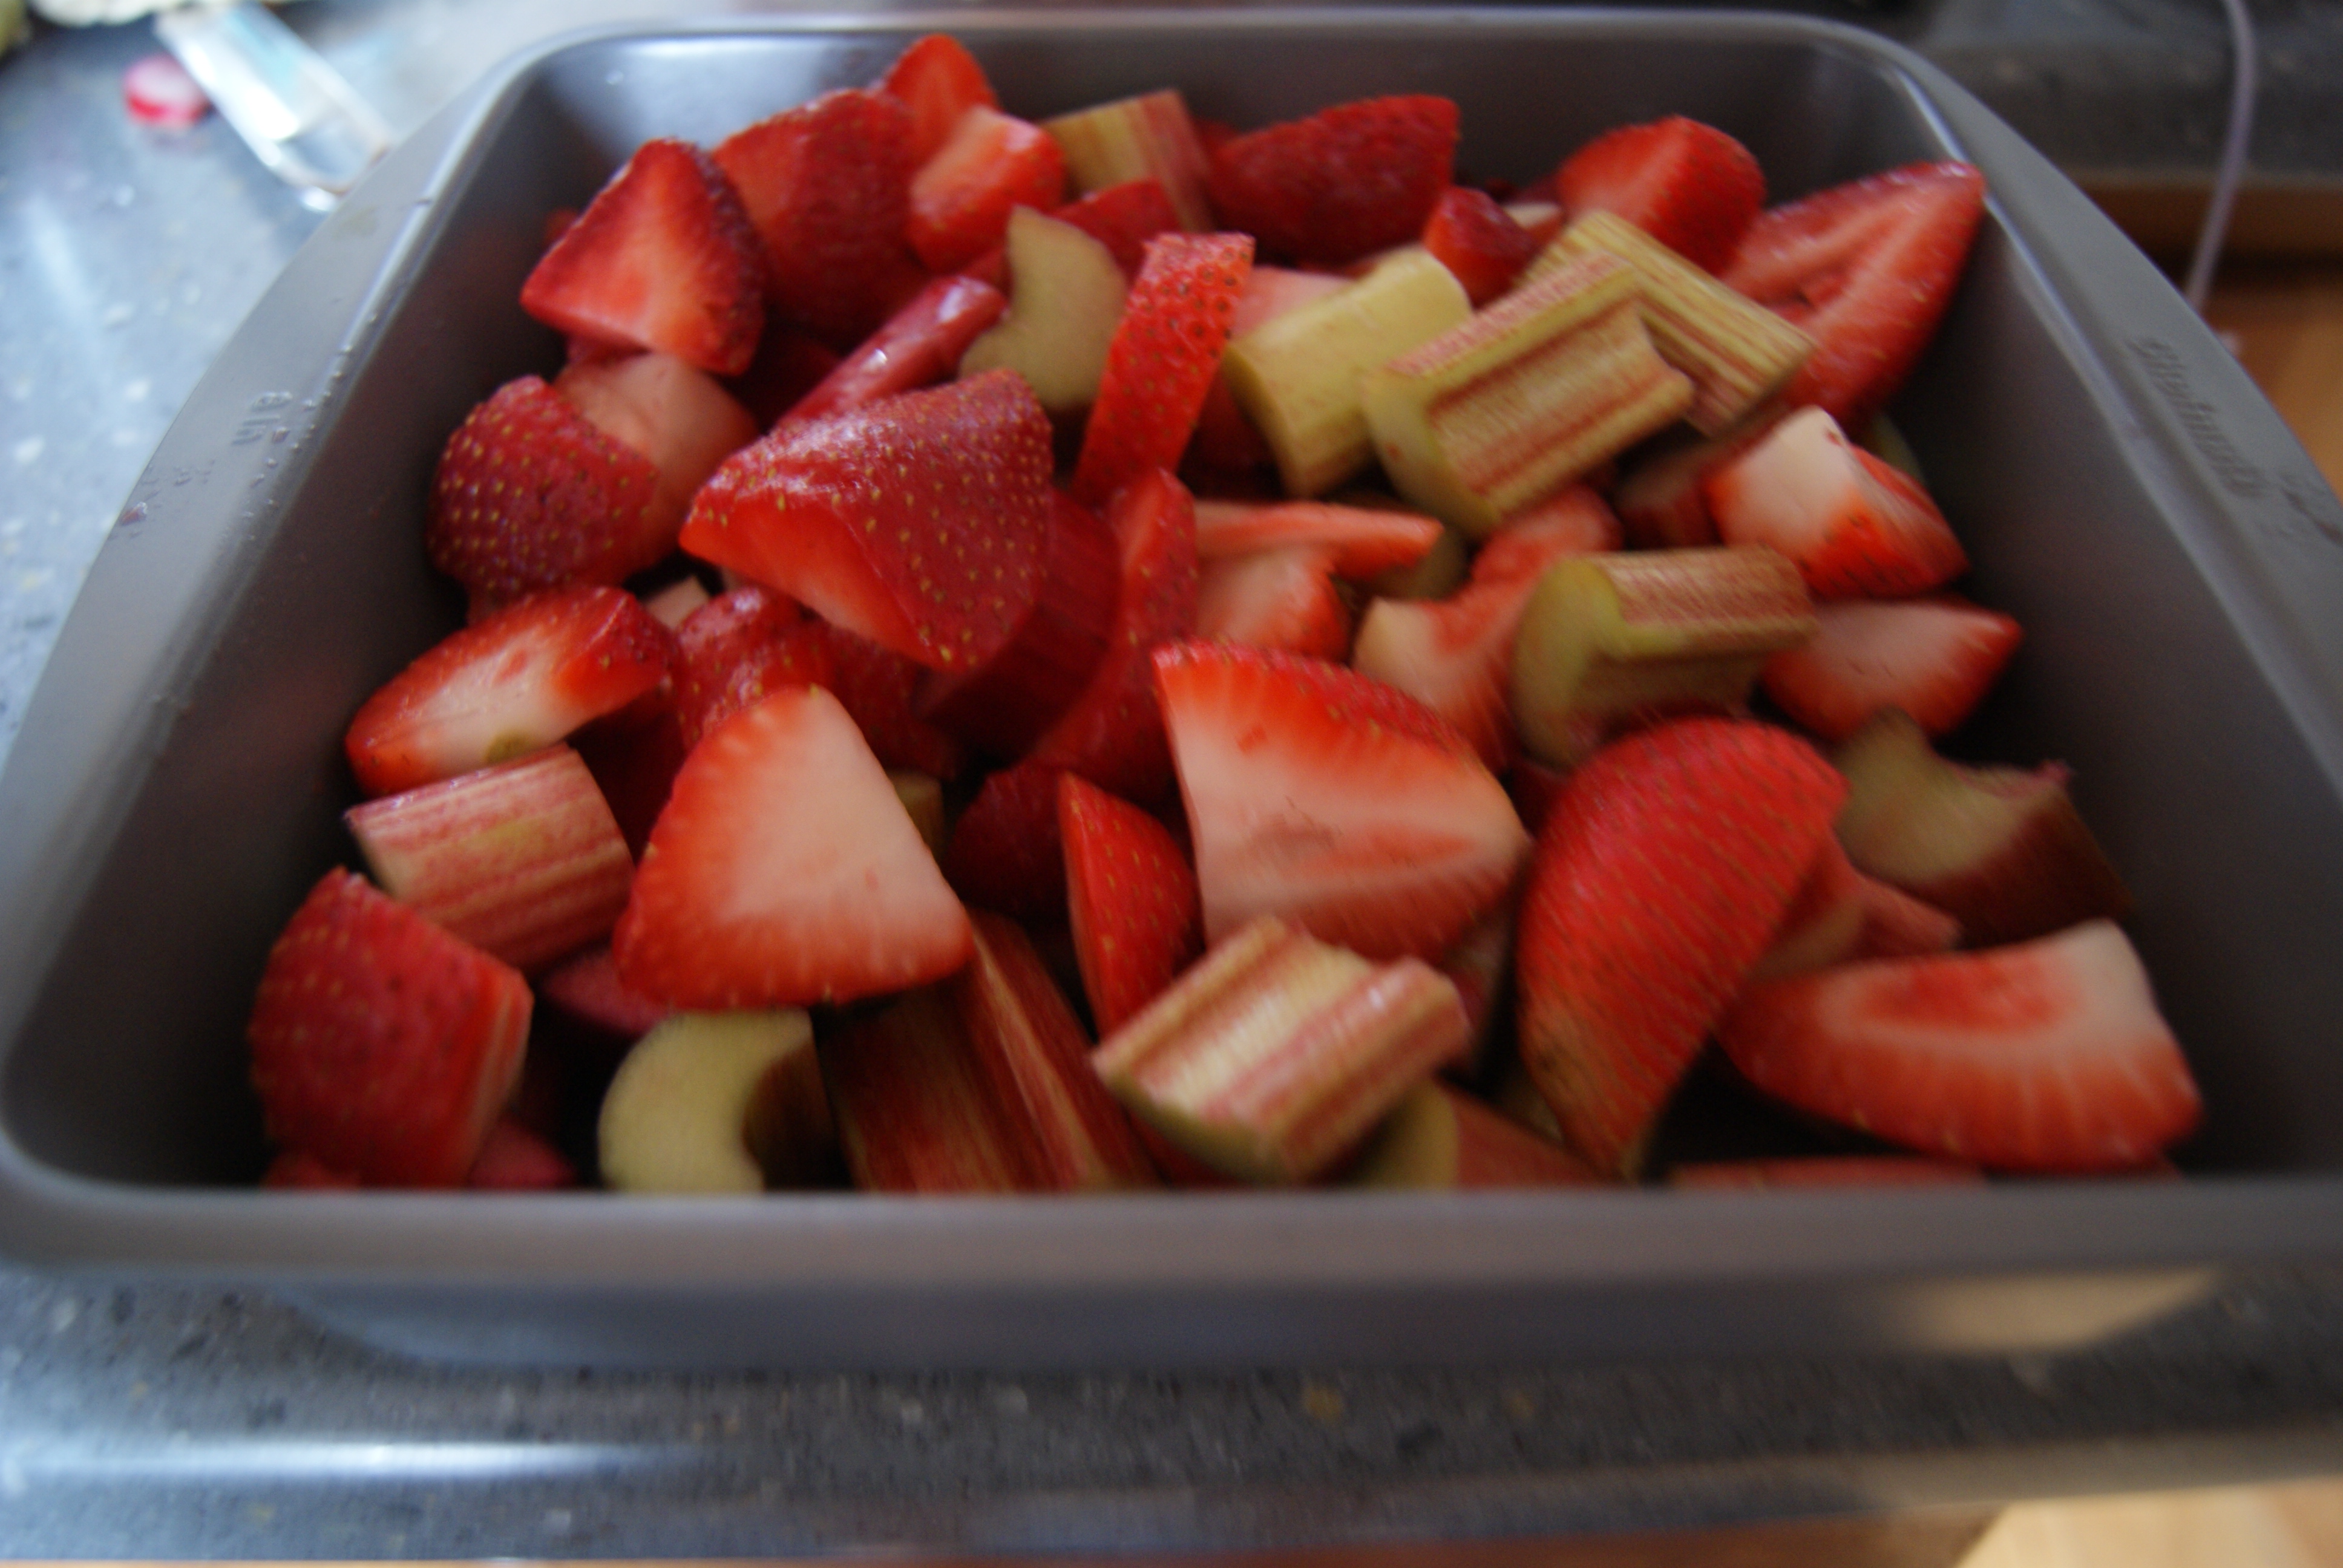
So a coworker of mine mentioned that she’d made a rhubarb strawberry crisp recently, and couldn’t believe how easy it was to bake. By chance I’d bought a few stalks of rhubarb a couple of days before, and finally decided to cowgirl up and use them. I’ve never, ever had rhubarb before and was a little bit nervous as to what exactly to do with it, especially after the damn things needed to be rammed into my fridge diagonally since they were so long. But, fear not, few and very dear readers of mine! These things are easy-peasy to work with. Let’s roll!
3-4 cups of rhubarb, chopped into small pieces (I used 3 stalks and used everything– red, green, white, whatevs)
2 cups of strawberries, sliced
1/2 cup of granulated white sugar (you’ll see that I reduced the sugar by half…if you want your crisp a little sweeter you can up it to 1 cup, you daredevil you)
1 cup of flour, divided
1/2 teaspoon of sugar
1/2 cup of brown sugar (same deal here as with the granulated white)
1 cup of old-fashioned rolled oats
1/2 cup of butter, melted and cooled
One more for good luck?
Preheat the oven to 350°F, and grease an 8×8 inch baking dish. In a large bowl, combine rhubarb, strawberries, white sugar, 1/3 of your flour and cinnamon. Spread mixture evenly in baking dish. Oh hell, I’m just going to save you a bowl and tell you that I lazily did all of these steps IN the baking dish and it was fantastic.
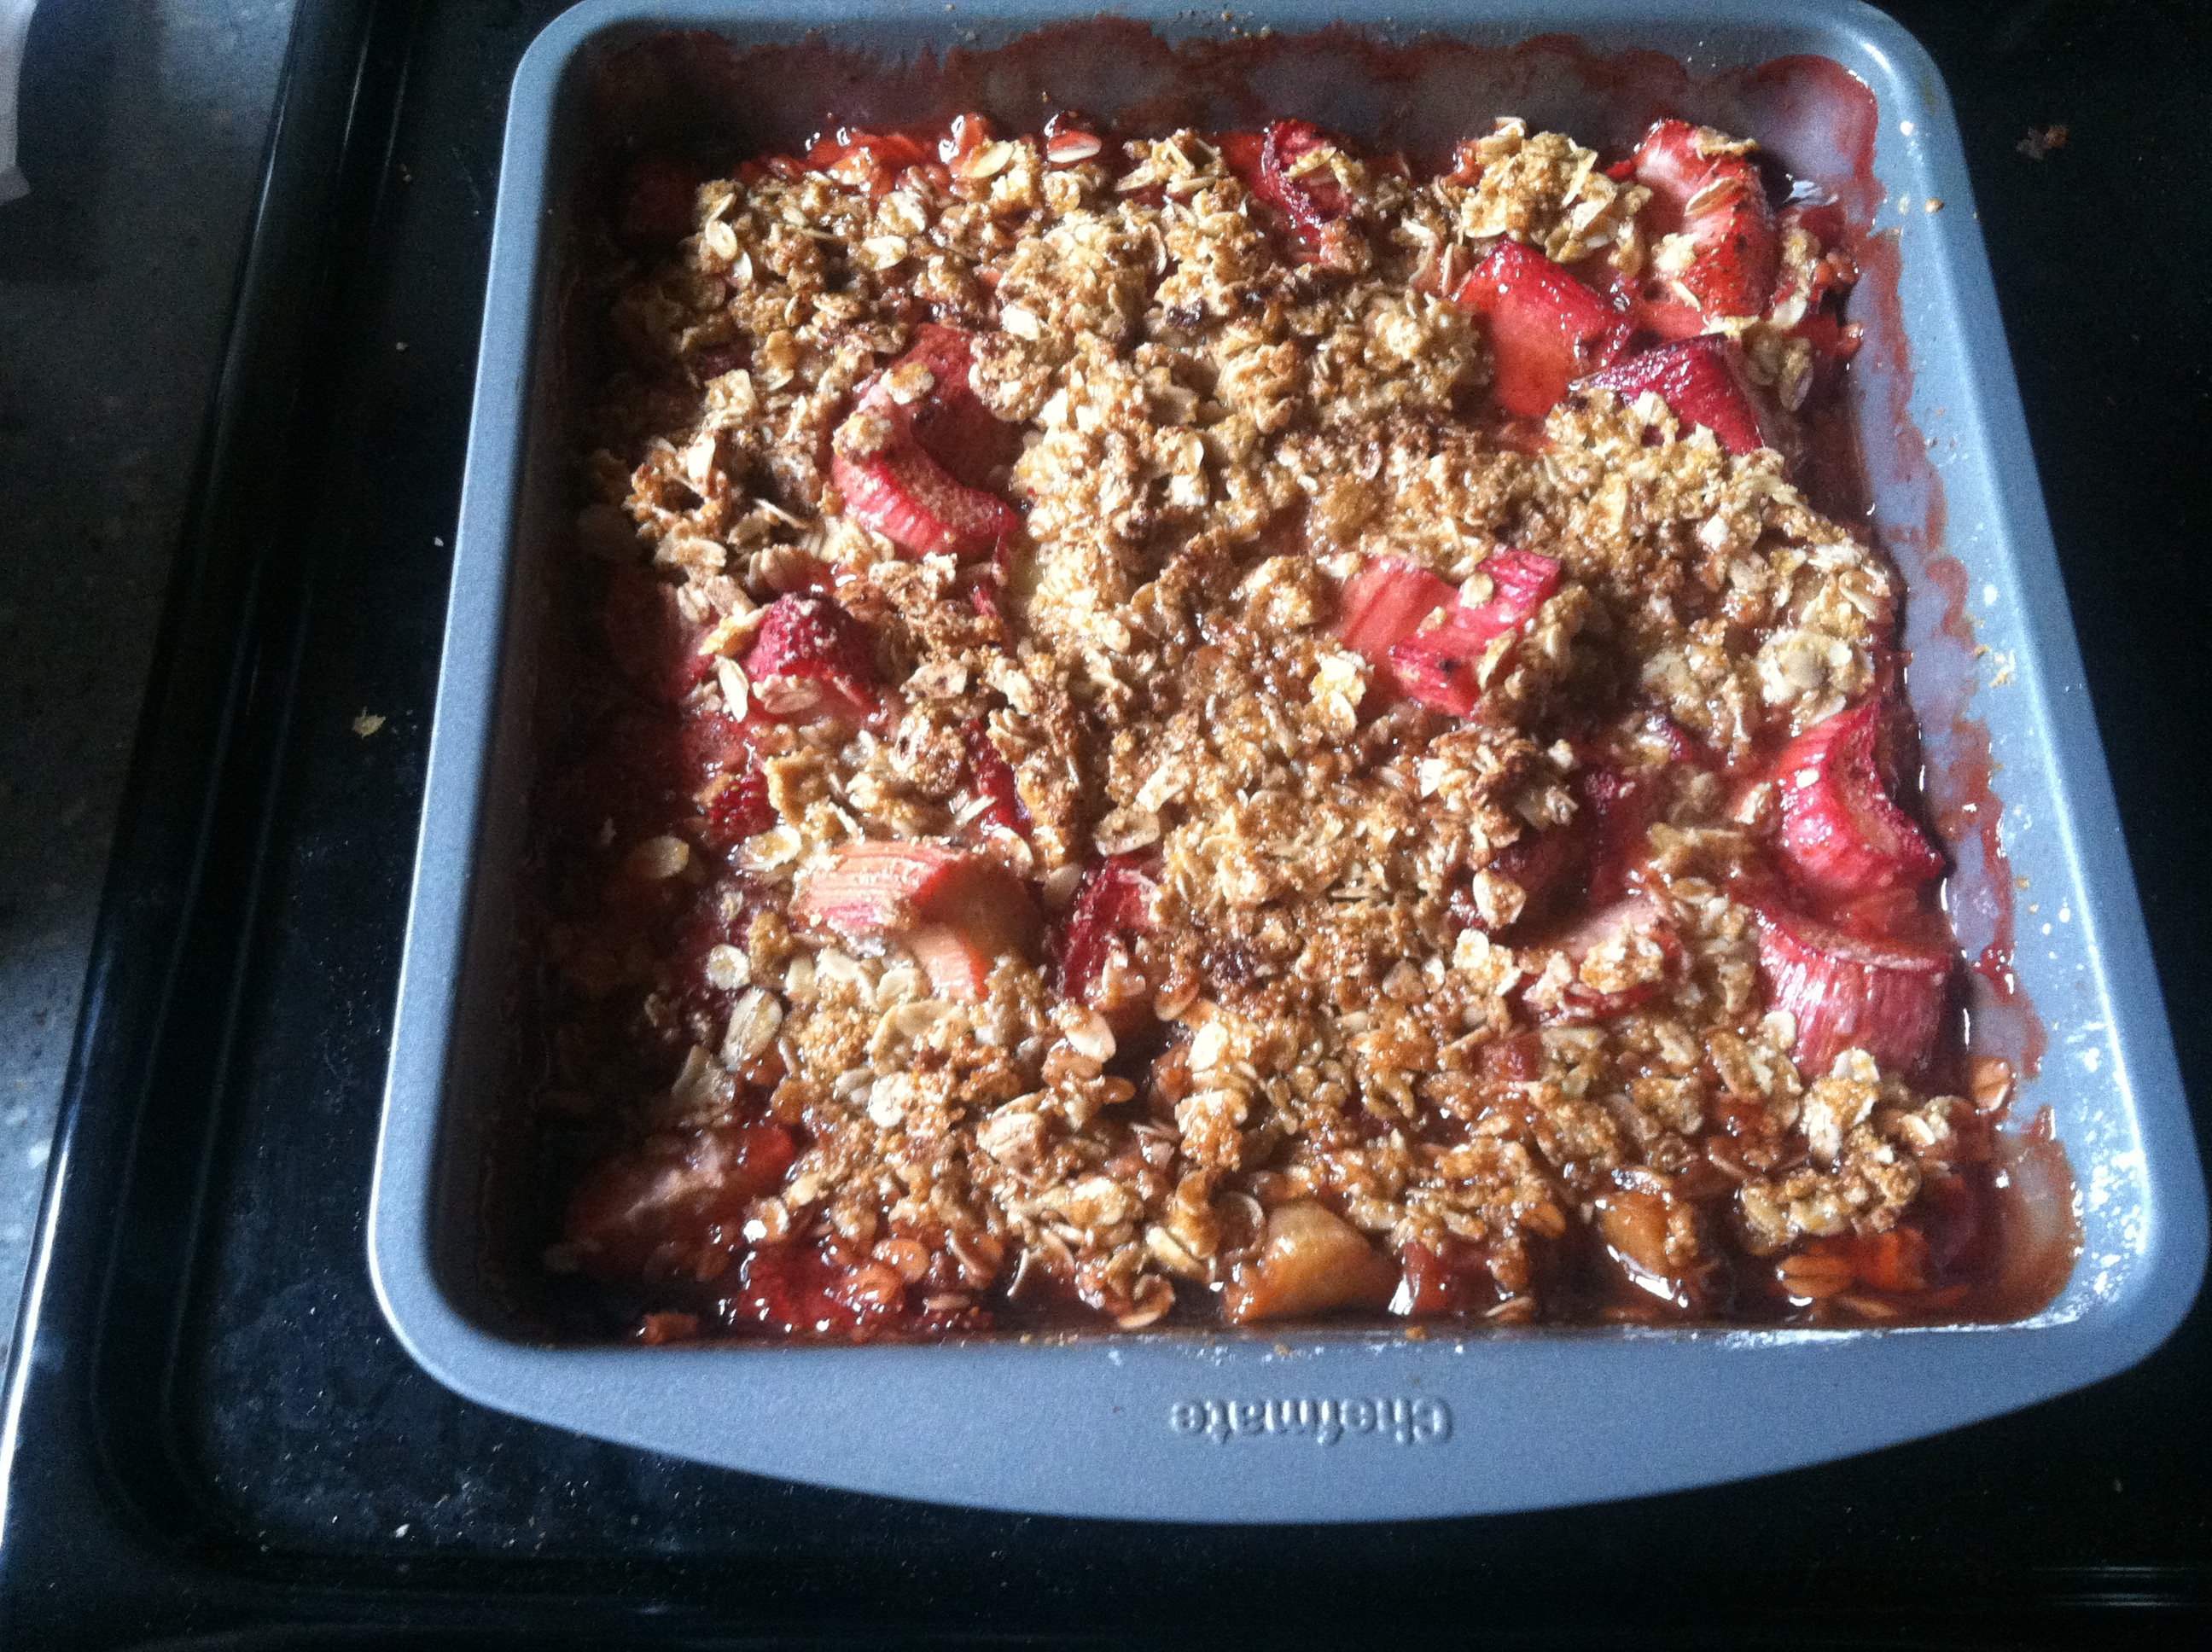
In another bowl (or, in a bowl if you’re lazy/smart like I am and didn’t use one for the above), combine remaining flour with brown sugar and oats. Stir in butter and mix well. Spread evenly atop fruit mixture, then send into the oven until the fruit filling starts to bubble over a bit, about 35-40 minutes.
Serve in small, quaint bowls with adorable dollops of ice cream or banana gelato (spoiler alert: the latter RULES ALL OF EARTH).
I think this was my first attempt at a crisp, and it must be idiot-proof because I could not have screwed this up if I tried. I may have even inadvertently tried, and it was still amazing. I’ve also tried different variations, taking the flour out completely, using sliced plums instead of rhubarb + strawberries, using a little less butter…and NOTHING made this suck! It’s a wizard of a treat.
Before you read this, here’s the thing that’s made me happiest in the past few weeks. Hope it does the same for you:
Want to know how behind I am? I made the pie I’m eventually going to tell you all about a month and a half ago! That’s like eight months in dog years! Or…wait.
So, excuses, excuses. I have lots of those! Everything seems to be falling apartment…oh, oops, Freudian slip there, ay friends? Well, I’ll leave it in, because MOVING SUCKS. Searching for an apartment, an affordable apartment, SUCKS. It’s scary and it SUCKS. And I’ve done it too many times in the past year. Sucks sucks sucks to you, apartment sitch.
Okay, so there’s the whole searching-for-a-new-home-for-the-millionth-frigging-time thing. There’s also the fact that I am currently sporting 23 GIGANTIC mosquito bites on my legs, arms and face. I look like a skydiving accident victim. F–k you, lone vampire who attacked me mercilessly.
There’s also kind of this random feeling useless and bad about myself thing that I experience, oh, about three times a year that seems to have decided to linger for much too long this time around. I’m your typical (I hope?) mid-twenties youngin’ who’s desperate for direction and meaning, who’s scared she’ll maybe never find it. Look at me being all open and honest with ya’ll! Feels good, huh? (No. Feels kind of embarrassing, but I cannot tell a lie.)
Anyway, at least I can feel good about the fact that I’ve finally maybe sort of mastered the art of the pie crust! I had help, of course, from a trusty food processor (Finally! Thanks Parents!) and a patient and adept boyfriend, who aided in the roll-out process. So, clearly, this was a team effort involving Ma, Pa and a boy named Jim. Hugs and smooches, you willing and unwilling participants. Let’s do this, starting with the pie crust.
Easy-With-A-Food-Processor Crust (makes enough for 2 crusts)
taken from Serious Eats
2 3/4 cups of flour, more on hand if necessary
2 tablespoons of sugar
1 teaspoon of salt
2 1/2 sticks, or 20 tablespoons, of cold butter, cut into small pieces
6 tablespoons of ice-cold water
Note: Before I continue, I must share this bit of nerdy, fascinating information with all of you. The author of the above recipe also developed a different pie crust recipe, which I have yet to try, in which half of the ice water is replaced with vodka. Vodka impedes gluten formation, which supposedly allows the dough to form a flakier, more layered and delicate crust. I haven’t tried it yet, but if any of you do, please let me know your results!
Combine 2/3 of your flour, sugar, and salt in the bowl of your food processor. Pulse twice to incorporate all ingredients. Spread pieces of butter evenly on top of mixture, and pulse until small clumps begin to form, about 25 short pulses. Using a rubber spatula, spread the dough evenly inside of the bowl. Sprinkle remaining flour in bowl and pulse just until dough is slightly broken apart, 5 or so short pulse. Transfer dough to a large bowl. Sprinkle water over dough and, using rubber spatula, fold dough together until it forms a ball. Divide the dough in half, then form each half into a 4-inch disk. Cover with plastic wrap and refrigerate (at least 2 hours) if using within a couple of days or freeze for up to 4 months.
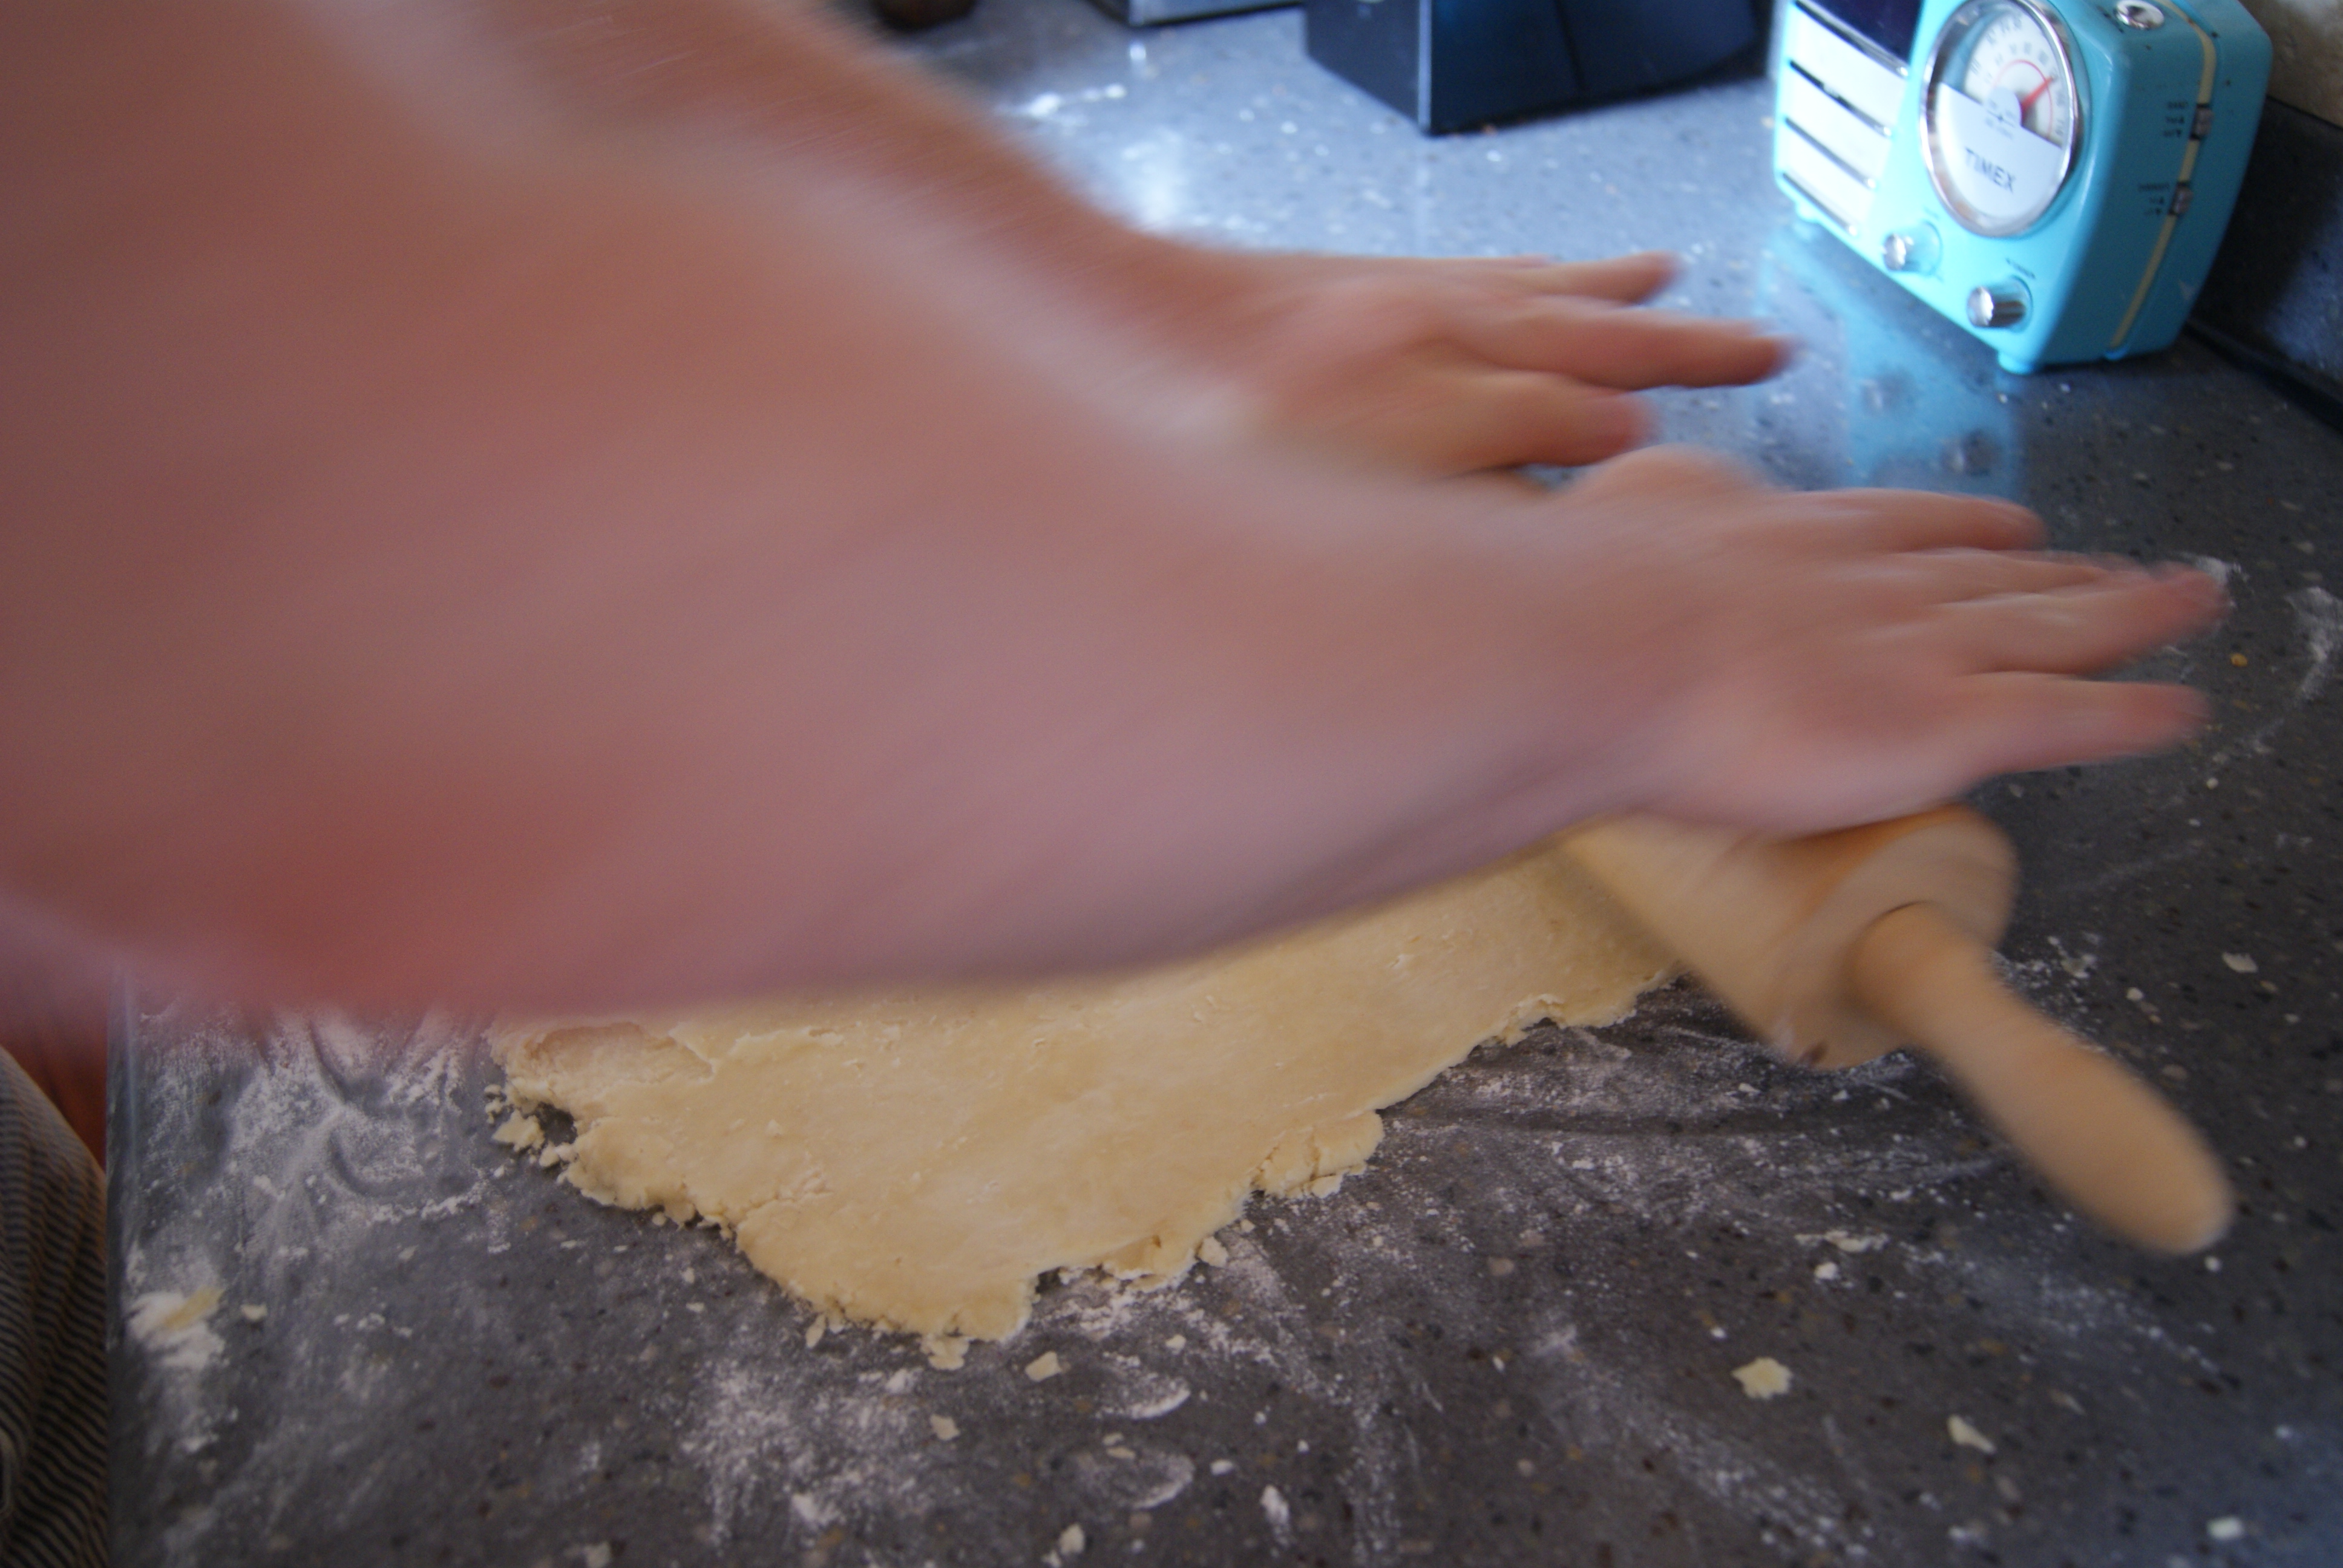
Typically, when rolling out dough that’s been refrigerated, it’s a good idea to let it rest on your counter for about 10 minutes. This gives the dough just enough time to soften up before handling. You don’t want the dough too soft, as this plus all of the handling you will be inevitably doing will disturb your crust too much. That’s uncool.
Then give the dough to a trusted adult to roll out. No joke, the arms in the below photo are white because they belong to my boyfriend, not me, as I am not capable of neatly doing anything. This is not because I am brown, please do not misunderstand my decision to point out my boyfriend’s skin color. Ah, crap. Please know what I mean.
Essentially, you don’t want to roll back and forth. On a floured surface, roll out from the middle of the disk of dough, trying not to “steamroll” too much over any areas, as this dough is pretty sensitive. Roll each disk into 9-inch flat circular-ish things. Line the bottom of a pie plate with one, then chill along with the top half, which, um, just kind of has to chill by itself.
Mixed Berry Pie Filling
4 ounces granulated sugar
1.5 ounces of cornstarch (a little more if you want a more gelatinous pie, a little less if you want a runnier pie)
24 ounces of mixed berries
Zest of 1 lemon
1 egg, beaten, plus one pinch of salt
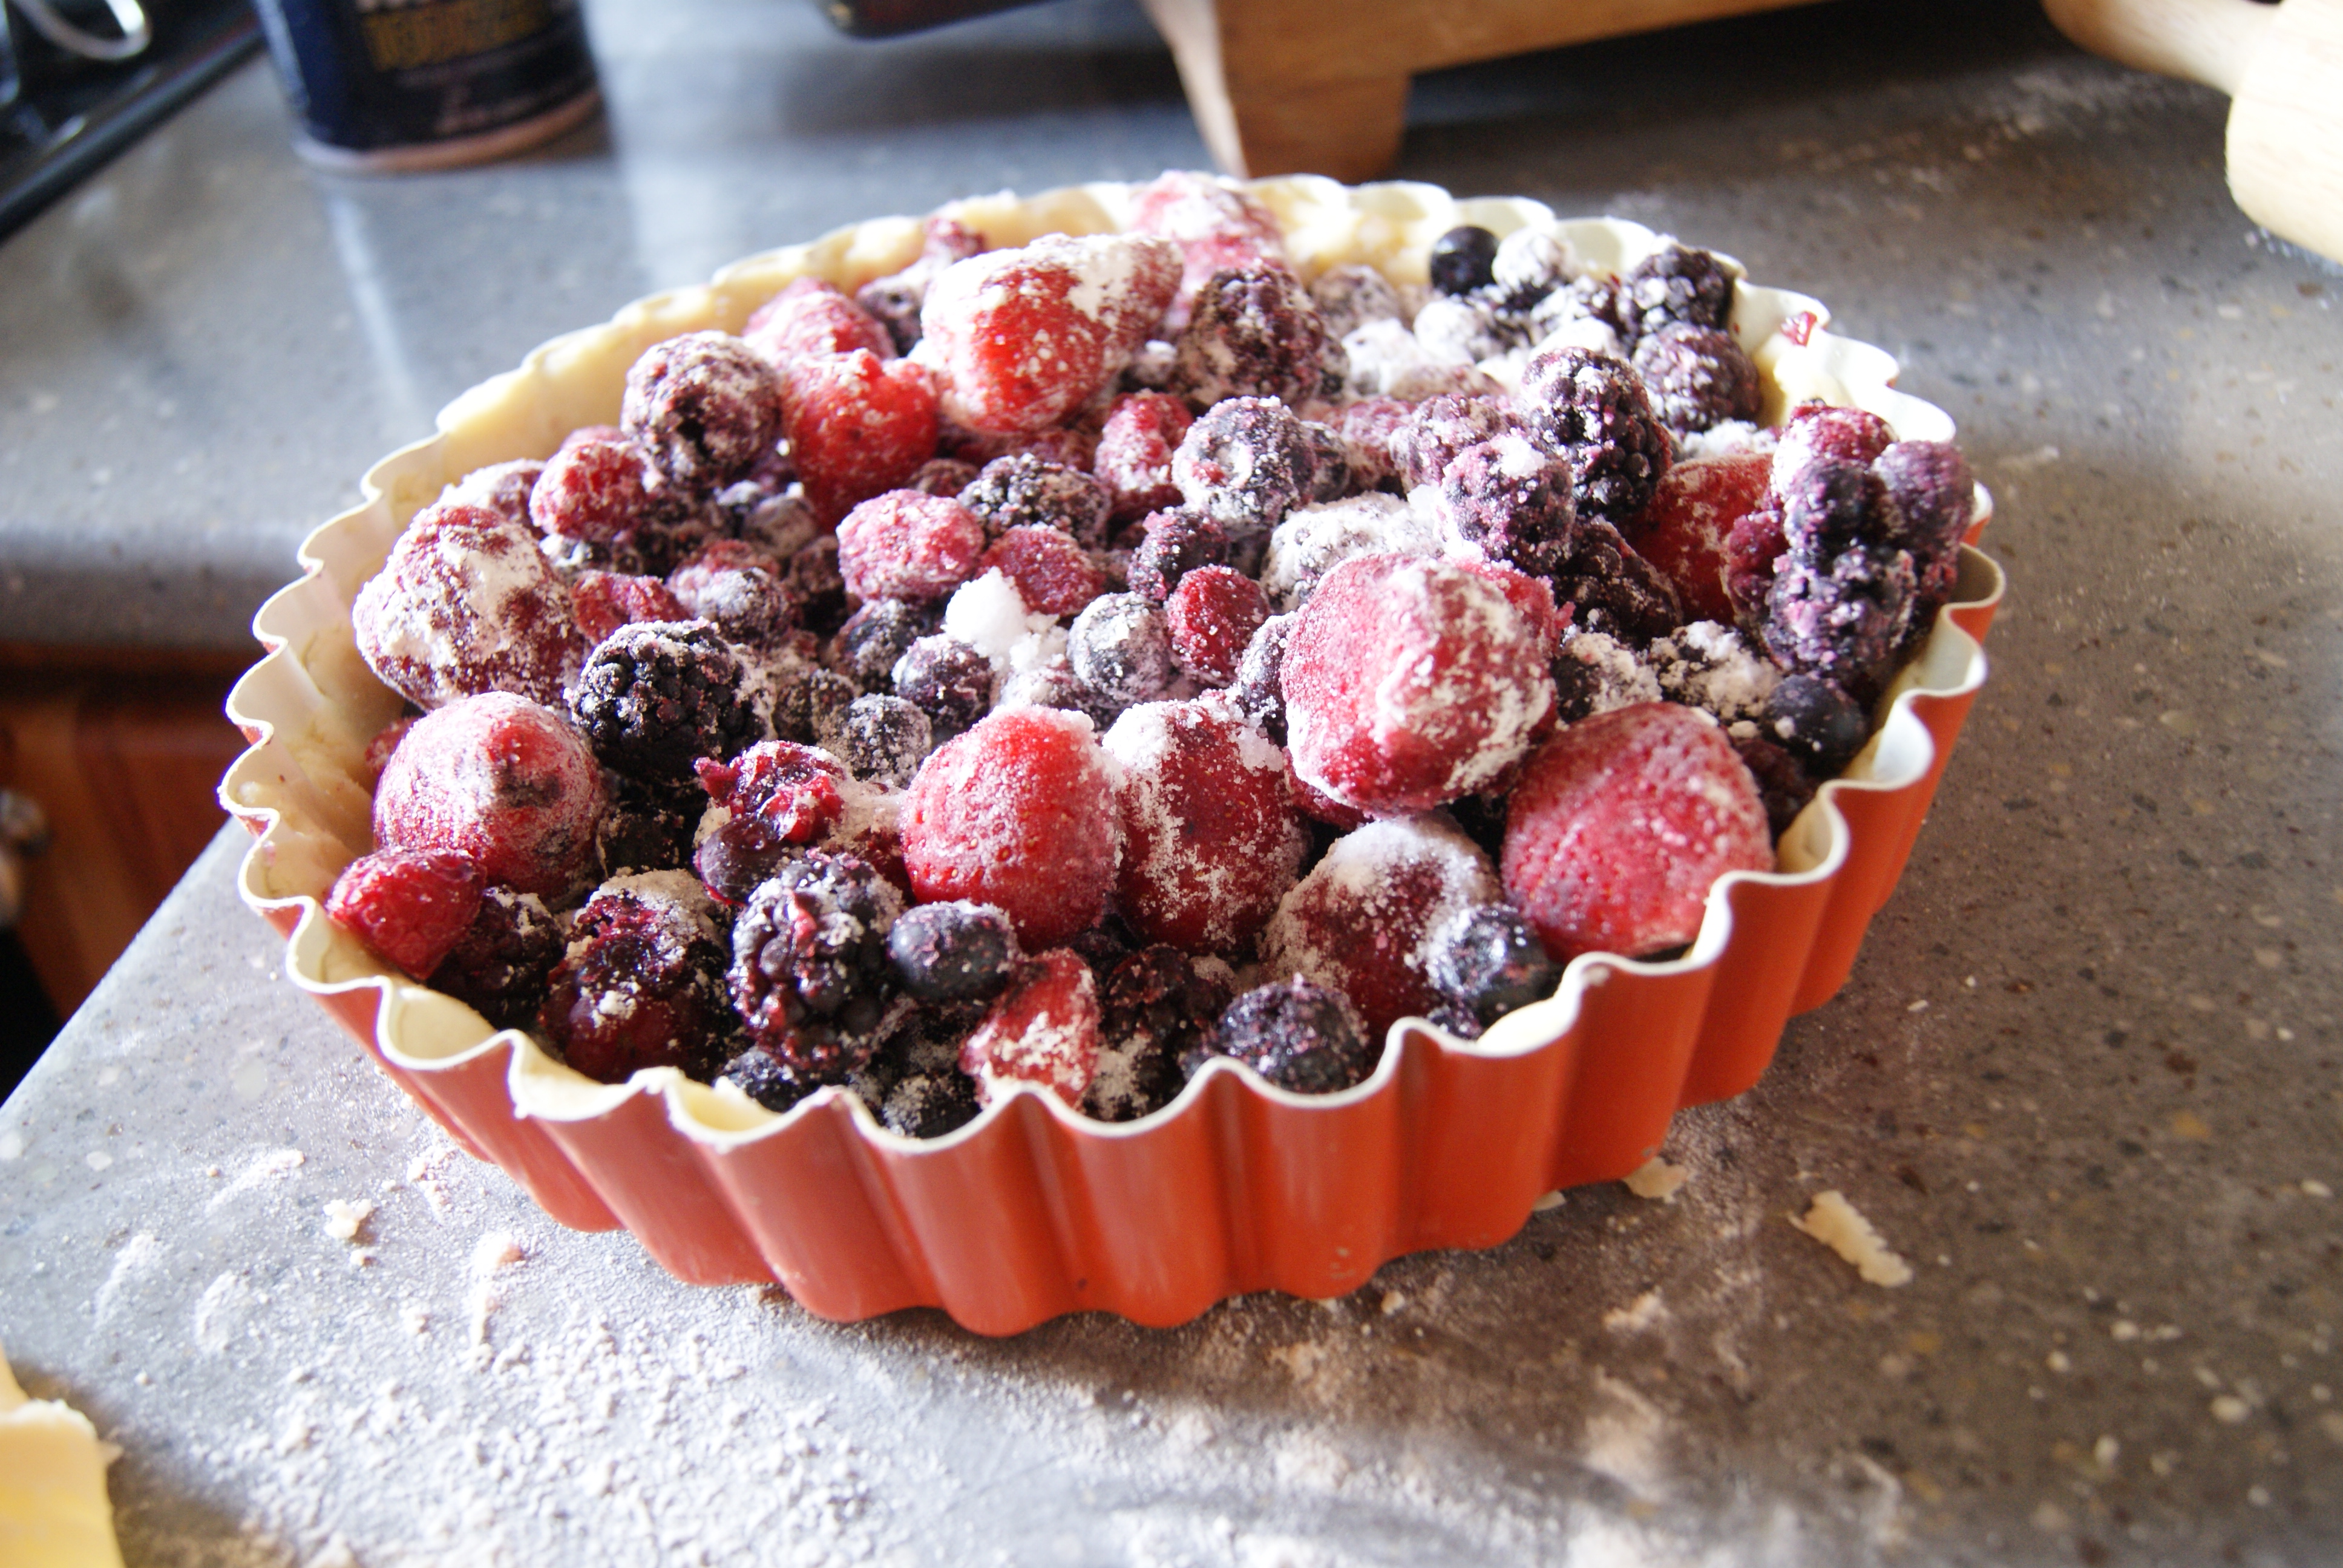
Preheat your oven to 425ºF. In a small bowl, whisk together sugar, cornstarch and berries until berries are fully coated in the mixture. Pour berries into the pie shell, like so:
Cover with the top half of your dough, crimp the edges, and chill in refrigerator for at least 20 minutes.
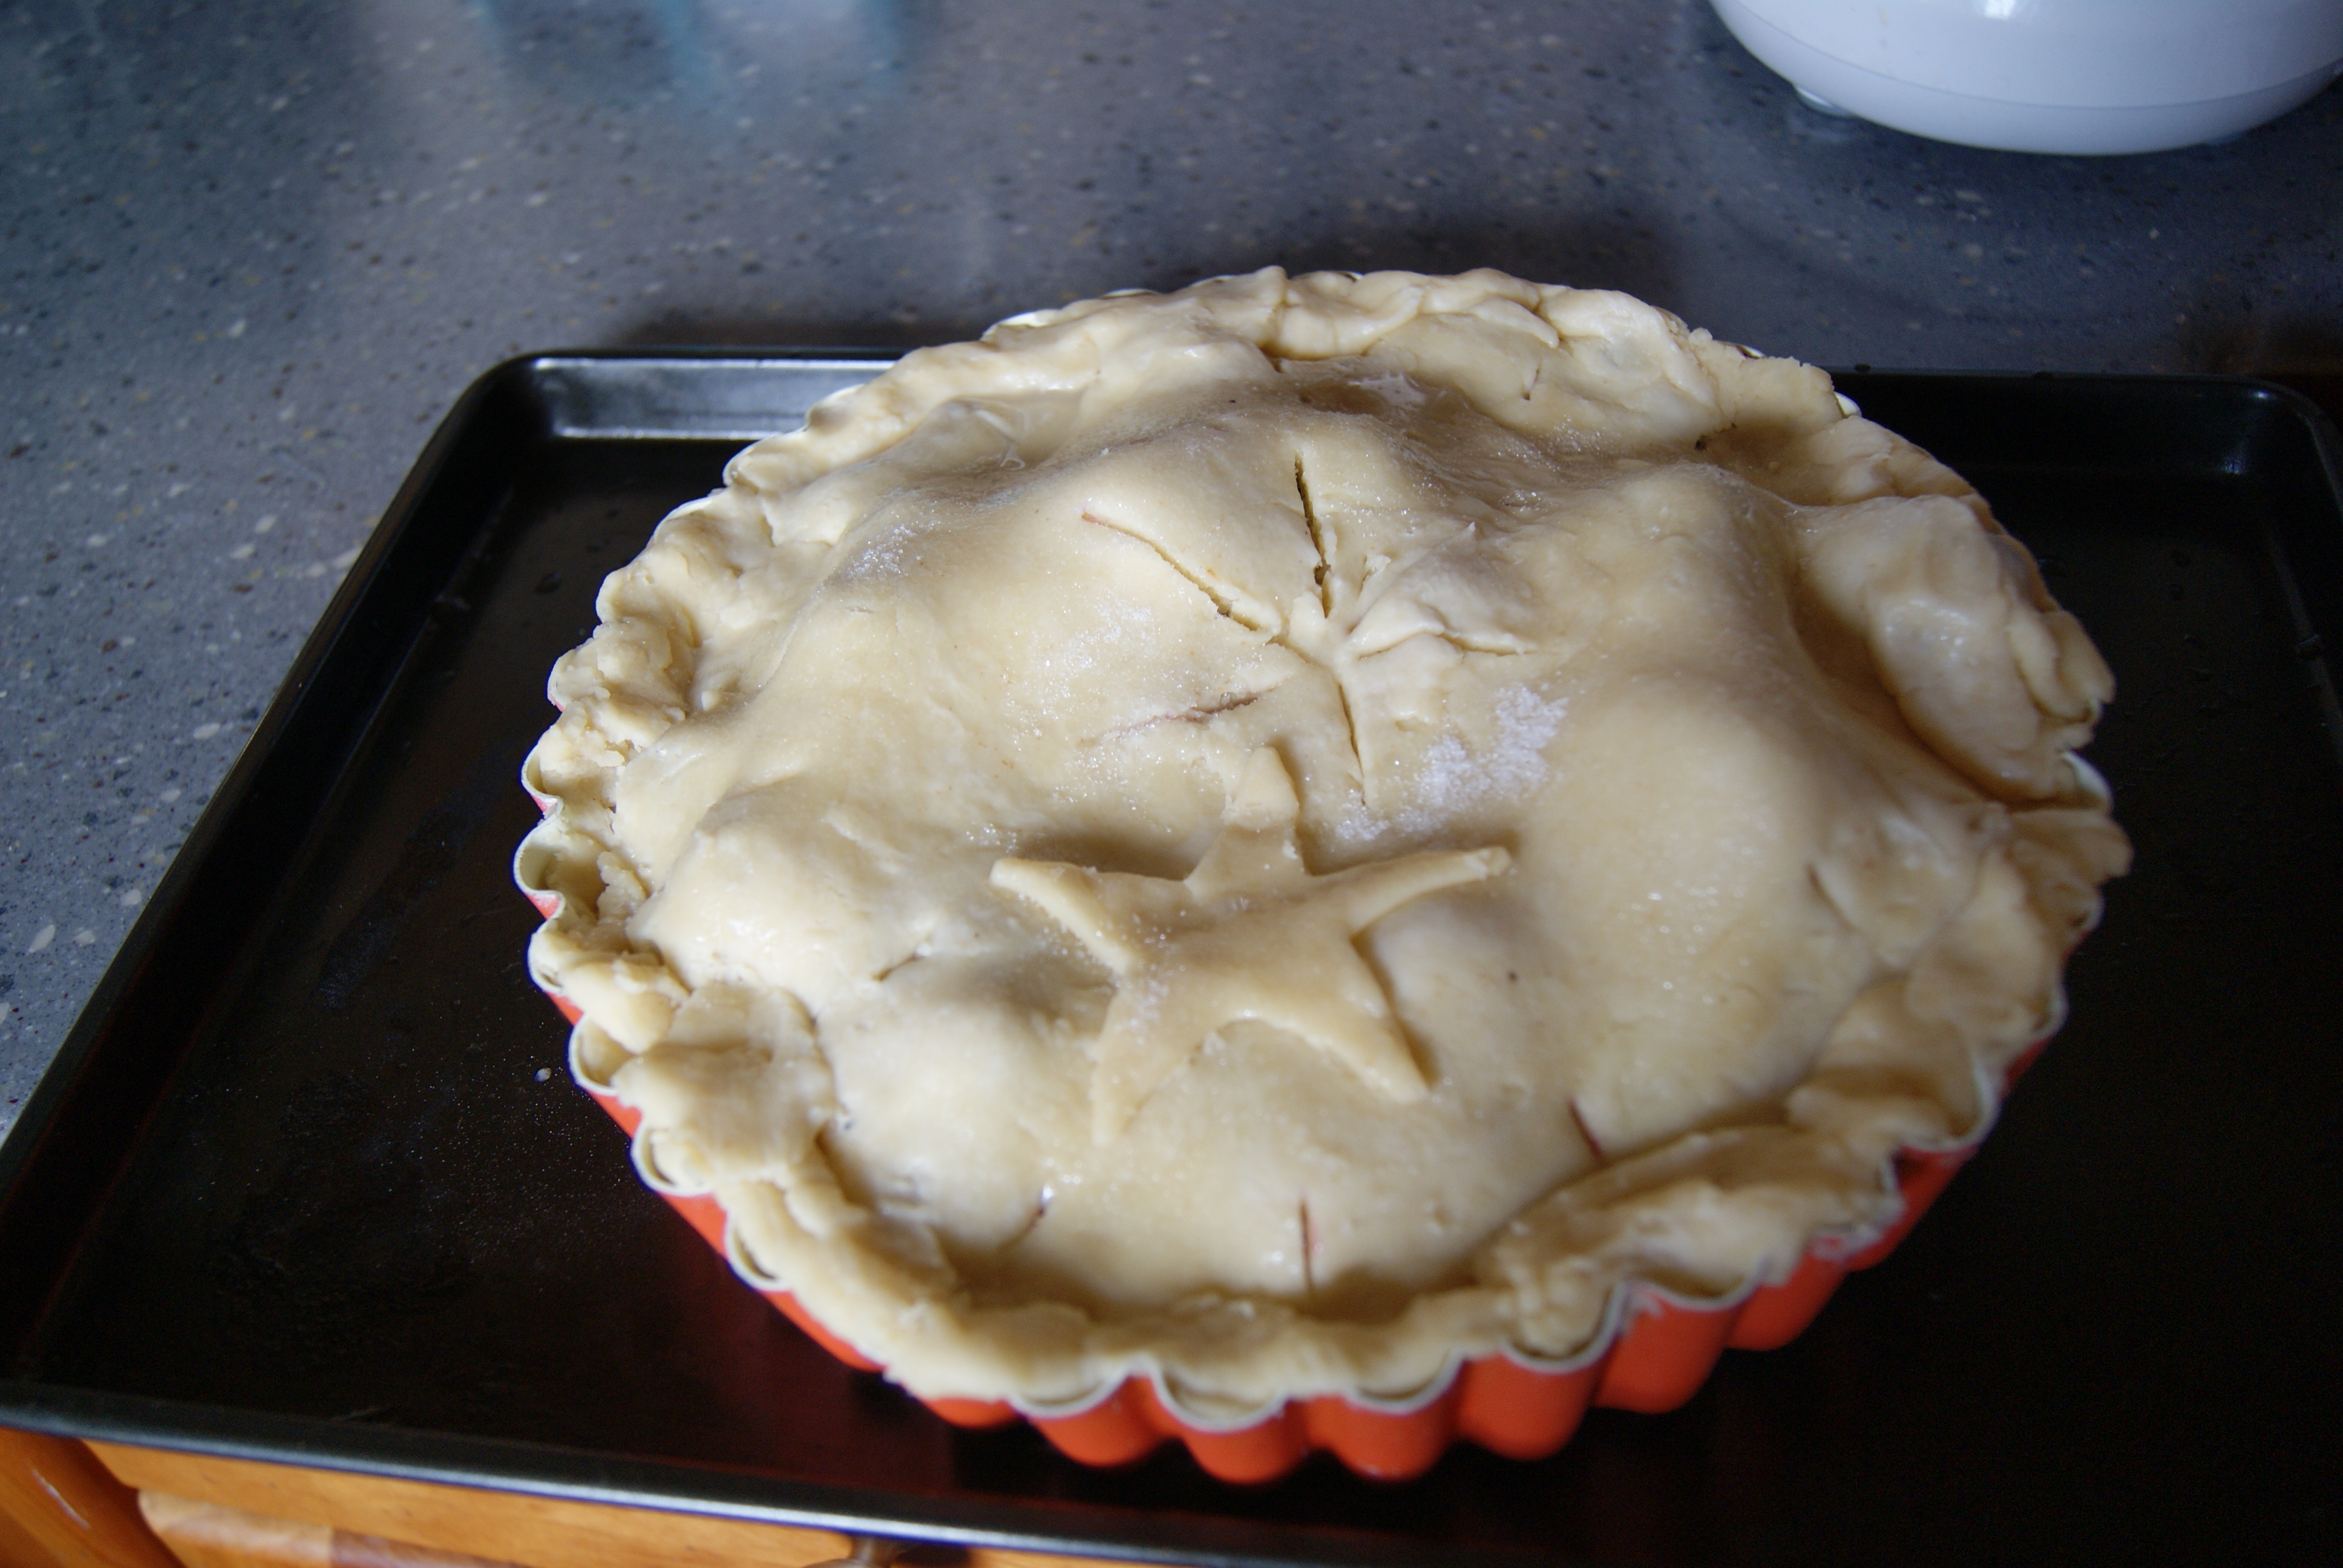
Brush the top of the dough with egg mixture, and cut a few slits on top of pie to allow for air to escape. If you’ll notice, I cut something else in too (this was an Independence Day pie, just so you all know exactly how behind I am).
Bake on the lowest rack of your oven for 20 minutes, rotating the pie halfway through baking.
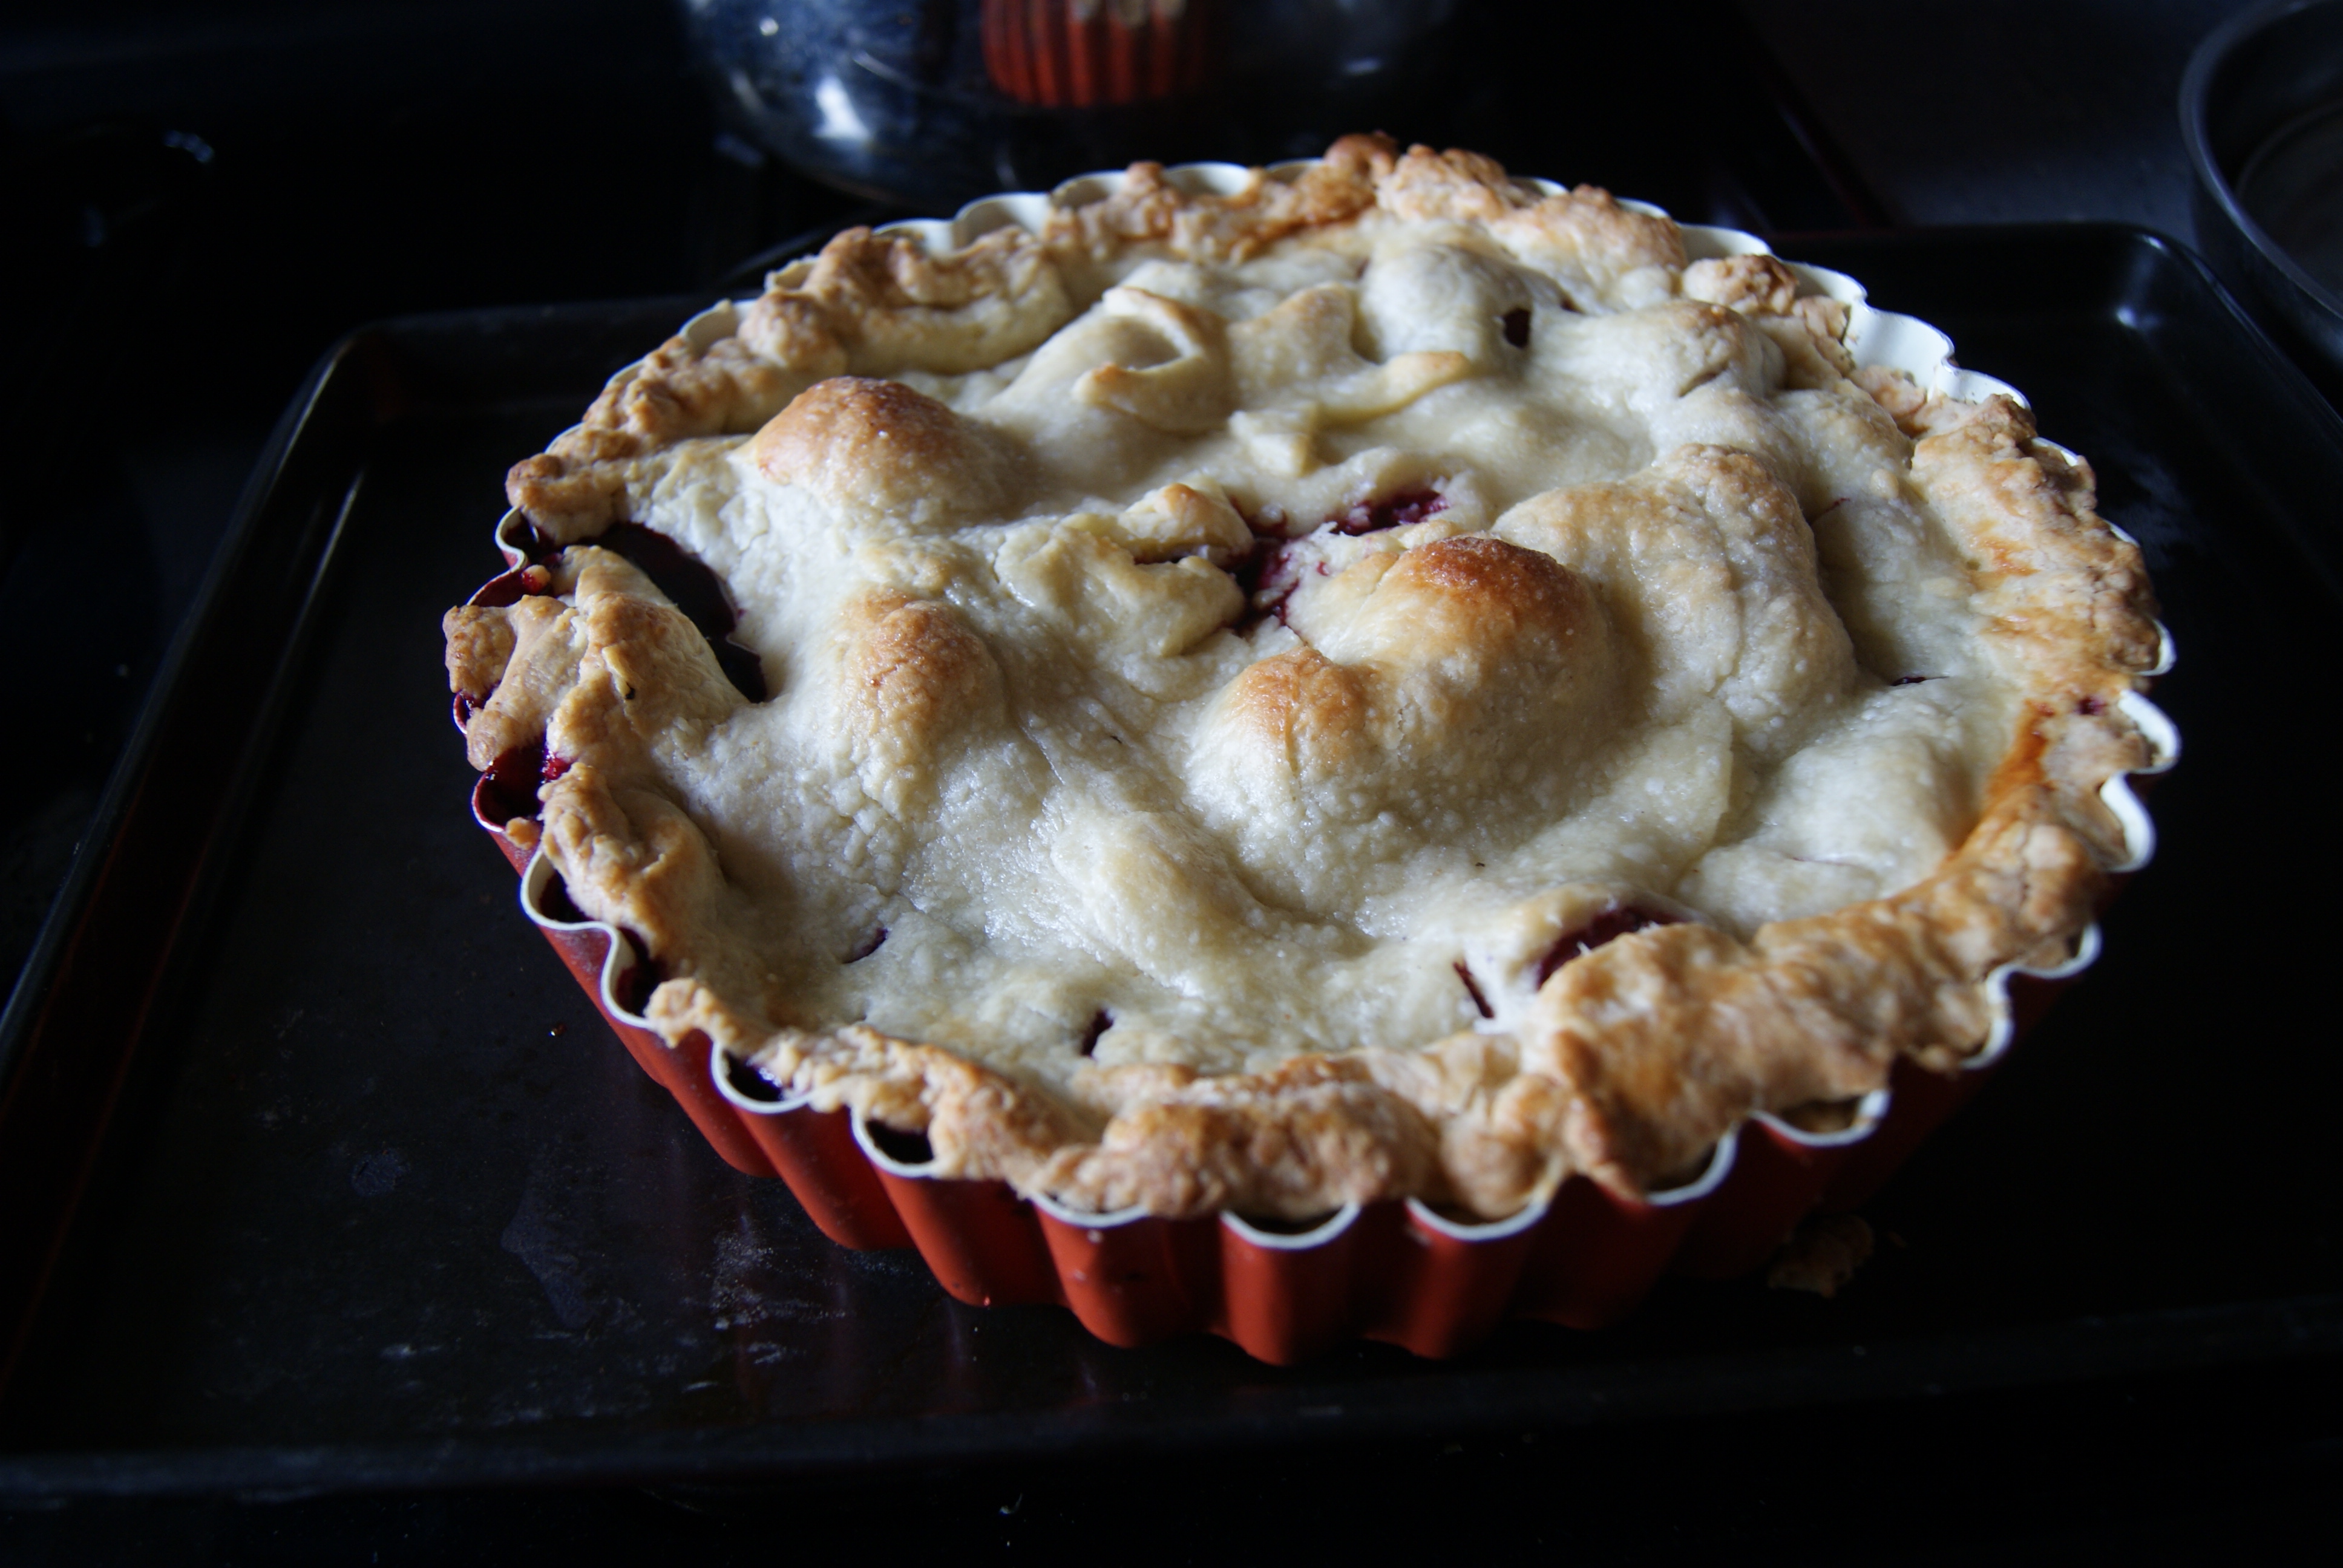
Adjust oven temperature to 375ºF, and continue to bake pie until the top is golden brown and the filling is bubbling over a bit, about 25-30 minutes. If parts of the crust begin to look to dark, you can carefully cover them with pieces of foil.
Allow pie to cool for at least 30 minutes before serving.
Spot the star!
If you’ve checked out the original recipe, you’ll notice that I’ve cut the sugar in the filling down by half, as I’ve been tending to do in recent posts, to see if anyone misses it. This was given to my parents, sisters and boyfriend, and not one person complained (I know, I know, they all love me, but they all are also secure enough to yap and fret about anything. What I’m saying is they’re honest). Everyone went for seconds, some even with a huge dollop of vanilla ice cream on top of their slices. In fact, even my dad (who does not love the art of baking) was pleasantly surprised. Hell, he might be coming around to this pastime of mine! Papa, feel free to comment!
Also, since my household believes in recycling, we decided to shove the bit of leftover pie dough we had into a mini-muffin tin, and layer mini marshmallows, chocolate chips and graham cracker bits on top. Into the oven this lone mini-mini-pie went for 7 minutes at 375ºF.
And it was gone in three bites (only one of which was mine). YUM.
Last weekend I was strolling along the Hudson River with my boyfriend when the skies opened up and dumped a monsoon on us. Fortunately, there was a random tent nearby that we and a bunch of other drenched pedestrians discovered at precisely the right moment. The rain lasted about ten minutes, and then this happened.
That, I thought, was a signal that all would be fine.
Instead, it ended up being a semicircular, multicolored middle finger directed squarely at me.
I’m not sure how comfortable I am talking about the exact three bad things that have happened. There may be even more than three, but typing them all out might result in me freaking out even more than I already have in the past, oh, six weeks or so. Yep. Six weeks of on-and-off nonsense.
This past week has been one of the most trying I’ve experienced in about seven years. I’ve had to deal with disturbed individuals whom I’ve never met contacting me through this blog, using something that’s very dear to me to basically, well, harass. You all know how well I deal with scary fools coming after me. It’s not cool. Plus, I am a boring person. Trust. I am also sort of broke, really quiet and pretty reserved until I am hungry or SUUUUPER pissed off. There is really nothing to be gained from randomly lobbing the crazy this way. So, if you’re reading this with the sole purpose of, I don’t know, being mean or causing trouble, this way to the egress.
Sylvapotamus has left the country for the week, leaving me stranded and lost and even sadder than I would be had she not left. Somebody help! Tell me a joke. A good one. Or a bad one, I don’t care. Just give me something to work with, people! I’ll give you a delicious, healthy, addictive dessert in return!
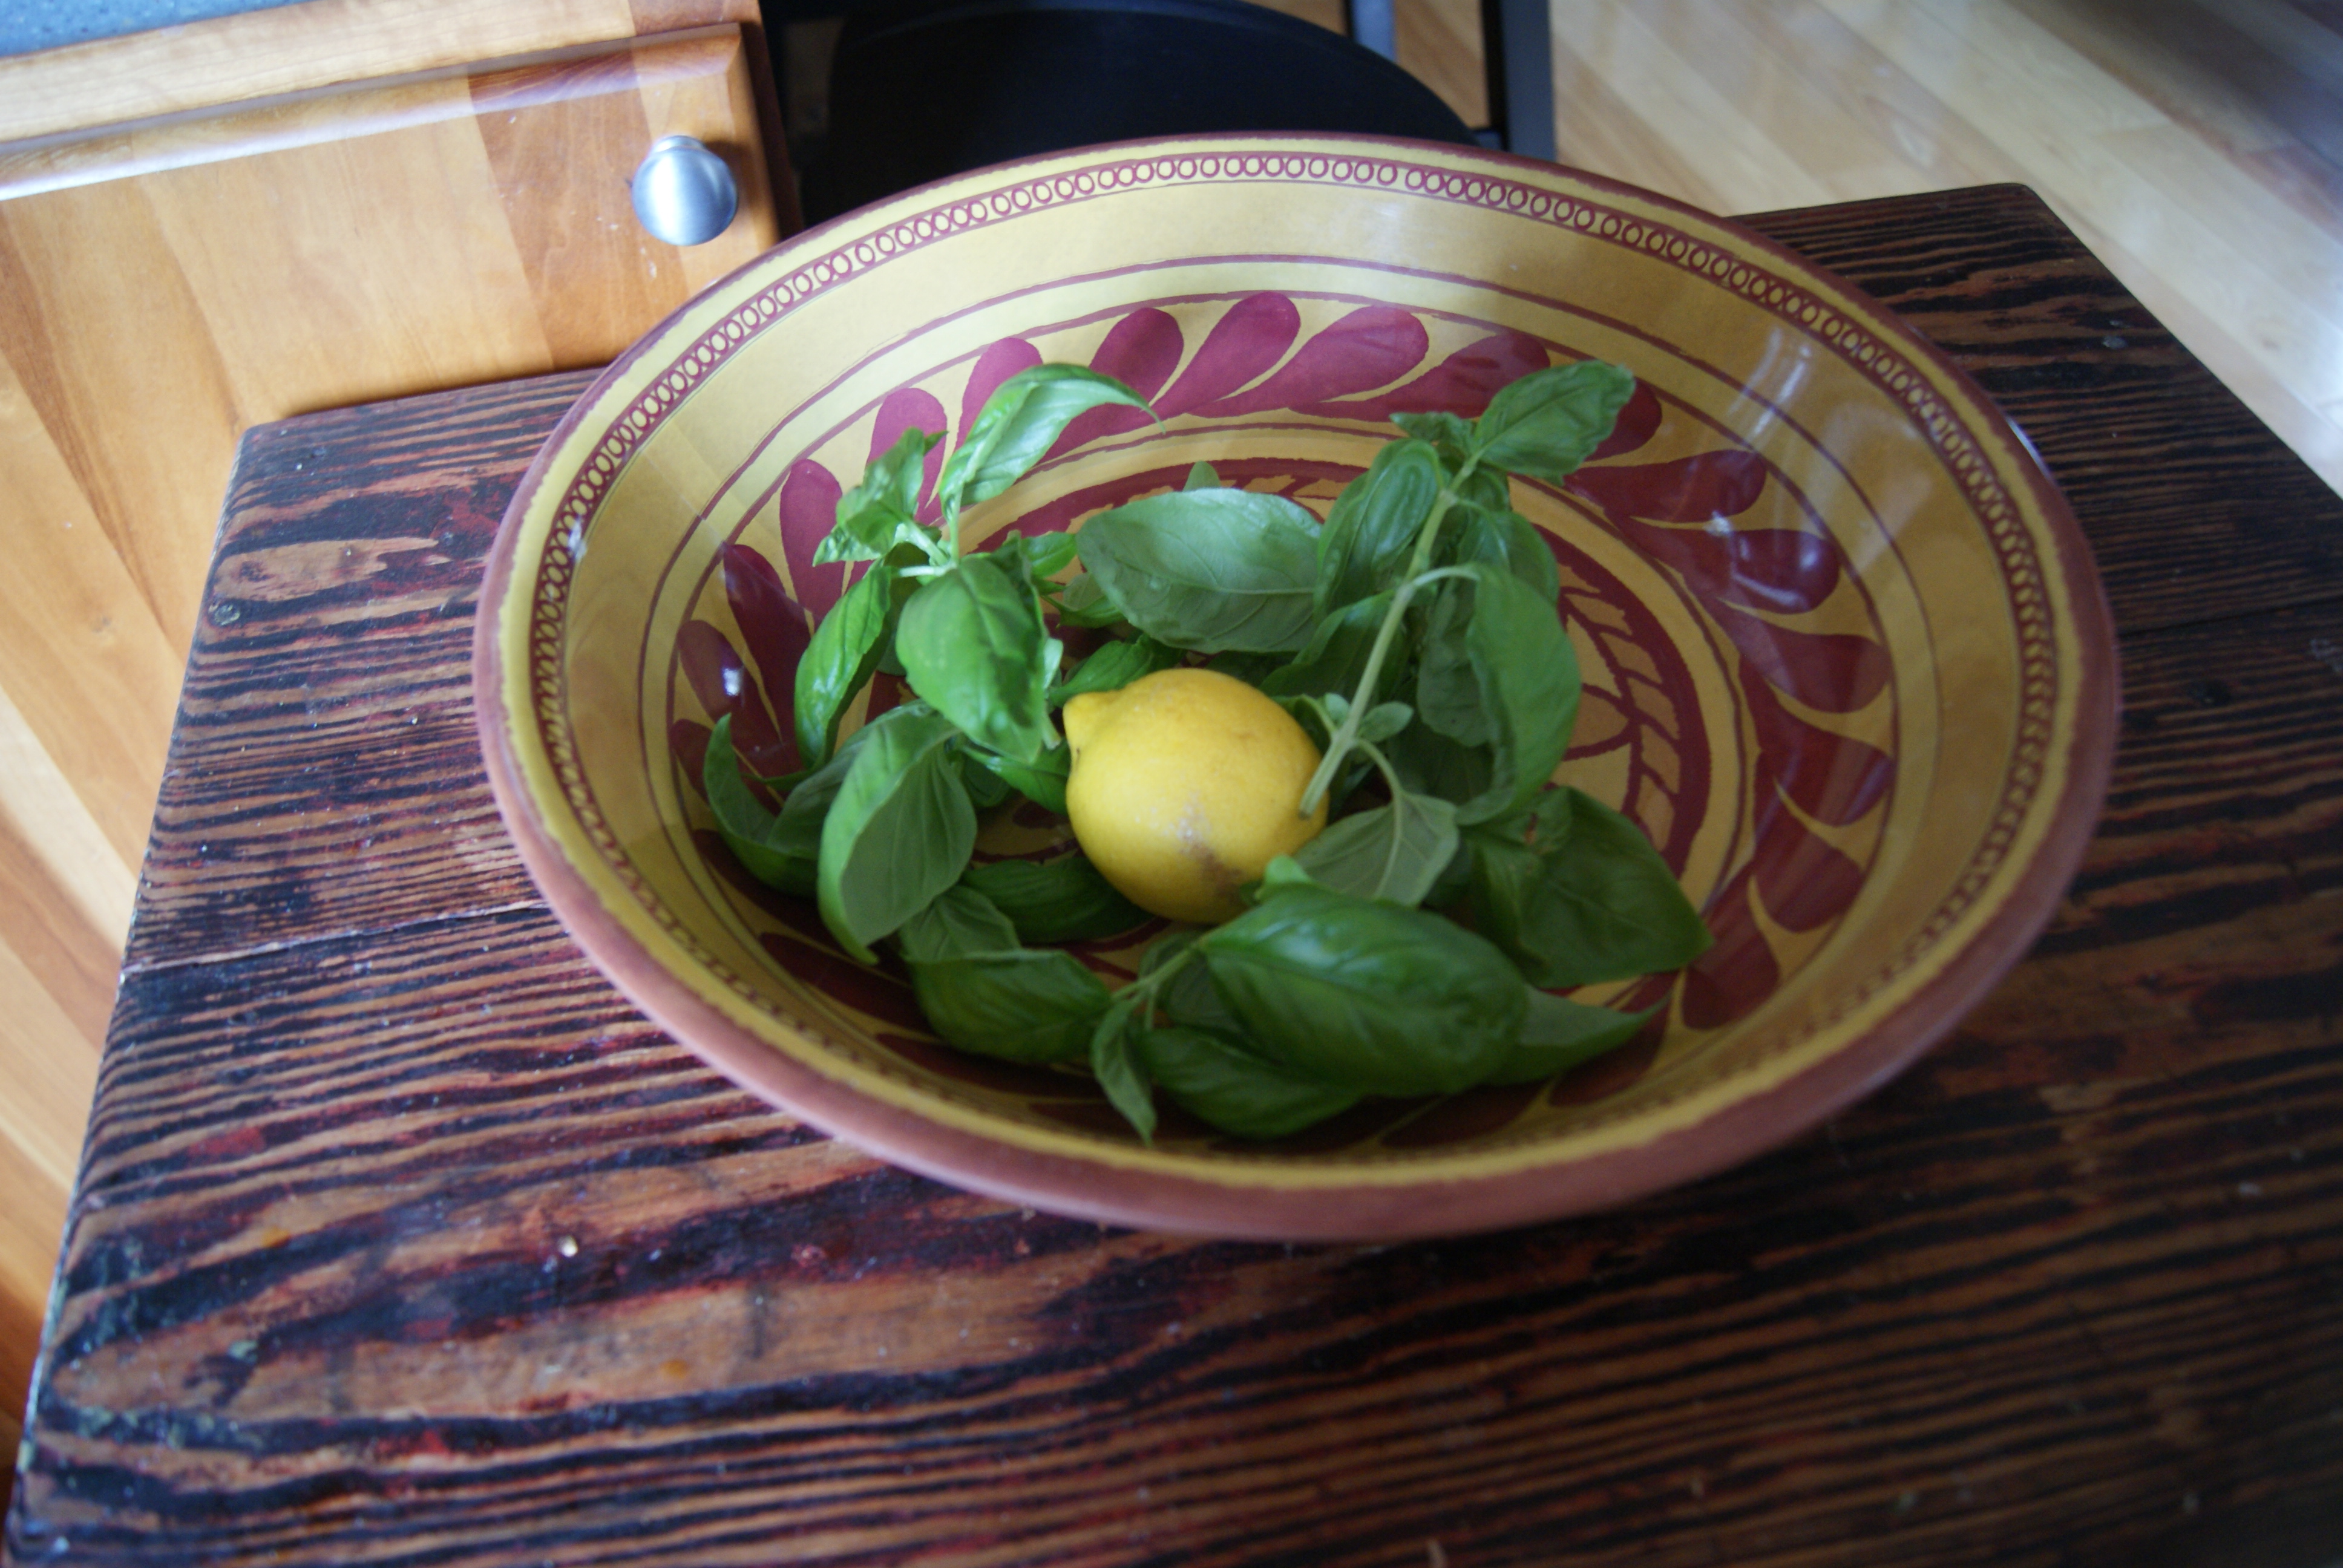
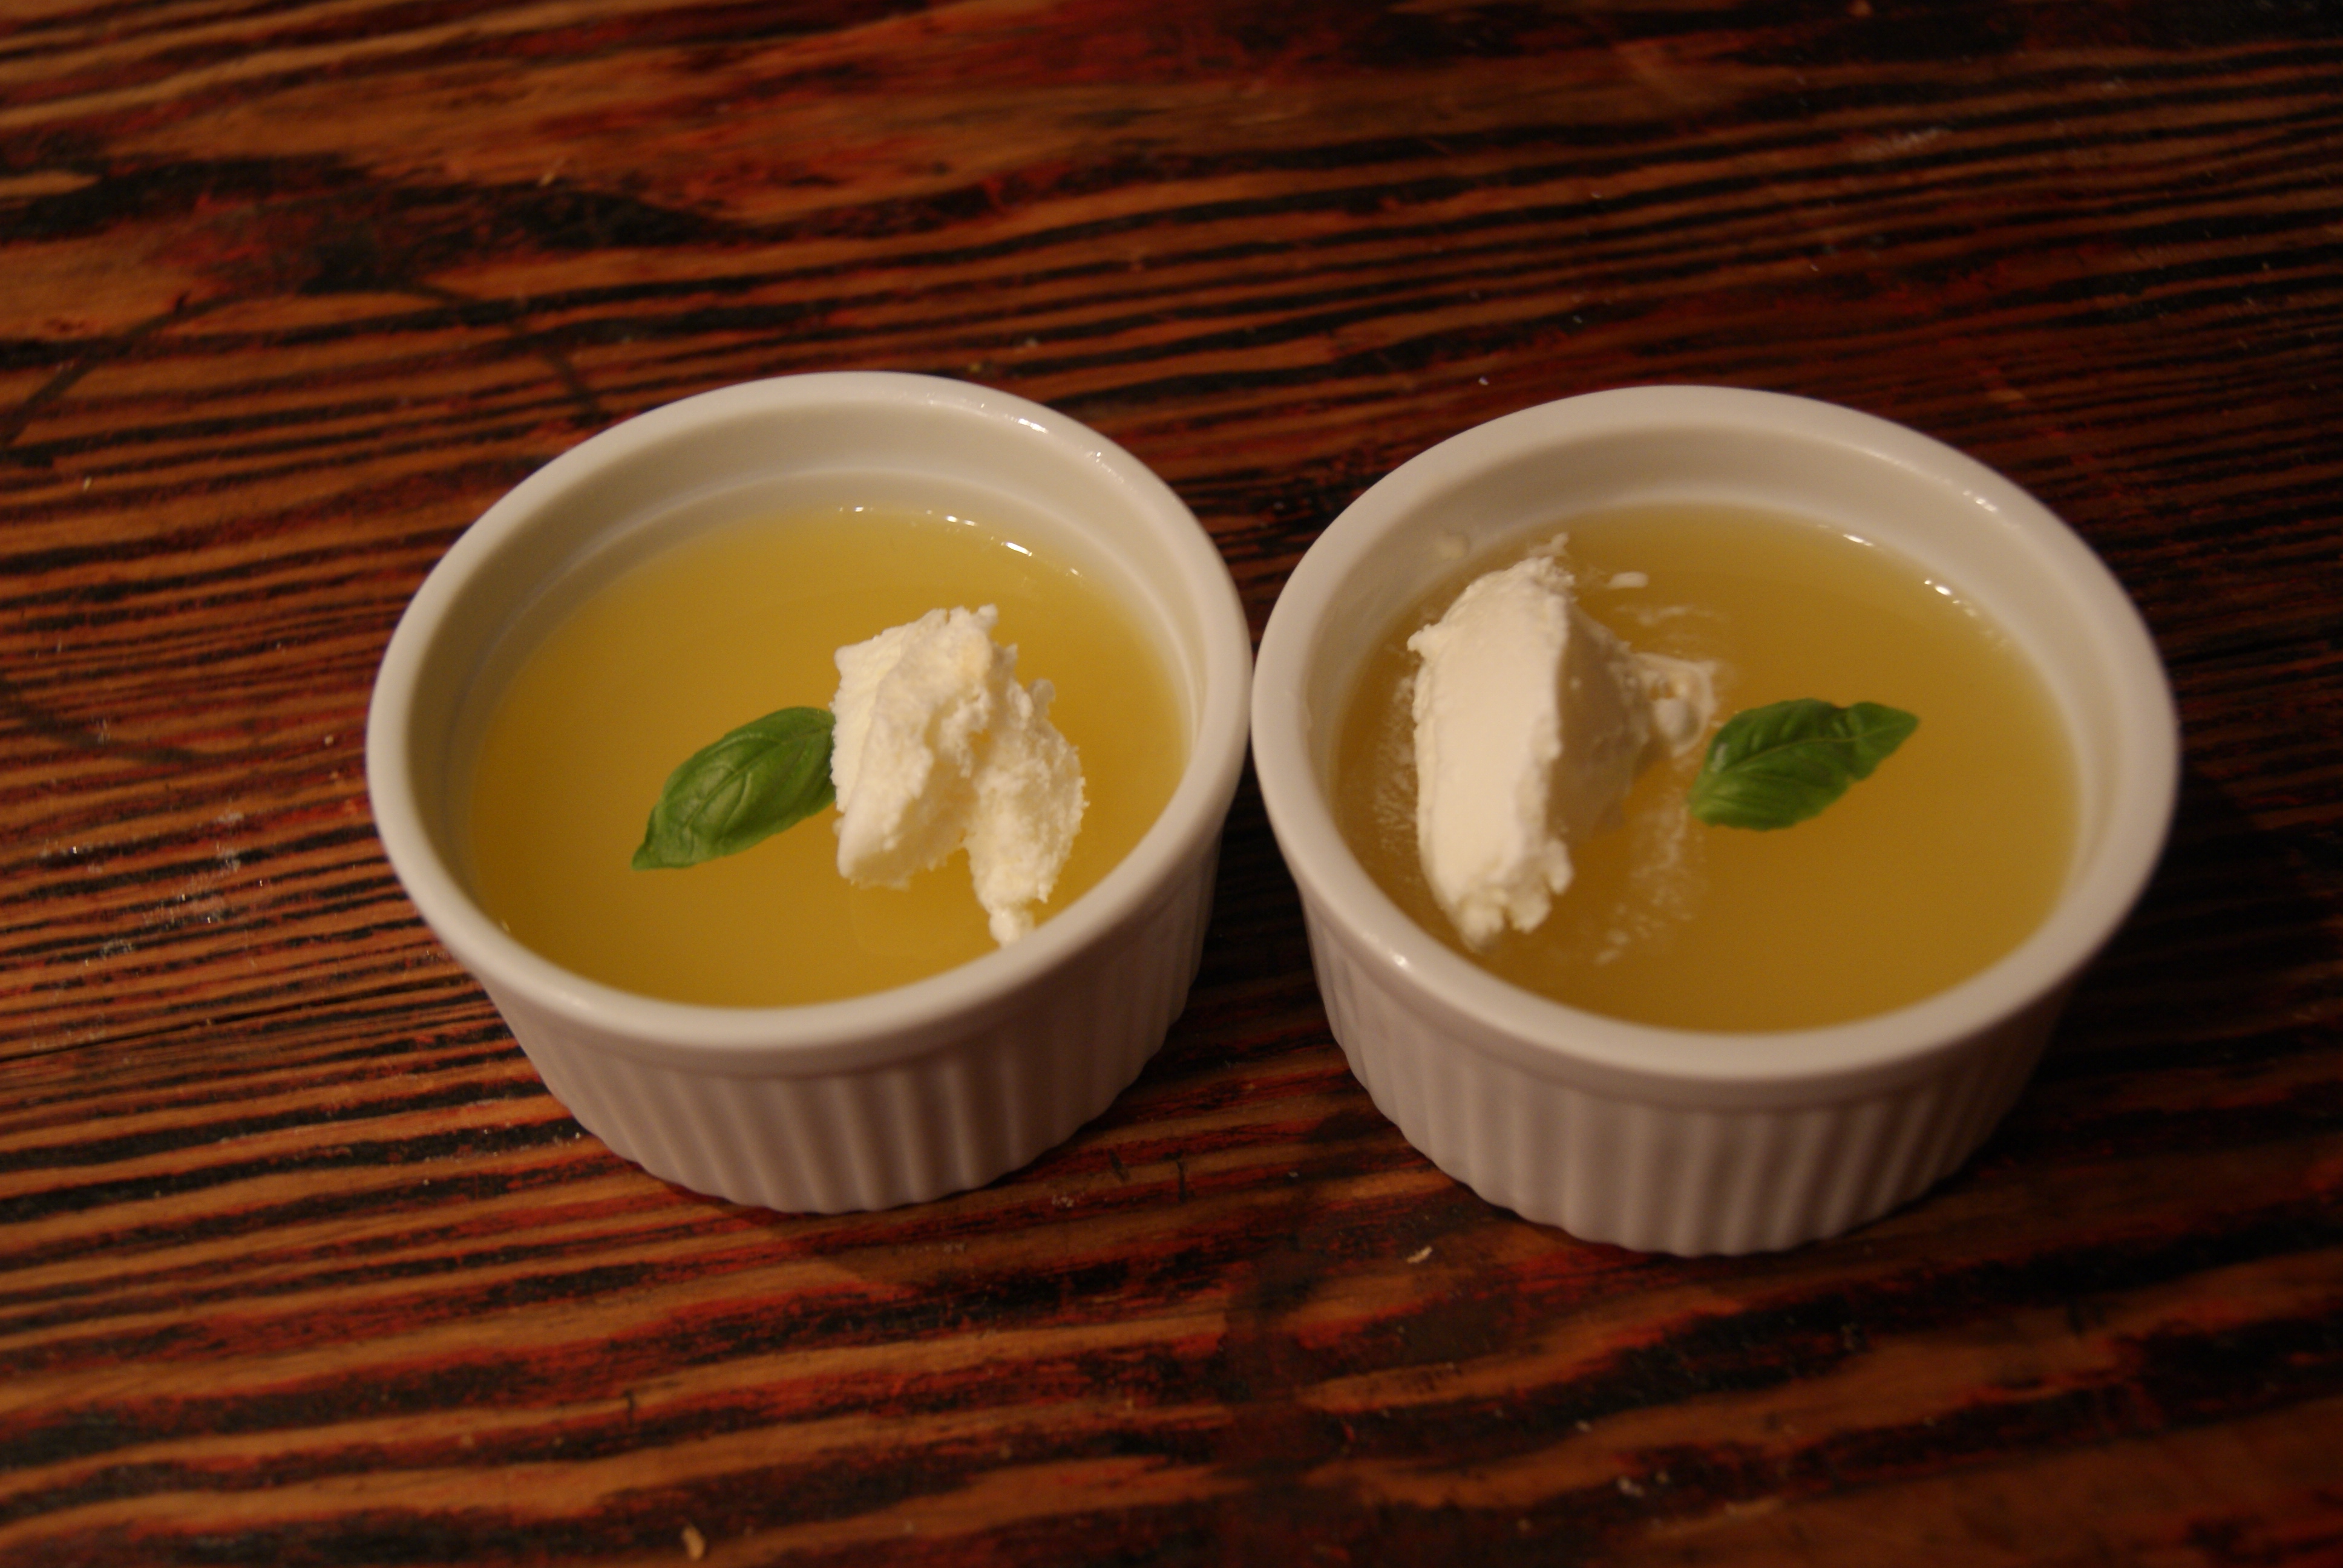
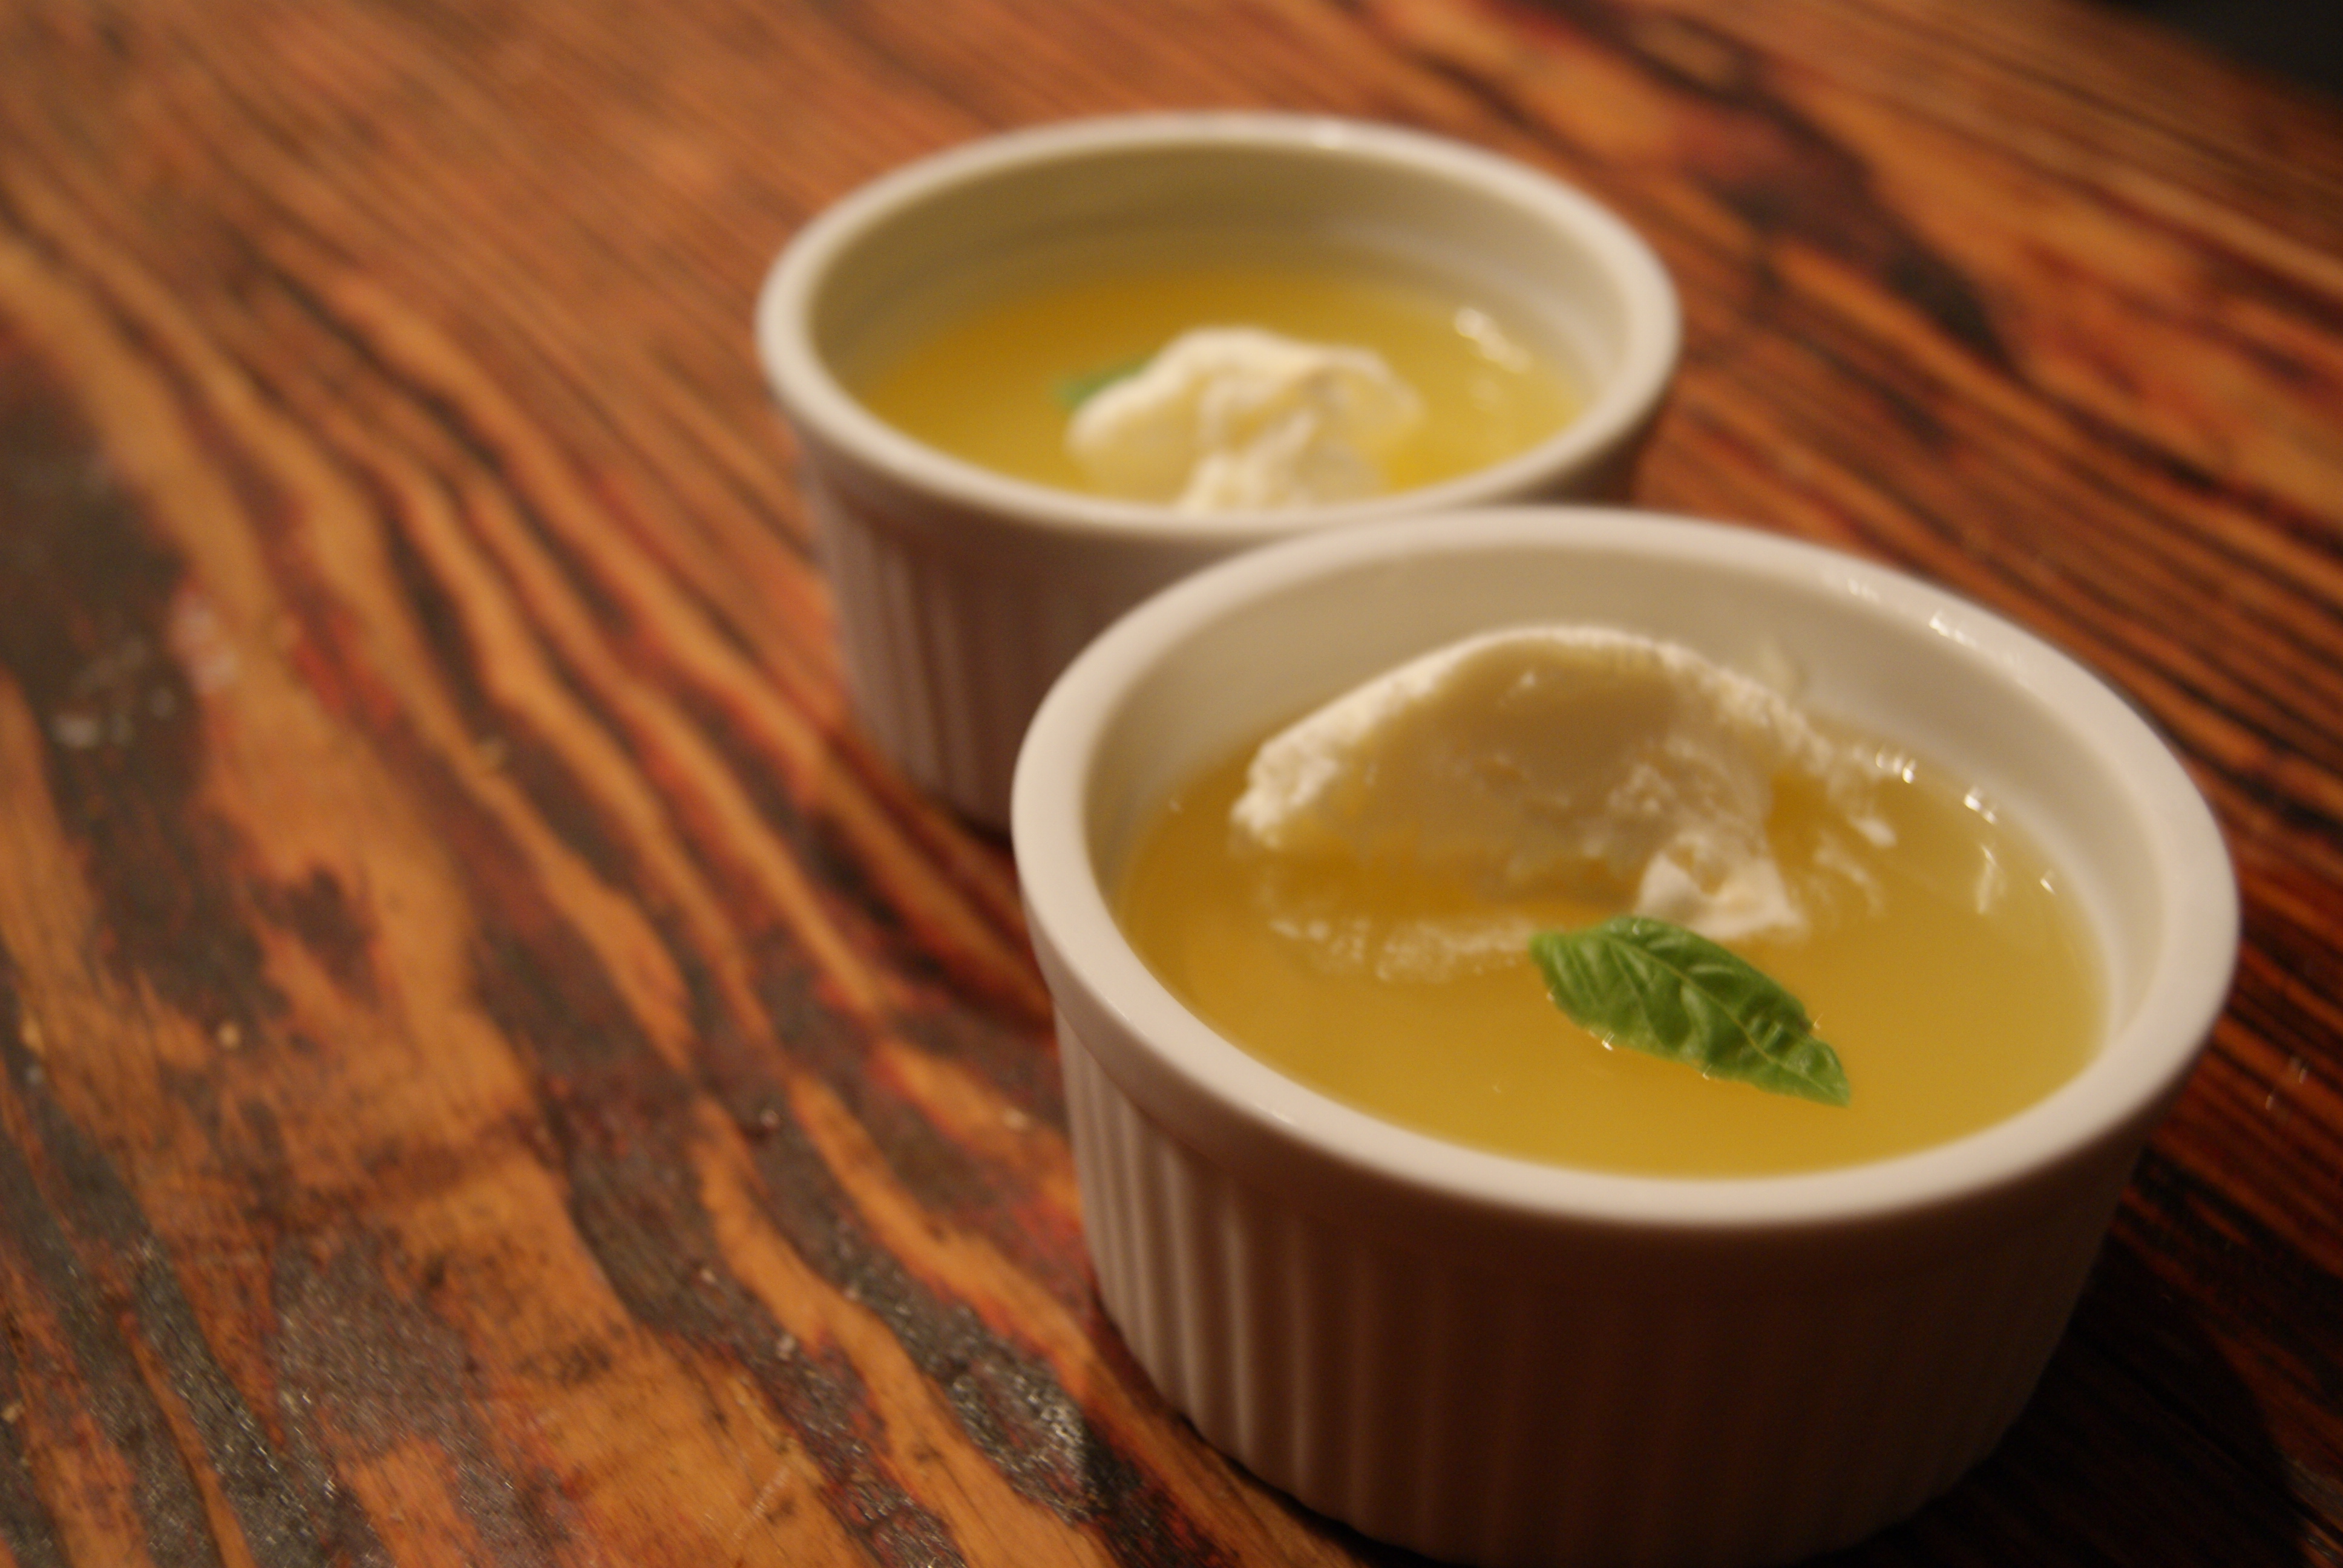
Basil Lemonade Jellies (makes six 1/2 cup servings)
3/4 cup of freshly-squeezed lemon juice (about 4 to 5 large lemons)
1/2 cup of sugar
1 1/2 cups of basil leaves, loosely packed
1/2 cup of no-pulp orange juice
3 teaspoons of powdered gelatin
Fresh whipped cream or ice cream to serve, optional
6 small basil leaves for garnish, optional
In a medium-sized saucepan, stir together lemon juice, 1 1/2 cups of water, and sugar over medium heat until the mixture reaches a boil. Stir until the sugar completely dissolves.
Tear basil leaves roughly and place in a small glass or metal bowl. Pour lemon juice mixture over basil leaves and let steep for at least 15 minutes.
Pour orange juice in a small saucepan and sprinkle gelatin over the top. Let sit for five minutes, then place pan over medium heat, stirring until gelatin is dissolved. Remove from heat.
Strain the basil out of the lemon juice mixture and stir juice into the gelatin-OJ mixture. Pour into six small ramekins or a 1-quart dish. Refrigerate until softly set, at least two hours, then serve, either with ice cream or whipped cream. I recommend ice cream. Or nothing. Or just not even thinking about it and going to town on these.
So I cut the sugar down from what the original recipe called for, and I am so glad I did. The basil flavor came through very nicely, giving the jellies a very complex flavor. The tartness of the jellies combined with the sweet, cold creaminess of the vanilla ice cream I used made for a perfect, perfect summer dessert. I cannot wait to make these again.
The above is a photo from the magnificent Rocky Mountains. My boyfriend and I climbed one of its many peaks, and once I reached the top I made sure to promptly drop both my phone and my inhaler. Luckily my boyfriend is not a hot stack of mess and was able to retrieve both items from mother nature’s grasp. The photo is meant to make you jealous I suppose, but really just makes me crave some alone time atop a peak in Colorado or somewhere similar.
Guys, I have no idea what is happening. I don’t want to be one of those “boo-hoo-people-suck-and-the-world- would-be-better-if-I-toured-with-The Swell Season (as a fledgling pretty poor excuse for a ukulele player, of course)-and-never-had-to-deal-with-anything-or-anyone-else-again” people. But I’m really starting to feel like the crazy is all around me, and not of me, if that makes sense. People are just being so…mean. And I can mayyyybe deal with one tool screwing with my chi, but one’s my limit, and just barely. I don’t like to speak ill of people, and I don’t like for others to speak ill of me. I don’t like being spoken about period, as a matter of fact. Think about it, people I know in real life: even when you ask me about this blog, don’t I act super weird and completely shut down because I have no idea what to say about myself? I’m a strange bird, I know.
The past few weeks have been so jam-packed with random happenings, both great and awful, so much so that I haven’t even really had the time to process all of the great or awful. In fact I kind of feel like maybe the awful is preventing me from processing the great. That’s why I basically forced myself to spend some time in the kitchen alone doing what I love. And with this, a scone is born. Well, eight scones, to be exact.
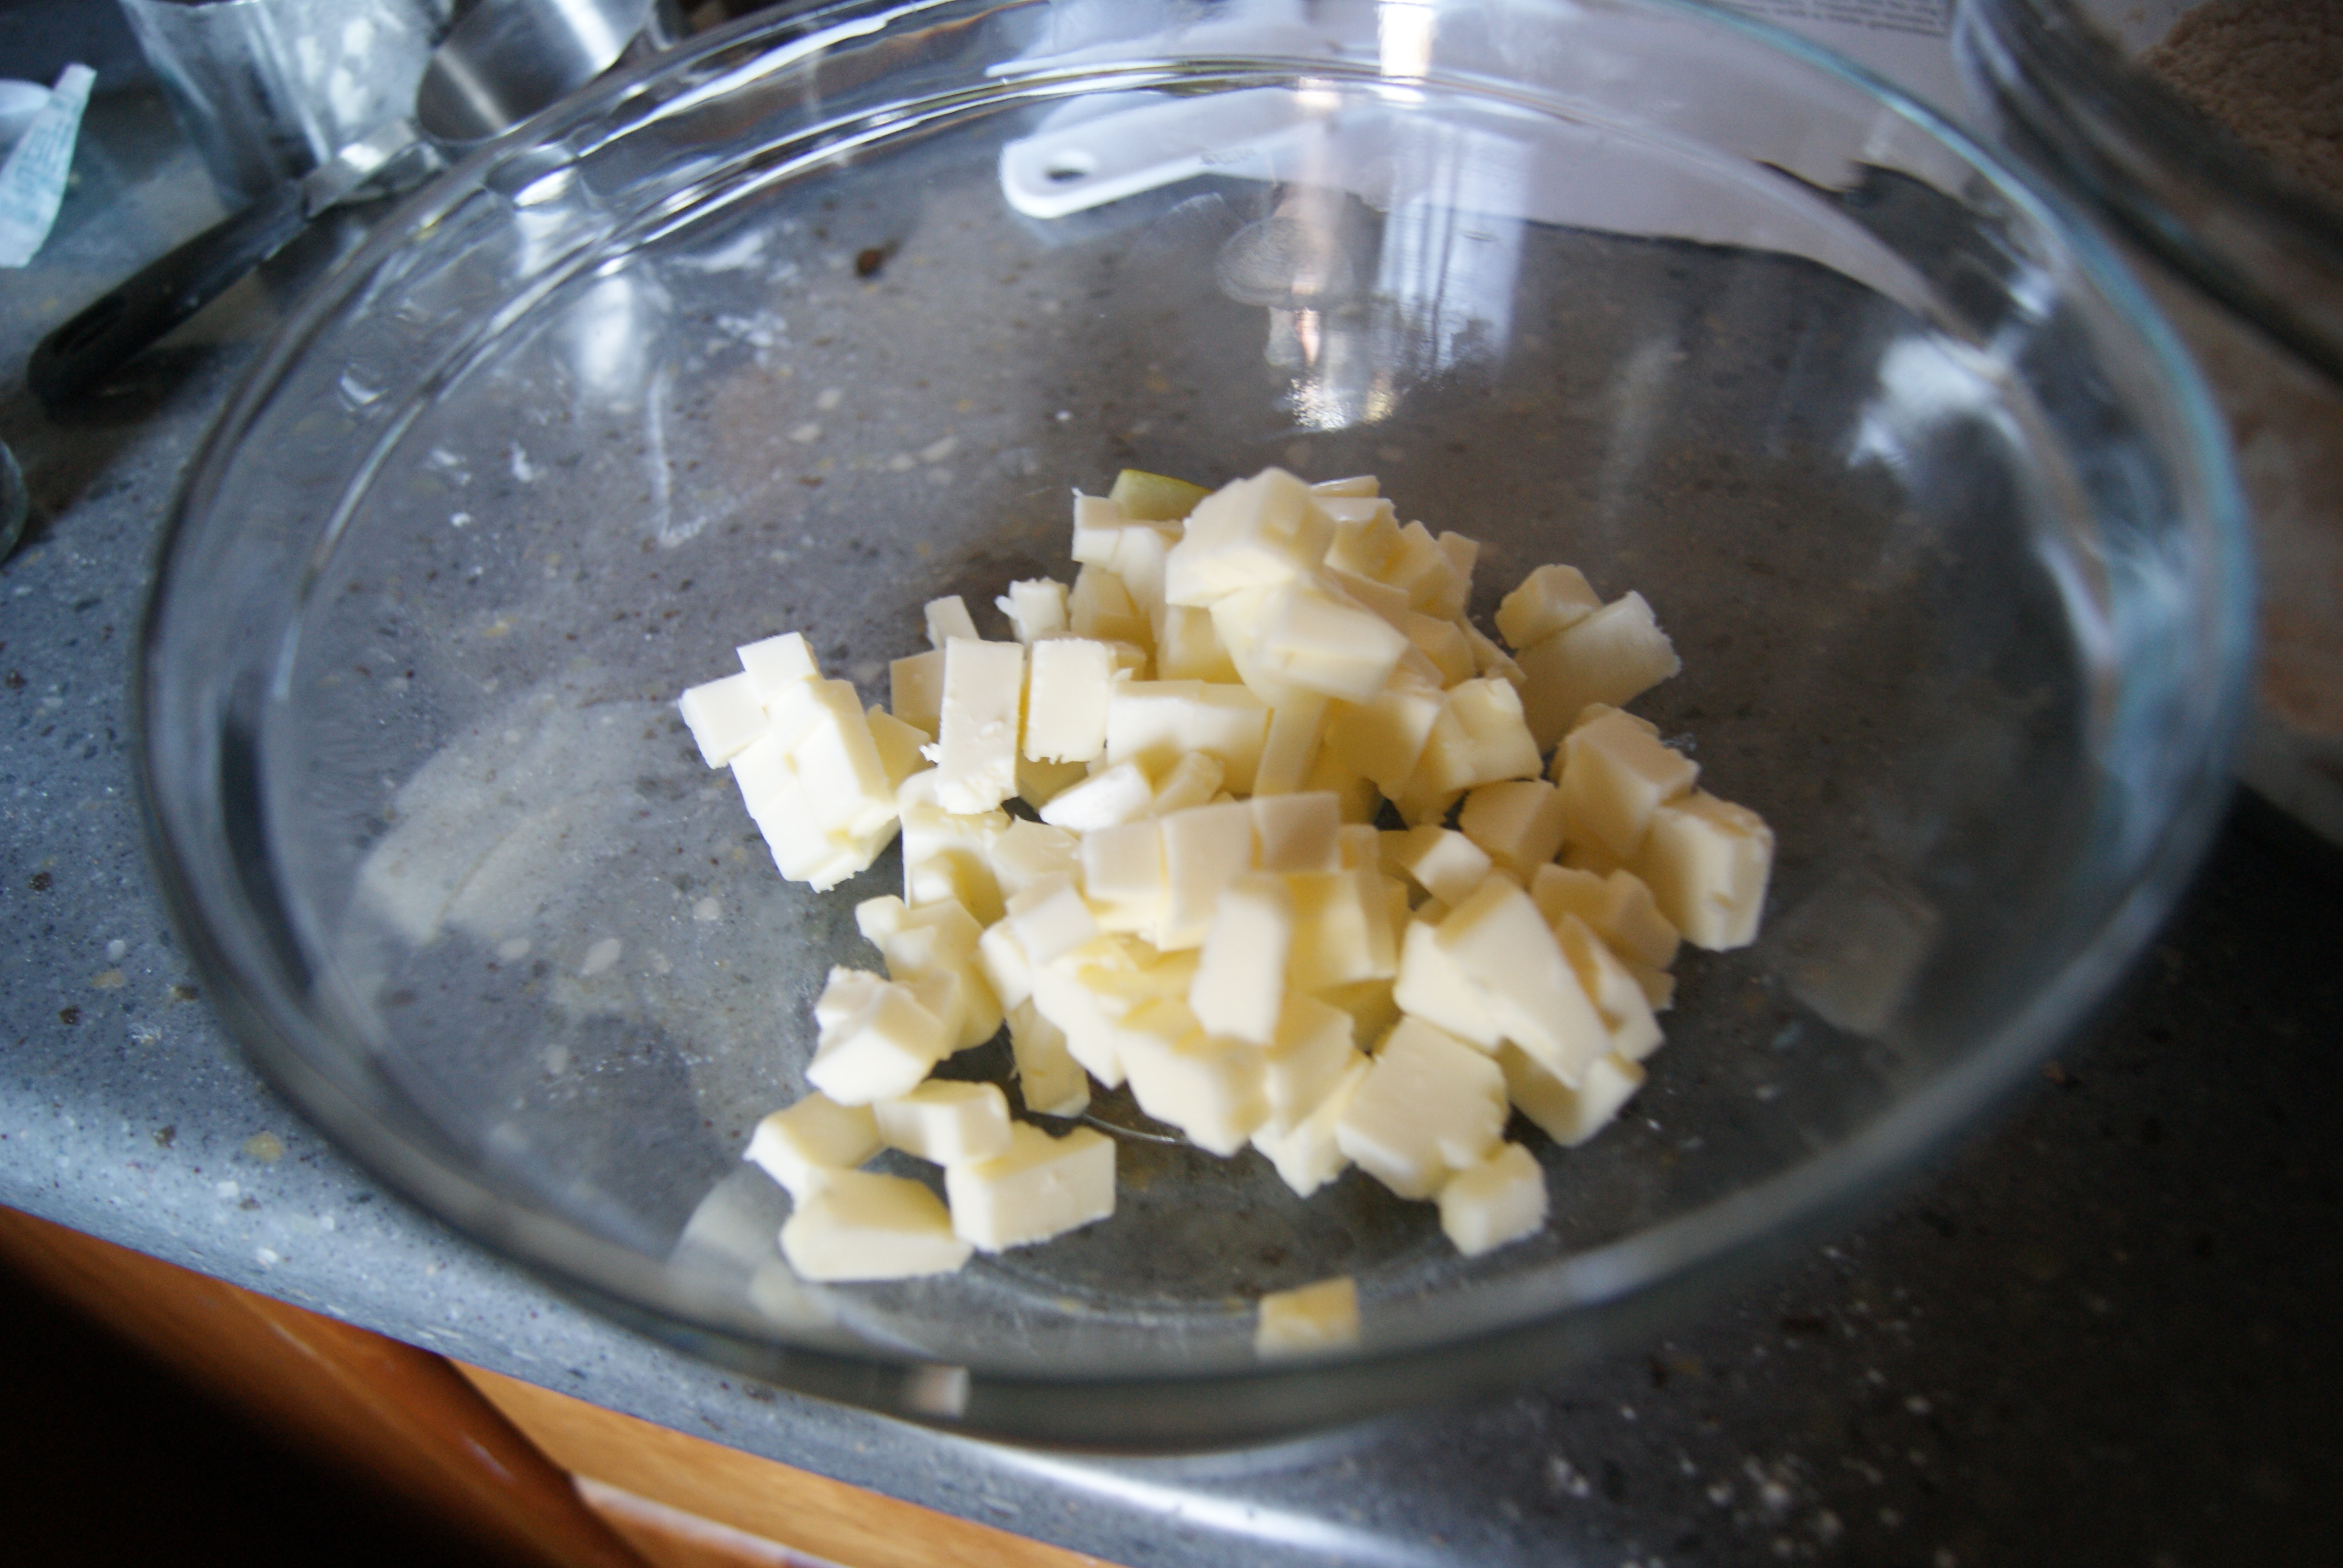
6 tablespoons of cold butter, cut into small pieces
2 large pears, chopped into chunks or small pieces, depending on how chunky you like your scones (me likey chunky scones)
1 large egg
1 teaspoon maple syrup or vanilla extract
1/2 cup of buttermilk
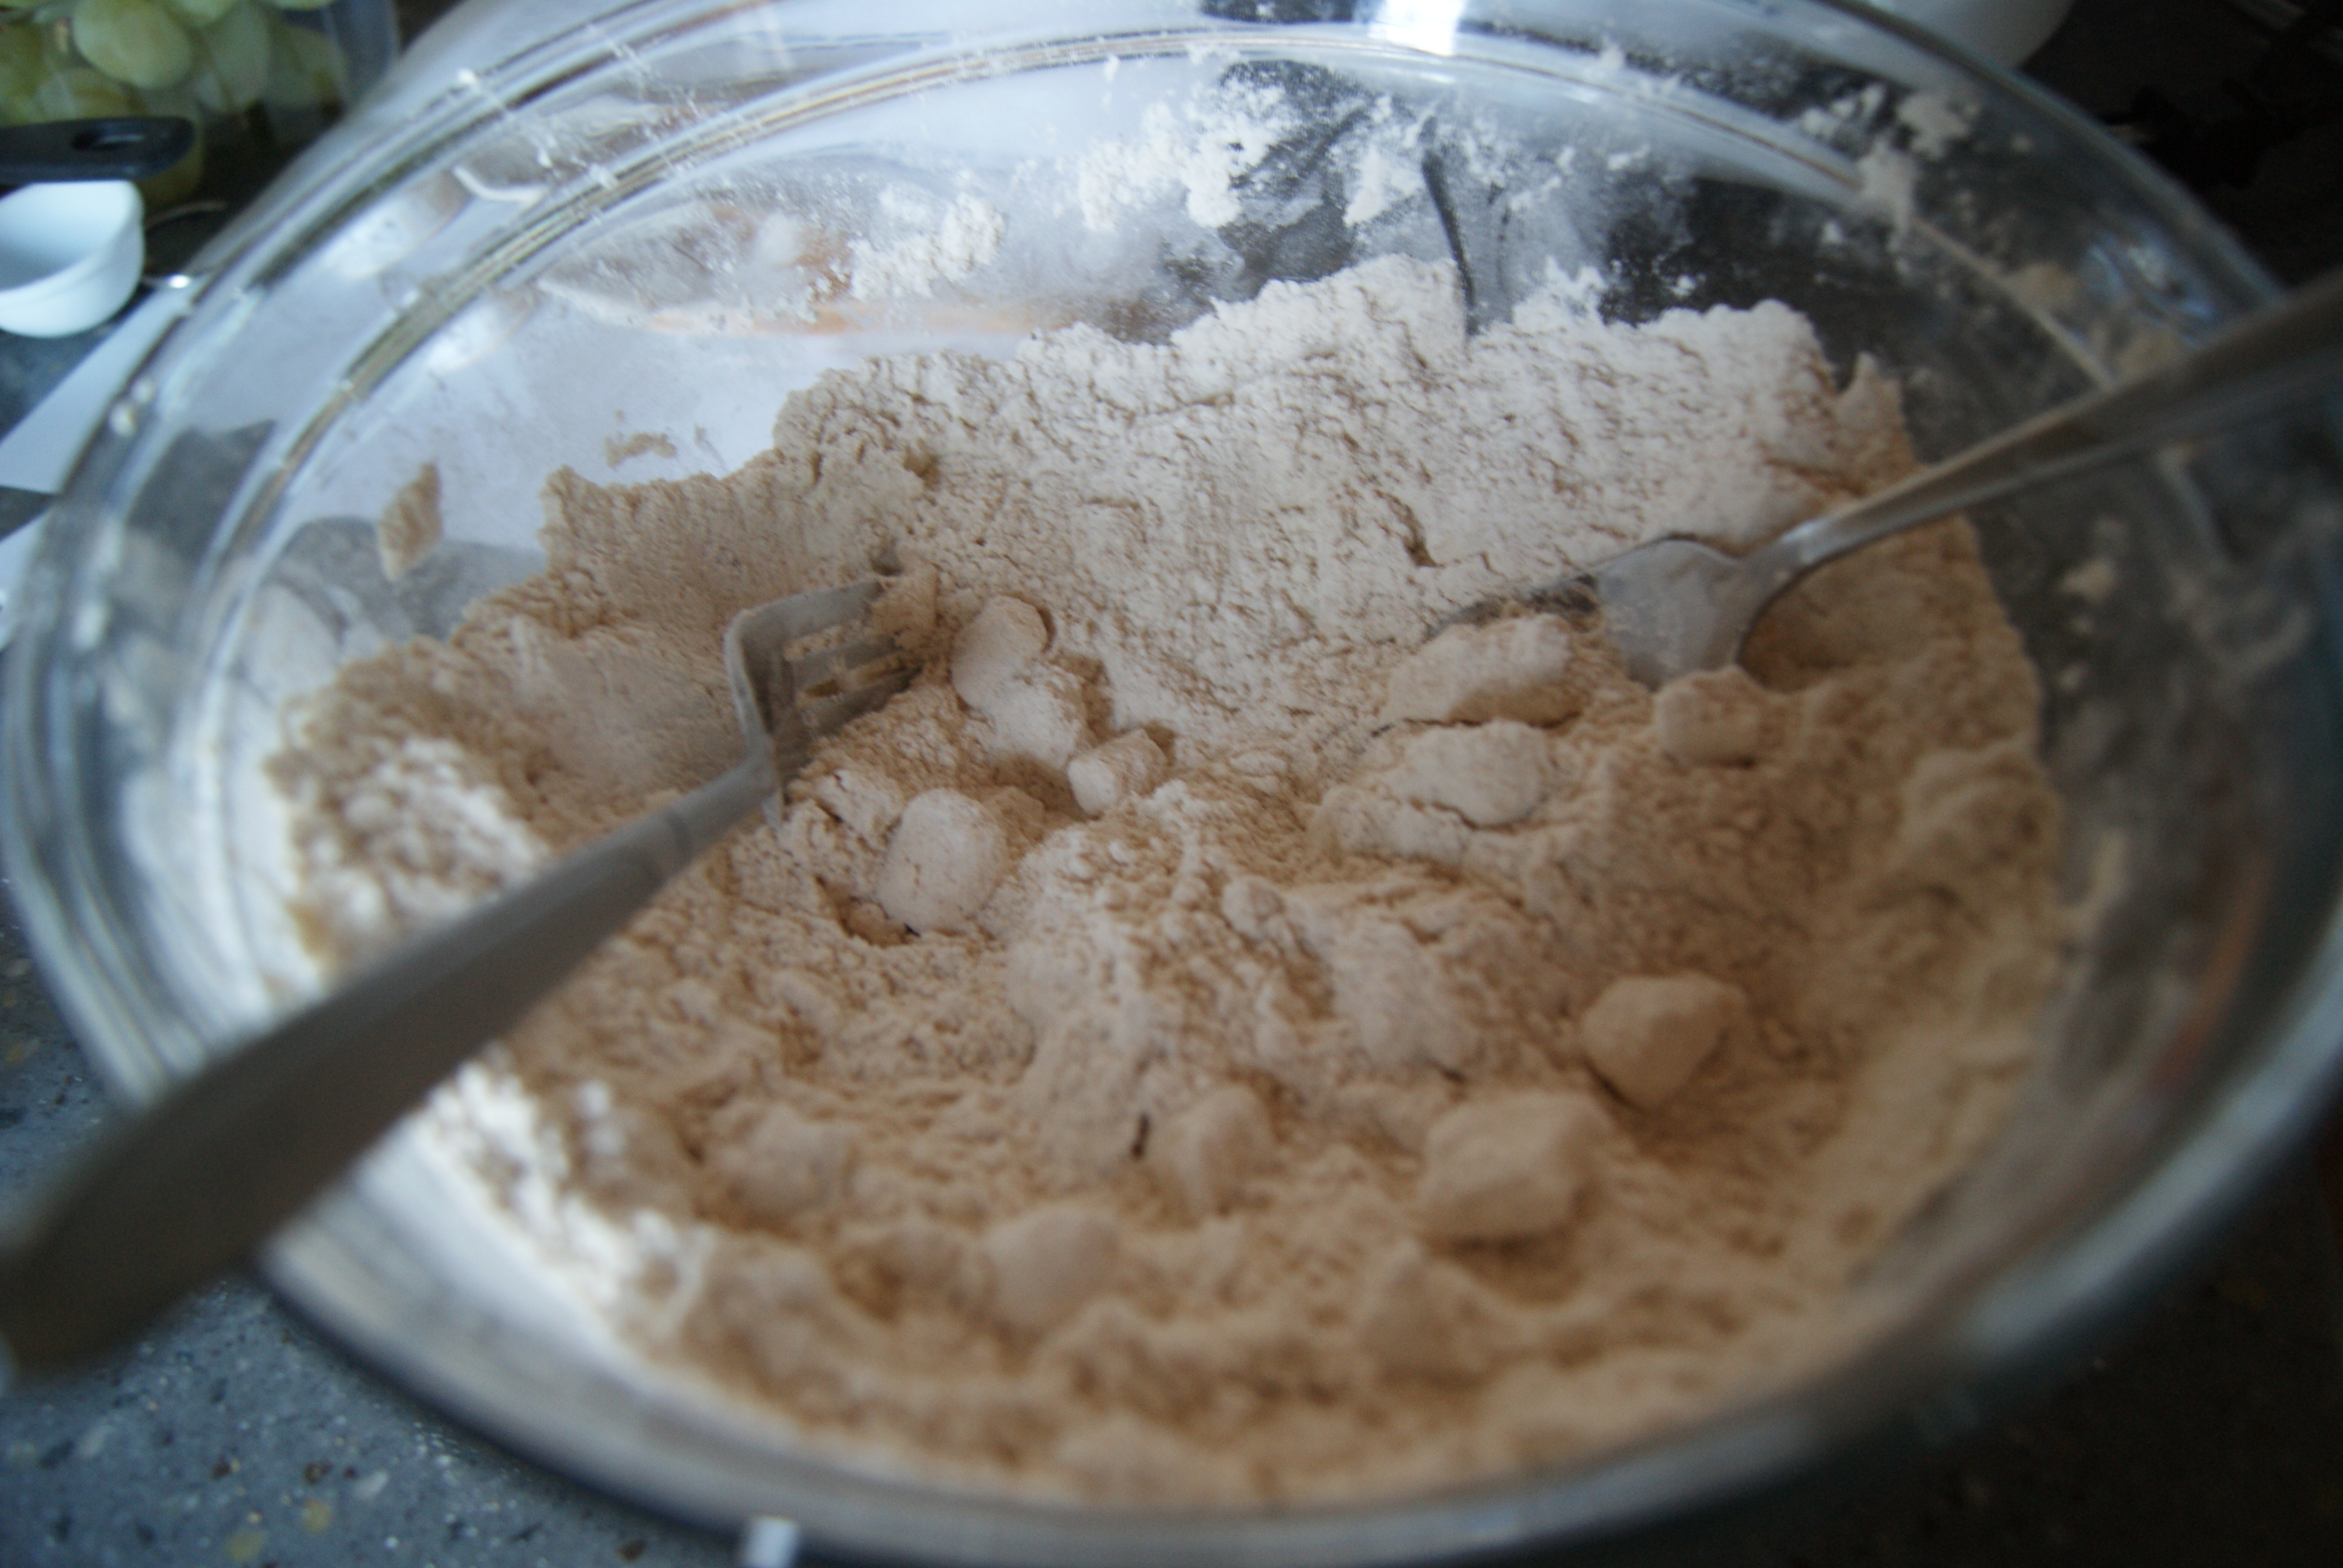
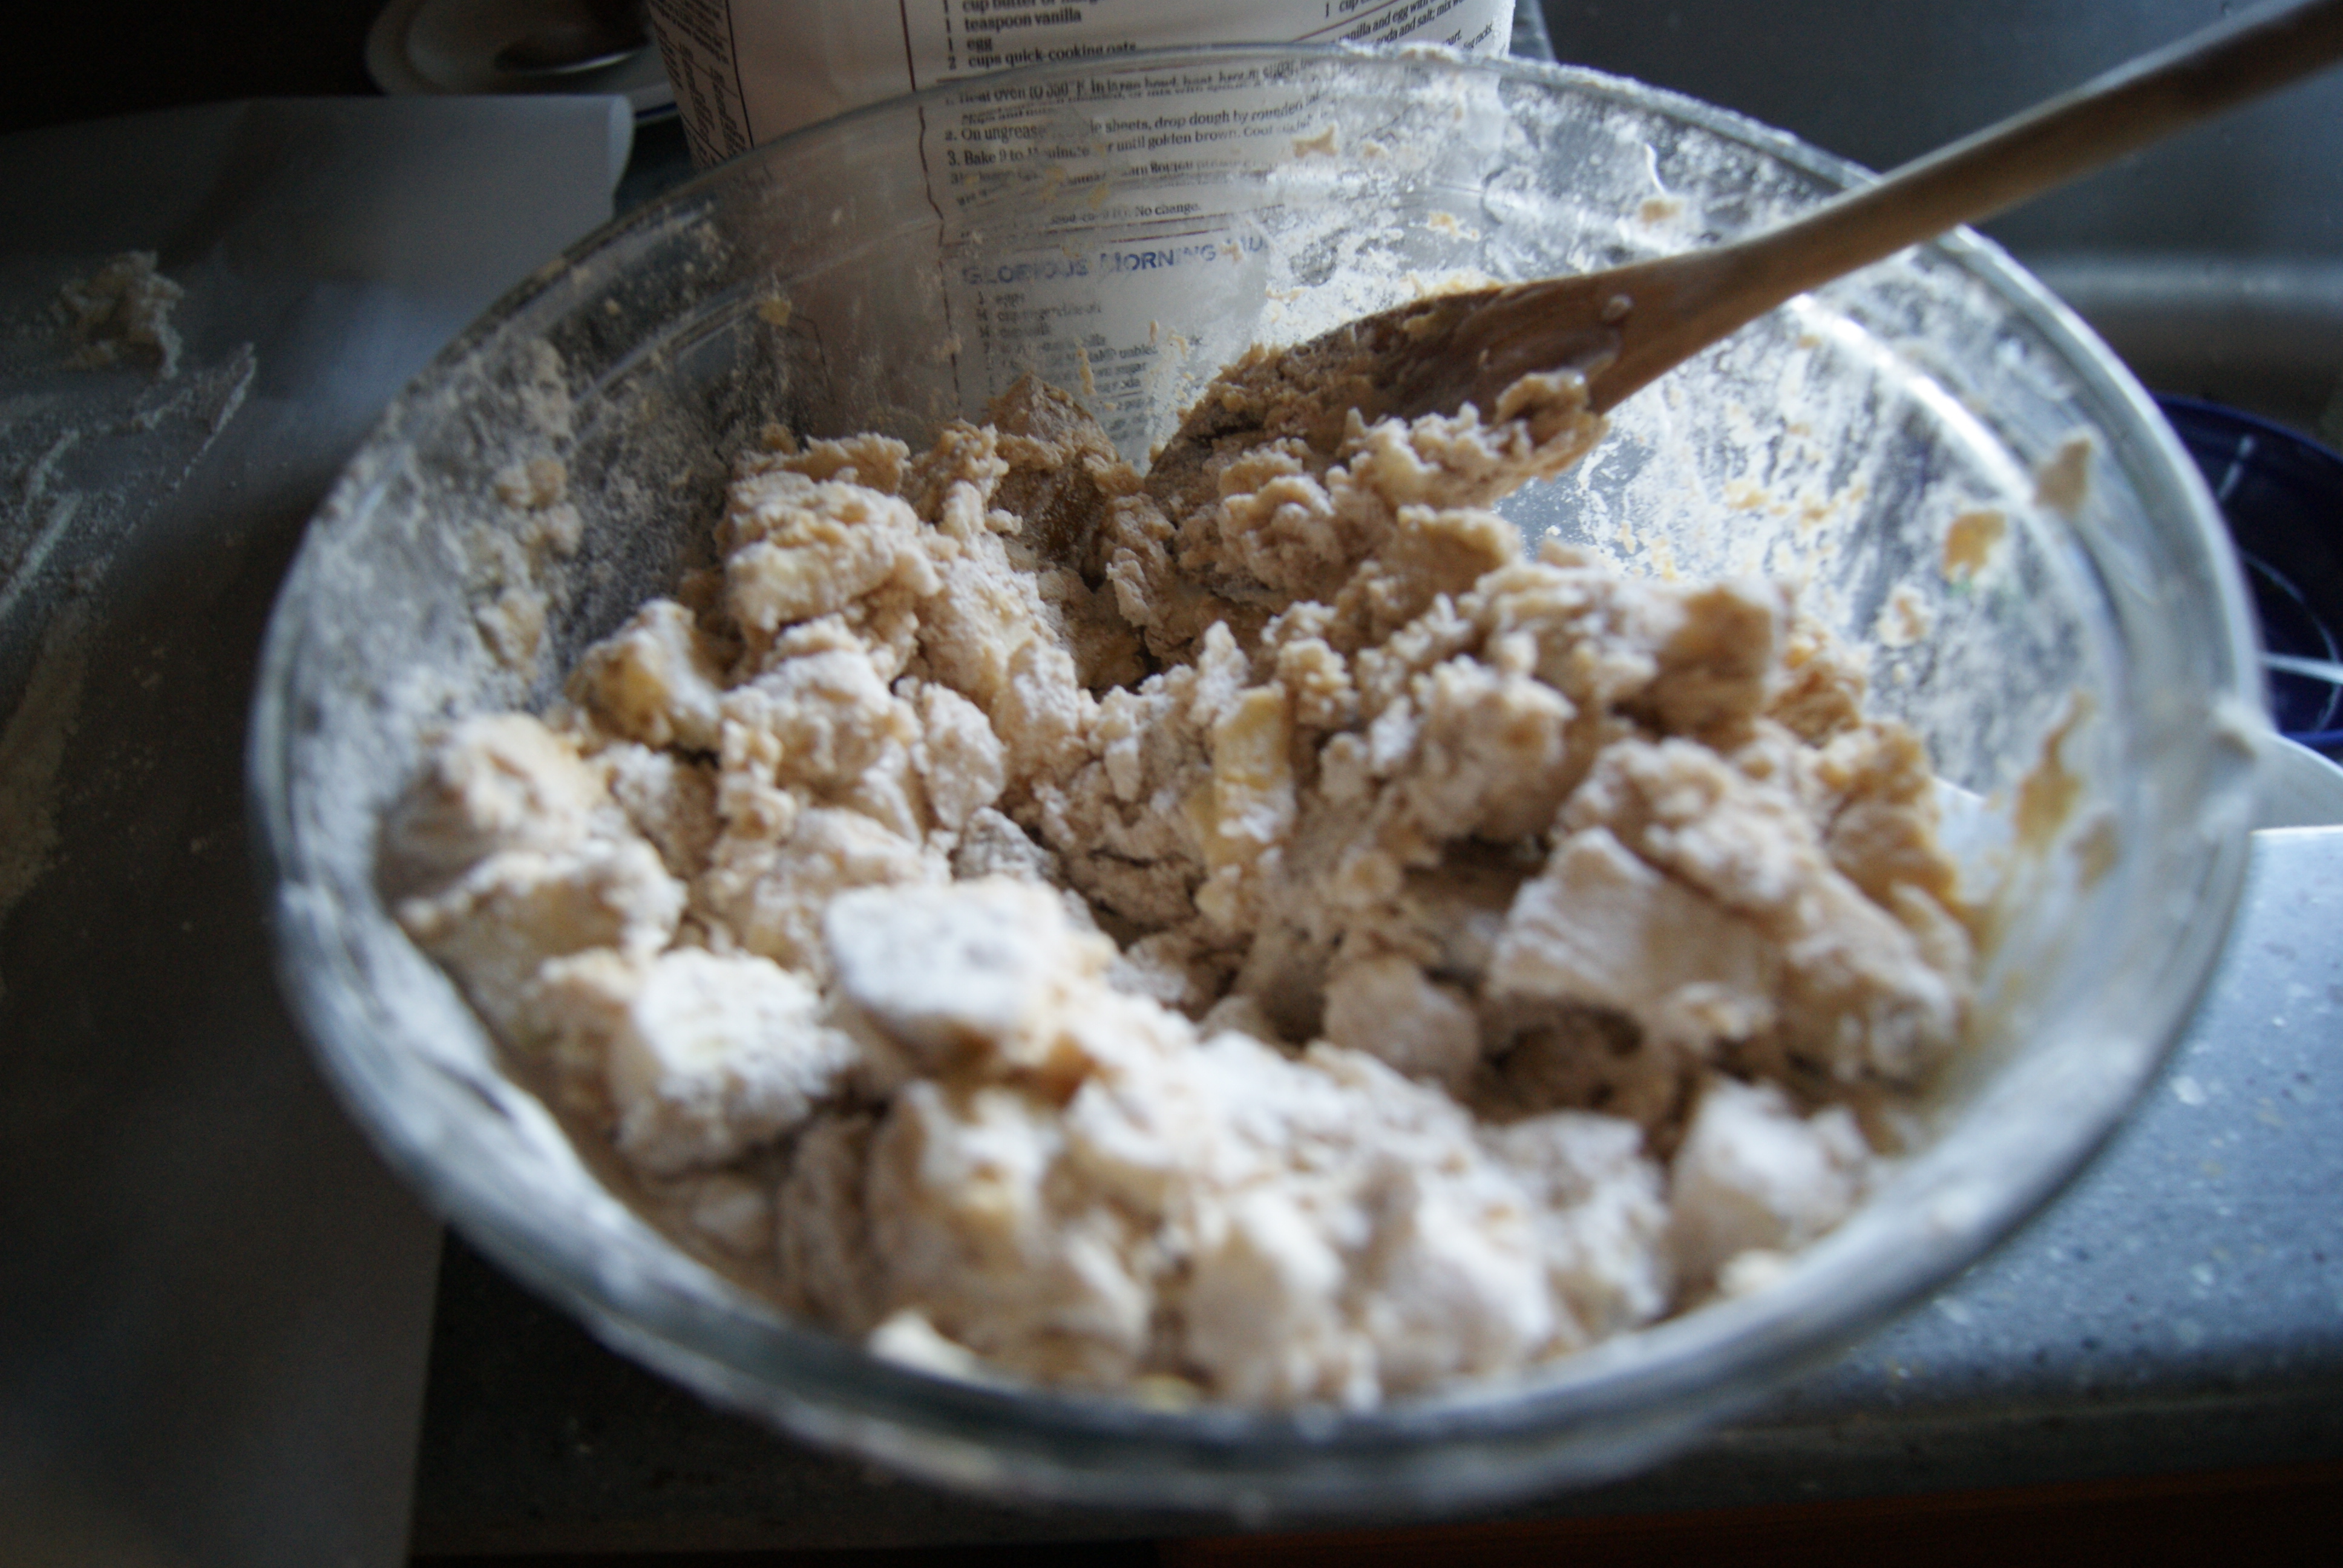
Preheat your oven to 350ºF. In a large mixing bowl, whisk together flour, sugar baking powder, spices, pepper and salt. Now, bring in your butter, which should look a little something like this:
If you can’t see, the 6 tablespoons are basically chopped up into tiny pieces. I chopped this up and refrigerated the butter until I needed it. For the tenderest scones possible, you want cold butter that hasn’t been worked over a ton, so chop and chill, people. Chop and chill (can I get that on a t-shirt actually?).
Cut your cold butter into the flour mixture with your hands or a pastry blender and work just until the mixture begins to look like a coarse meal.
Gently fold in your pears and set aside.
Now, in a separate bowl, whisk together your egg, maple or vanilla and buttermilk. Gently pour this wet mixture over your pear/flour mixture, and work just until all of the flour has been moistened.
I know. Mess. I know.
So yes, there is mess involved. Turn this dough out onto a floured surface, and carefully work into a 1-inch high disk. Please resist the urge to add more flour to this thing– trust, it will only dry your scones out. With a knife dipped in flour, cut eight equally-sized wedges. Transfer scones to a baking sheet, sprinkle tops with additional sugar if desired, and bake f0r 20-25 minutes, until the tops are lightly browned.
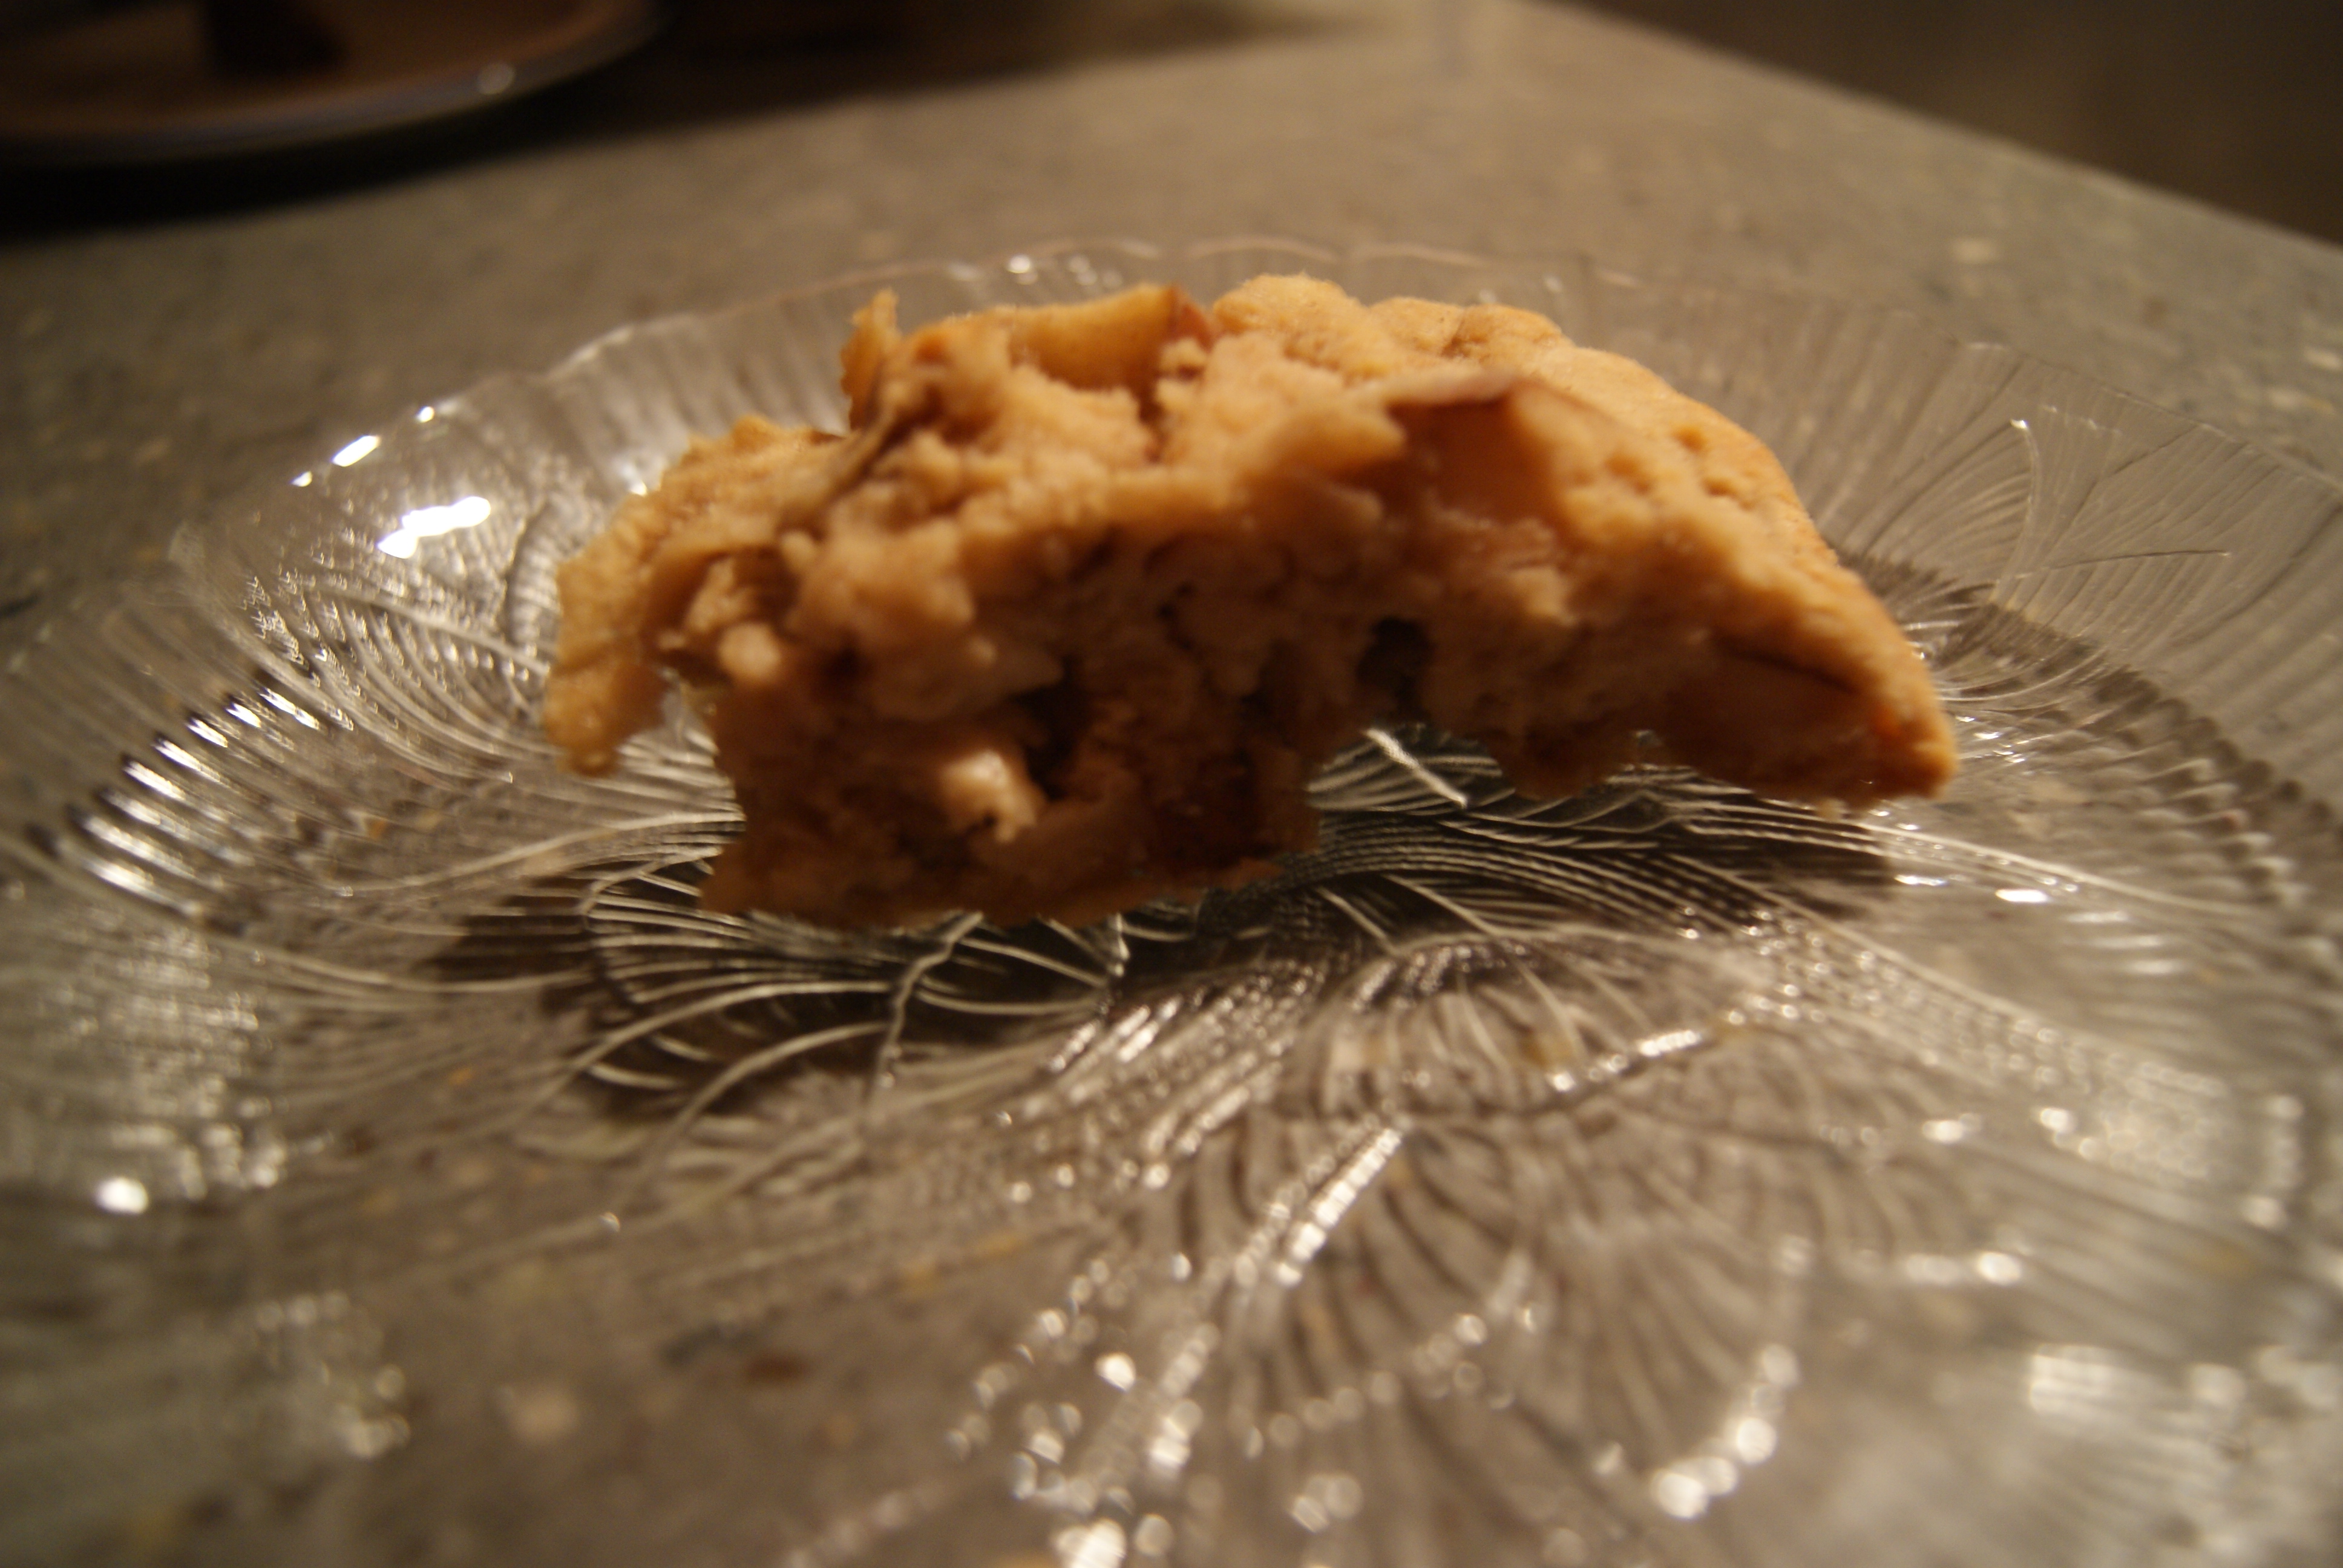
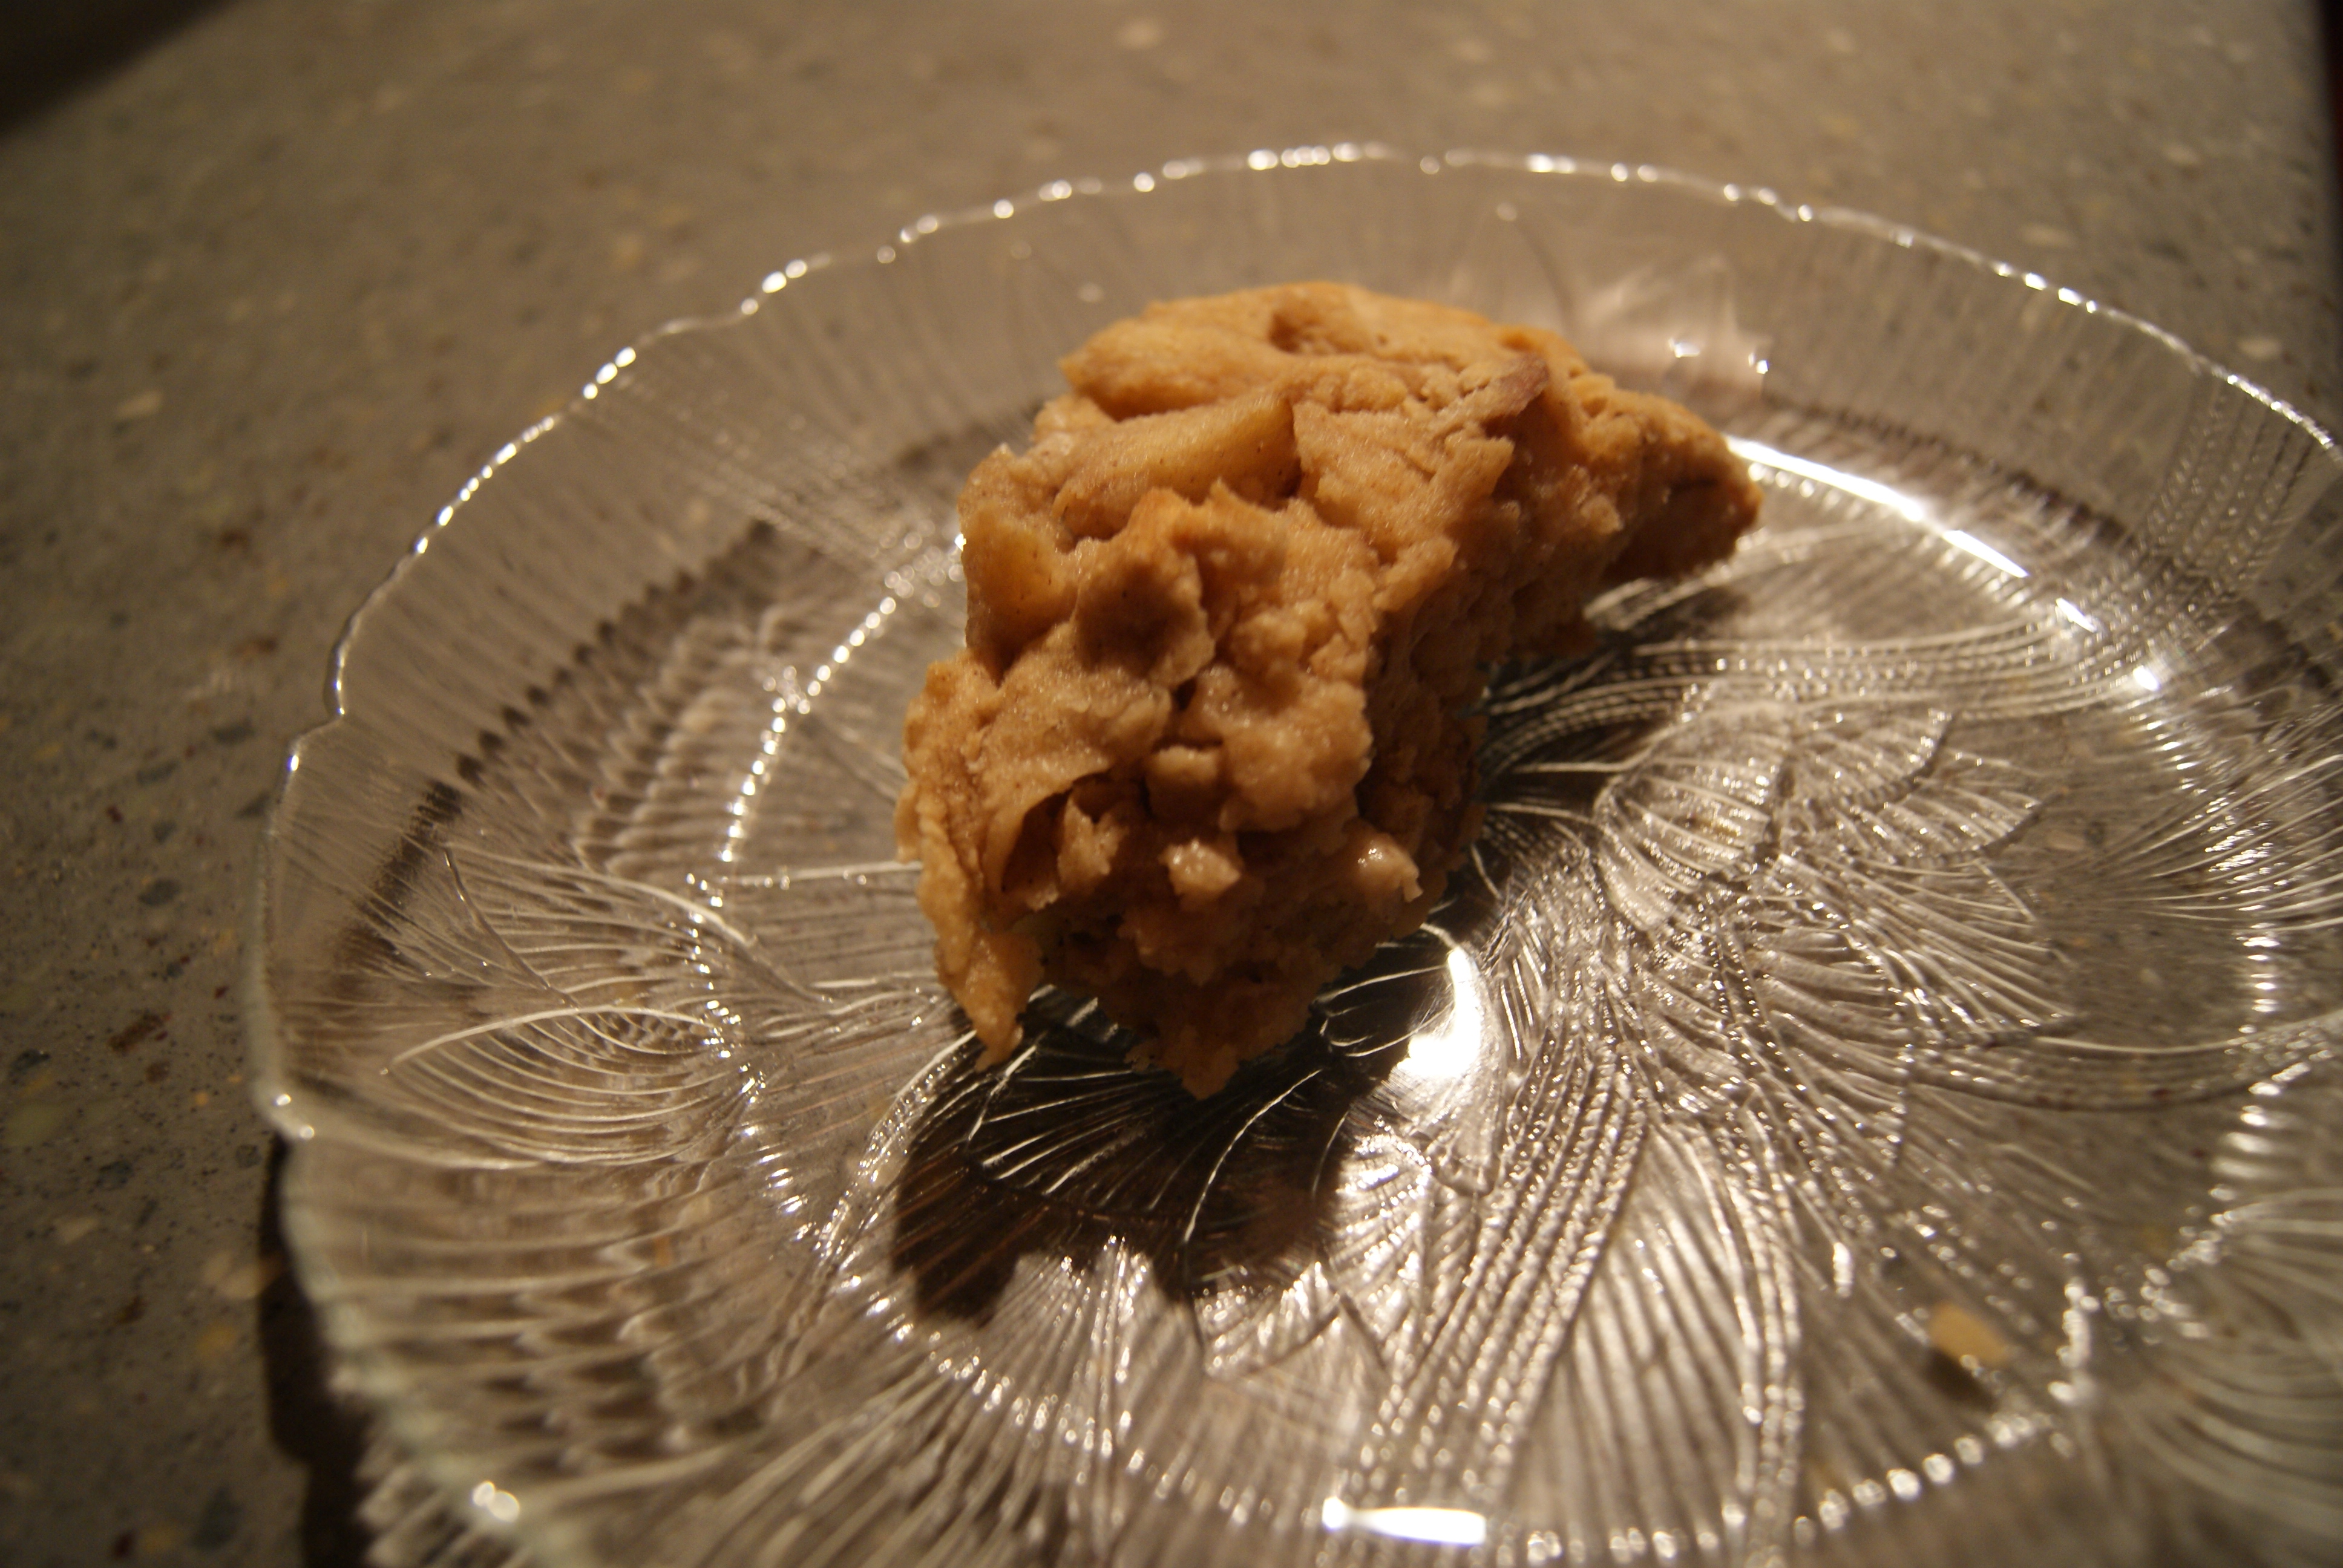
Now I know these things don’t look pretty. But, I feel like scones rarely do look pretty, right? Maybe? Well, whatever. I opted to not top these with additional sugar and was SUPER happy with the result. They’re not overly sweet, but they are tender and crumbly, with the chunks of pear adding a very pleasant texture.
Ok, I totally took a bite out of the one above, and you can’t even tell, right? That’s how ugly and misshapen these are. But seriously, the second you bite into one, you will not care. And if you do care, well…please don’t tell me. At least not in person. You know how weird I get.
Hopefully, by the time you read this, I will be en route to Denver, Colorado, in order to visit some lovely people and bask in the Rocky Mountain air. Hopefully, by the time you read this, I will not be mid-asthma attack, nauseous and angry due to the lack of oxygen in the air and a case altitude sickness. You can always count on me for a healthy dose of optimism cynicism.
Personally, the week was one big bag of failure. I think the ugly cry may have come to visit my abode about seventeen times. I also yelled at exactly five customer service representatives and five customer service supervisors. I seem to be falling apart?
For information on how to help victims of the Boston marathon, please click here!
All of this sadness, all of the chaos can just become too overwhelming. I could go on and on, but this is not my Livejournal,* this is a baking blog.
As you can all see from previous posts, this blog has been a bundle of jiggly lard lately. For this reason, and with the assumption that warm weather will, in fact, eventually debut in NY at some damn point, I have decided to go for a healthier dessert…. aaaand then coat it in butter. Also I chose pears because I had a few that I needed to use before they spoiled and you KNOW I was not able to let them go to waste. Pears cost dollars.
*I never had a Livejournal. I was a Xanga girl. Please do not Google this. I am sparing you, trust.
Sautéed Pears in a Balsamic Reduction With Roasted Pumpkin Seeds (SO FANCY! SO FRESH!)
2 pears of your choice, cored and sliced
2 tablespoons of butter
1 teaspoon of cinnamon
1 teaspoon of brown sugar, more if you like
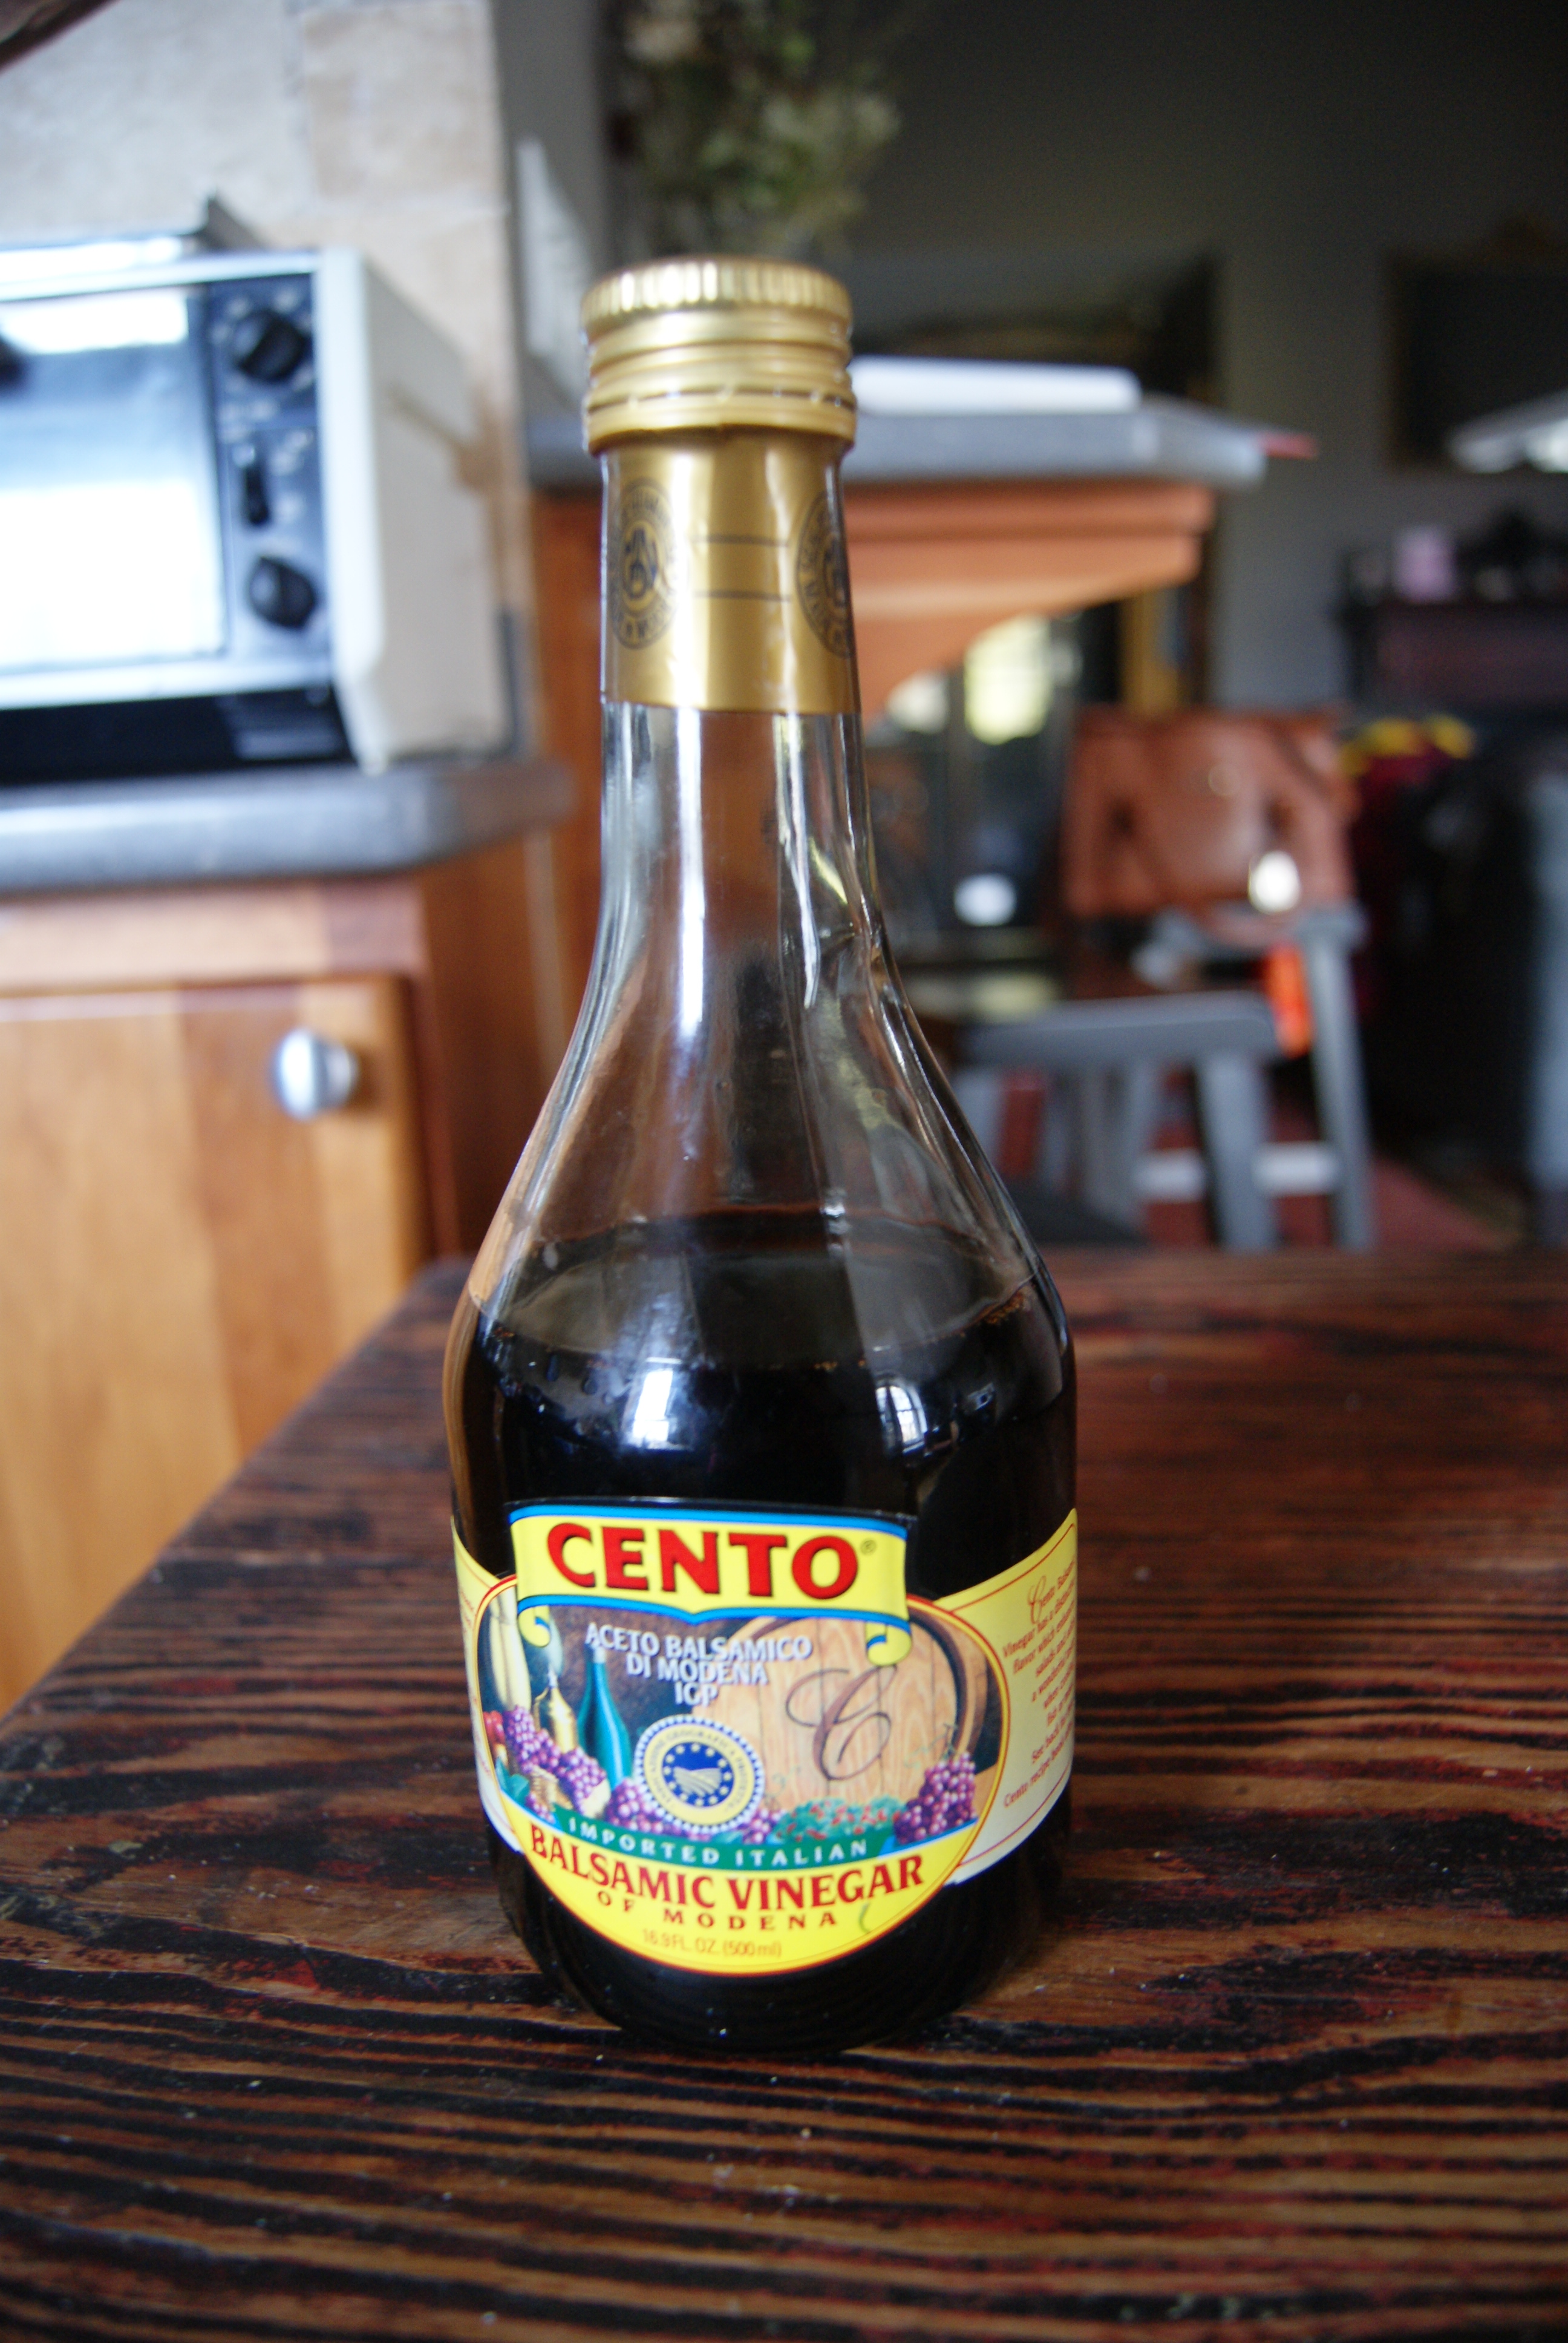
1/4 cup of balsamic vinegar
1 tablespoon of roasted pumpkin seeds, optional
Now, in a large lidded saucepan, melt your butter over medium heat. When fully melted, add pears. Try to lay slices with no overlaps, if possible. When the pear slices begin to heat up, add just enough water to barely cover them, and then cover the pan for five minutes.
Meanwhile, in a small saucepan over medium-low heat, bring balsamic vinegar to a simmer. Swirl the vinegar in the pan for a few minutes, then let it simmer and lightly boil for about ten minutes. Remove from heat when it looks thick and appears to have reduced.
Back to your pears. Using a wooden spoon, carefully flip your slices, which should be lightly browned and softened by now. Sprinkle with cinnamon and brown sugar, then remove from heat, plate, and sprinkle more cinnamon and sugar, if you please (you please, trust me you please). Drizzle with balsamic reduction and add pumpkin seeds.
Now, you would think, or at least I thought, this would be a disaster. I kind of thought the balsamic would take this thing to a place I would never ever want to visit. Instead, it took this thing to a place I’d like to turn into my summer home, if that makes sense.
No joke, as lame as this sounds, I felt super fancy eating this. Also, if I were a person who ever felt remorse over eating dessert– and I am not this person, but if I were– I would certainly not feel guilty over this delicious, light, sweet treat.