There is a chance that all of this pre-holiday food prep is the best diet ever. No one ever talks about it, but prepping for Thanksgiving leaves a person with very little time to eat. Especially if you work a full-time job, live a half-mile’s walk away from the closest grocery store, insist on purchasing twenty pounds of Turkey Day-related food items at said grocery store right after work, and then head home… to start cooking. (Btw, I have absolutely no idea how people with children/various family members to care for also manage to do all of this. Props to you. I do not know what I will do when I make the babies. I will probably try to turn them into helper elves as soon as they’re strong enough to sit up unassisted.) Four hours later, here I am, watching some crappy medical procedural and nursing a fancy cocktail while also nursing some busted shoulders that are giving me serious Quasimodo vibes.
I wouldn’t trade a single second of it. The last week and a half or so have been a whirlwind of ups and downs– awesome shows and get-togethers with people I love, but also moments of feeling forgotten and sort of inadequate for various reasons. This is a welcome distraction. It’s nice to be focused on what’s cookin’ in our small-as-all-hell kitchen and NOT on what I’m missing out on (or fearing missing out on) on social media. I highly recommend this as a form of rapid-fire therapy.
Speaking of therapy… an apple a day something something hooray. Right? I’m so good at this. Anyway, how about working on a rustic, sweet n’salty apple galette to add to your Thanksgiving table?
Apple Galette (adapted from Bon Appetit)
For the dough
1 tablespoon of sugar
1 teaspoon of cinnamon
1 cup of all-purpose flour
6 tablespoons of cold salted butter, cut into small chunks
1 large egg, beaten
For the filling
1/4 cup of salted butter
1 teaspoon of vanilla
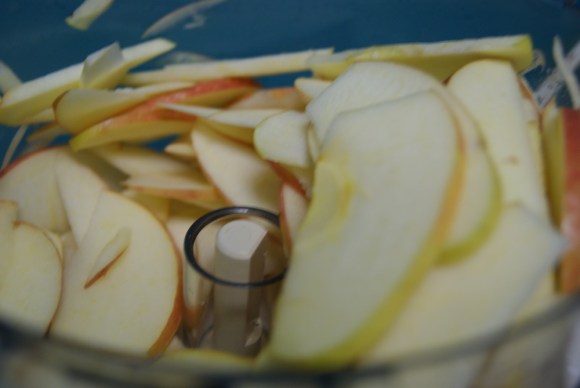
1 pound of baking apples (I used Pink Lady apples and needed 2 big ones to fill this), washed and sliced to about 1/8″ thickness
1/4 cup of dark brown sugar
1 large egg beaten with 1 teaspoon of water
1 tablespoon of white sugar
So, I’m going to start off by saying this: a food processor would come in EXTREMELY handy for the recipe. I am proud and happy to say I have successfully made my first easy pie crusts by just sort of hanging back, not stressing, and using the bejeebus out of mine.
On that note, if you are working with a food processor, here’s what I did. First, pulse together flour, sugar and cinnamon until combined. Add in cold butter chunks and pulse until pea-sized chunks form in the dough. With food processor running, pour in beaten egg and continue to pulse until dough forms in a ball, about one minute.
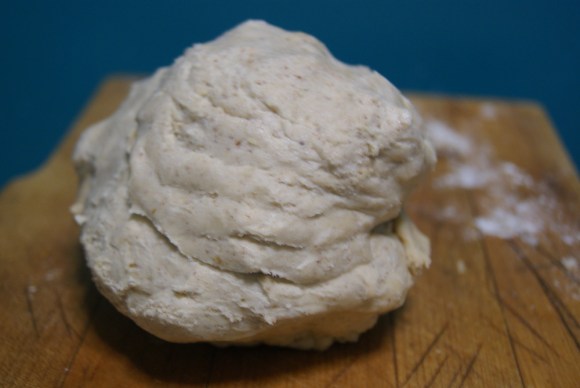
If you’re not working with a food processor, sift together dry ingredients until combined, then cut in butter chunks with forks or a pastry cutter until pea-sized chunks are formed. Fold in egg mixture gently until dough is wet, then gently use fingers to bring dough together.
Form dough into a disk and wrap tightly in plastic wrap. Chill in refrigerator for at least two hours.
Now, preheat your oven to 375°F. (My food processor also hooked me up when it came to slicing apples, which is something I do not enjoy doing, especially when my hands are medium-rare from burns and I am bent over like a gargoyle. It’ll slice the apples for ya, people! Keep your apples set aside for the time being.)
Add butter and vanilla to a small saucepan and place over low-medium heat until browned and fragrant. Set aside.
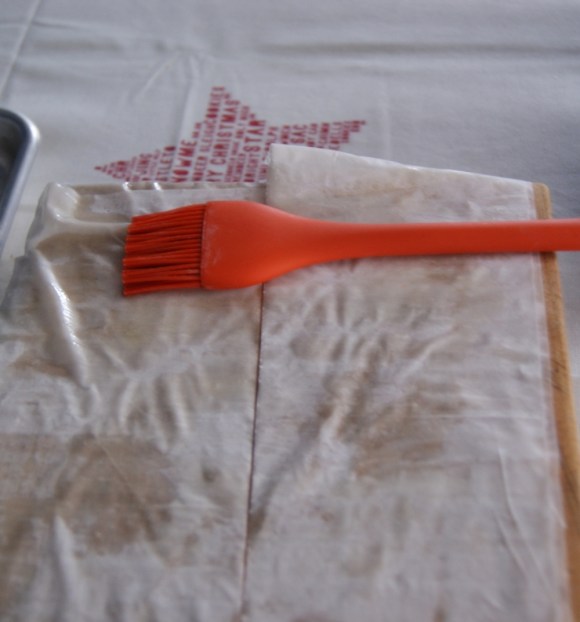
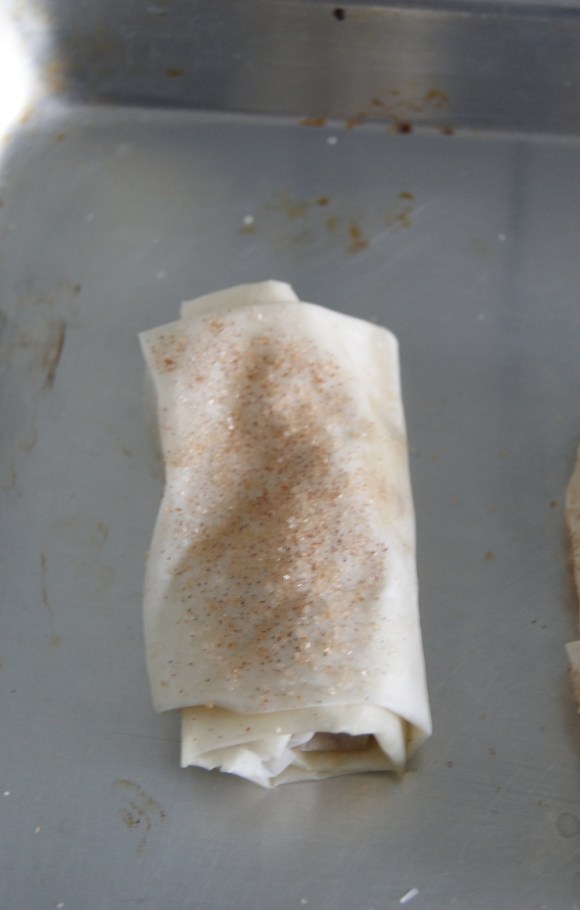
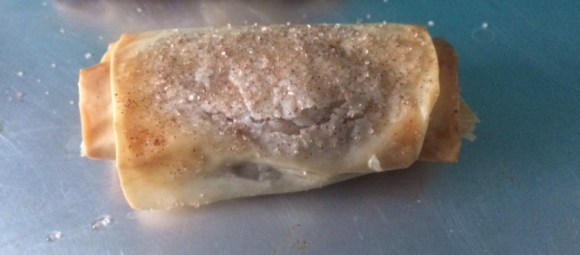
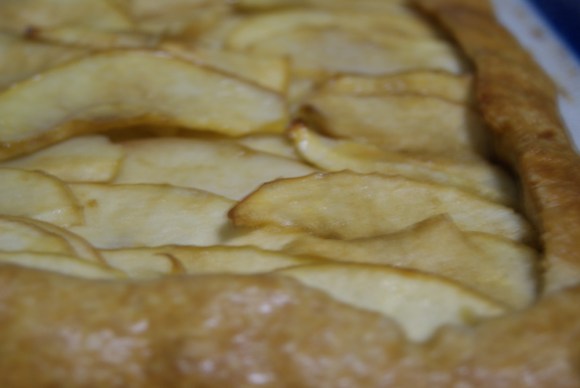
On a floured surface, roll out dough to a 14 x 10 inch rectangle or a 12 inch circle, whichever you prefer. Transfer dough to parchment-covered baking sheet. Overlap apple slices on top of dough, leaving a 1 1/2-inch border. Brush browned butter over apples, then sprinkle brown sugar evenly over the top. Fold edges of dough over gently to keep the shape you want. Brush egg/water mixture over dough, then sprinkle with white sugar.

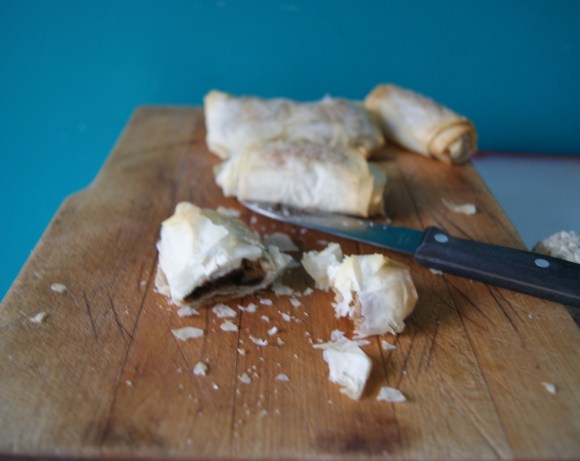
Bake on the middle rack of your oven for 40 to 45 minutes, rotating the pan halfway through baking. Remove when the crust is browned and the apples are nice and bubbly.
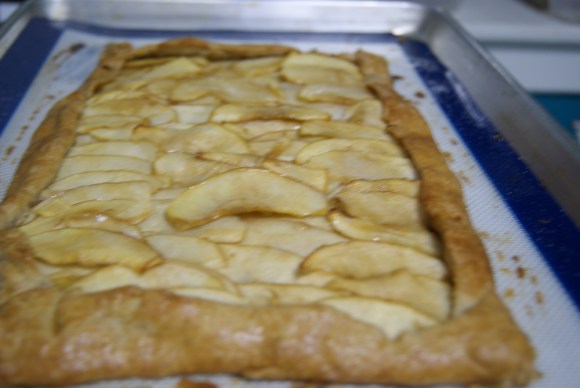
Let cool for about 10 to 15 minutes before slicing. OR, you can make this up to two days ahead, just wrap it tightly and keep at room temperature.
Sooooo…. about that. This is a make-ahead deal for me, so it’s currently resting until Turkey Day. And our city apartment is such a city apartment that my galette is currently wrapped up and resting comfortably on our coffee table with a sign over it…
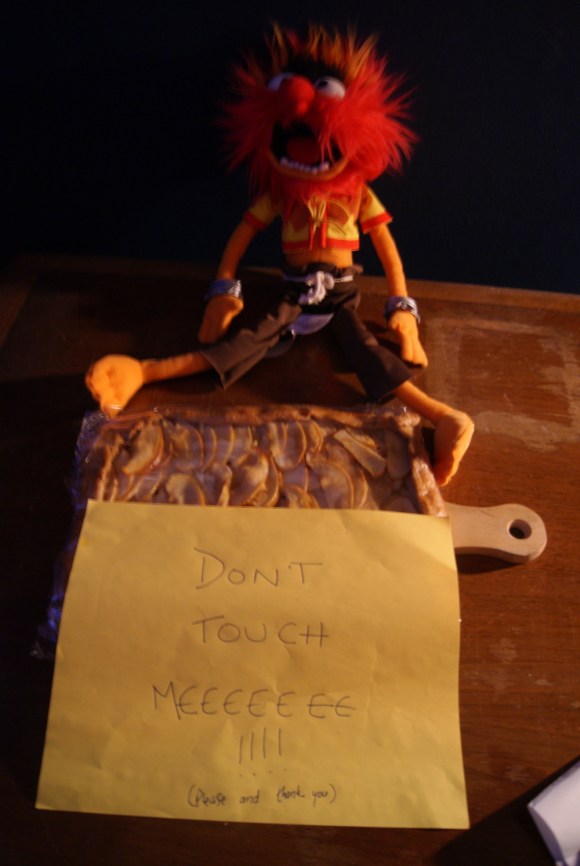
Yep. If you, too, plan on resting this, you can reheat gently… 200°F for 15 minutes should do it. Then, you can serve this with cheddar ice cream. Oh you heard me correctly. Stay tuned, friends, recipe’s a-comin!
Black Friday Savings Start Early! Save Up To 70% On Top-rated Favorites at SurLaTable.com!