Categories
Crisps Desserts with Fruit Easy Baking Stuff Your Parents Would Like

I’ve Been Away For So Long Because I’ve Been Busy Baking Something Ridiculously Easy. That’s My Bad Guys.

HI GUYS!

This is going to be kind of a short post because I’m trying to err on the side of caution when it comes to whining too much. Someone who shall not be named but who most likely has a point mentioned that I should stop being so sad on this blog all the time, since it might drive readers away from me and toward something awful like a life of crime or a marathon viewing of a Stamos montage on Youtube. *Shudder.*

The same person also mentioned that I should think about taking this blog away from the baking route for a while and maybe focus on something else, like restaurant reviews. As much as I love and care about and respect this person, that’s a wack proposal son. Take it down to Yelp, and leave me to my messy kitchen. ONWARD!

thanksfortheinfo

So a coworker of mine mentioned that she’d made a rhubarb strawberry crisp recently, and couldn’t believe how easy it was to bake. By chance I’d bought a few stalks of rhubarb a couple of days before, and finally decided to cowgirl up and use them. I’ve never, ever had rhubarb before and was a little bit nervous as to what exactly to do with it, especially after the damn things needed to be rammed into my fridge diagonally since they were so long. But, fear not, few and very dear readers of mine! These things are easy-peasy to work with. Let’s roll!

SONY DSC

Rhubarb-Strawberry Crisp

adapted from Cooks.com

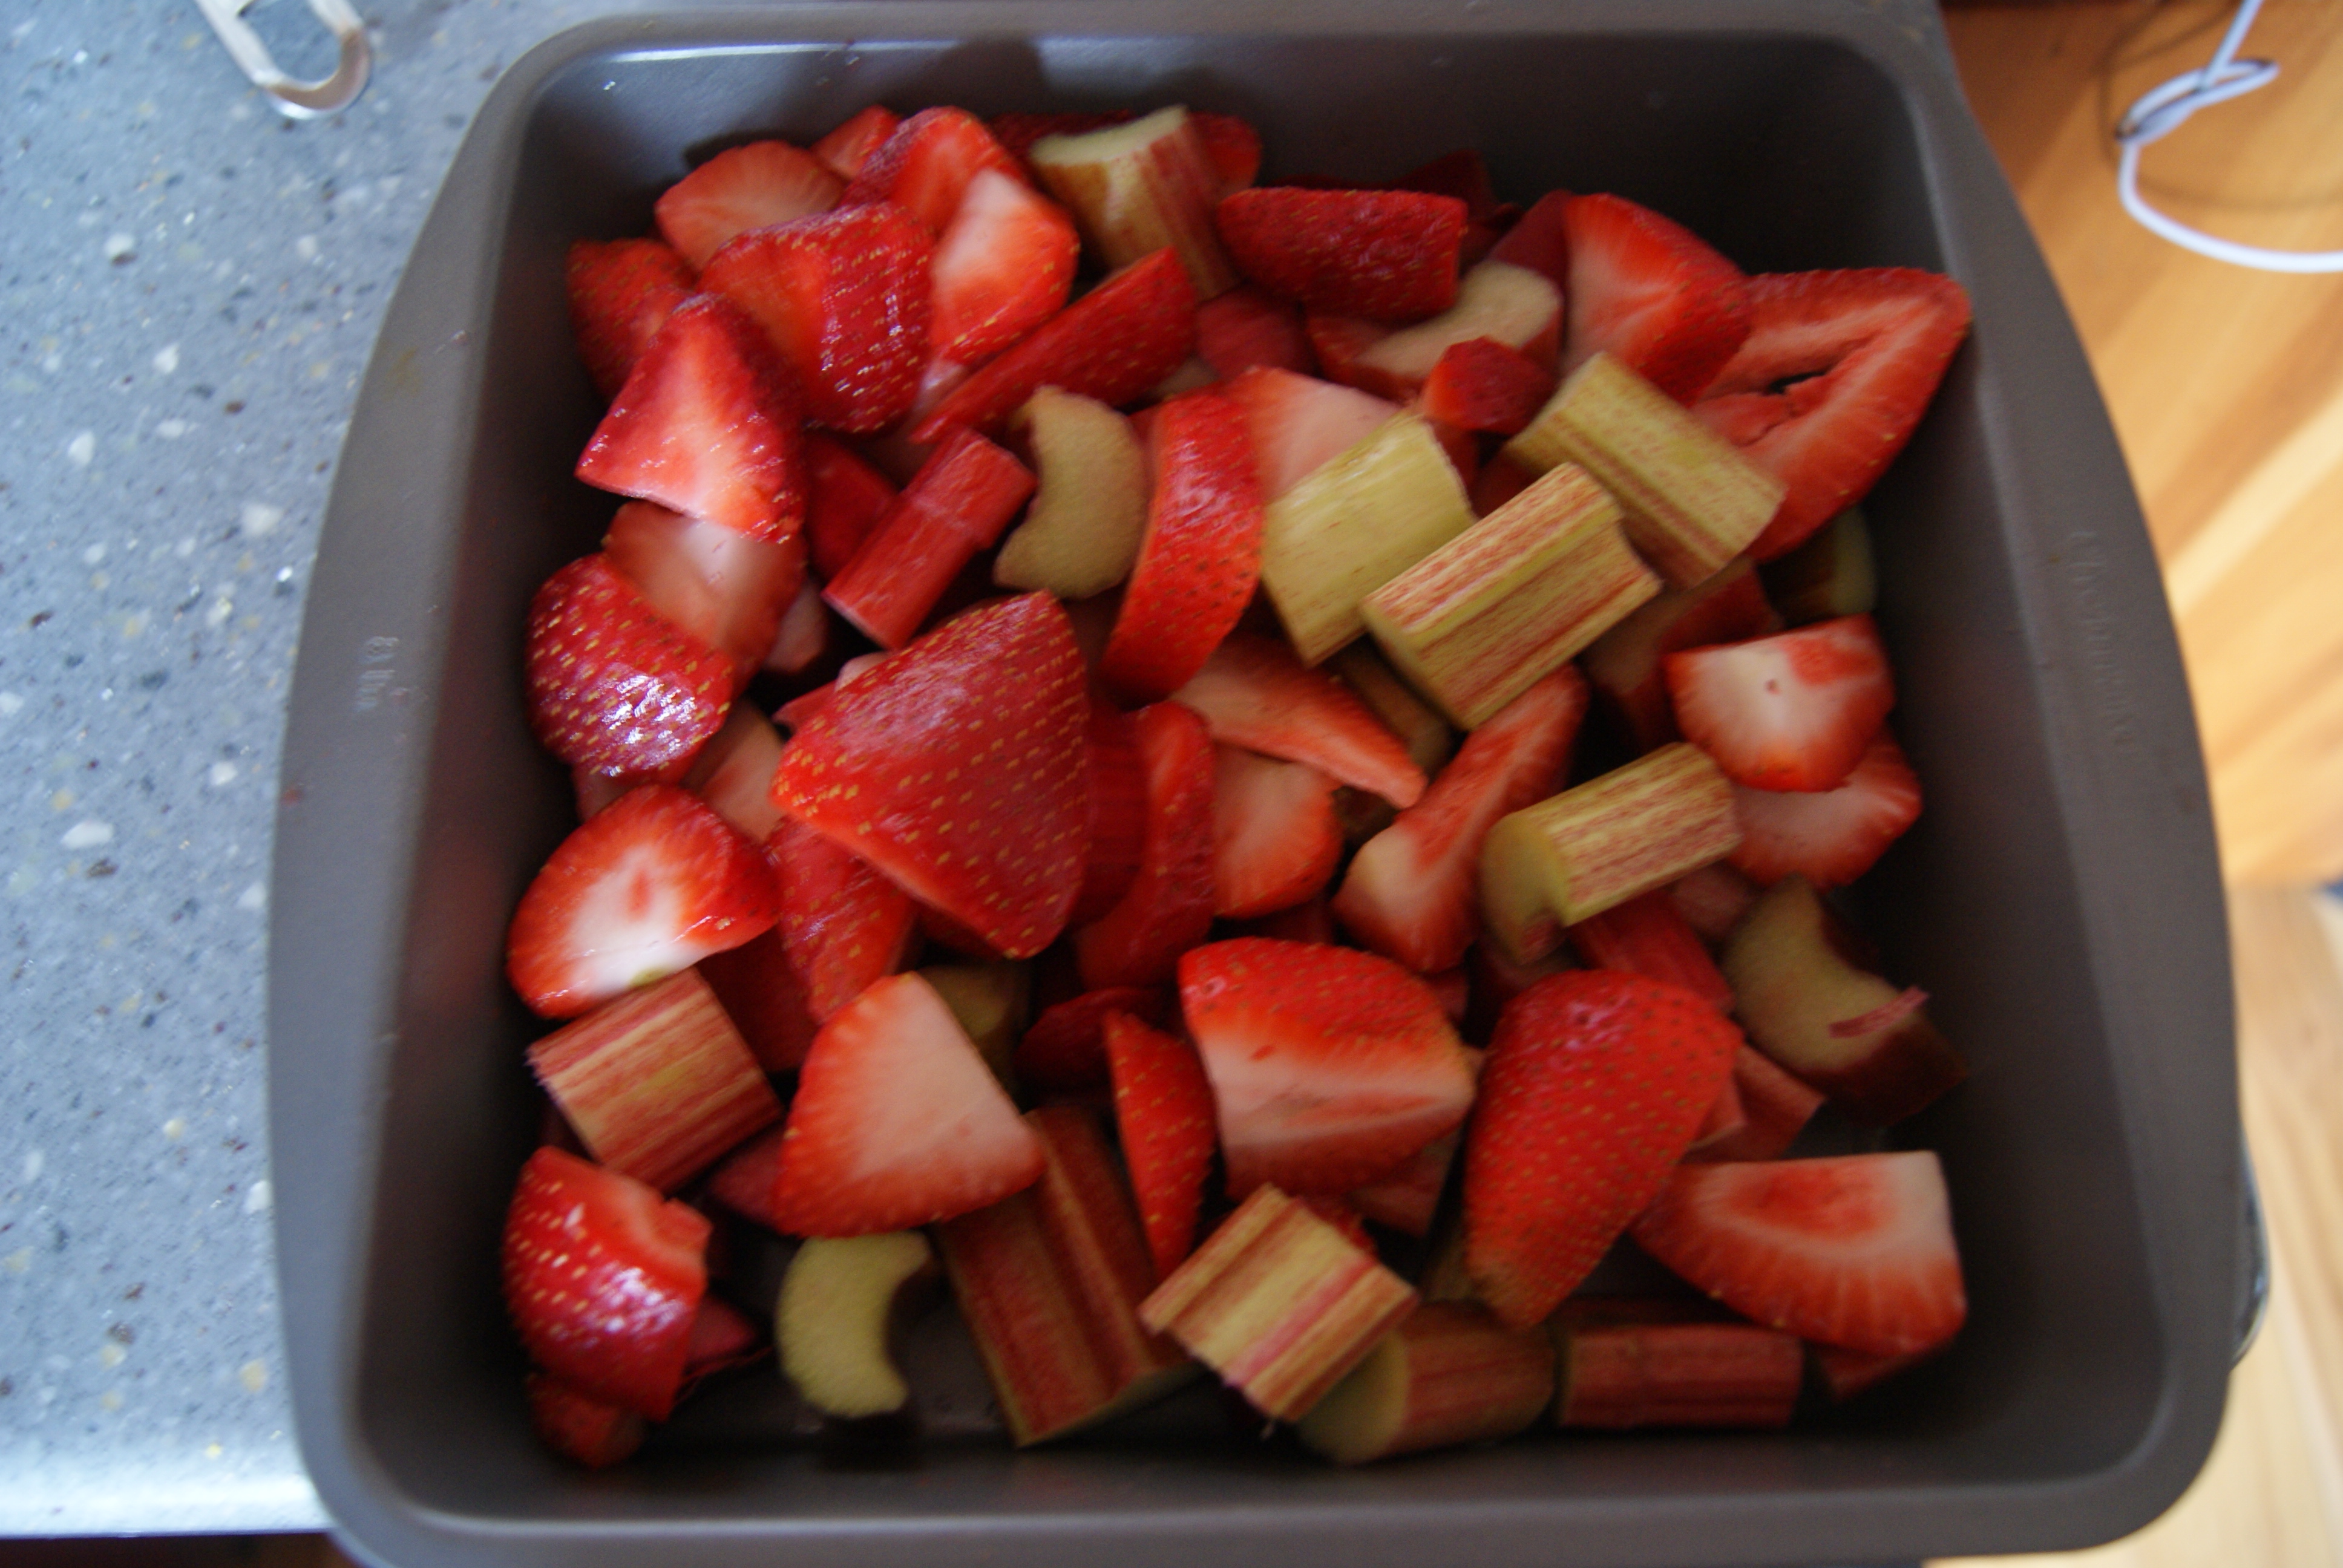
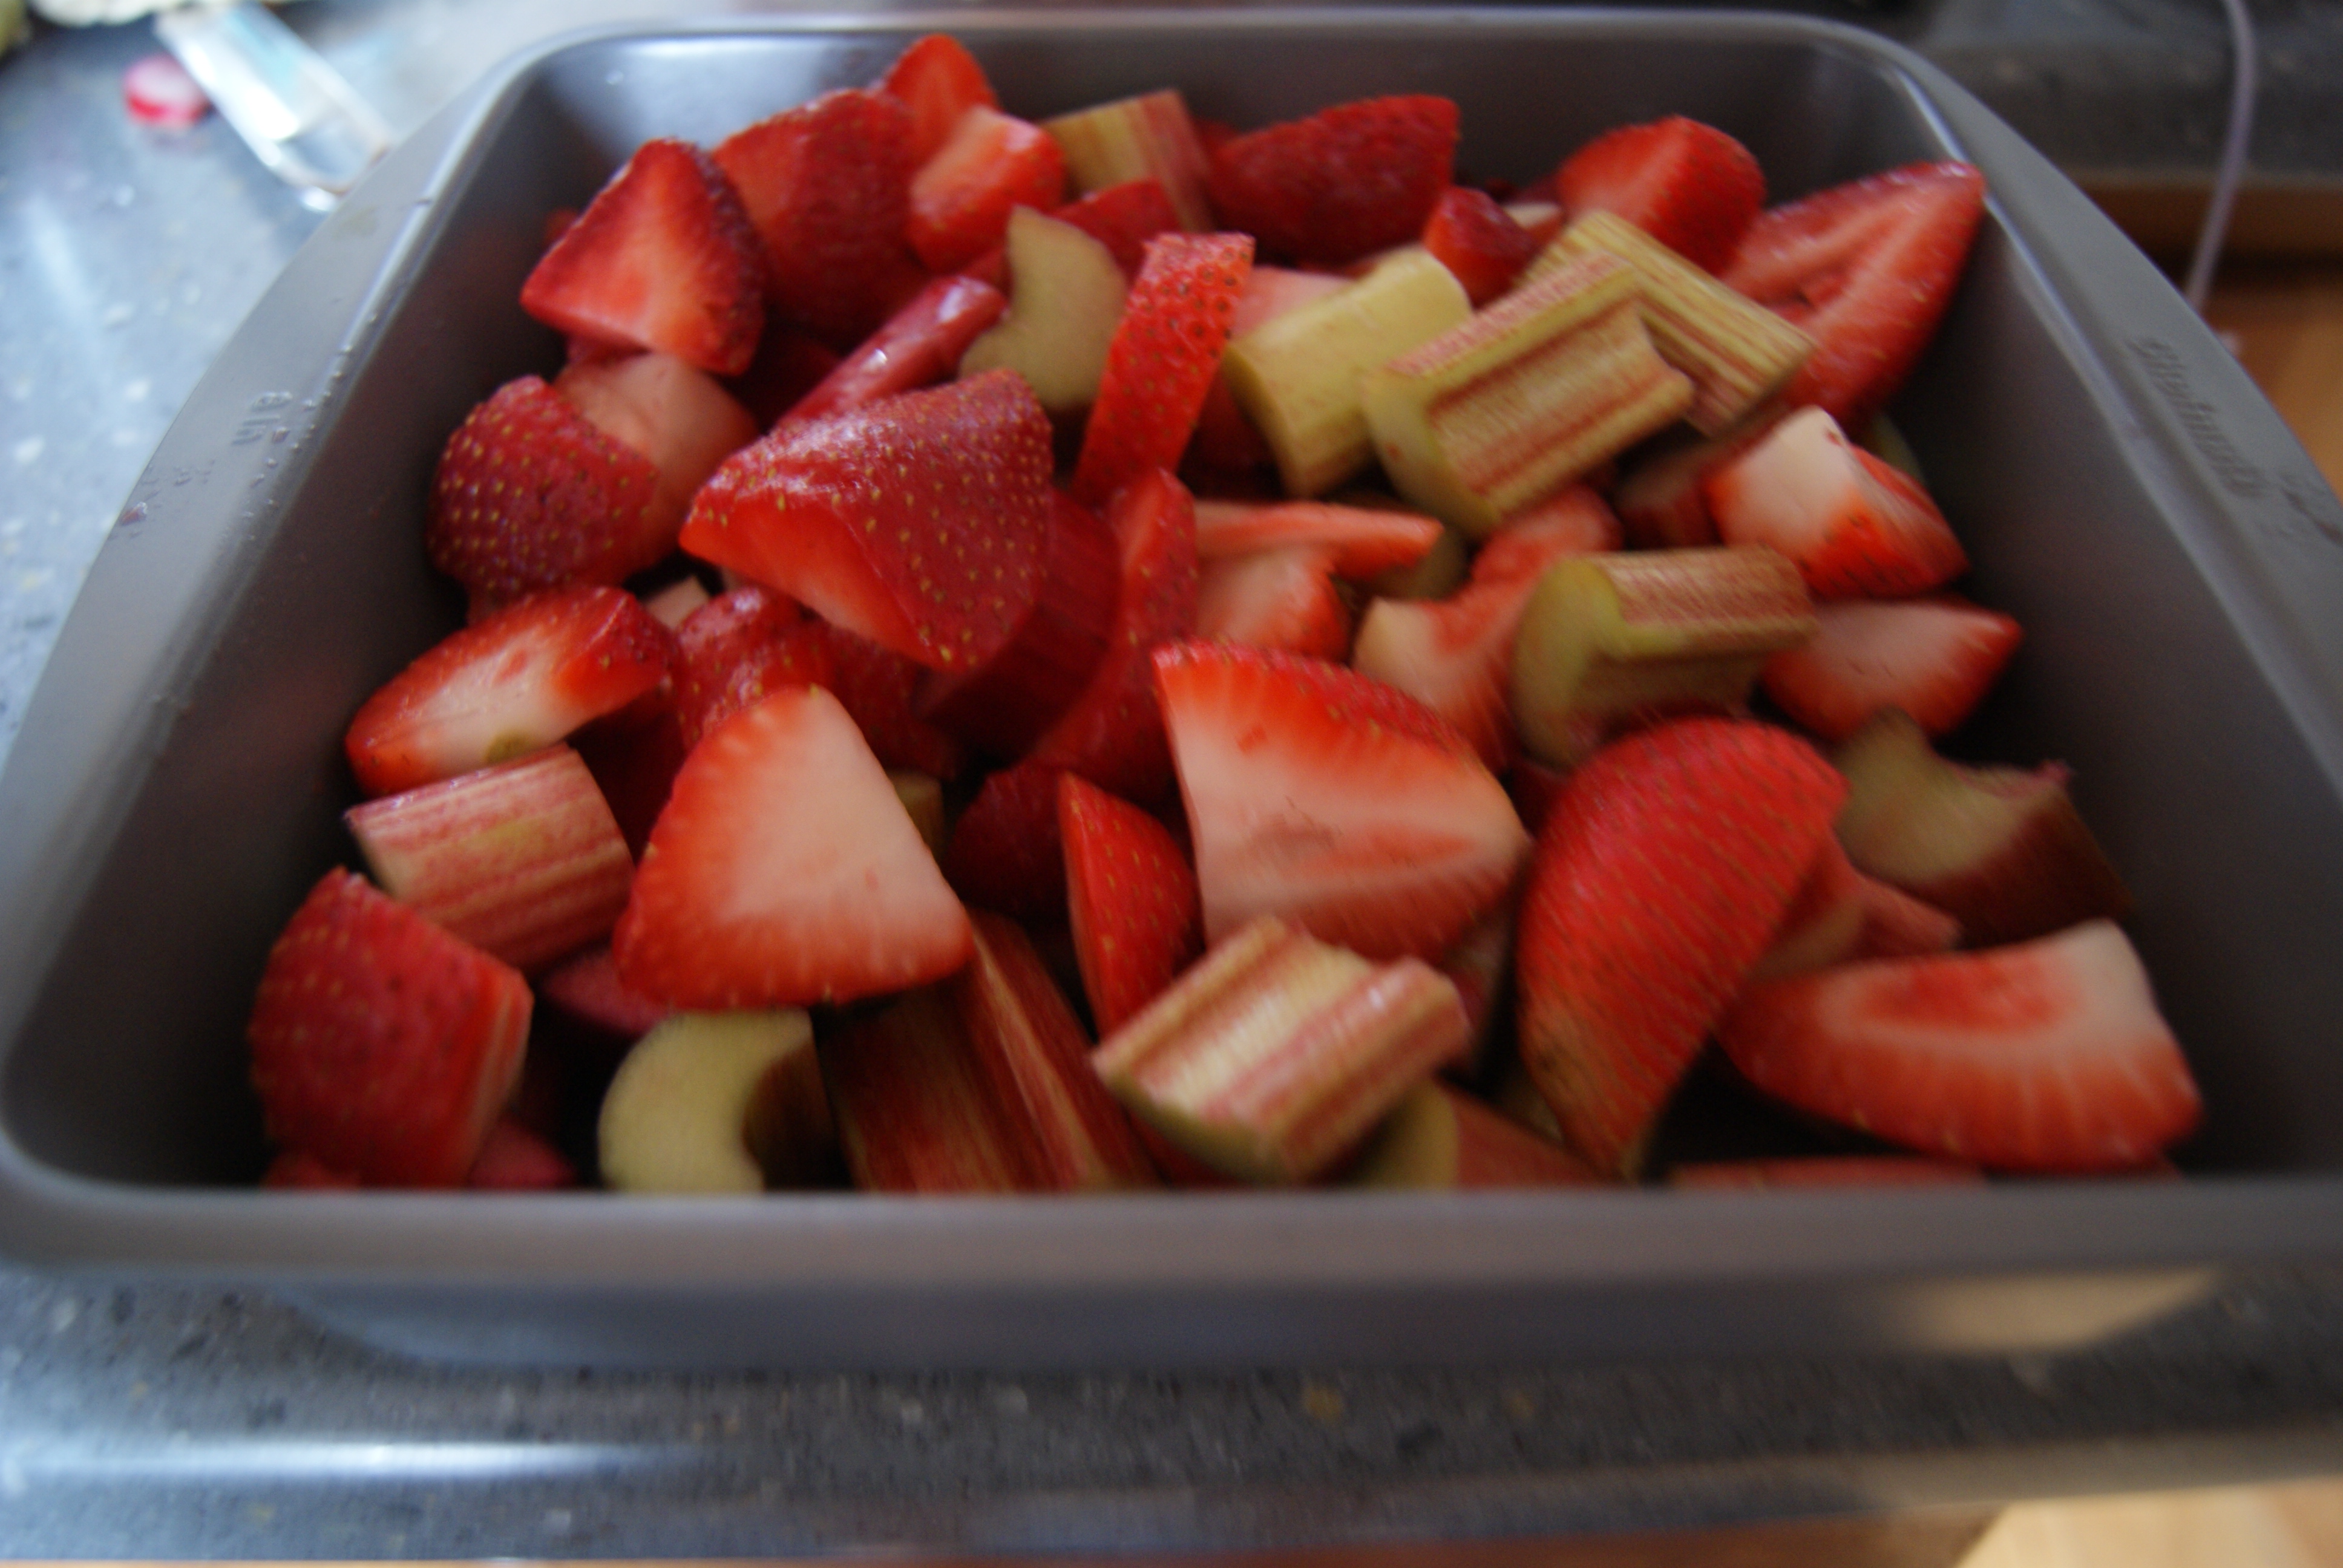
3-4 cups of rhubarb, chopped into small pieces (I used 3 stalks and used everything– red, green, white, whatevs)

2 cups of strawberries, sliced

1/2 cup of granulated white sugar (you’ll see that I reduced the sugar by half…if you want your crisp a little sweeter you can up it to 1 cup, you daredevil you)

1 cup of flour, divided

1/2 teaspoon of sugar

1/2 cup of brown sugar (same deal here as with the granulated white)

1 cup of old-fashioned rolled oats

1/2 cup of butter, melted and cooled

One more for good luck?

Preheat the oven to 350°F, and grease an 8×8 inch baking dish. In a large bowl, combine rhubarb, strawberries, white sugar, 1/3 of your flour and cinnamon. Spread mixture evenly in baking dish. Oh hell, I’m just going to save you a bowl and tell you that I lazily did all of these steps IN the baking dish and it was fantastic.

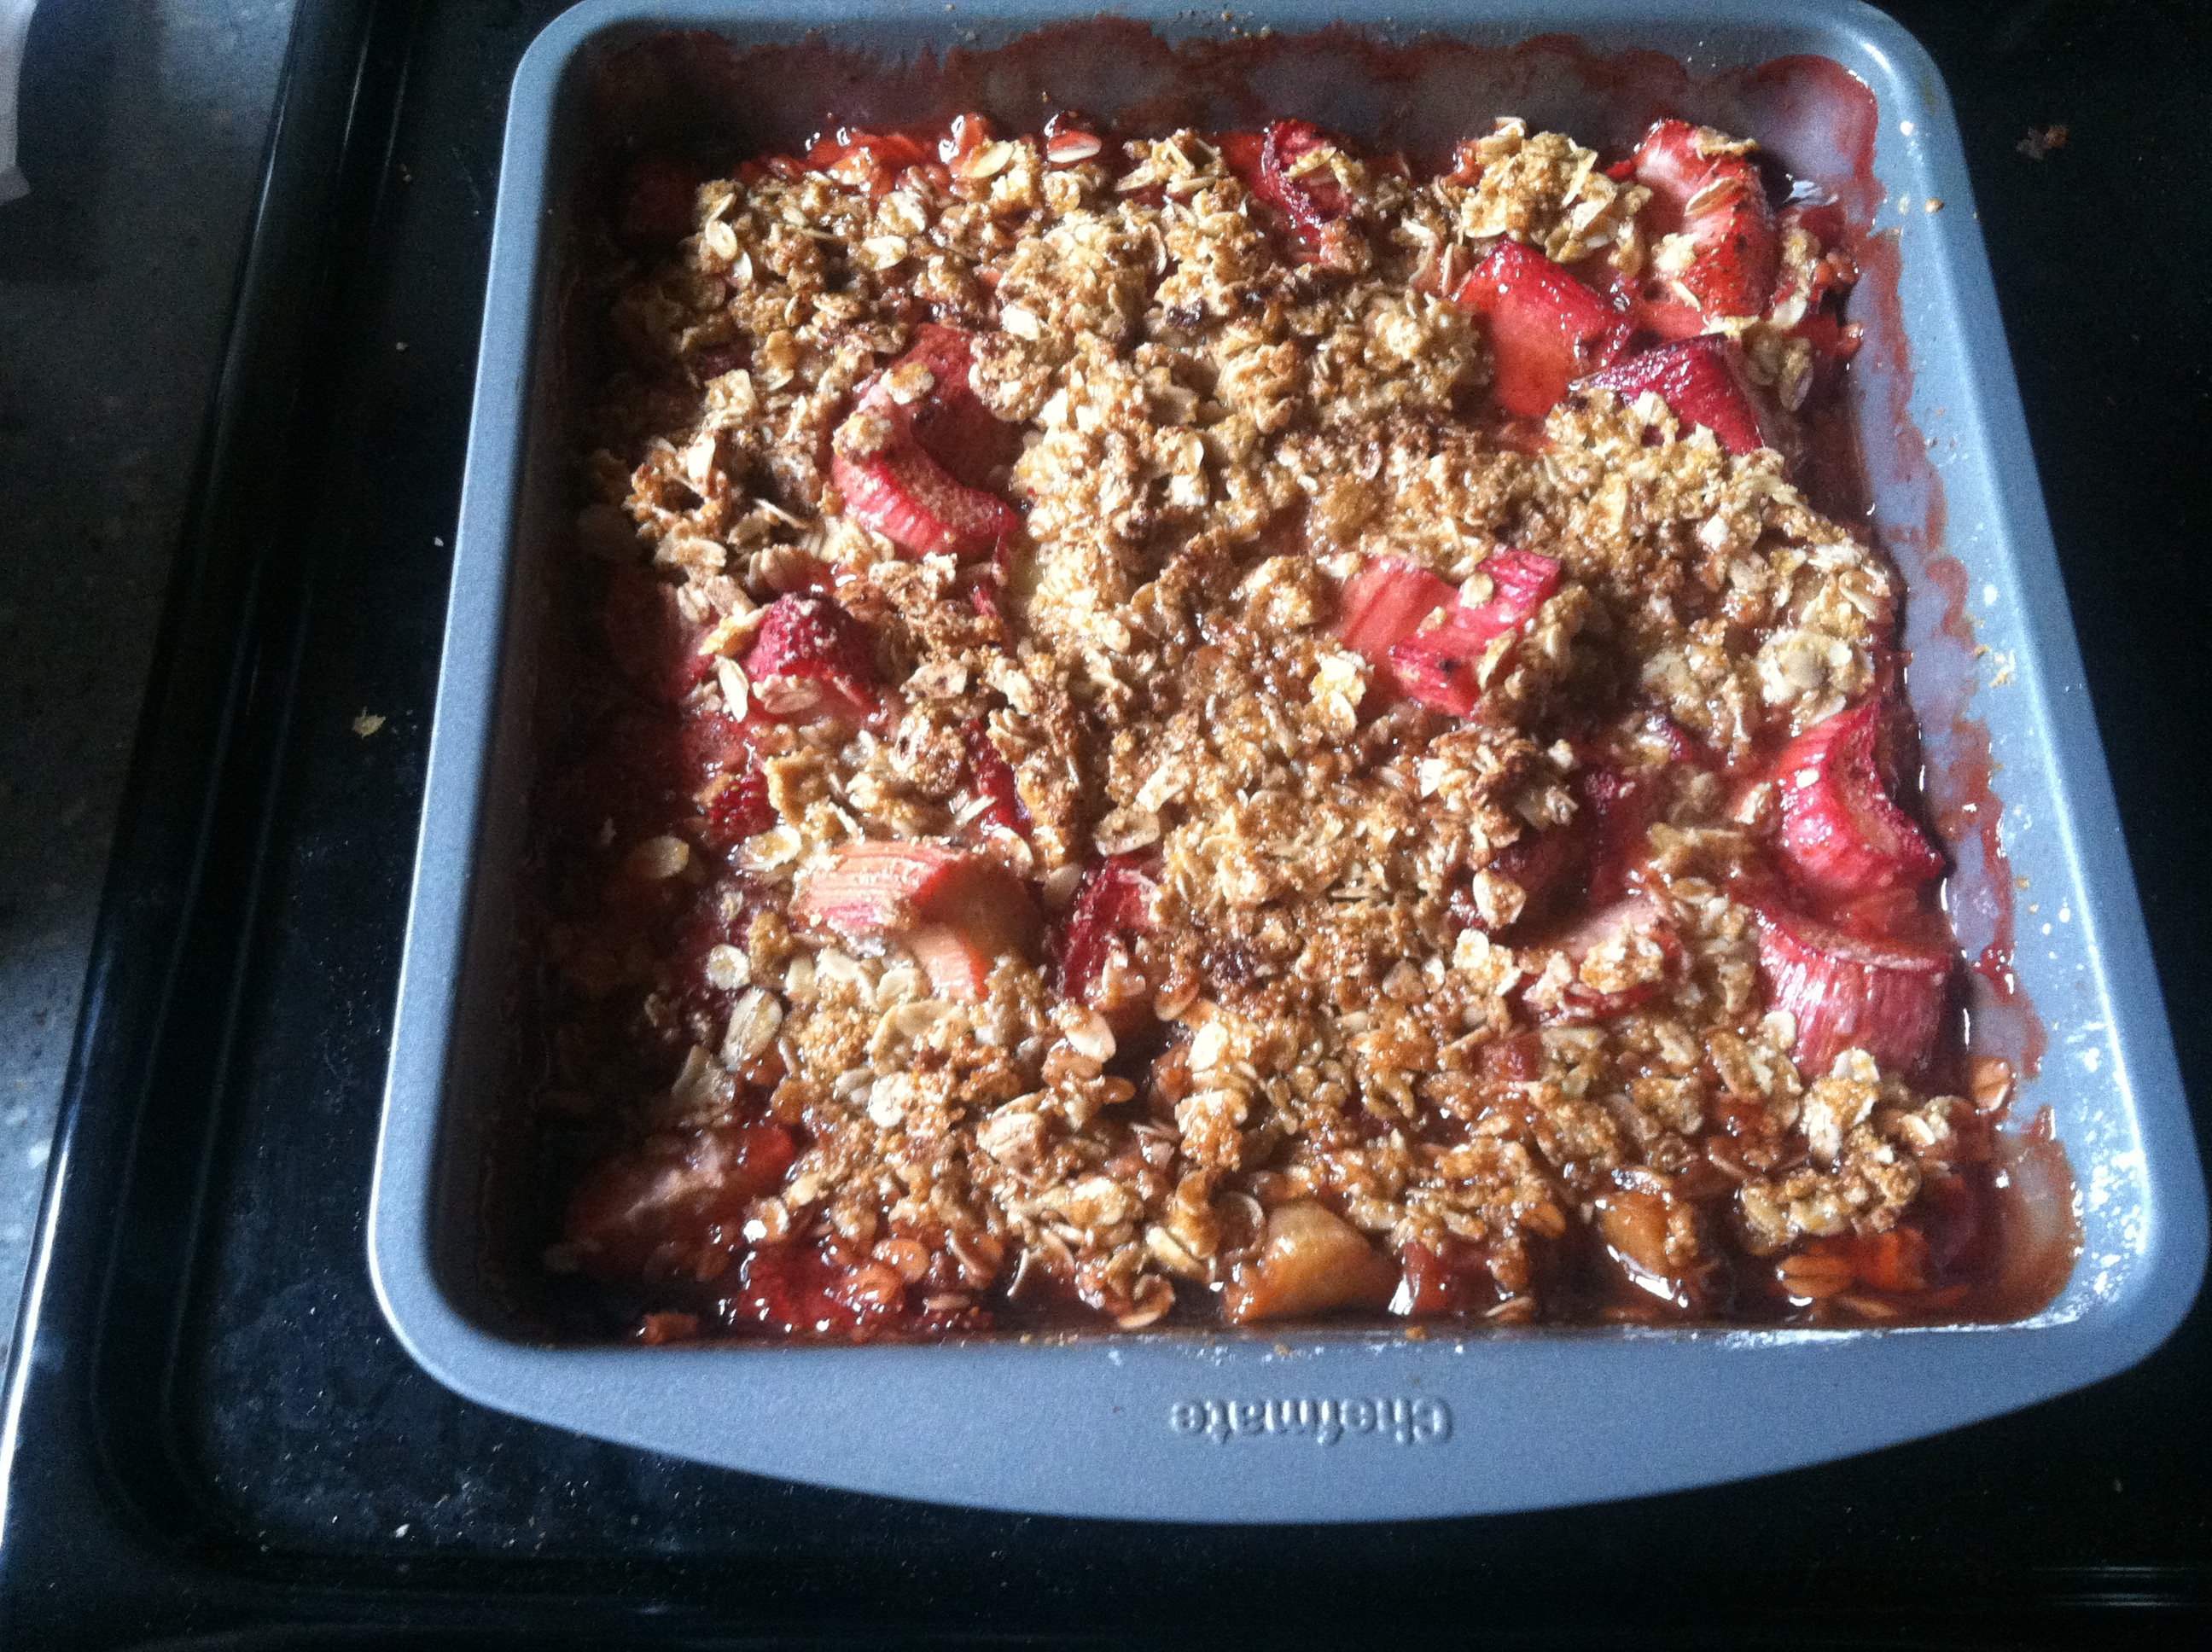
In another bowl (or, in a bowl if you’re lazy/smart like I am and didn’t use one for the above), combine remaining flour with brown sugar and oats. Stir in butter and mix well. Spread evenly atop fruit mixture, then send into the oven until the fruit filling starts to bubble over a bit, about 35-40 minutes.

IMG_1988

Serve in small, quaint bowls with adorable dollops of ice cream or banana gelato (spoiler alert: the latter RULES ALL OF EARTH).

I think this was my first attempt at a crisp, and it must be idiot-proof because I could not have screwed this up if I tried. I may have even inadvertently tried, and it was still amazing. I’ve also tried different variations, taking the flour out completely, using sliced plums instead of rhubarb + strawberries, using a little less butter…and NOTHING made this suck! It’s a wizard of a treat.

Categories
Desserts with Fruit Easy Baking Fancy Pantsy Grown Up People Desserts No-Bake Recipes Sort of Healthy Strange and Yummy Stuff Your Parents Would Like

Bad Things Happen In Threes. Lemonade Jellies Happen In Ramekins. I Happen…To Be Freaking Out.

Last weekend I was strolling along the Hudson River with my boyfriend when the skies opened up and dumped a monsoon on us. Fortunately, there was a random tent nearby that we and a bunch of other drenched pedestrians discovered at precisely the right moment. The rain lasted about ten minutes, and then this happened.

rainbow

That, I thought, was a signal that all would be fine.

Instead, it ended up being a semicircular, multicolored middle finger directed squarely at me.

I’m not sure how comfortable I am talking about the exact three bad things that have happened. There may be even more than three, but typing them all out might result in me freaking out even more than I already have in the past, oh, six weeks or so. Yep. Six weeks of on-and-off nonsense.

This past week has been one of the most trying I’ve experienced in about seven years. I’ve had to deal with disturbed individuals whom I’ve never met contacting me through this blog, using something that’s very dear to me to basically, well, harass. You all know how well I deal with scary fools coming after me. It’s not cool. Plus, I am a boring person. Trust. I am also sort of broke, really quiet and pretty reserved until I am hungry or SUUUUPER pissed off. There is really nothing to be gained from randomly lobbing the crazy this way. So, if you’re reading this with the sole purpose of, I don’t know, being mean or causing trouble, this way to the egress.

Sylvapotamus has left the country for the week, leaving me stranded and lost and even sadder than I would be had she not left. Somebody help! Tell me a joke. A good one. Or a bad one, I don’t care. Just give me something to work with, people! I’ll give you a delicious, healthy, addictive dessert in return!

Basil Lemonade Jellies (makes six 1/2 cup servings)

adapted from Serious Eats

3/4 cup of freshly-squeezed lemon juice (about 4 to 5 large lemons)

1/2 cup of sugar

1 1/2 cups of basil leaves, loosely packed

1/2 cup of no-pulp orange juice

3 teaspoons of powdered gelatin

Fresh whipped cream or ice cream to serve, optional

6 small basil leaves for garnish, optional

SONY DSC

In a medium-sized saucepan, stir together lemon juice, 1 1/2 cups of water, and sugar over medium heat until the mixture reaches a boil. Stir until the sugar completely dissolves.

Tear basil leaves roughly and place in a small glass or metal bowl. Pour lemon juice mixture over basil leaves and let steep for at least 15 minutes.

Pour orange juice in a small saucepan and sprinkle gelatin over the top. Let sit for five minutes, then place pan over medium heat, stirring until gelatin is dissolved. Remove from heat.

Strain the basil out of the lemon juice mixture and stir juice into the gelatin-OJ mixture. Pour into six small ramekins or a 1-quart dish. Refrigerate until softly set, at least two hours, then serve, either with ice cream or whipped cream. I recommend ice cream. Or nothing. Or just not even thinking about it and going to town on these.

SONY DSC

So I cut the sugar down from what the original recipe called for, and I am so glad I did. The basil flavor came through very nicely, giving the jellies a very complex flavor. The tartness of the jellies combined with the sweet, cold creaminess of the vanilla ice cream I used made for a perfect, perfect summer dessert. I cannot wait to make these again.

SONY DSC

Note: The below was just brought to my attention, explaining almost all of the heartache I’ve been experiencing lately.

Oh f*ck you, Stamos.

Categories
Easy Baking Frozen Desserts Ice Cream No-Bake Recipes

Smile Like You Mean It. Preferably A La Mode.

YOU GUYS. I just discovered this crazy amazing band. They are known as The Killers. They are stupendous!

I’m kidding, I’m kidding, I’m not that out of touch. Relax, cool kids. But, I have become re-obsessed with these guys for reasons unknown, though I’m not complaining. They really are amazing. On a side note, does anyone have a bajillion dollars kicking around that you’d like to use to buy me tickets to see them live? Just kidding. Not really. No…no I’m not really kidding.

Anyway, originally I was going to post “When You Were Young” to go along with this post, but that song and video are both hella depressing (and hella fantastic), and I figured you were all as sick of me and my complaining by this point as I was. This song’s probably pretty sad, too, but I’m a little bit too tired and a little bit too focused on trying to stay positive to notice. So…you know…smile like you mean it and whatnot.

Really though. I have posts and posts worth of crap to complain over. I have more stuff to complain about than I do stuff to bake. But, then, so do we all, right? I’m starting to think that maybe the only way to turn it all around is to turn it all around myself. And to maybe laugh at random moments as well. Like, really random. It scares the beejeebus out of people, and that makes me happy.

Something else that makes me happy is ice cream. Ice cream makes me so #%$(@-ing happy (I curse a lot, especially when I am happy). In my last post, I mentioned a trip to Vermont. On said trip, my boyfriend and I encountered something called a Creemee. This, supposedly, is just a regional term for soft serve, though I kind of think that’s bunk since this is the stuff dreams are made of. I tell you, I have never had a frozen treat so rich and decadent and, well, creamy. Since our return to NYC, Boyfriend has not failed to mention it at least once a week, nostalgically reminiscing on the Creemee as if it were a long, lost friend whom he misses terribly. In fact, he is, as I type this, on his way to Vermont for another one. Okay, okay, he’s going for other reasons too, but he kind of made it seem like he had one goal, and one goal only, in mind. To be fair, I asked him to bring me back one, as well. This will obviously not work for several reasons, the primary reason being that he’ll eat mine, too. No matter. I’ve figured out how to almost fully replicate them all on my own! Without an ice cream maker, because I am boogie-down broke! MUAHAHA!

SONY DSC

Maple Creemee (makes a little less than a quart)

adapted from Tribeca Mommy

Inside of a quart-sized zipped plastic bag:

1 cup heavy cream

3/4 cup of milk (I used 1% because that’s all I ever have)

1/4 teaspoon of vanilla extract

1/3 cup of pure maple syrup (Grade A or B…B’s darker and stronger, which I heart)

Inside a gallon-sized bag:

1/2 pound of coarse salt

2 1/2 pounds of ice

Also, you’ll need a spotter and/or excellent upper-body strength. Hey, you gotta work for your Creemee around these parts.

This is super easy by the way, aside from all the exercise. Place all ingredients except salt and ice in your smaller bag, zip very very tightly (unless you want salty ice cream, gracias no) and shake around a bit. Then, carefully place half of your ice and salt in the gallon bag, carefully lay quart-sized bag on top, and cover with more ice, leaving enough room to comfortably zip the gallon bag, and zip it.

I call this "Han Solo In Carbonite." Wait...
I call this “Han Solo In Carbonite.” Wait…

Here’s where the spotter/stretching comes in. Wrap a small towel around the bag and shake for ten minutes. Some of you are laughing at me for making a big deal of shaking a bag of ice for ten minutes. You people are buggin’. This is, like, not easy.

You can stop once your mixture is thick and custard-like.

SONY DSC

Obviously you can’t see from the above, but, uhhh…that’s where we stopped.

SONY DSC

Now, this may not look pretty at all. Maybe it looks a little like white gazpacho, or hummus. Actually, it really does, doesn’t it? Well, it’s a creemee, I promise. And it’s all kinds of wonderful. Really. So wonderful, in fact, that my boyfriend secretly made two more batches of this stuff while I was away. Fortunately, he shared, but still. Two. Within days of this first batch. It’s that amazingly good. Also, if you have children, you can totally employ them encourage them to help you shake shake shake this stuff up. I am often, mentally, five years old and I really enjoyed making this. That should tell you everything.

Categories
Desserts with Fruit Easy Baking Fancy Pantsy Grown Up People Desserts Sort of Healthy Stuff Your Parents Would Like

In Which I Discover A Rather Healthful Dessert… And Slather It In Butter.

For all of us. You're welcome.
For all of us. You’re welcome.

Hopefully, by the time you read this, I will be en route to Denver, Colorado, in order to visit some lovely people and bask in the Rocky Mountain air. Hopefully, by the time you read this, I will not be mid-asthma attack, nauseous and angry due to the lack of oxygen in the air and a case altitude sickness. You can always count on me for a healthy dose of optimism cynicism.

Personally, the week was one big bag of failure. I think the ugly cry may have come to visit my abode about seventeen times. I also yelled at exactly five customer service representatives and five customer service supervisors. I seem to be falling apart?

There are, I know, bigger problems. Jesus, this week. 😦

For information on how to help victims of the Boston marathon, please click here!

All of this sadness, all of the chaos can just become too overwhelming. I could go on and on, but this is not my Livejournal,* this is a baking blog.

As you can all see from previous posts, this blog has been a bundle of jiggly lard lately. For this reason, and with the assumption that warm weather will, in fact, eventually debut in NY at some damn point, I have decided to go for a healthier dessert…. aaaand then coat it in butter. Also I chose pears because I had a few that I needed to use before they spoiled and you KNOW I was not able to let them go to waste. Pears cost dollars.

*I never had a Livejournal. I was a Xanga girl. Please do not Google this. I am sparing you, trust.

Sautéed Pears in a Balsamic Reduction With Roasted Pumpkin Seeds (SO FANCY! SO FRESH!)

2 pears of your choice, cored and sliced

2 tablespoons of butter

1 teaspoon of cinnamon

1 teaspoon of brown sugar, more if you like

1/4 cup of balsamic vinegar

1 tablespoon of roasted pumpkin seeds, optional

SONY DSC

Now, in a large lidded saucepan, melt your butter over medium heat. When fully melted, add pears. Try to lay slices with no overlaps, if possible. When the pear slices begin to heat up, add just enough water to barely cover them, and then cover the pan for five minutes.

SONY DSC

Meanwhile, in a small saucepan over medium-low heat, bring balsamic vinegar to a simmer. Swirl the vinegar in the pan for a few minutes, then let it simmer and lightly boil for about ten minutes. Remove from heat when it looks thick and appears to have reduced.

Back to your pears. Using a wooden spoon, carefully flip your slices, which should be lightly browned and softened by now. Sprinkle with cinnamon and brown sugar, then remove from heat, plate, and sprinkle more cinnamon and sugar, if you please (you please, trust me you please). Drizzle with balsamic reduction and add pumpkin seeds.

SONY DSC

Now, you would think, or at least I thought, this would be a disaster. I kind of thought the balsamic would take this thing to a place I would never ever want to visit. Instead, it took this thing to a place I’d like to turn into my summer home, if that makes sense.

No joke, as lame as this sounds, I felt super fancy eating this. Also, if I were a person who ever felt remorse over eating dessert– and I am not this person, but if I were– I would certainly not feel guilty over this delicious, light, sweet treat.

Categories
Breads Classic Favorites Easy Baking Holiday desserts

Irish Soda Bread… Because I’m All About Celebrating Someone Else’s Roots

…Especially when “someone else’s roots” involve something delicious and full of sugar and butter.

(A tune from my favorite Irishman, from a show I’m privileged to have attended)

So yes, I decided to gift you all with a spur-of-the-moment post because I’ve been craving soda bread for an unbelievably long time. What’s “unbelievably long,” you ask? Oh, I’d say it’s been about ten days.

Yep. I’m addicted. And what better time to share this addiction with all of you dear, sweet readers than St. Patrick’s Day?

Now, let me just say this: I have no idea whether this is authentic or not. It tastes pretty damned authentic, but really, I know exactly nothing. Also, it is ridiculously easy to make (especially if you enjoy getting really messy and then cleaning up after your/my filthy self), so let’s quit the small talk and get to it!

Irish Soda Bread (makes a pretty large loaf that will still be difficult to emotionally and physically part with)

5 cups of all-purpose flour

1 cup of granulated sugar

1 tablespoon of baking powder

1 1/2 teaspoons of salt

1 teaspoon of baking soda

1/2 cup of butter, cubed and softened

2 1/2 cups of raisins (you can use dried cherries or cranberries if you so desire)

2 1/2 cups of buttermilk

1 large egg

Preheat your oven to 350º and generously butter a skillet with high sides or a dutch oven. In the largest bowl you own, blend together flour, sugar, baking powder, salt and baking soda. Add butter and blend together with fingers until the mixture looks crumbly and coarse, like this:

SONY DSC

Whisk together the buttermilk and egg until blended, then stir buttermilk mixture into the rest of the ingredients. and mix just until all ingredients are incorporated. Do not overmix.

Now, working very carefully, transfer your now-definitely-sticky dough into the skillet or dutch oven you’re using. This will be a pain and will result in you shedding a tear for all of the flour you just probably lost to your floor.

SONY DSC

With a knife dipped in flour, trace a large X onto the top of the dough, then send this into the oven until the bread is cooked through, about 1 hour and 15 minutes. Let cool in the pan for about ten minutes, then transfer to a wire rack and let cool completely.

And then….

SONY DSCThis. And…

SONY DSC
Yes, those are Goldfish in the background. Don’t judge me.

This.

I can’t stop eating this. Seriously, there are crumbs in between the keys on my keyboard right now, because I’m a disgusting human being. Hopefully that is enough to convince you that you should spend a couple of hours making this. You’re welcome.