Categories
Cakes Classic Favorites Fancy Pantsy

Do Not Yell Fire In A Crowded Theatre. Do Yell Fire When You Set Your Cake Aflame.

Yeah…so we’ll get to that.

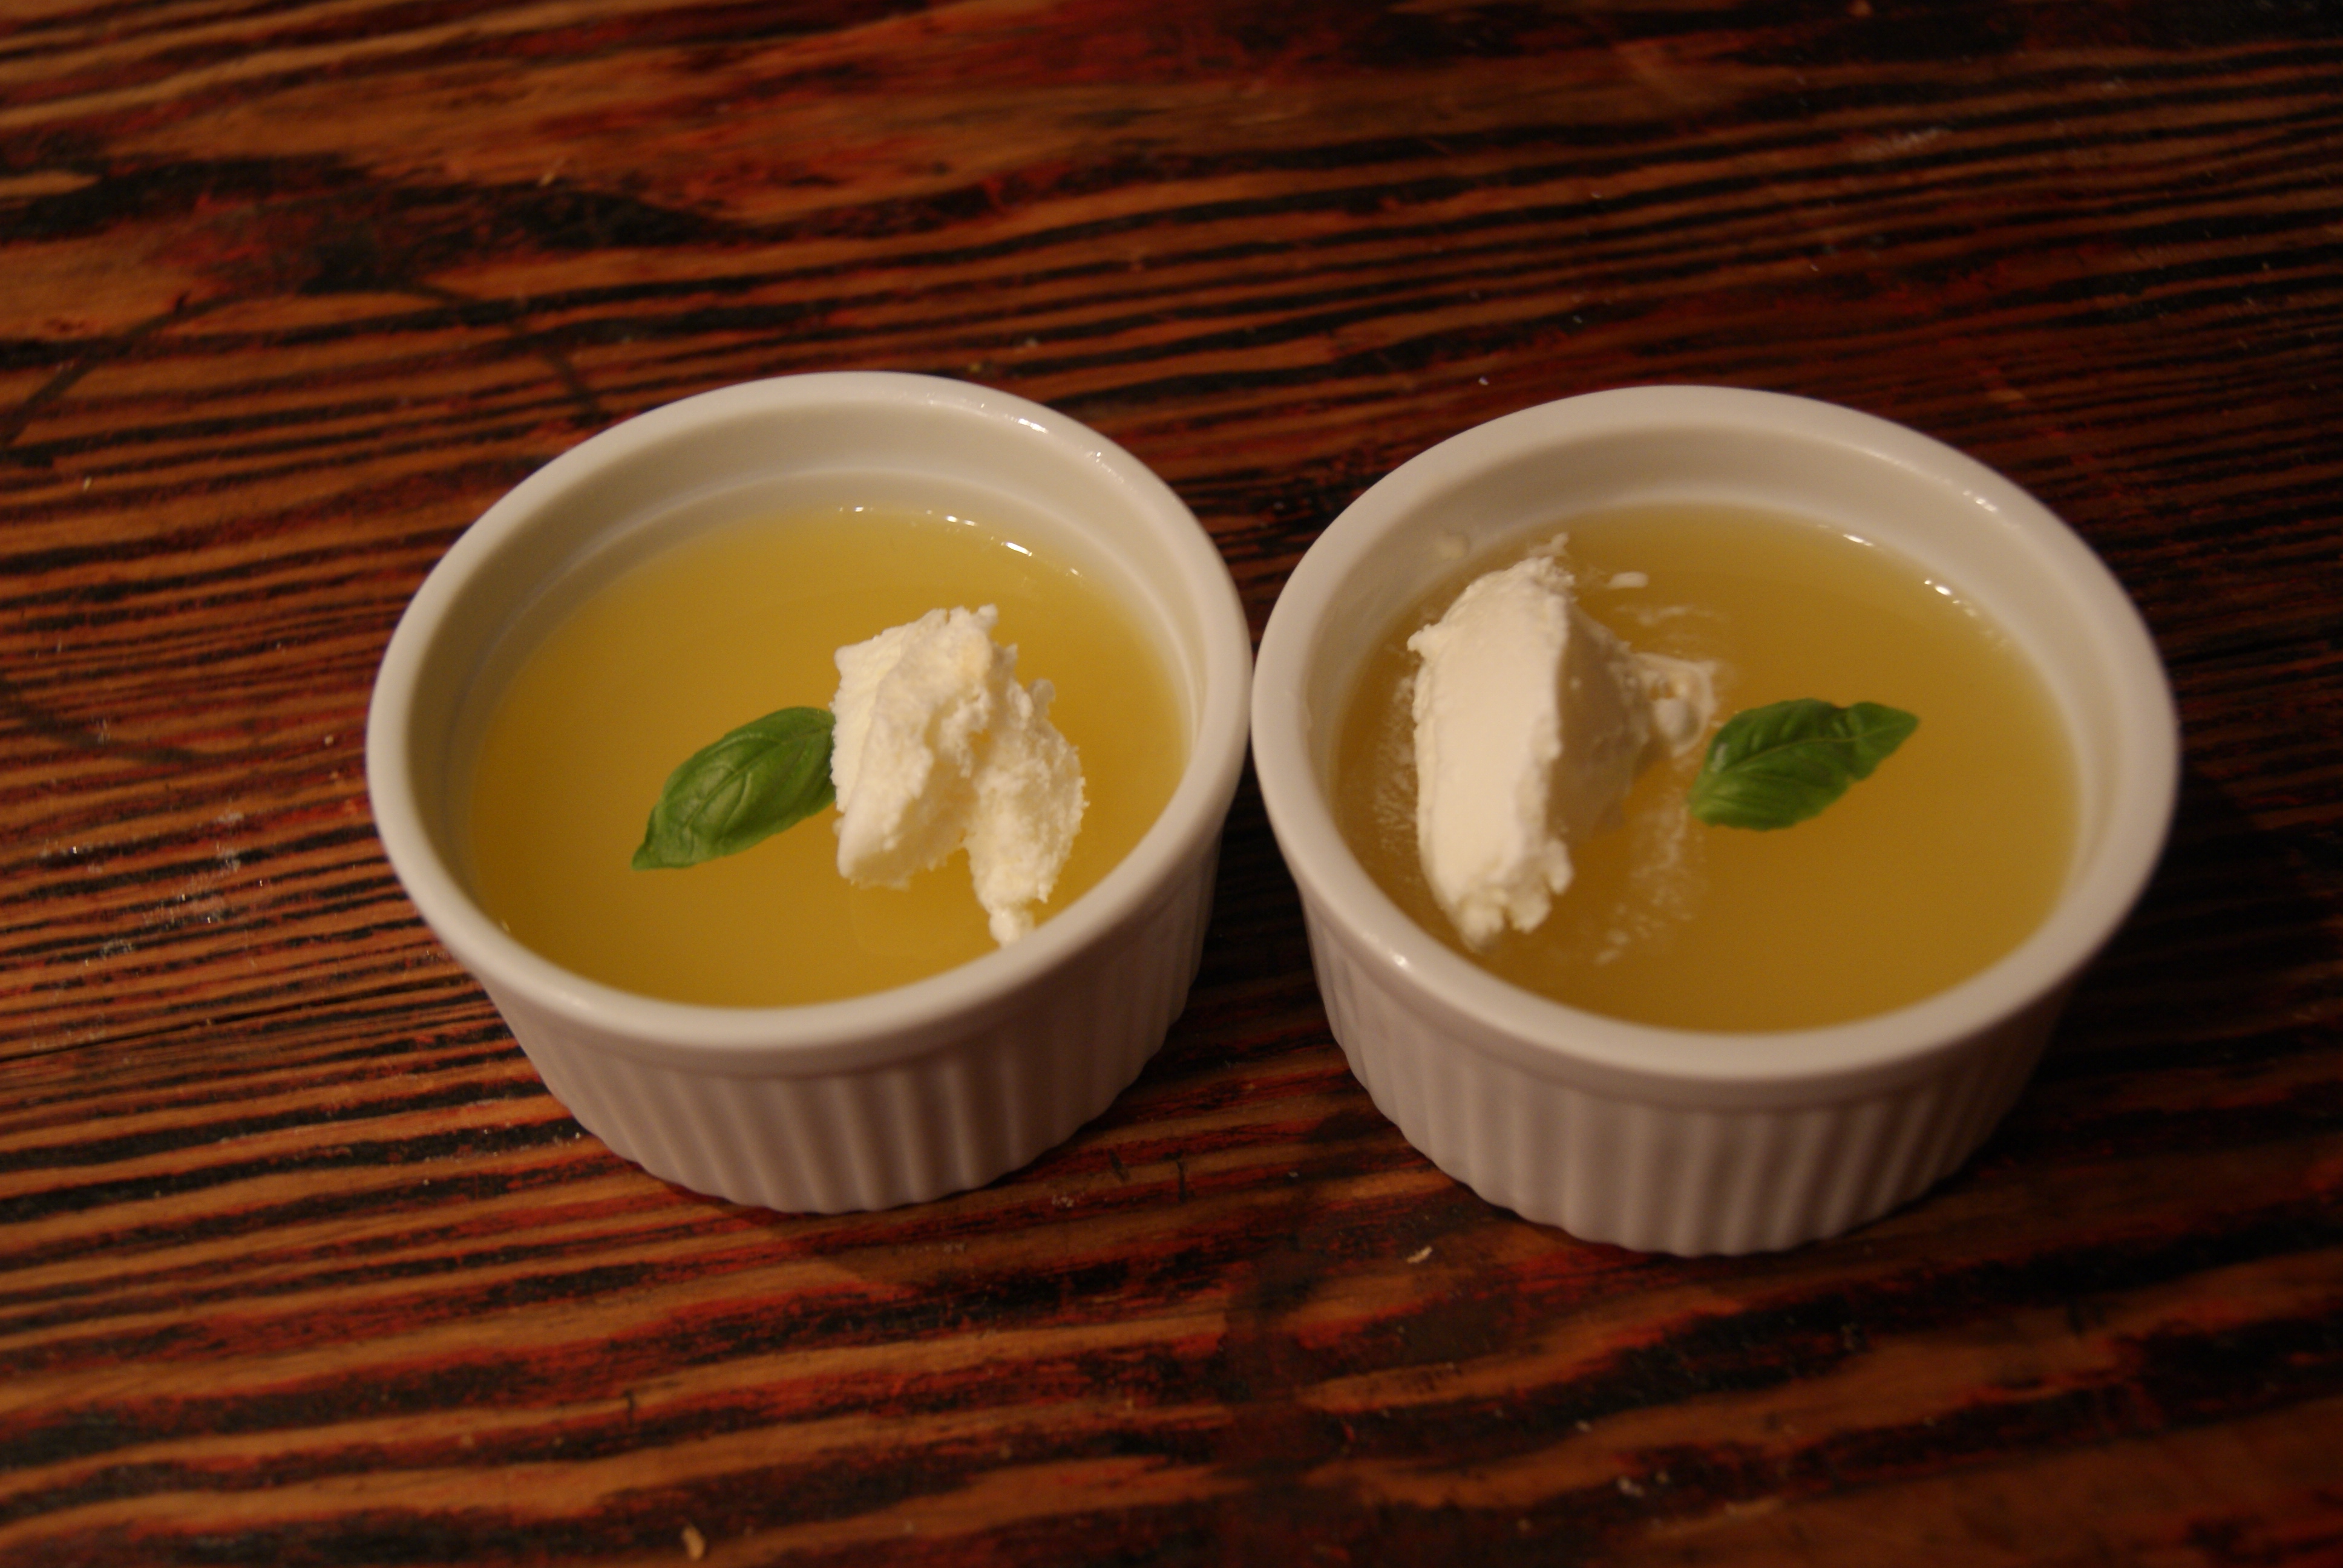
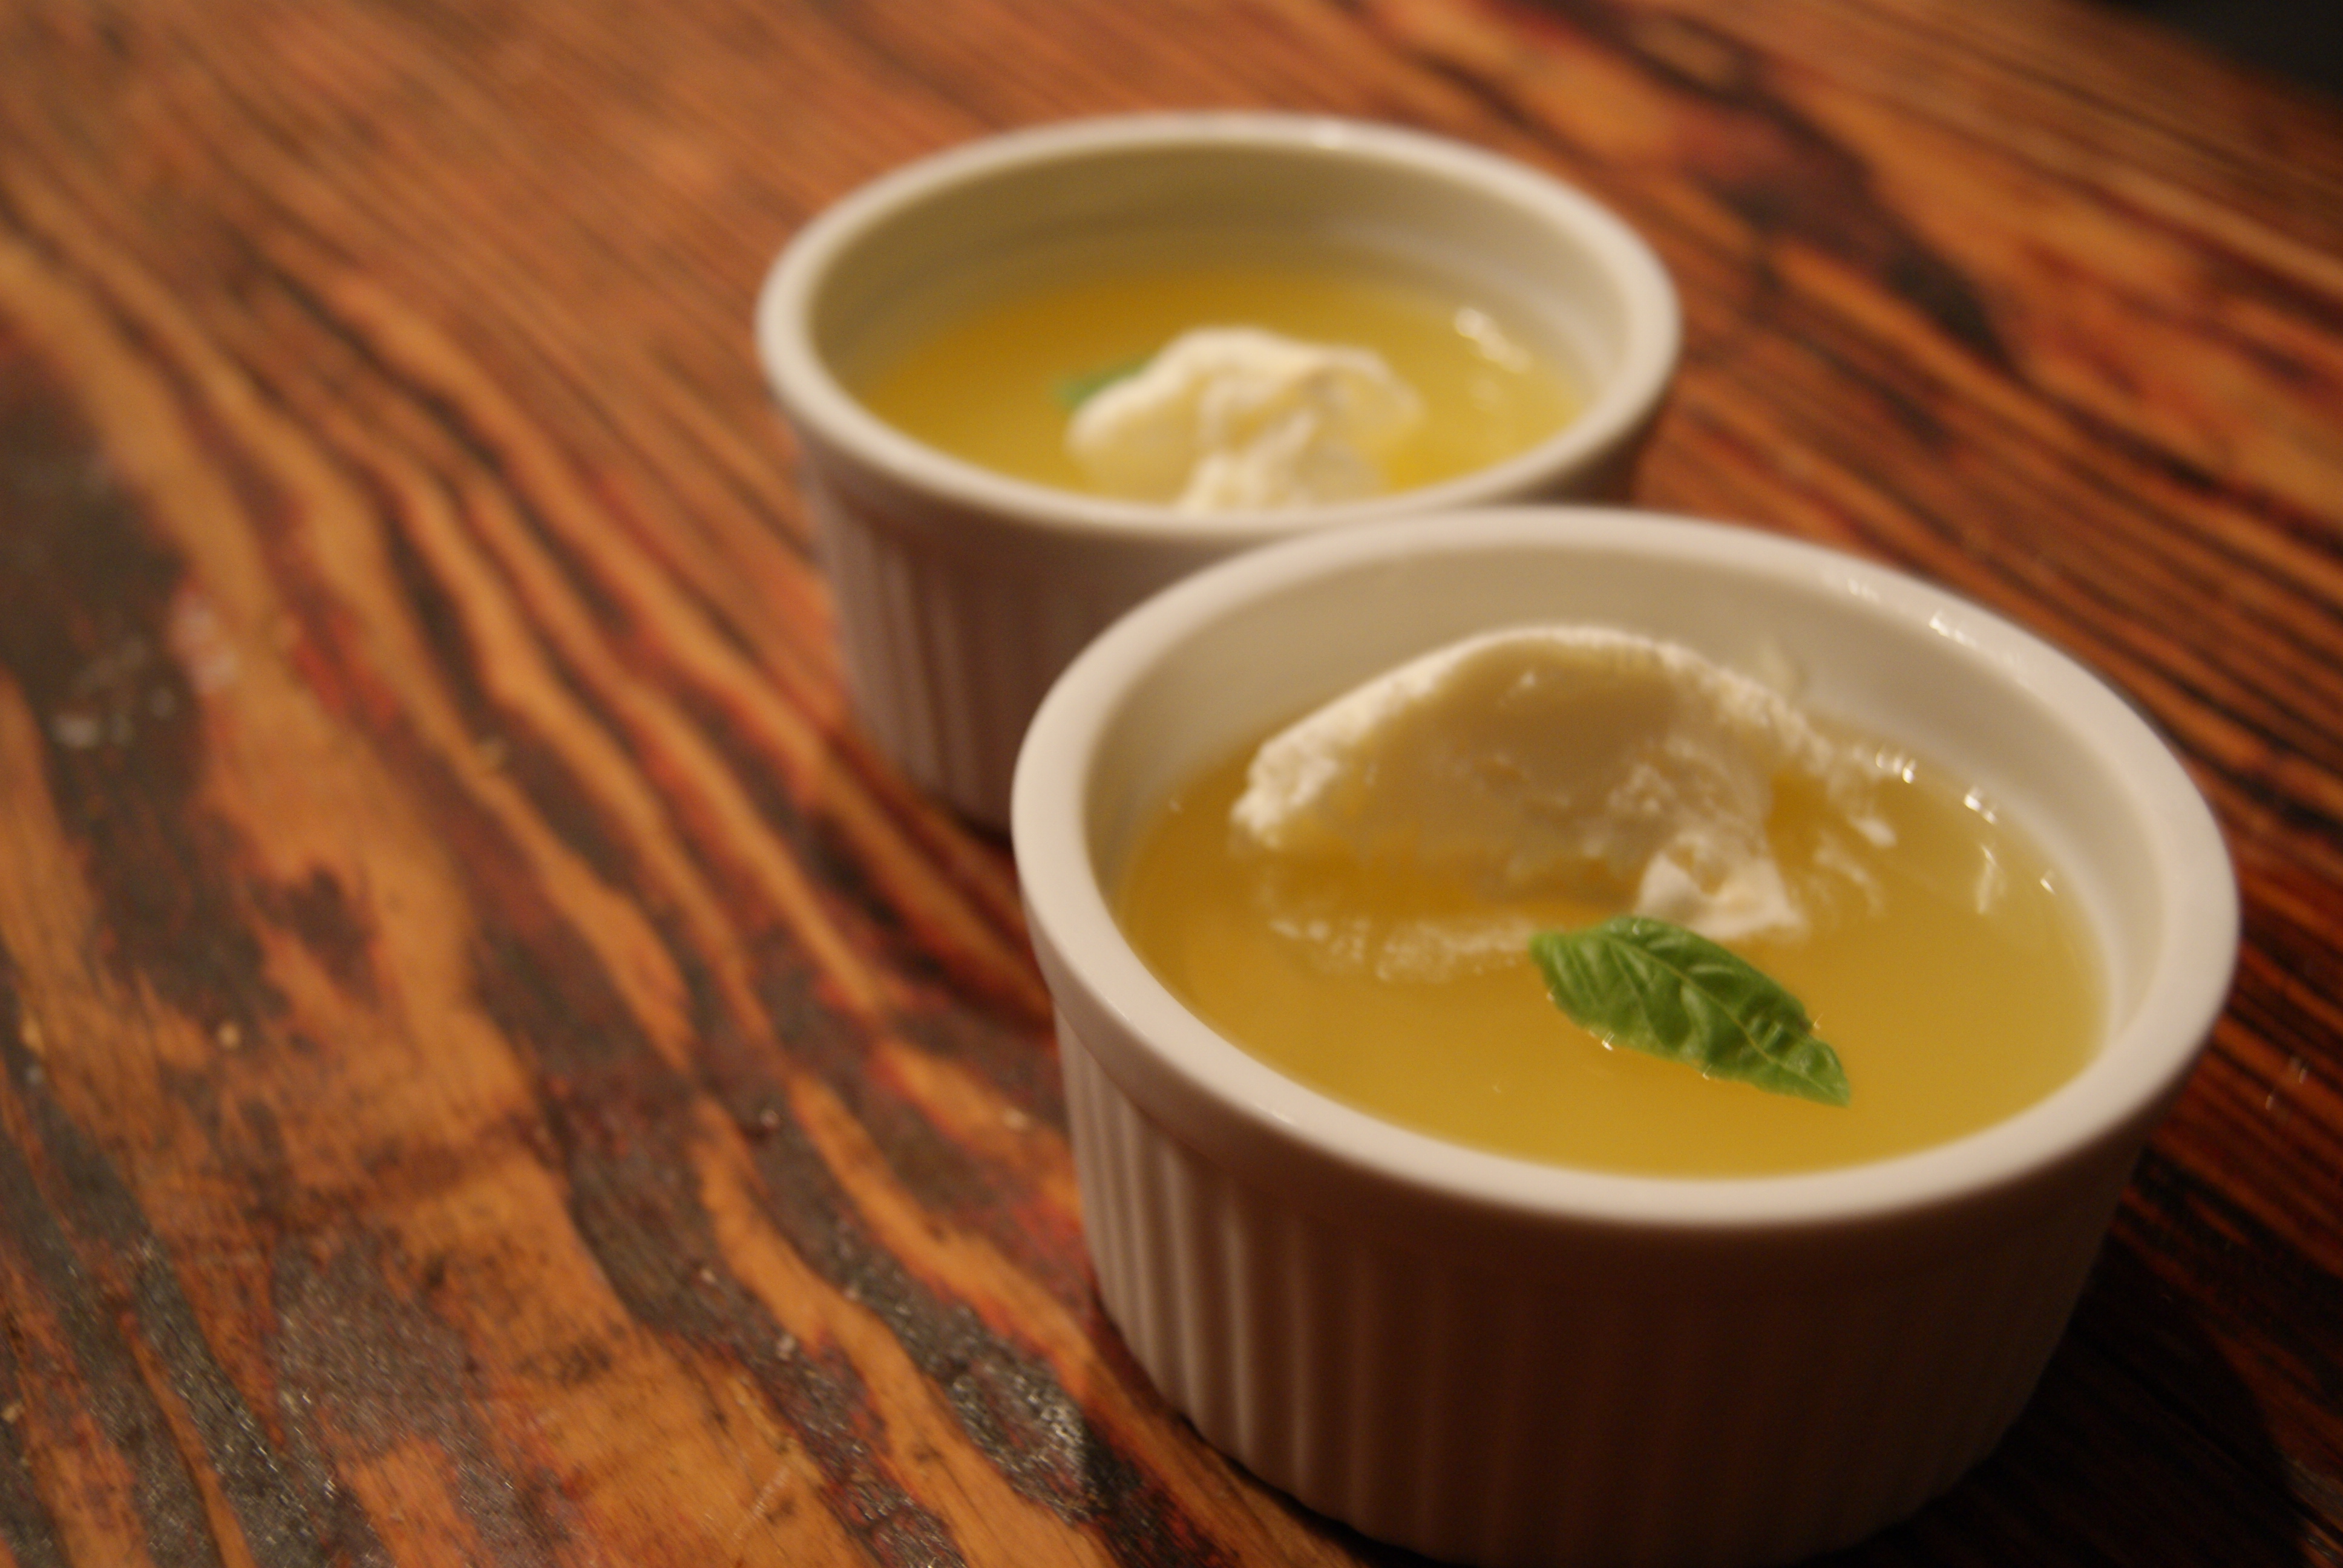
Originally my next post was going to be about buttermilk panna cotta. It’s easy, delicious and because I’m cray cray I like to write about things just after I’ve made them. I think it’s because I’m afraid that if I skip the panna cotta post and go directly to writing about the thing I made after it the panna cotta will re-form in my fridge, let itself out and coagulate all over my sleeping body. That is creepy, crazy, weird and disgusting and I deeply apologize.

I think I sort of just forgot about the panna cotta since I made it so long ago and have been slacking on posts. Then, a few weeks later during an adventurous trip to Duane Reade (we all have those, don’t we New Yorkers?), I decided to purchase some seasonal mistakes called Pumpkin Hershey’s Kisses. They were, as I sort of suspected, horrible. I keep a chocolate drawer at work, and pretty much everyone who opens it to grab something sweet gives these things the evil side eye and walks away. The drawer glowed orange until I decided to take these things home and try to work with them in thumbprint cookies. The result is below (please shield your eyes/the eyes of your children if you’re prudish or too young for this):

SONY DSC

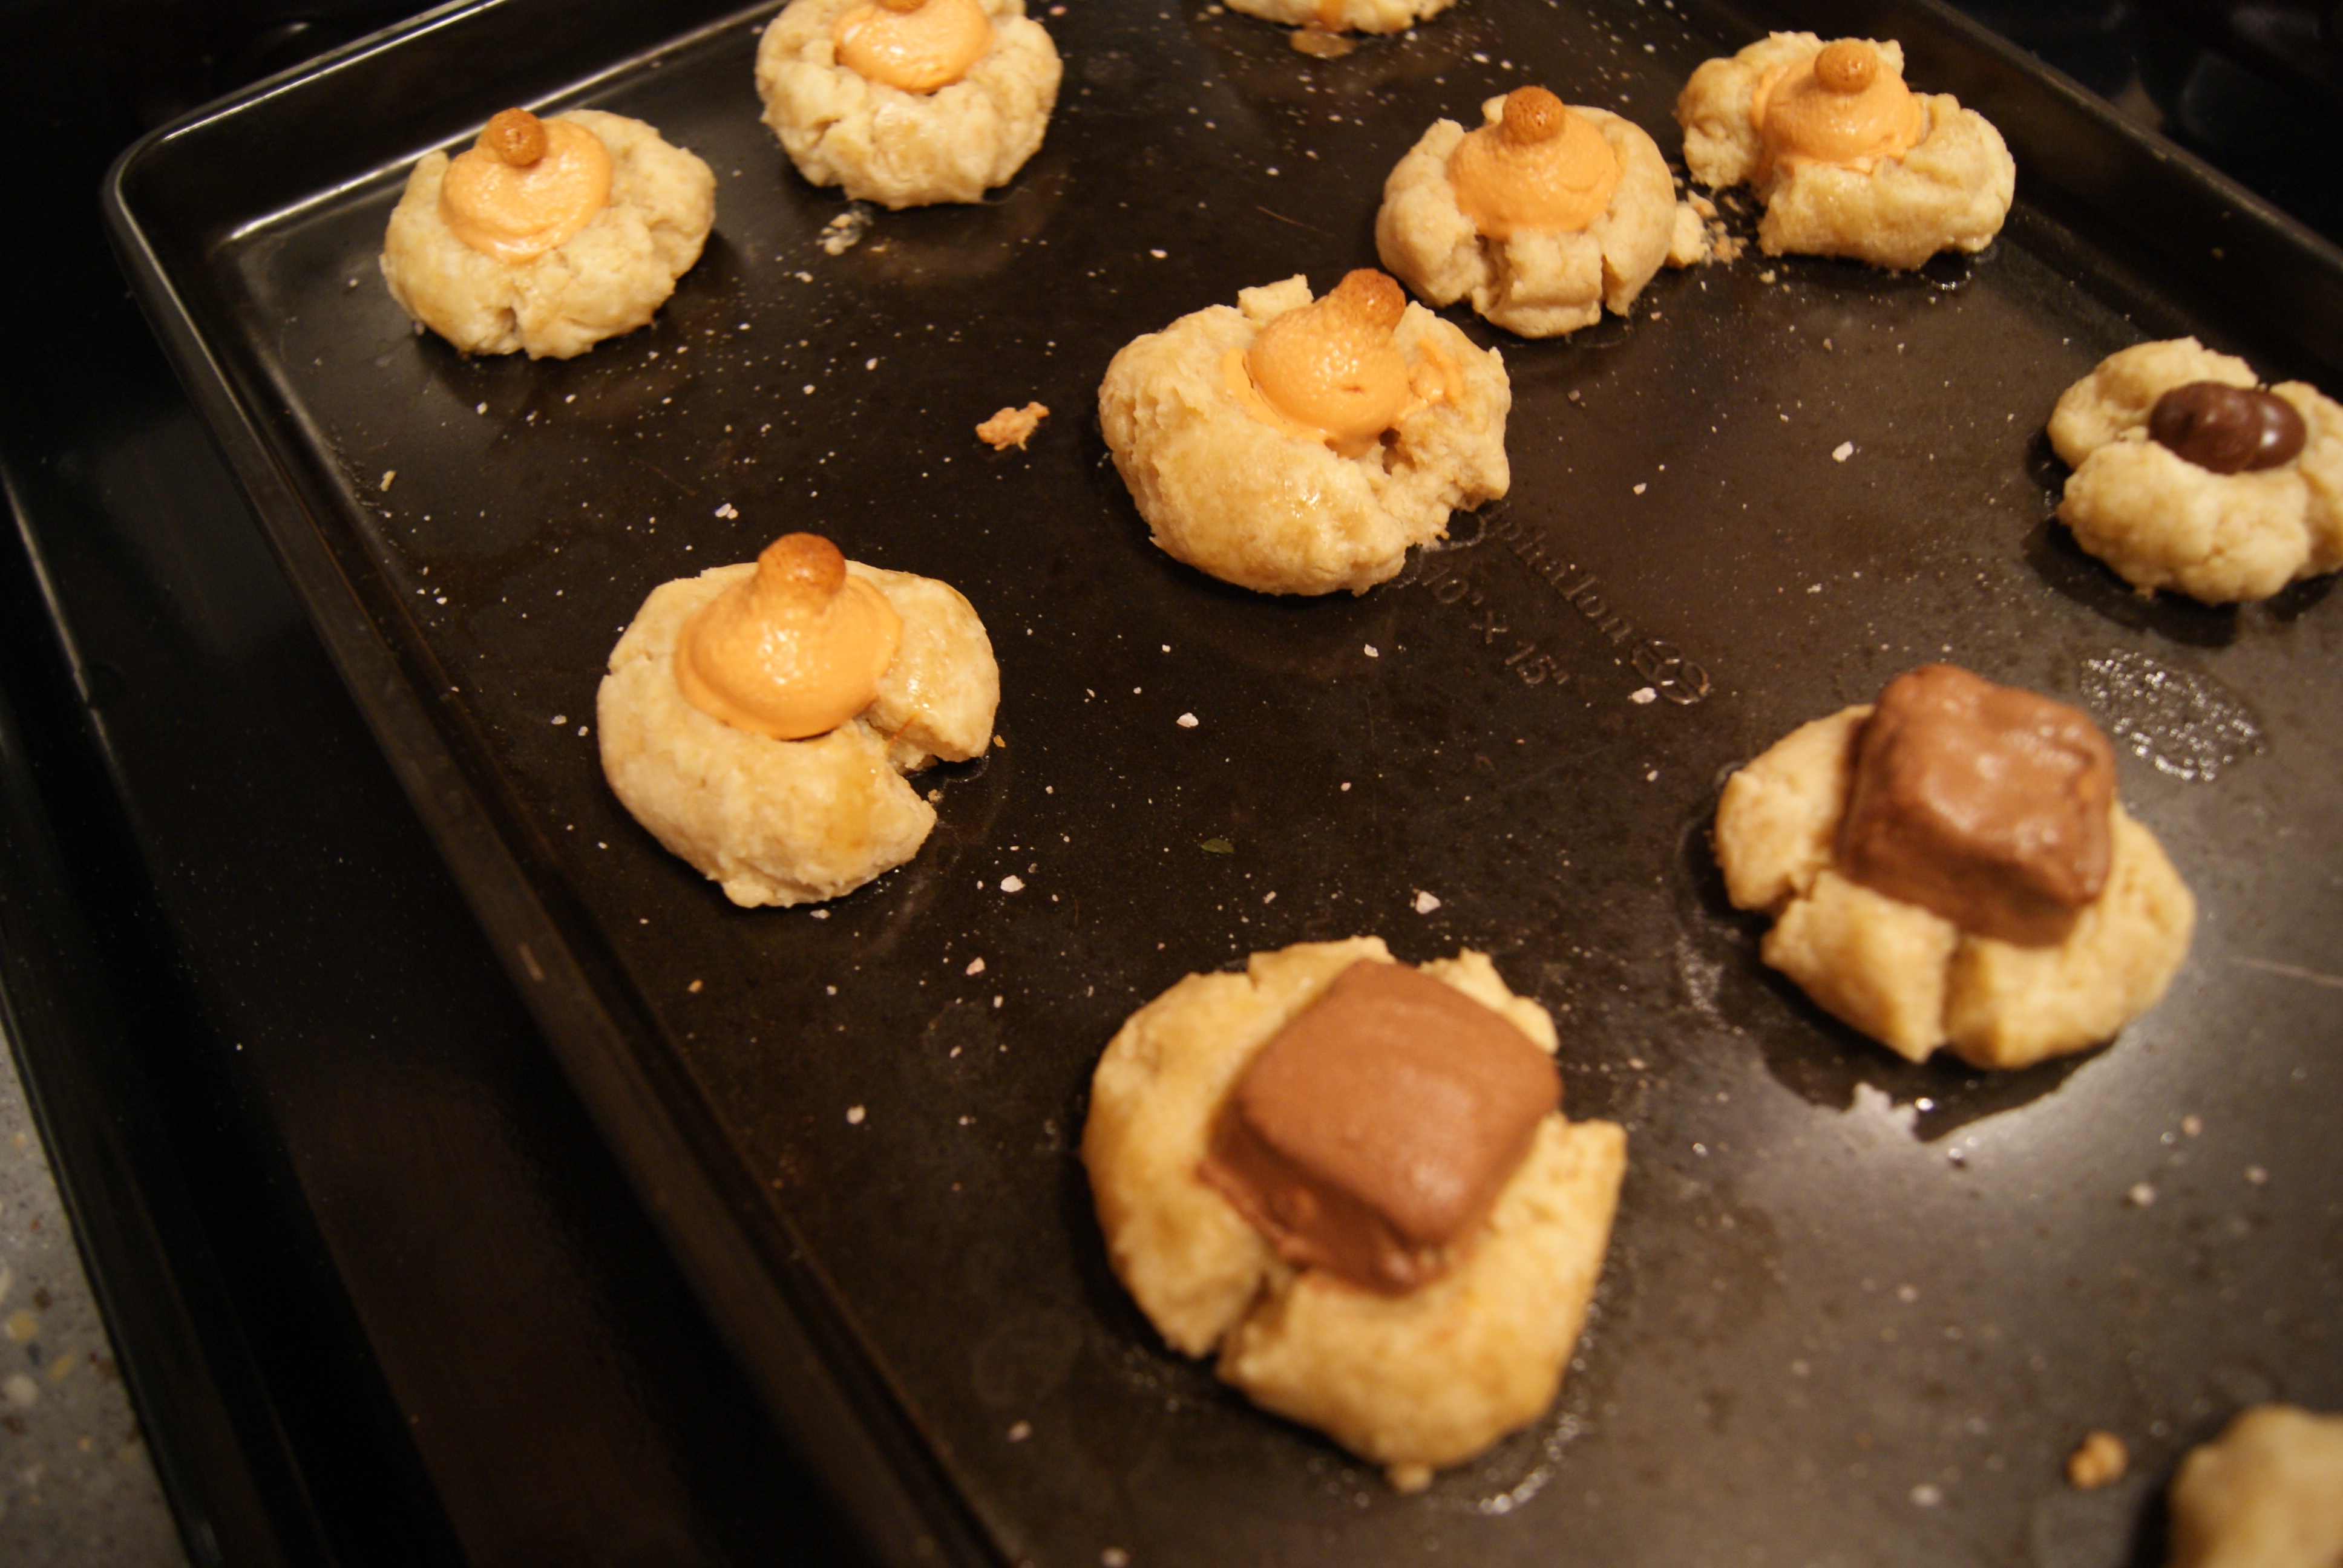
Boob cookies. I had accidentally made boob cookies. And once I realized what my baked treats were beginning to look like, I tried to add some variety by shoving mini-Snickers bars onto some cookies and averting my eyes very quickly and quietly. No matter, as the cookies still came out looking….like they looked. They also kind of sucked. No pun intended. Oh dear.

Whew. Well. Now that that’s out of the way, let’s move on to our star dessert, shall we? So this past Sunday was my birthday, and since I am kind of nerdy and like to bake things that I probably have no business baking, I decided to tackle making my own birthday cake. This is not sad or pathetic, but is instead empowering, fun, and super dangerous (more on that later). Let us begin.

S’mores Cake (because we don’t play)

adapted from Serious Eats

For the cake

1 cup of unsalted butter, softened, plus more for greasing pan

2 1/4 cups of all-purpose flour

1/3 cup of cornstarch

2 teaspoons of cinnamon

4 1/2 teaspoons of baking powder

1/2 teaspoon of salt

1 3/4 cups of superfine sugar

2 teaspoons of vanilla extract OR 2 teaspoons of coffee liqueur (I used the latter and highly recommend)

4 medium or 3 large eggs

1 1/4 cups of milk

For the Chocolate Ganache Filling

3 ounces of finely chopped dark chocolate

1/2 cup of heavy cream

3 teaspoons of light brown sugar

For the Swiss Meringue

2/3 cup of egg whites

2 cups of superfine sugar

Preheat your oven to 350ºF and grease and line three 8-inch round cake pans with parchment paper (or, if you don’t have these, you can use a 10-inch springform pan instead and end up spending more than twice as much time in front of your oven like I did. I would not recommend this). In a medium bowl, sift together your flour, cornstarch, cinnamon, baking powder and salt and set aside.

Place butter in a large bowl, and using an electric mixer on high speed, whip butter until smooth. Add in sugar and beat until light and fluffy, which should take about 5 minutes. Add vanilla if you want and if you have it. If you don’t, might I recommend this? :

SONY DSC

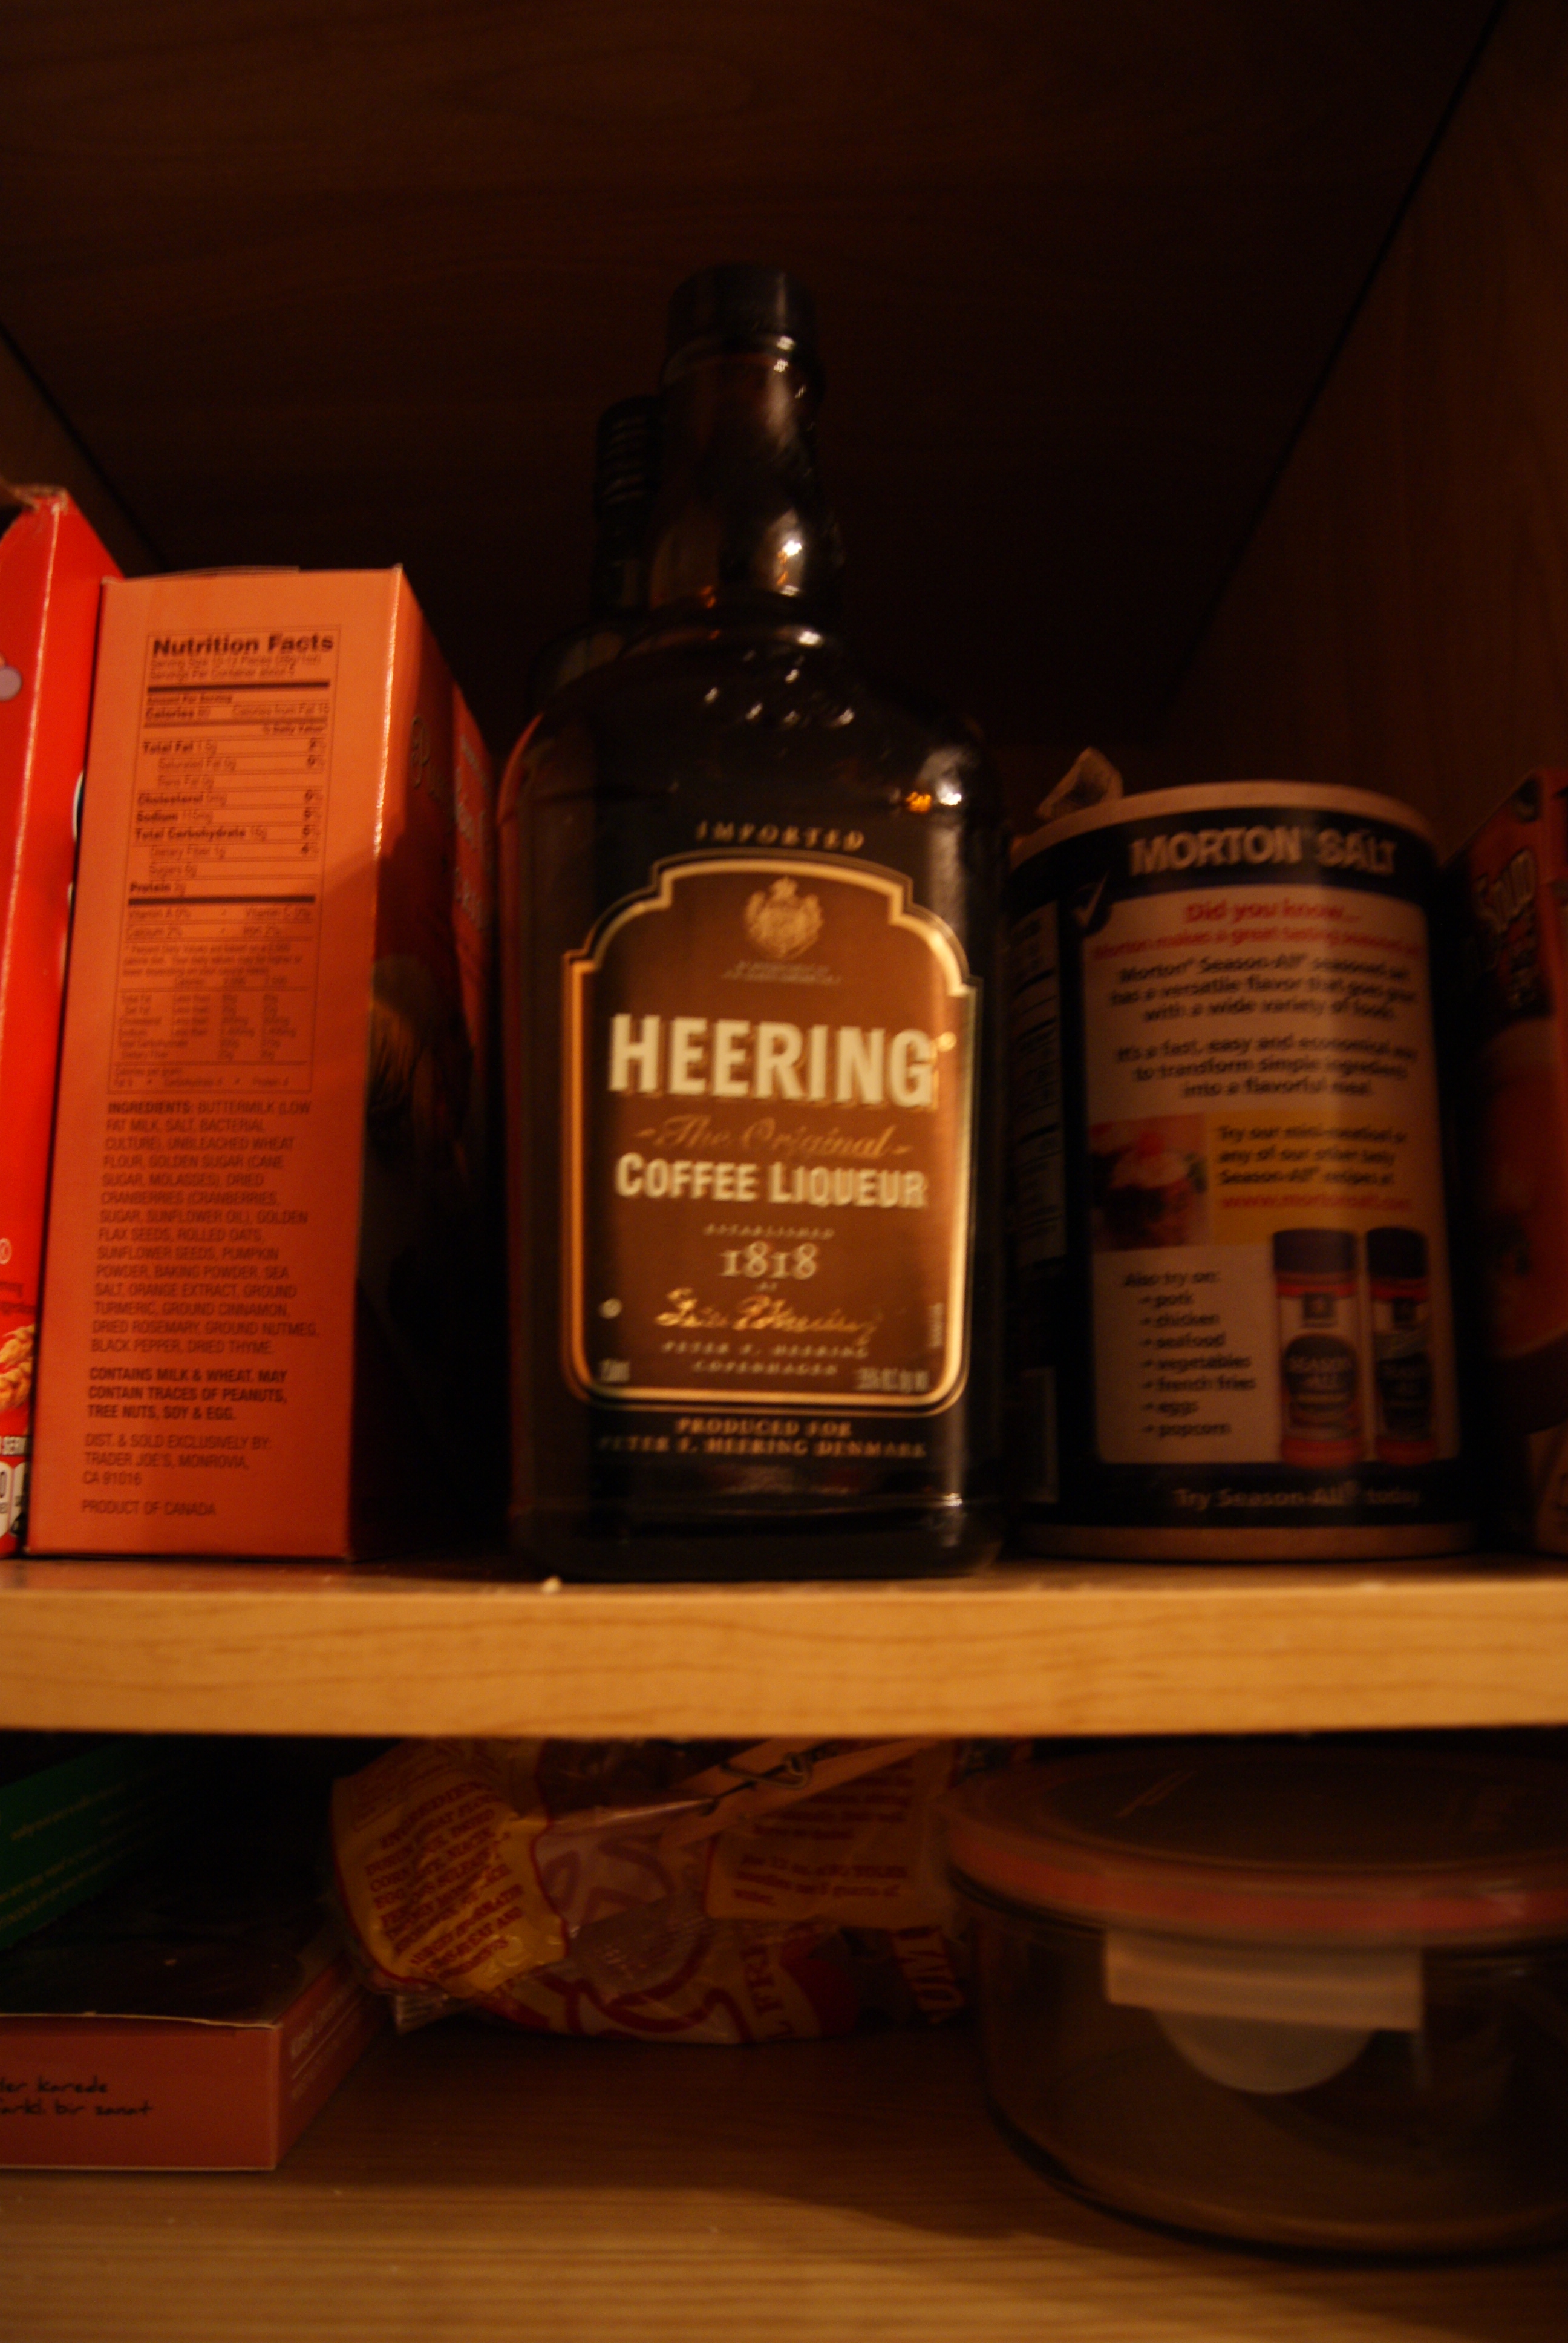
I have what can only be described as a deep appreciation for this yummy liqueur. It’s just beautiful, and will work wonders in this cake. Anyway, yeah, totally add this in if you have any on hand. Then, with your mixer at medium speed, add eggs one at a time, beating after each addition, until fully mixed.

Now, with mixer on low, alternate between adding in the flour mixture and adding in the milk, beginning and ending with the flour mixture. Pour evenly into pans and bake for 30 to 35 minutes, until the cake is golden brown and springs back lightly when touched. Cool the cakes in their pans for 10 minutes, then allow to cool completely on wire racks.

Now, let’s take a break from instructions for a hot second so I can tell you a little bit about my process. As I mentioned, I did not have enough pans to make a three-layer cake. So, genius that I am, I decided to use one very deep springform pan and divide the cake into layers myself once it baked. This basically tacked on about 45 extra minutes to my baking time, and freaked me out so immensely that I ran away from the cake and let my boyfriend do the separating.

I think it's pretty funny that he's basically treating this thing like a wheel of cheese. Also, this method will leave you with two layers, not three.
I think it’s pretty funny that he’s basically treating this thing like a wheel of cheese. Also, this method will leave you with two layers, not three.

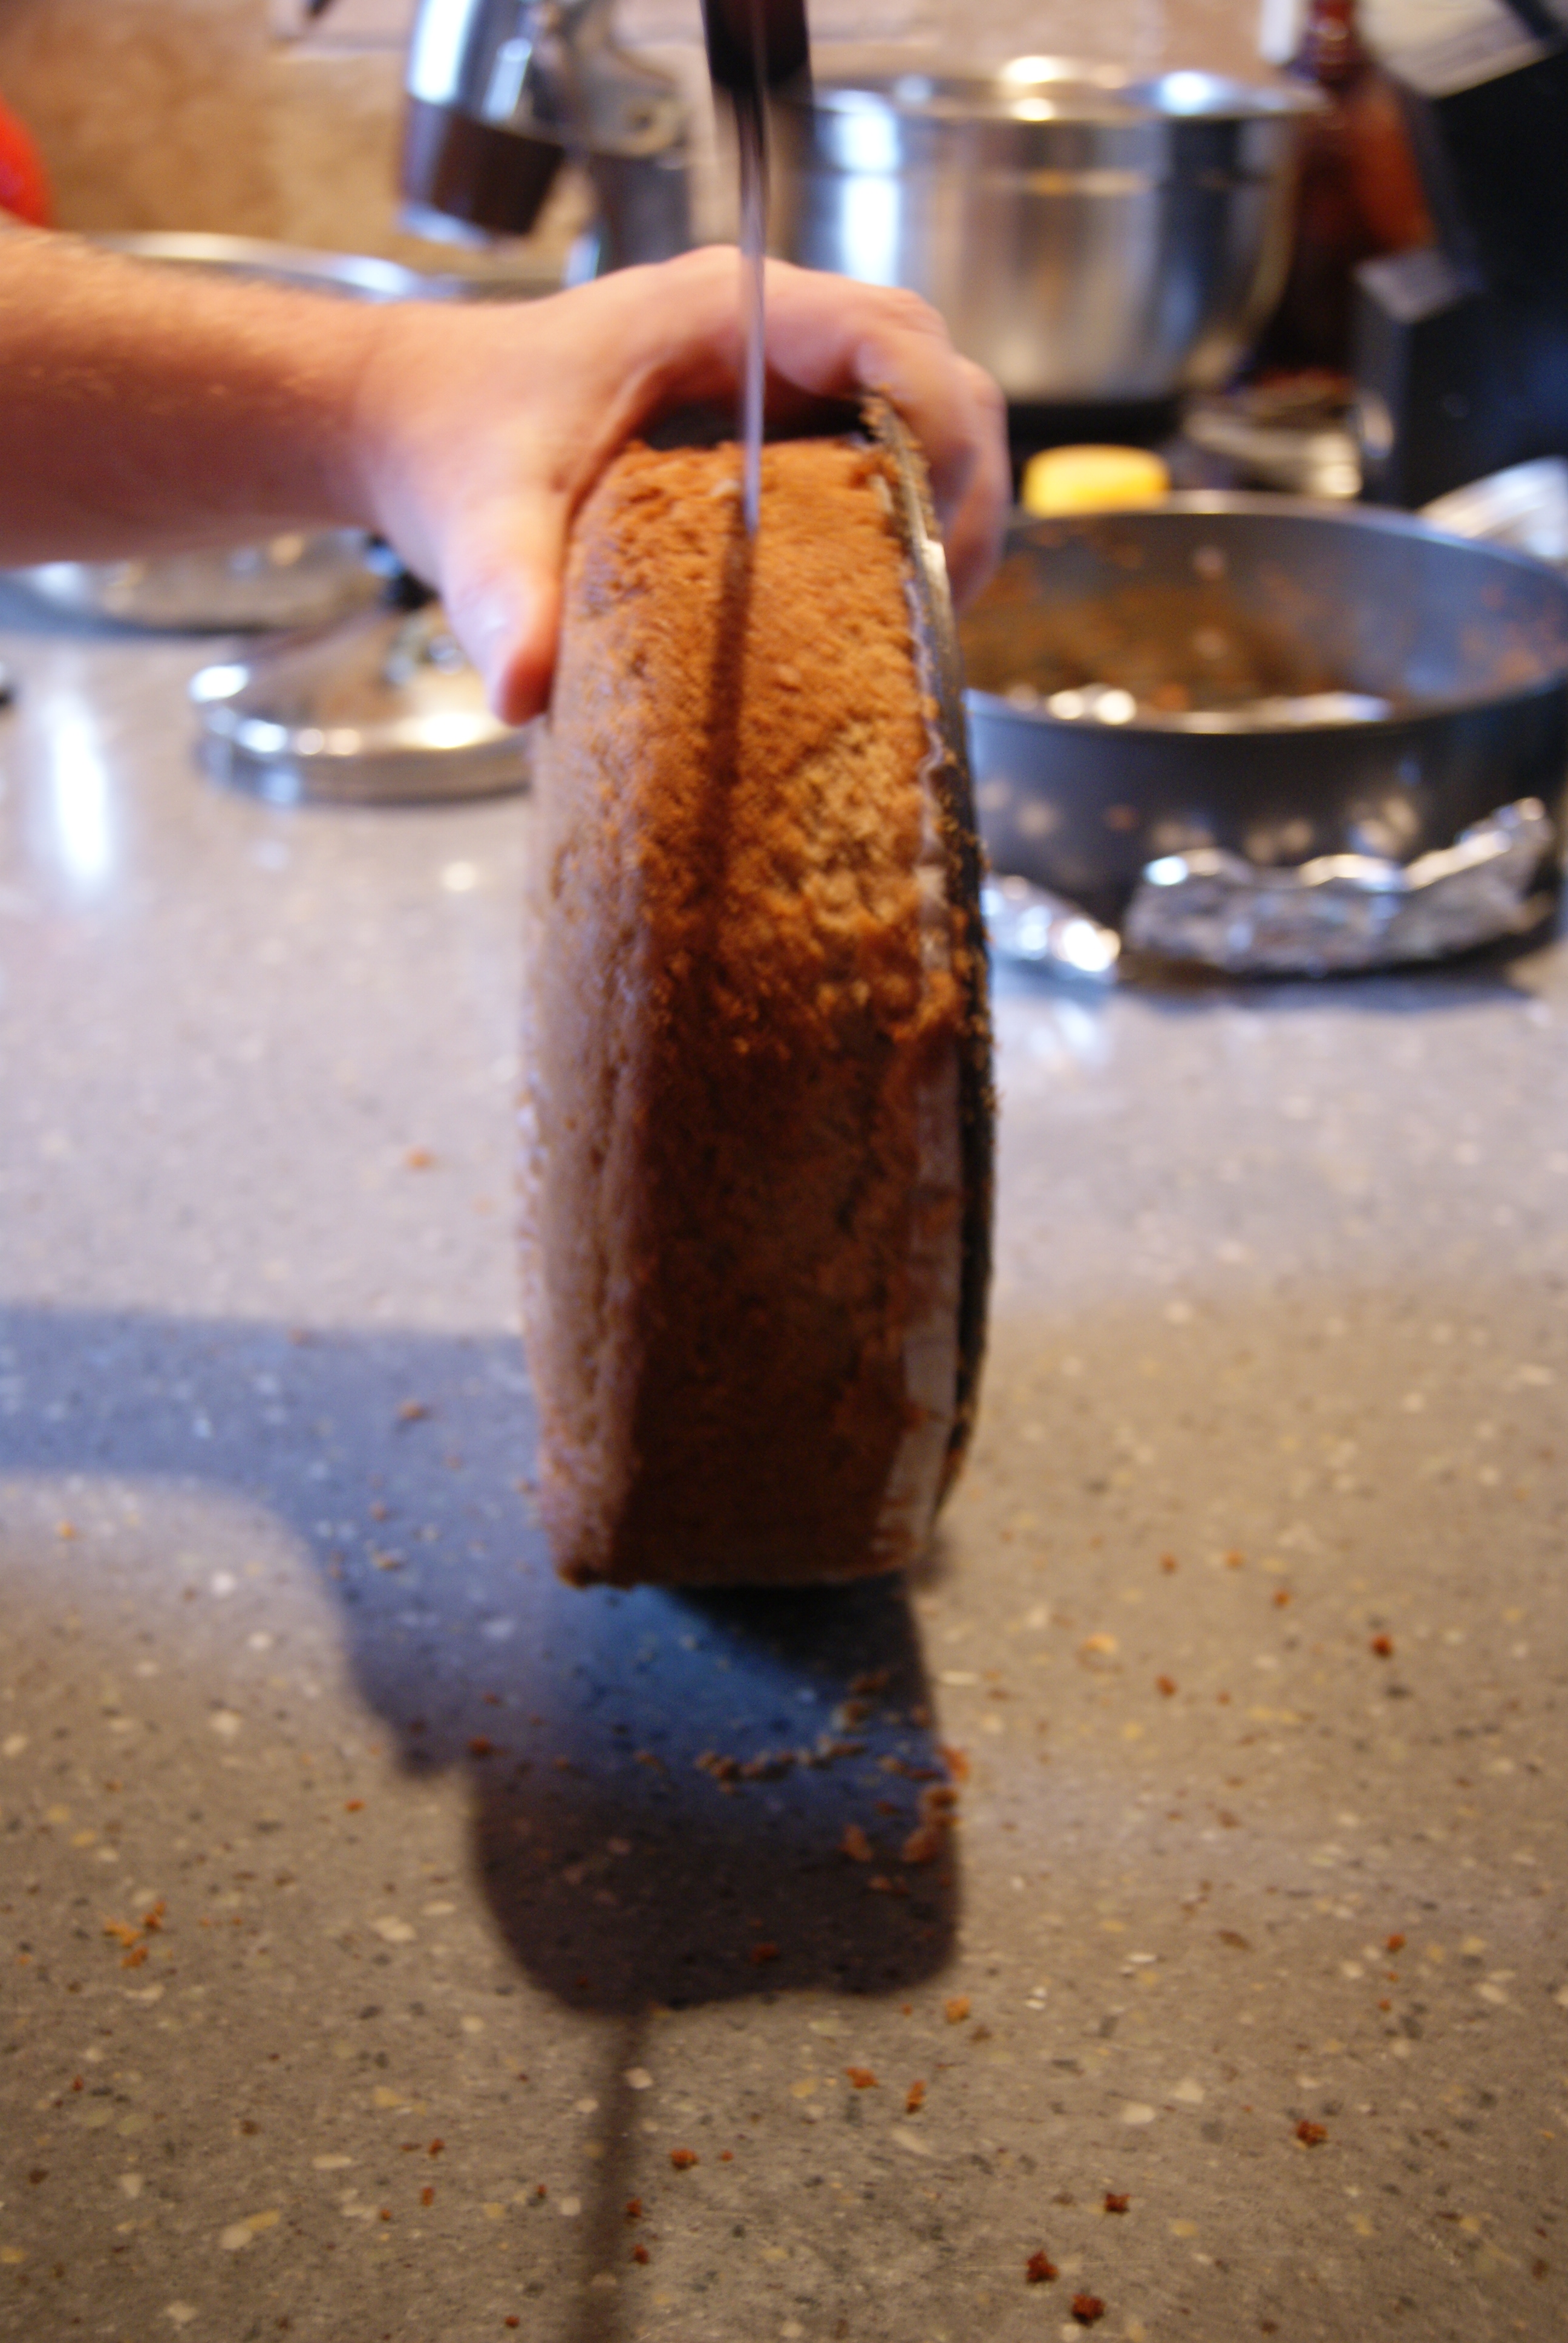
Boyfriend also noticed that I was so stressed out about this cake– like a total freaking weirdo, I know– that I wasn’t breathing, and sent me away from the kitchen for a good twenty minutes. I don’t know why I told you that. I just did. Problems. They are mine.

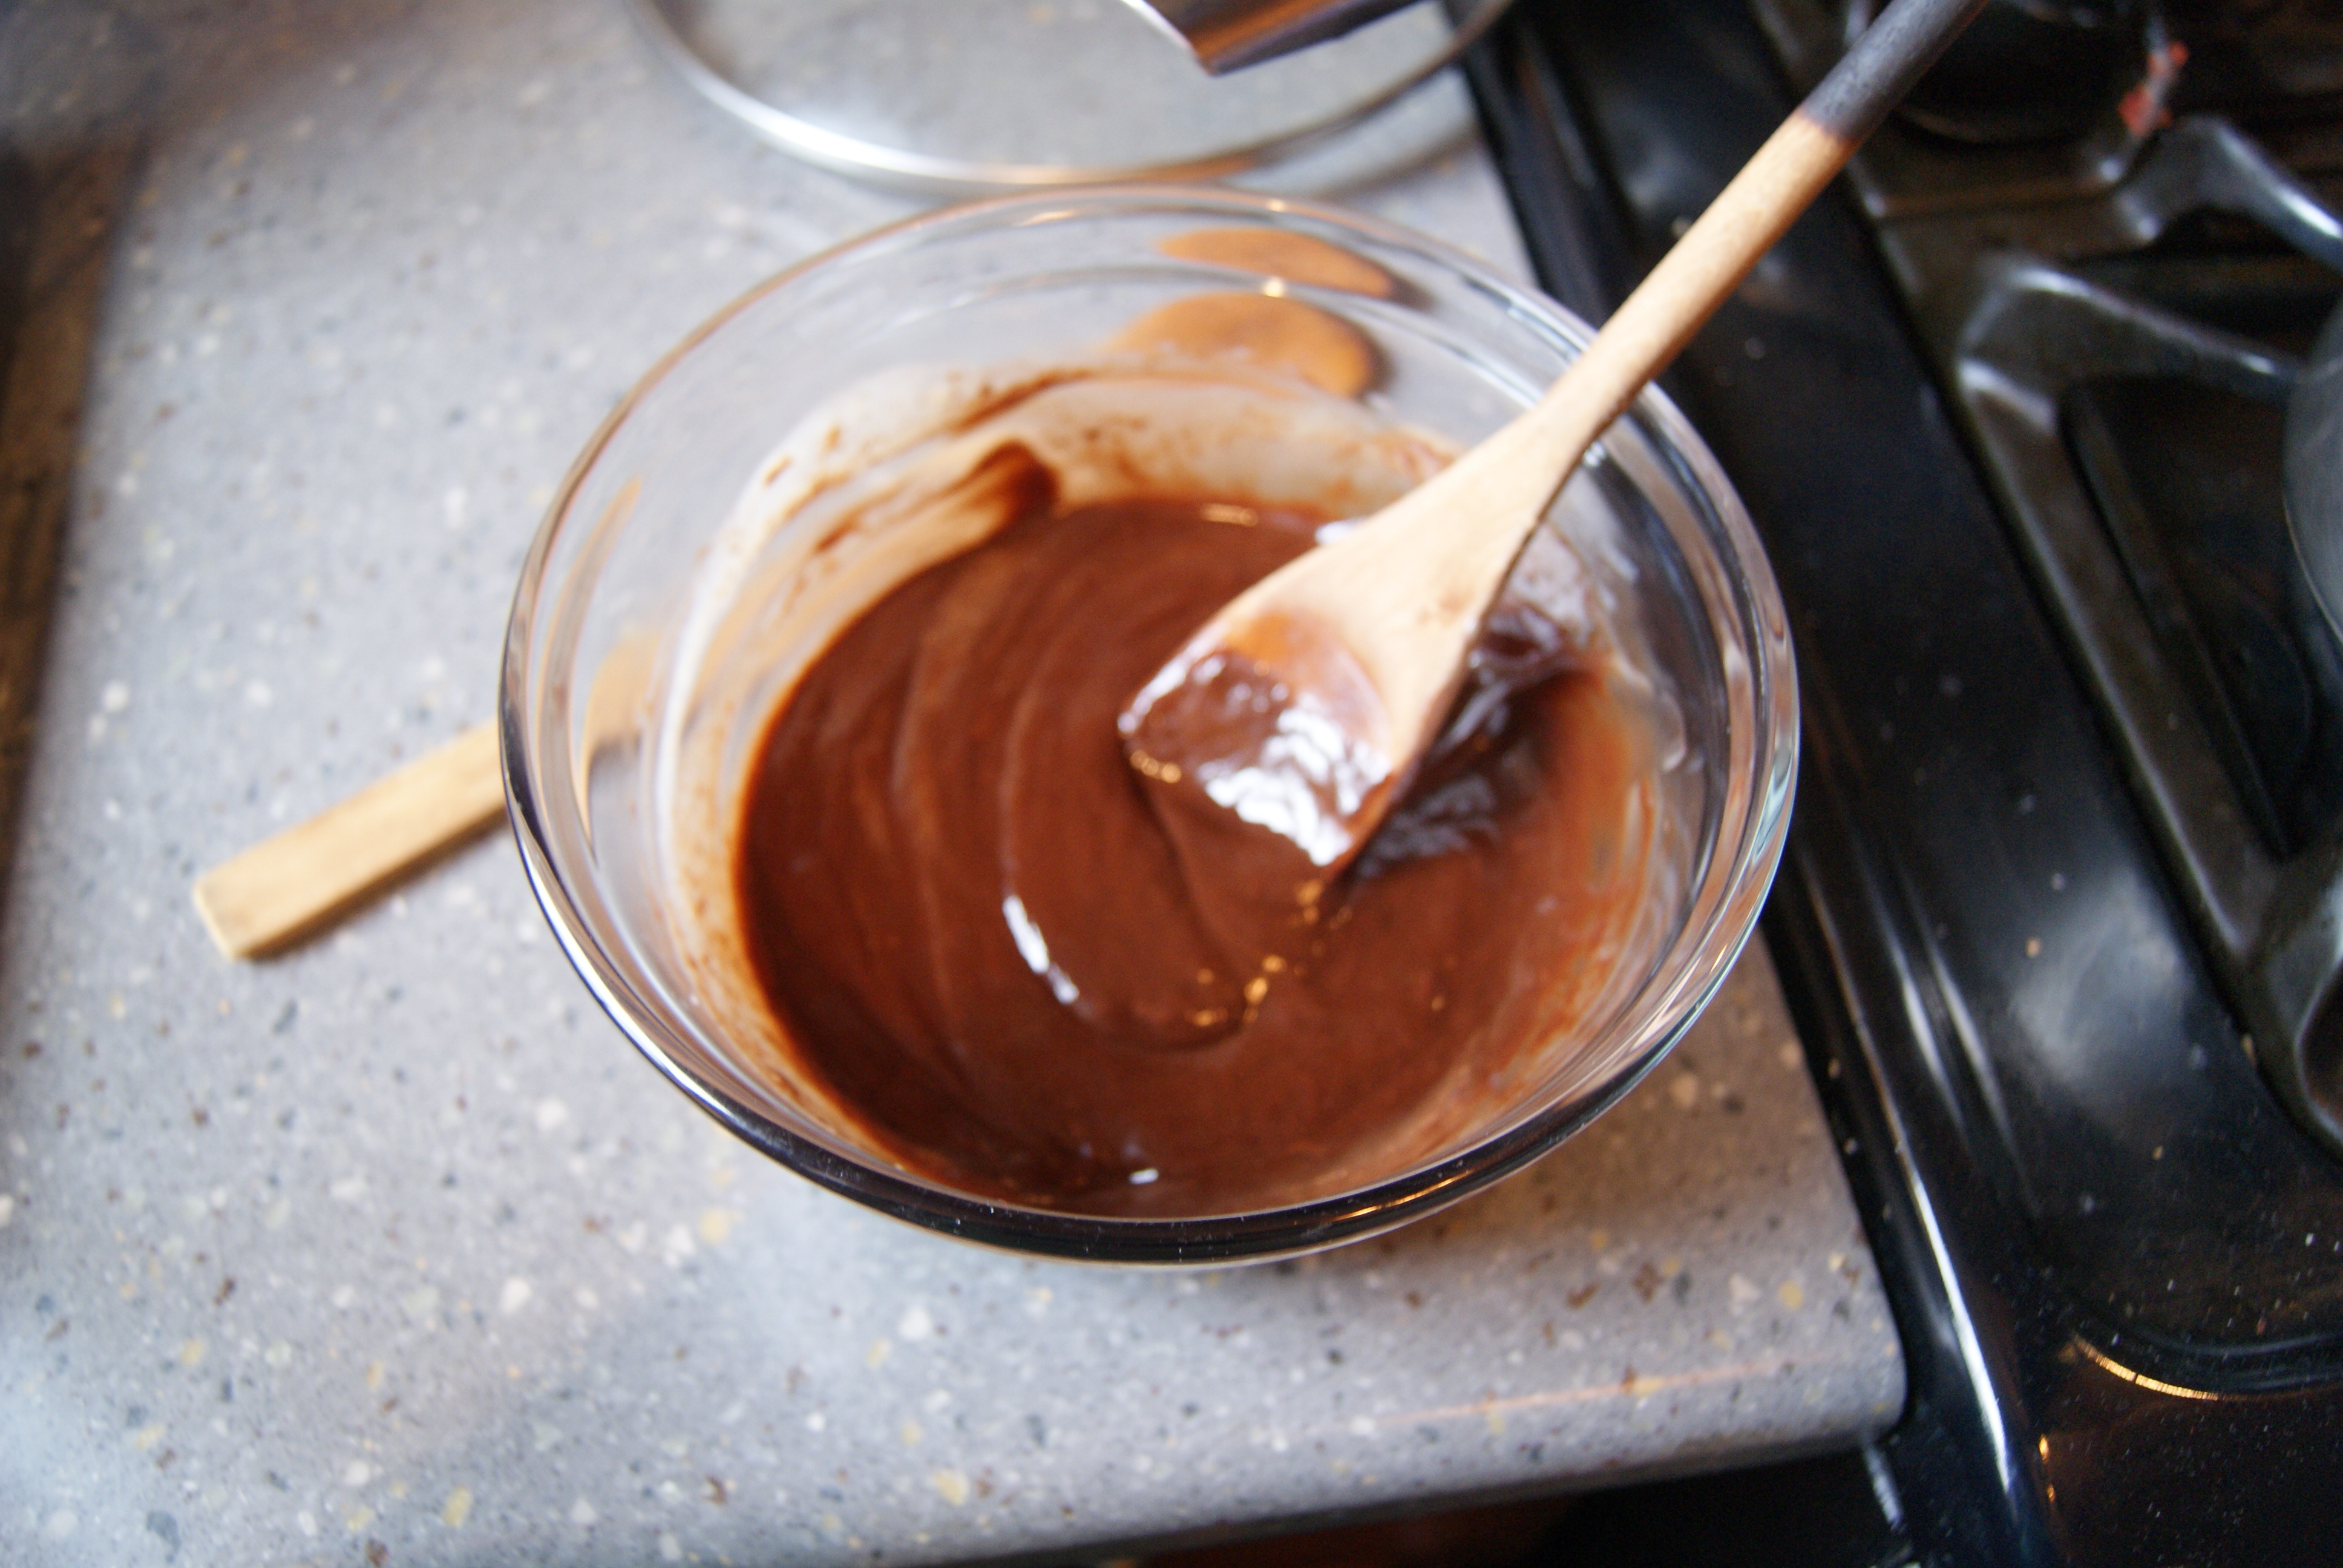
Now, let’s work on that ganache, shall we? It’s very, very simple. Place chocolate in a small, heat-proof bowl and set aside. Place heavy cream and brown sugar in a small saucepan over medium heat and bring just to a boil. Remove from heat and immediately pour over chocolate. Let mixture stand for a couple of minutes, then gently stir everything together until the mixture becomes glossy. Chill until slightly thickened and cooled, but not set.

SONY DSC

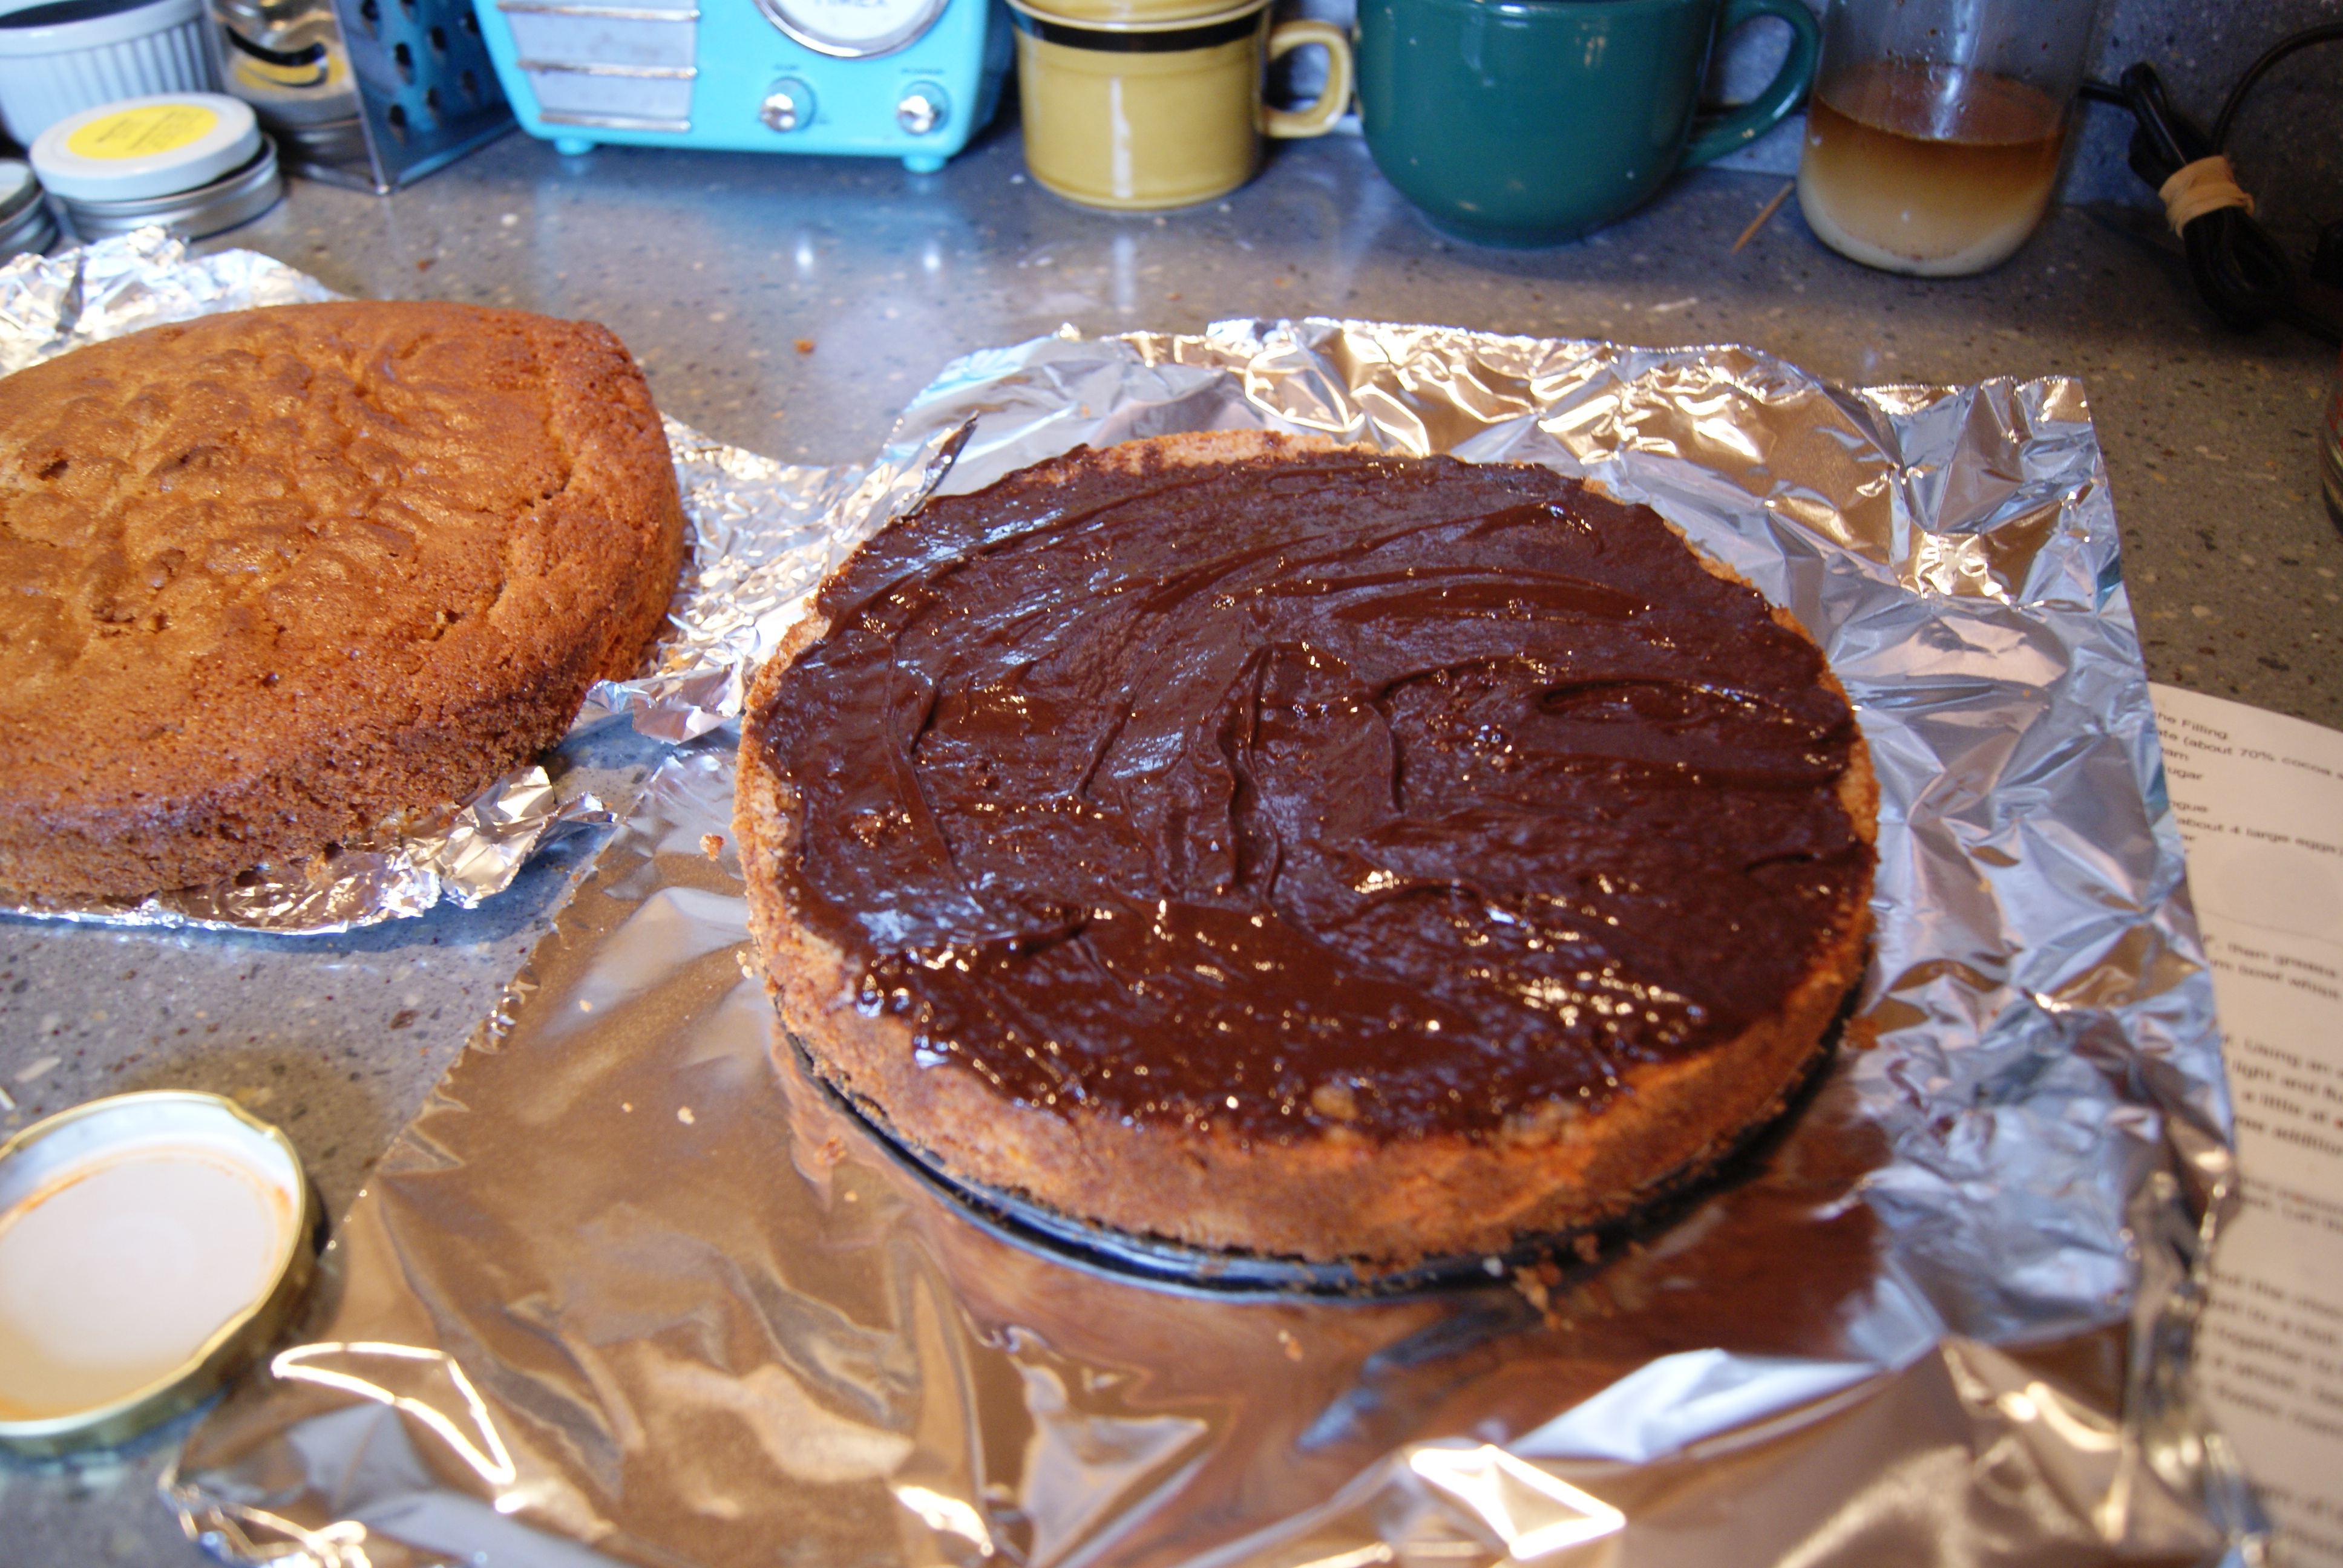
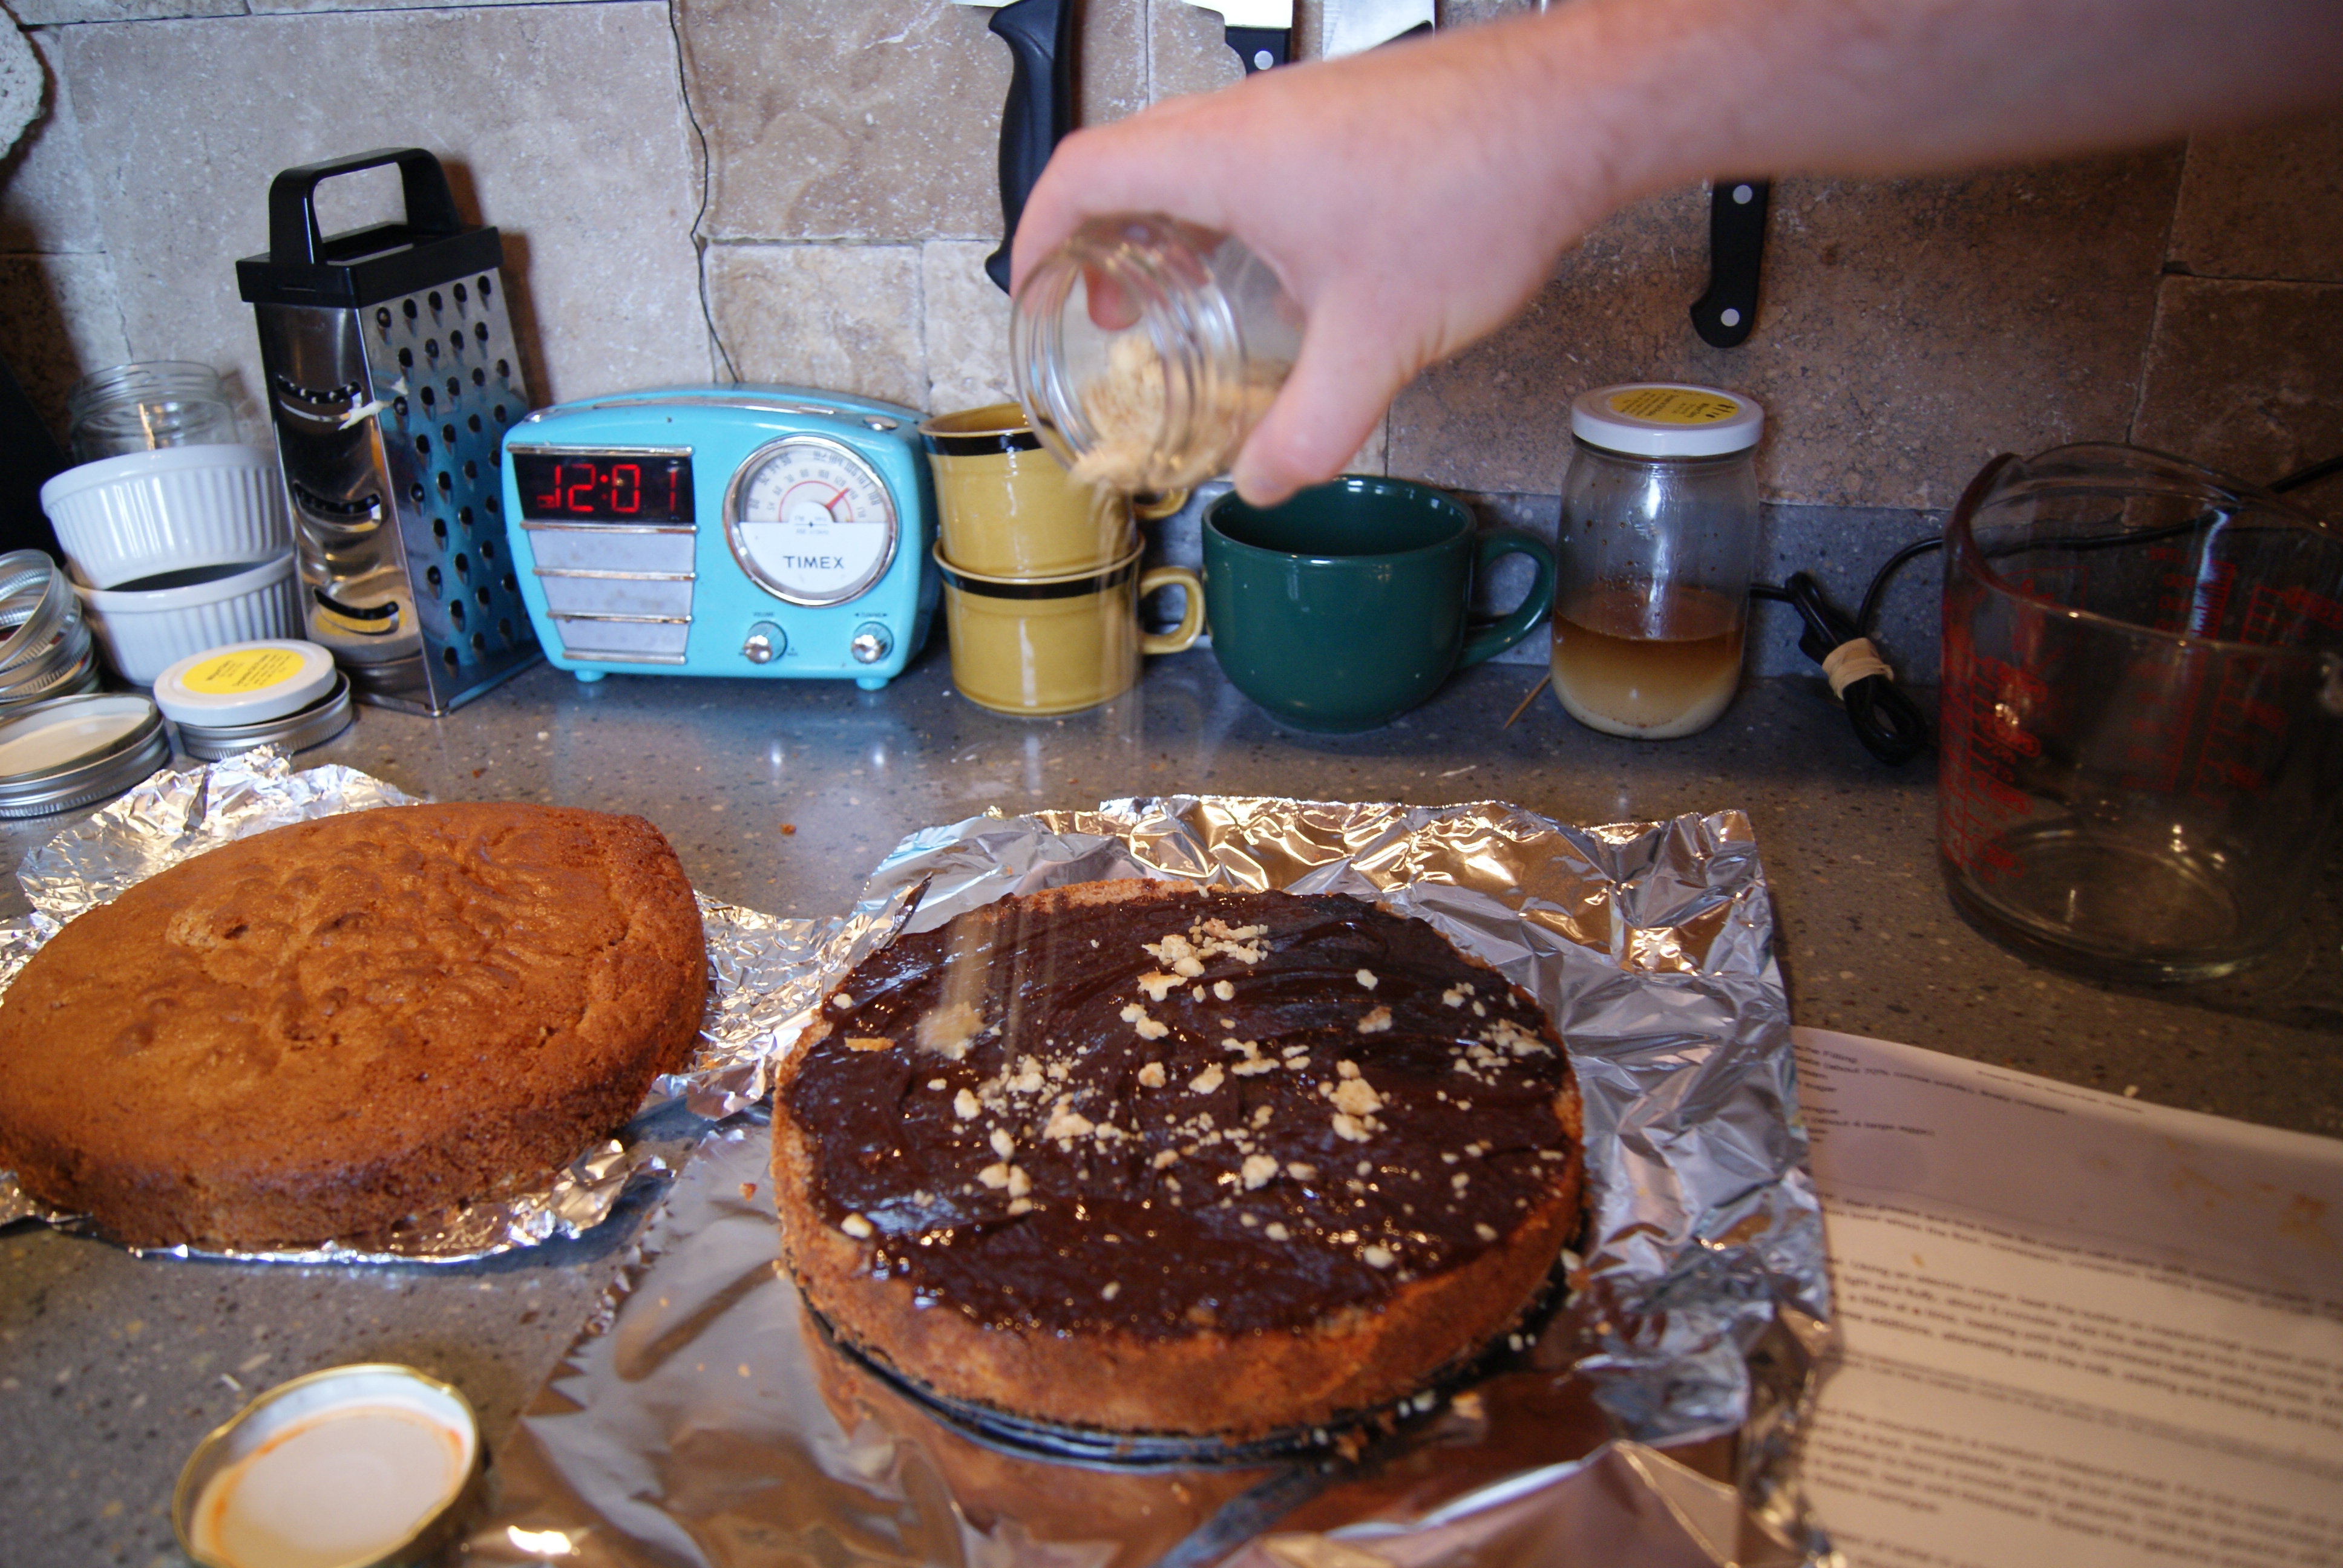
Spread the ganache across the tops of all three layers. If you happen to have graham cracker crumbs or cookie crumbs from boob cookies you made and hated, I’d recommend sprinkling these on top of the ganache. Set aside and get ready to make some meringue.

SONY DSC

SONY DSC

To make your meringue, place egg whites and sugar in a large heatproof bowl and set over a pan of simmering water. Whisk constantly until the sugar dissolves and the egg whites are warm. Remove from heat and, with an electric mixer, whip the egg whites until stiff peaks form. Once you’ve made your meringue, make sure to work quickly with it, as it begins to stiffen up pretty fast.

SONY DSC

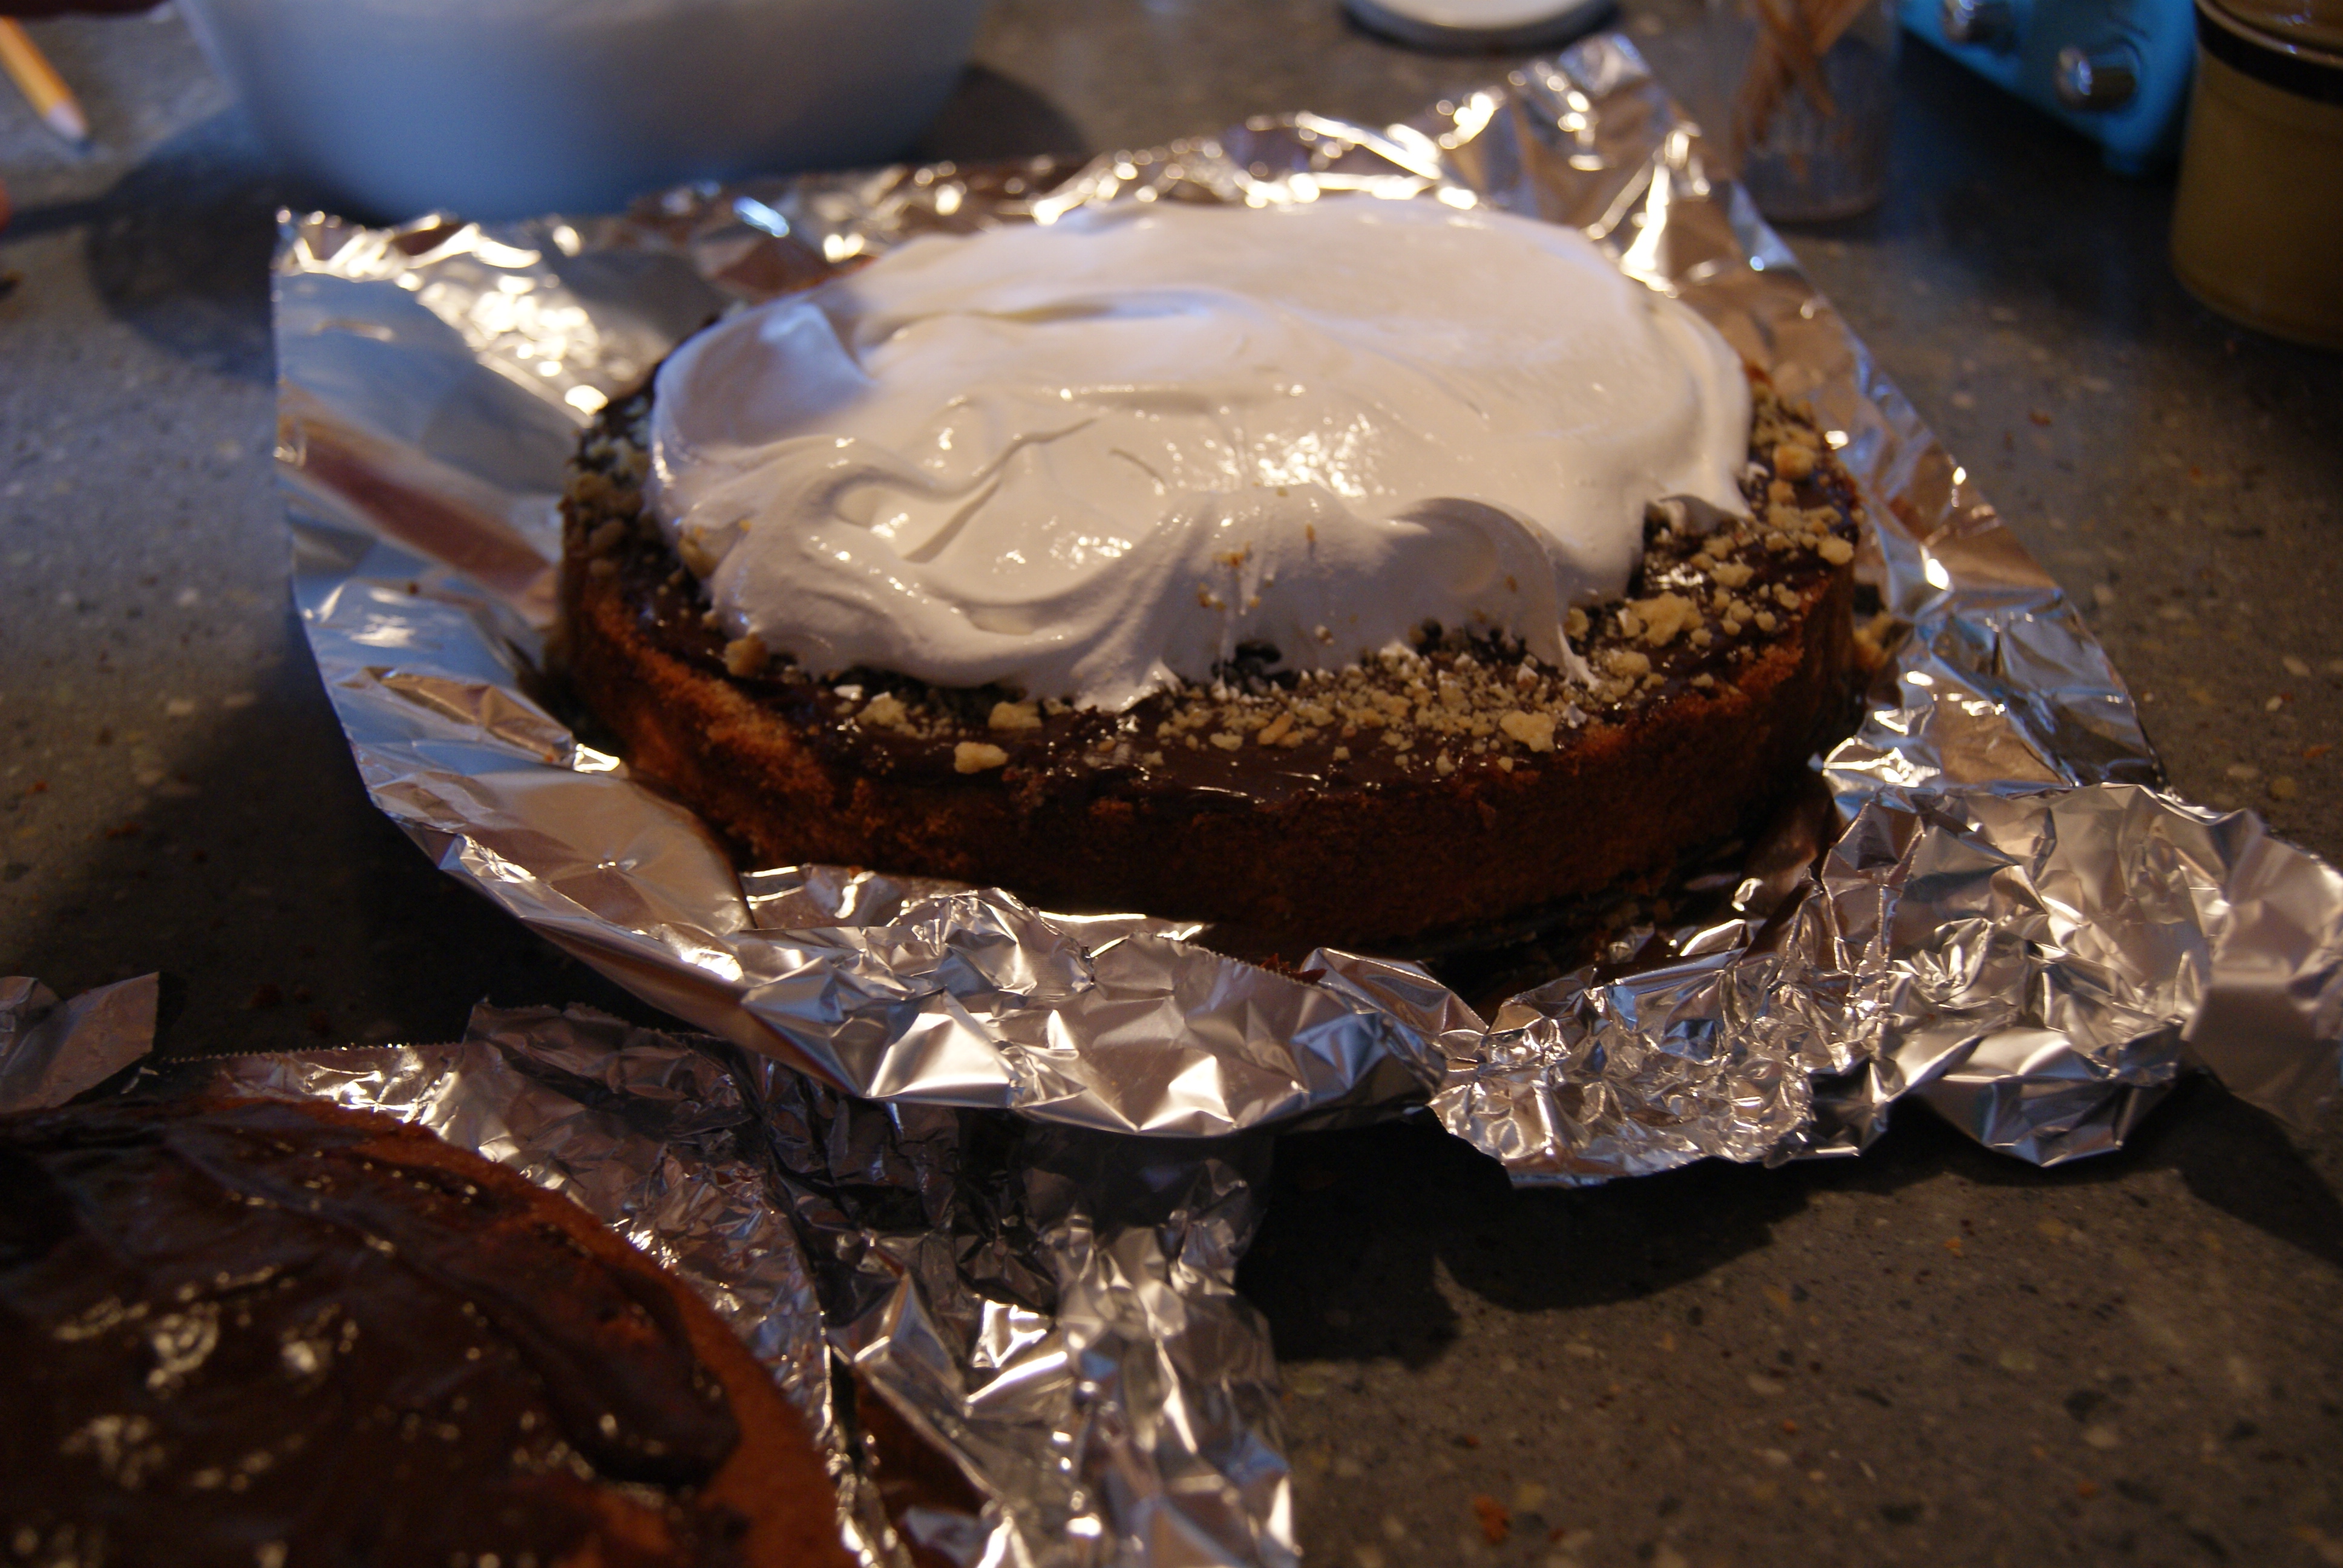
To assemble, place one layer of cake down on a cake plate and spread the top with meringue. Stack the second layer on top, repeat, and finish with third layer. Then, spread meringue all over sides and top of cake until completely covered. No need to make this look pretty, since it probably already kind of does with all of the meringue-peaks.

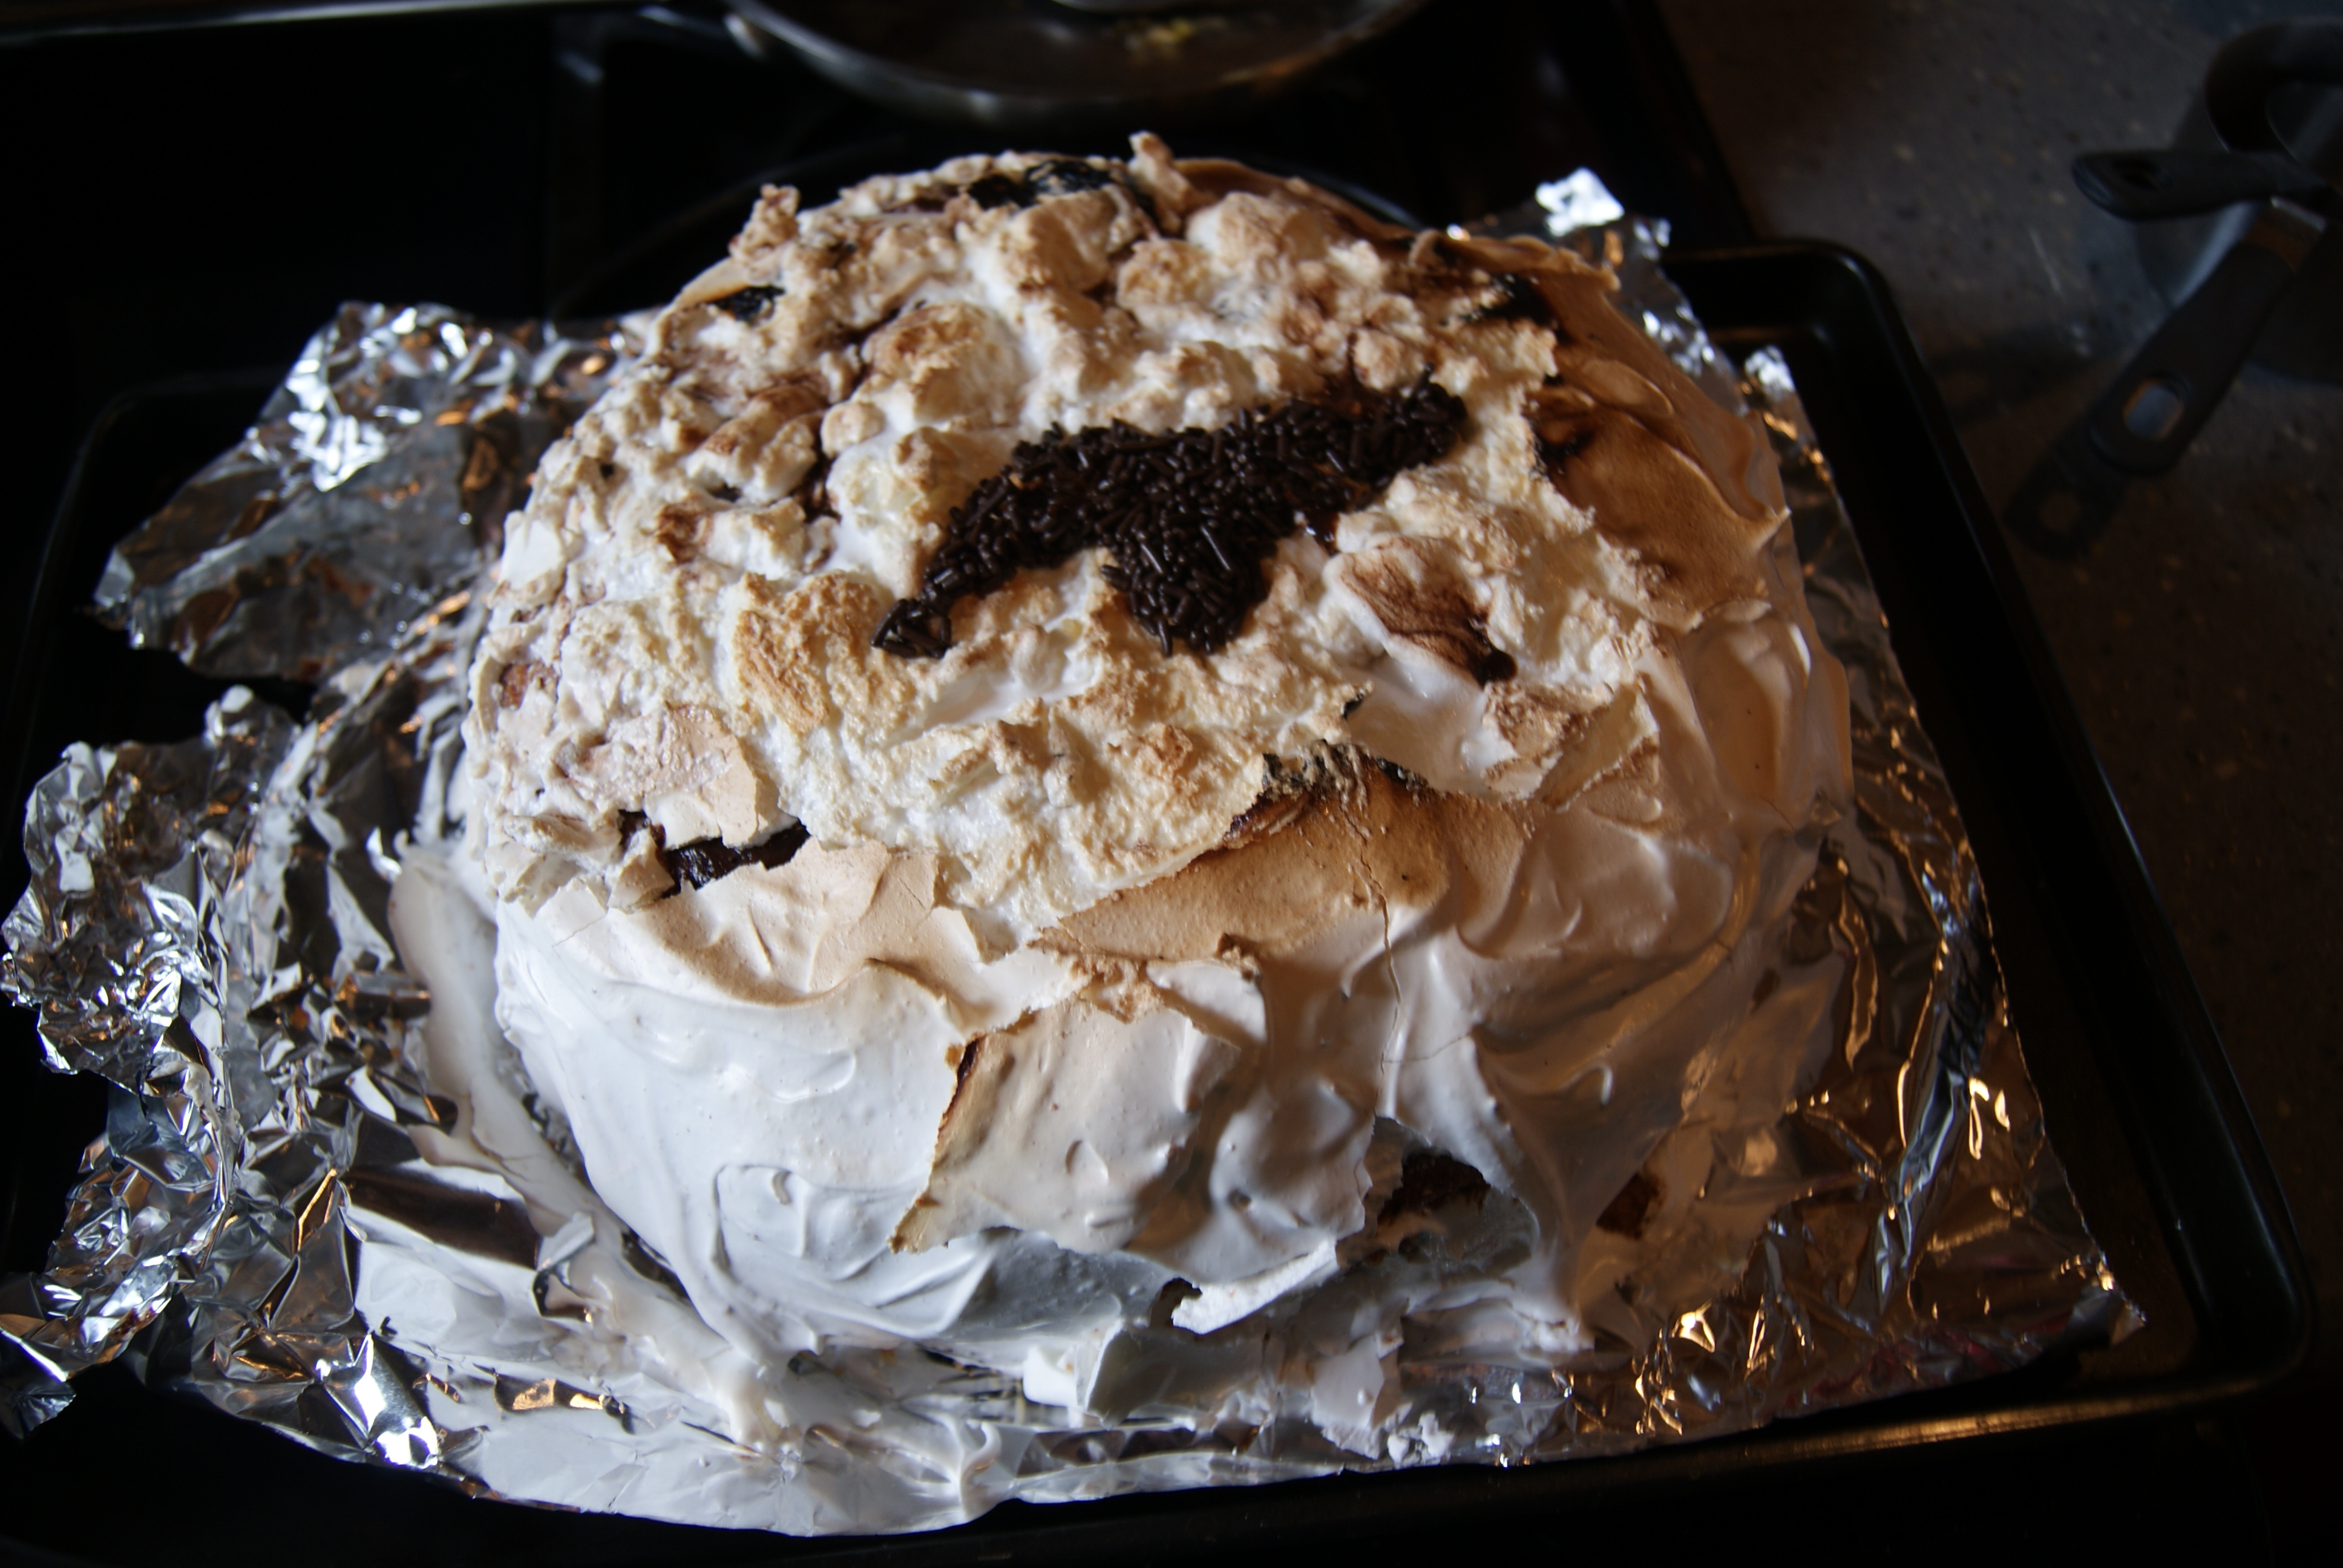
Now, once you’ve covered the cake, you can lightly brown it using a blowtorch or try to set the whole friggin’ top of it on fire by using your oven’s broiler like I did.

Okay. Let me explain. So I’d decided to try using the broiler because I’d read multiple reputable sources stating that this was the best way to get an even, light browning all over a meringue. That’s probably true, only I somehow did not realize that setting the top of the cake so close to the broiler would result in the cake becoming a fire pit. And I was watching the damn thing through the oven window like a hawk. Fires happen quickly. 😦

Fortunately, my boyfriend and I salvaged the cake before any real damage was done. He began picking burnt pieces off of the top and eating them happily. I joined in because I was sad and had decided to eat all of my feelings. Mercifully not too much damage was done to the cake….even if it did end up with a face only its baker could love:

That thing on top should be an elephant, but what about this cake has been perfect thus far?

So yes, I was a bit down over having set my cake on fire. My mood, however, picked up a few hours later when my lovely BF surprised me with dinner and drinks with my sister and best friends, who all really loved this cake. And not, like, pity love. Like second and third helpings and doggie bags full of to-go pieces love.

Yes, yes I was slightly inebriated when I cut this cake.

I’m still picking at what I managed to save. And believe it or not, I think I may have found my favorite cake in this thing. All in all, a wonderful birthday. Thank you, lovely people ❤

Categories
Desserts with Fruit Fancy Pantsy Frozen Desserts Ice Cream Pies

They’re Laughing At Me. Not With Me. That’s Cool, Because I Have All The Ice Cream.

There’s this article and picture of a crying baby elephant circulating around the ‘nets. I briefly considered posting it here but…too sad, even for this blog. I think the elephant is crying because his wench mother keeps stomping on him and generally just hating on his greatness. You’re probably thinking that I’m about to say that I’m the baby elephant and the world is the baby elephant’s mother. I wasn’t going to say that, but if you were to think that you’d be totes right. MY LUCK SUCKS.

I could go on, but let’s just say that I’m worried and sad about moving, money and all of the people I love and miss and never get to see. If I haven’t seen you in a while, know that it’s not because I do not love you. It’s because the universe does not love friendship. 😦

And now to cheer you all up. Lately, as many of you have noticed, I have tried to position a random, usually uplifting/funny photo somewhere at the beginning of my posts. Today will be no different, aside from the “random” part. Once you’ve all caught your breath and gotten your bearings back, I’ll meet you after the below photo:

photo (1)

Are you good yet? You can thank me later for the incredible abdominal workout you got from laughing hysterically at the above. Just for the hell of it, allow me to explain.

When I was little, my very best friend at the time and I were, like most very best friends, completely inseparable. I wanted to do everything she did, and since she wanted to go to modeling school (Jesus Christ on a whole wheat cracker, I truly cannot believe I am sharing this), so did I. As you can see from the above picture in which I am apparently dressed like a miniature popcorn salesman–and yes, I did say salesman, thanks mom for the unfortunate pageboy haircut– with an affinity for People Magazine, I did not make it very far in the catalogue model game. Before you ask, no I have no idea where that outfit went, but I imagine it now resides in a special little nook in Hell. Special thanks to my dear younger sister for sending along this gem. Sylvapotamus, if you’re reading this, obviously you can name your price for the rest of these photos, because sadly I know there are more.

Whew. So. Now that I’ve lifted you all up, or at least made you laugh at my expense, let me depress you by reminding you that summer is pretty much just totally over. That’s insane, right? I still feel like I never even completely got a summer. Maybe that’s why I insisted on randomly making an ice cream pie just as the temperature started to drop. Whatevs. You’re going to want to, too.

SONY DSC

Key Lime Ice Cream Pie (no ice cream maker required!)

adapted from Serious Eats

For the crust:

10 graham crackers

1/2 teaspoon of salt

3 tablespoons of sugar

5 tablespoons of butter, melted and cooled

For key lime ice cream:

1/2 cup of key lime juice (regular is fine if you don’t have key lime)

1 tablespoon of lime zest, plus a bit more for garnish

3/4 cup of sweetened condensed milk

1 cup of heavy cream

1/4 teaspoon of salt

Now, let’s start with your crust. Preheat the oven to 350ºF. In the bowl of a food processor, pulse together graham crackers, sugar and salt until powdery. Pour butter in and continue to pulse until a coarse meal is formed, stopping to scrape down the sides of the bowl as needed.

SONY DSC

Transfer your crumbs to a pie plate and press evenly into the sides and bottom of your pan. Refrigerate the mixture for about 15 minutes, then bake for about 15 minutes until the crust is dark and takes on a nutty aroma. Remove and cool completely, then freeze until ready to use.

SONY DSC

For your ice cream, in a large bowl, whisk together key lime juice, lime zest, condensed milk and cream. Stir until thick, which should take about a minute, and then salt the mixture to taste.

Pour your ice cream mixture evenly into the pie crust, smoothing out the top with a rubber spatula, and then freeze until the mixture is firm, 2 to 3 hours. To serve, allow the pie to sit out and soften for about five minutes, then garnish with more zest and serve this baby.

SONY DSC

So this was AMAZING, obviously. It’s key lime ice cream. It’s ice cream sans ice cream maker. That cuts the time between me thinking about the ice cream and me making the ice cream in half. That also cuts the expense in I don’t know how many (math schmath), since ice cream makers are hella expensive. But yes, if you miss summer like I miss summer, you need this thing in your life. Immediately.

SONY DSC

Categories
Crisps Desserts with Fruit Easy Baking Stuff Your Parents Would Like

I’ve Been Away For So Long Because I’ve Been Busy Baking Something Ridiculously Easy. That’s My Bad Guys.

HI GUYS!

This is going to be kind of a short post because I’m trying to err on the side of caution when it comes to whining too much. Someone who shall not be named but who most likely has a point mentioned that I should stop being so sad on this blog all the time, since it might drive readers away from me and toward something awful like a life of crime or a marathon viewing of a Stamos montage on Youtube. *Shudder.*

The same person also mentioned that I should think about taking this blog away from the baking route for a while and maybe focus on something else, like restaurant reviews. As much as I love and care about and respect this person, that’s a wack proposal son. Take it down to Yelp, and leave me to my messy kitchen. ONWARD!

thanksfortheinfo

So a coworker of mine mentioned that she’d made a rhubarb strawberry crisp recently, and couldn’t believe how easy it was to bake. By chance I’d bought a few stalks of rhubarb a couple of days before, and finally decided to cowgirl up and use them. I’ve never, ever had rhubarb before and was a little bit nervous as to what exactly to do with it, especially after the damn things needed to be rammed into my fridge diagonally since they were so long. But, fear not, few and very dear readers of mine! These things are easy-peasy to work with. Let’s roll!

SONY DSC

Rhubarb-Strawberry Crisp

adapted from Cooks.com

3-4 cups of rhubarb, chopped into small pieces (I used 3 stalks and used everything– red, green, white, whatevs)

2 cups of strawberries, sliced

1/2 cup of granulated white sugar (you’ll see that I reduced the sugar by half…if you want your crisp a little sweeter you can up it to 1 cup, you daredevil you)

1 cup of flour, divided

1/2 teaspoon of sugar

1/2 cup of brown sugar (same deal here as with the granulated white)

1 cup of old-fashioned rolled oats

1/2 cup of butter, melted and cooled

One more for good luck?

Preheat the oven to 350°F, and grease an 8×8 inch baking dish. In a large bowl, combine rhubarb, strawberries, white sugar, 1/3 of your flour and cinnamon. Spread mixture evenly in baking dish. Oh hell, I’m just going to save you a bowl and tell you that I lazily did all of these steps IN the baking dish and it was fantastic.

In another bowl (or, in a bowl if you’re lazy/smart like I am and didn’t use one for the above), combine remaining flour with brown sugar and oats. Stir in butter and mix well. Spread evenly atop fruit mixture, then send into the oven until the fruit filling starts to bubble over a bit, about 35-40 minutes.

IMG_1988

Serve in small, quaint bowls with adorable dollops of ice cream or banana gelato (spoiler alert: the latter RULES ALL OF EARTH).

I think this was my first attempt at a crisp, and it must be idiot-proof because I could not have screwed this up if I tried. I may have even inadvertently tried, and it was still amazing. I’ve also tried different variations, taking the flour out completely, using sliced plums instead of rhubarb + strawberries, using a little less butter…and NOTHING made this suck! It’s a wizard of a treat.

Categories
Desserts with Fruit Holiday desserts Pies Stuff Your Parents Would Like

You Guys, I Am So Behind. In Life, In Blog, In… Stuff. Also Pie Time.

Before you read this, here’s the thing that’s made me happiest in the past few weeks. Hope it does the same for you:

Want to know how behind I am? I made the pie I’m eventually going to tell you all about a month and a half ago! That’s like eight months in dog years! Or…wait.

So, excuses, excuses. I have lots of those! Everything seems to be falling apartment…oh, oops, Freudian slip there, ay friends? Well, I’ll leave it in, because MOVING SUCKS. Searching for an apartment, an affordable apartment, SUCKS. It’s scary and it SUCKS. And I’ve done it too many times in the past year. Sucks sucks sucks to you, apartment sitch.

Okay, so there’s the whole searching-for-a-new-home-for-the-millionth-frigging-time thing. There’s also the fact that I am currently sporting 23 GIGANTIC mosquito bites on my legs, arms and face. I look like a skydiving accident victim. F–k you, lone vampire who attacked me mercilessly.

There’s also kind of this random feeling useless and bad about myself thing that I experience, oh, about three times a year that seems to have decided to linger for much too long this time around. I’m your typical (I hope?) mid-twenties youngin’ who’s desperate for direction and meaning,  who’s scared she’ll maybe never find it. Look at me being all open and honest with ya’ll! Feels good, huh? (No. Feels kind of embarrassing, but I cannot tell a lie.)

Anyway, at least I can feel good about the fact that I’ve finally maybe sort of mastered the art of the pie crust! I had help, of course, from a trusty food processor (Finally! Thanks Parents!) and a patient and adept boyfriend, who aided in the roll-out process. So, clearly, this was a team effort involving Ma, Pa and a boy named Jim. Hugs and smooches, you willing and unwilling participants. Let’s do this, starting with the pie crust.

Easy-With-A-Food-Processor Crust (makes enough for 2 crusts)

taken from Serious Eats

2 3/4 cups of flour, more on hand if necessary

2 tablespoons of sugar

1 teaspoon of salt

2 1/2 sticks, or 20 tablespoons, of cold butter, cut into small pieces

6 tablespoons of ice-cold water

Note: Before I continue, I must share this bit of nerdy, fascinating information with all of you. The author of the above recipe also developed a different pie crust recipe, which I have yet to try, in which half of the ice water is replaced with vodka. Vodka impedes gluten formation, which supposedly allows the dough to form a flakier, more layered and delicate crust. I haven’t tried it yet, but if any of you do, please let me know your results!

Combine 2/3 of your flour, sugar, and salt in the bowl of your food processor. Pulse twice to incorporate all ingredients. Spread pieces of butter evenly on top of mixture, and pulse until small clumps begin to form, about 25 short pulses. Using a rubber spatula, spread the dough evenly inside of the bowl. Sprinkle remaining flour in bowl and pulse just until dough is slightly broken apart, 5 or so short pulse. Transfer dough to a large bowl. Sprinkle water over dough and, using rubber spatula, fold dough together until it forms a ball. Divide the dough in half, then form each half into a 4-inch disk. Cover with plastic wrap and refrigerate (at least 2 hours) if using within a couple of days or freeze for up to 4 months.

Typically, when rolling out dough that’s been refrigerated, it’s a good idea to let it rest on your counter for about 10 minutes. This gives the dough just enough time to soften up before handling. You don’t want the dough too soft, as this plus all of the handling you will be inevitably doing will disturb your crust too much. That’s uncool.

Then give the dough to a trusted adult to roll out. No joke, the arms in the below photo are white because they belong to my boyfriend, not me, as I am not capable of neatly doing anything. This is not because I am brown, please do not misunderstand my decision to point out my boyfriend’s skin color. Ah, crap. Please know what I mean.

SONY DSC

Essentially, you don’t want to roll back and forth. On a floured surface, roll out from the middle of the disk of dough, trying not to “steamroll” too much over any areas, as this dough is pretty sensitive. Roll each disk into 9-inch flat circular-ish things. Line the bottom of a pie plate with one, then chill along with the top half, which, um, just kind of has to chill by itself.

Mixed Berry Pie Filling

4 ounces granulated sugar

1.5 ounces of cornstarch (a little more if you want a more gelatinous pie, a little less if you want a runnier pie)

24 ounces of mixed berries

Zest of 1 lemon

1 egg, beaten, plus one pinch of salt

Preheat your oven to 425ºF. In a small bowl, whisk together sugar, cornstarch and berries until berries are fully coated in the mixture. Pour berries into the pie shell, like so:

SONY DSC

Cover with the top half of your dough, crimp the edges, and chill in refrigerator for at least 20 minutes.

Brush the top of the dough with egg mixture, and cut a few slits on top of pie to allow for air to escape. If you’ll notice, I cut something else in too (this was an Independence Day pie, just so you all know exactly how behind I am).

SONY DSC

Bake on the lowest rack of your oven for 20 minutes, rotating the pie halfway through baking.

Adjust oven temperature to 375ºF, and continue to bake pie until the top is golden brown and the filling is bubbling over a bit, about 25-30 minutes. If parts of the crust begin to look to dark, you can carefully cover them with pieces of foil.

Allow pie to cool for at least 30 minutes before serving.

Spot the star!
Spot the star!

If you’ve checked out the original recipe, you’ll notice that I’ve cut the sugar in the filling down by half, as I’ve been tending to do in recent posts, to see if anyone misses it. This was given to my parents, sisters and boyfriend, and not one person complained (I know, I know, they all love me, but they all are also secure enough to yap and fret about anything. What I’m saying is they’re honest). Everyone went for seconds, some even with a huge dollop of vanilla ice cream on top of their slices. In fact, even my dad (who does not love the art of baking) was pleasantly surprised. Hell, he might be coming around to this pastime of mine! Papa, feel free to comment!

Also, since my household believes in recycling, we decided to shove the bit of leftover pie dough we had into a mini-muffin tin, and layer mini marshmallows, chocolate chips and graham cracker bits on top. Into the oven this lone mini-mini-pie went for 7 minutes at 375ºF.

SONY DSC

And it was gone in three bites (only one of which was mine). YUM.

Categories
Desserts with Fruit Easy Baking Fancy Pantsy Grown Up People Desserts No-Bake Recipes Sort of Healthy Strange and Yummy Stuff Your Parents Would Like

Bad Things Happen In Threes. Lemonade Jellies Happen In Ramekins. I Happen…To Be Freaking Out.

Last weekend I was strolling along the Hudson River with my boyfriend when the skies opened up and dumped a monsoon on us. Fortunately, there was a random tent nearby that we and a bunch of other drenched pedestrians discovered at precisely the right moment. The rain lasted about ten minutes, and then this happened.

rainbow

That, I thought, was a signal that all would be fine.

Instead, it ended up being a semicircular, multicolored middle finger directed squarely at me.

I’m not sure how comfortable I am talking about the exact three bad things that have happened. There may be even more than three, but typing them all out might result in me freaking out even more than I already have in the past, oh, six weeks or so. Yep. Six weeks of on-and-off nonsense.

This past week has been one of the most trying I’ve experienced in about seven years. I’ve had to deal with disturbed individuals whom I’ve never met contacting me through this blog, using something that’s very dear to me to basically, well, harass. You all know how well I deal with scary fools coming after me. It’s not cool. Plus, I am a boring person. Trust. I am also sort of broke, really quiet and pretty reserved until I am hungry or SUUUUPER pissed off. There is really nothing to be gained from randomly lobbing the crazy this way. So, if you’re reading this with the sole purpose of, I don’t know, being mean or causing trouble, this way to the egress.

Sylvapotamus has left the country for the week, leaving me stranded and lost and even sadder than I would be had she not left. Somebody help! Tell me a joke. A good one. Or a bad one, I don’t care. Just give me something to work with, people! I’ll give you a delicious, healthy, addictive dessert in return!

Basil Lemonade Jellies (makes six 1/2 cup servings)

adapted from Serious Eats

3/4 cup of freshly-squeezed lemon juice (about 4 to 5 large lemons)

1/2 cup of sugar

1 1/2 cups of basil leaves, loosely packed

1/2 cup of no-pulp orange juice

3 teaspoons of powdered gelatin

Fresh whipped cream or ice cream to serve, optional

6 small basil leaves for garnish, optional

SONY DSC

In a medium-sized saucepan, stir together lemon juice, 1 1/2 cups of water, and sugar over medium heat until the mixture reaches a boil. Stir until the sugar completely dissolves.

Tear basil leaves roughly and place in a small glass or metal bowl. Pour lemon juice mixture over basil leaves and let steep for at least 15 minutes.

Pour orange juice in a small saucepan and sprinkle gelatin over the top. Let sit for five minutes, then place pan over medium heat, stirring until gelatin is dissolved. Remove from heat.

Strain the basil out of the lemon juice mixture and stir juice into the gelatin-OJ mixture. Pour into six small ramekins or a 1-quart dish. Refrigerate until softly set, at least two hours, then serve, either with ice cream or whipped cream. I recommend ice cream. Or nothing. Or just not even thinking about it and going to town on these.

SONY DSC

So I cut the sugar down from what the original recipe called for, and I am so glad I did. The basil flavor came through very nicely, giving the jellies a very complex flavor. The tartness of the jellies combined with the sweet, cold creaminess of the vanilla ice cream I used made for a perfect, perfect summer dessert. I cannot wait to make these again.

SONY DSC

Note: The below was just brought to my attention, explaining almost all of the heartache I’ve been experiencing lately.

Oh f*ck you, Stamos.